Biscones

Take a walk through any good farmer's market or grocery store and you'll see tons of fruits and vegetables that are hybrids. There's the plumcot, grapple, tangelo, broccoflower, broccolini and kalette to name a few, which means that at any given time if you're agonizing over say, a plum vs. an apricot, you no longer need to. But in the baking world, it's not that simple. You've got to make the hard choices, like donut or cupcake, brownie or cookie, biscuit or scone (sure, there's the cronut but we're not going to get into that as it sort of wrecks my argument here.) Well, folks, no more. Today I present to you the Biscone, the perfect cross between a light fluffy biscuit and a rich buttery scone. The agony is over!!

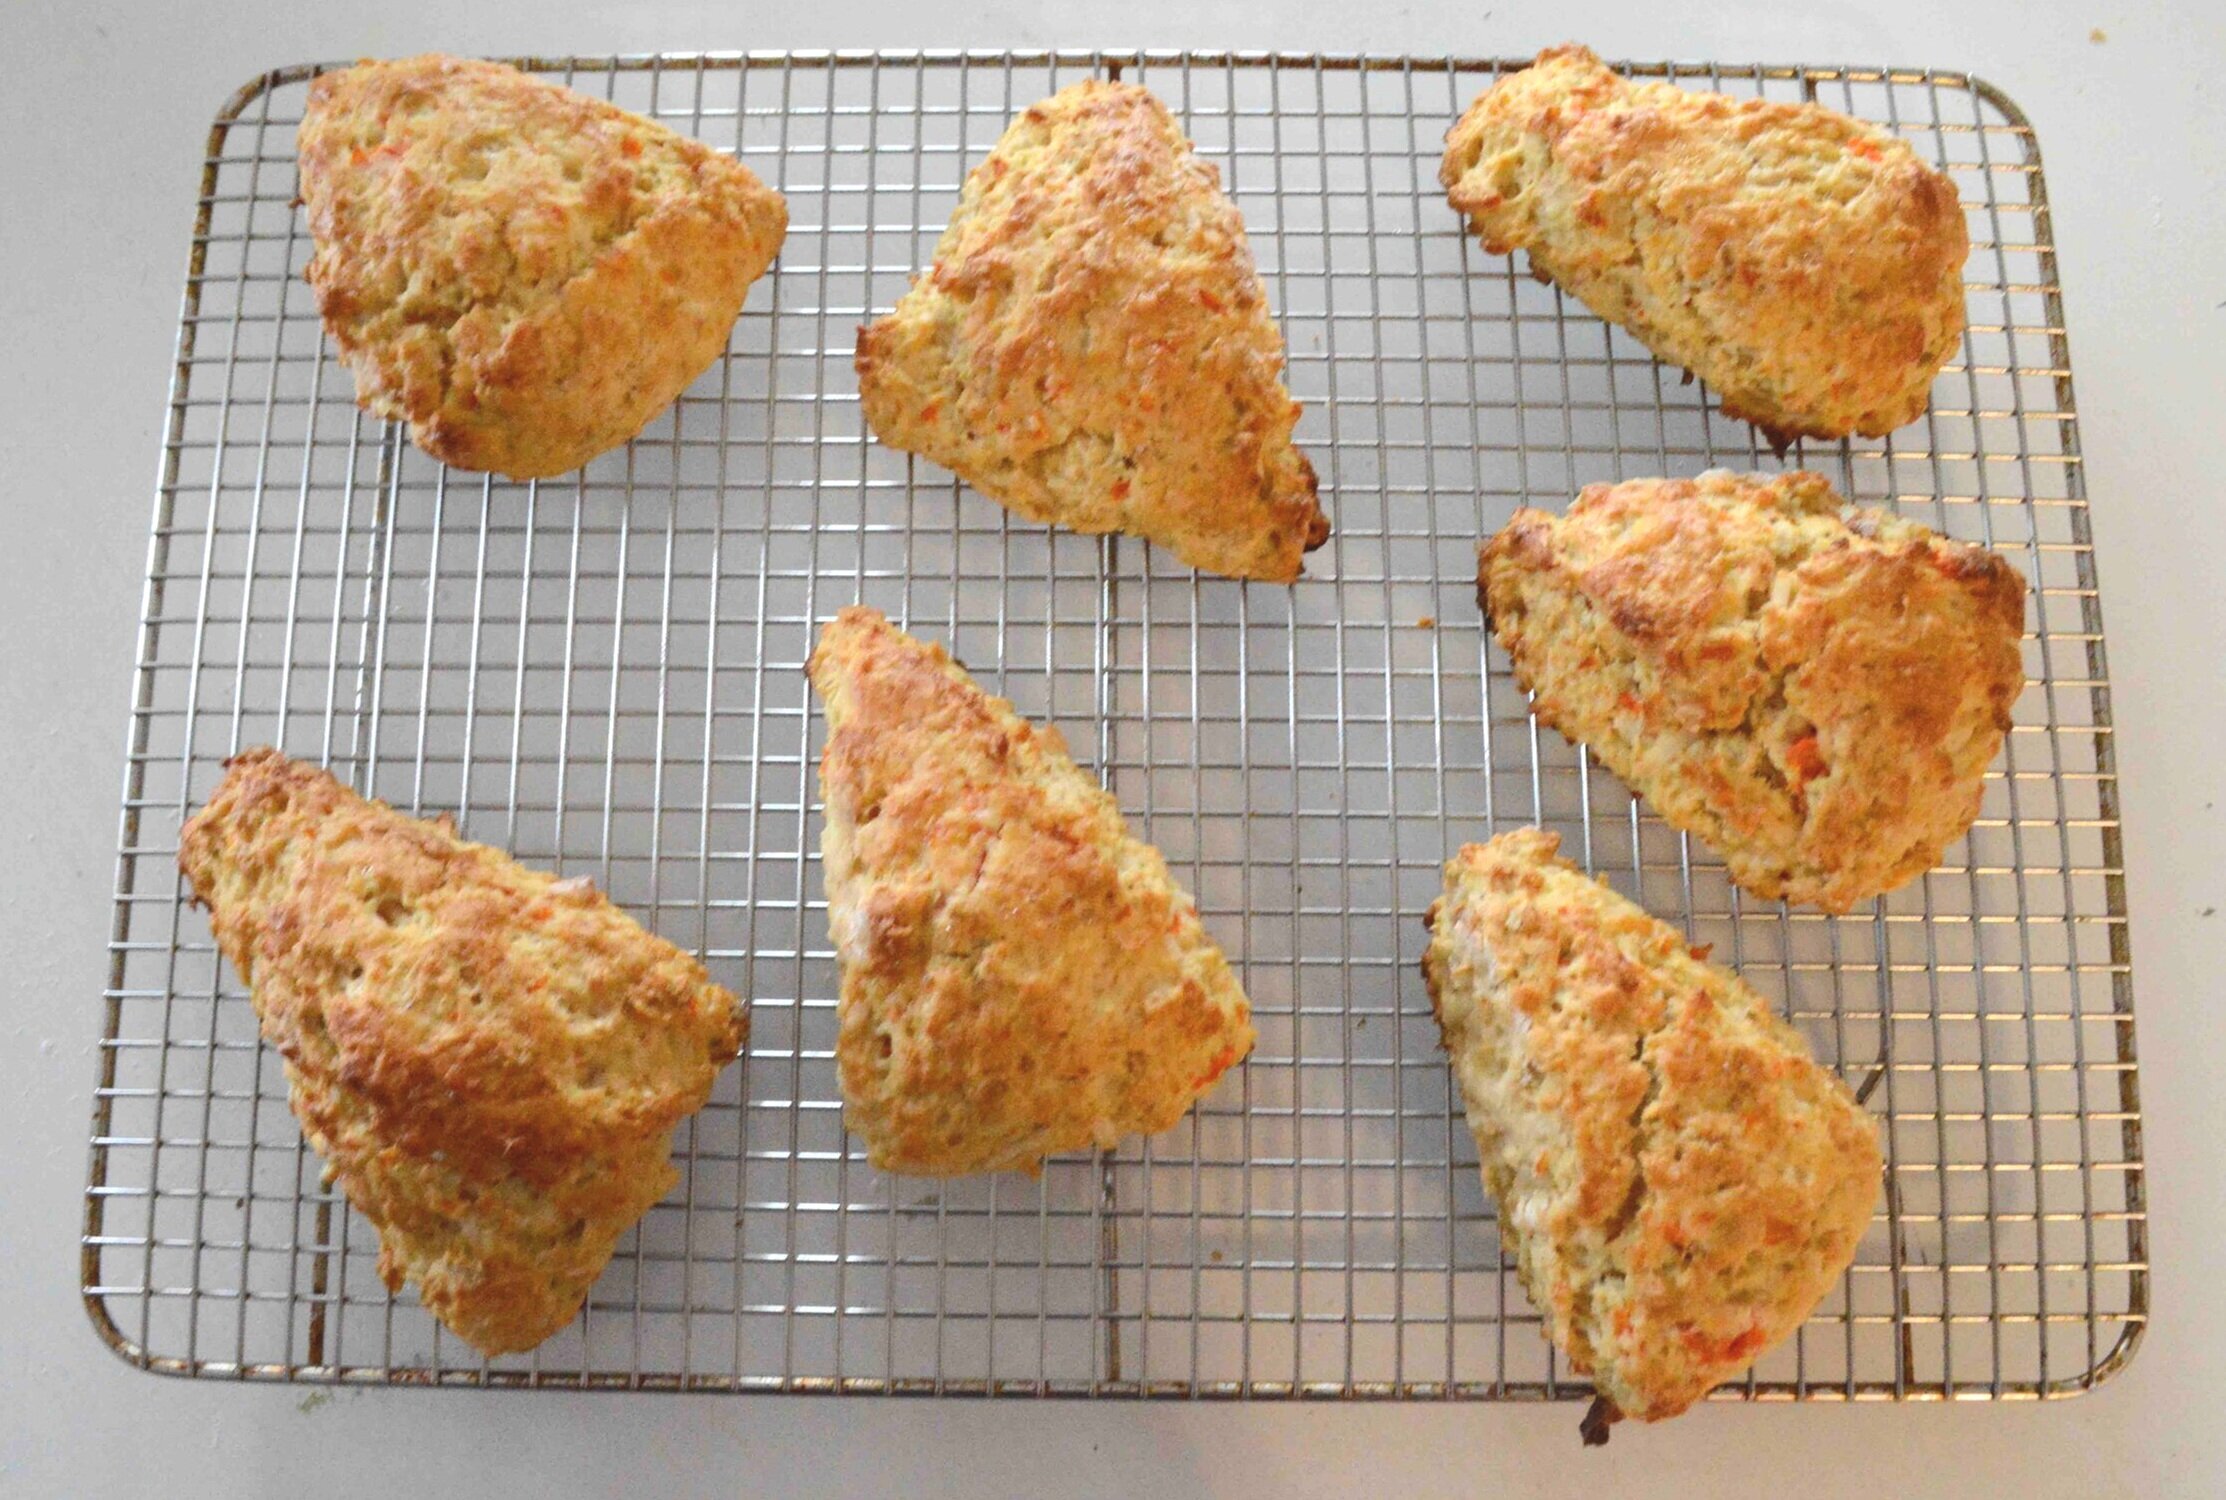
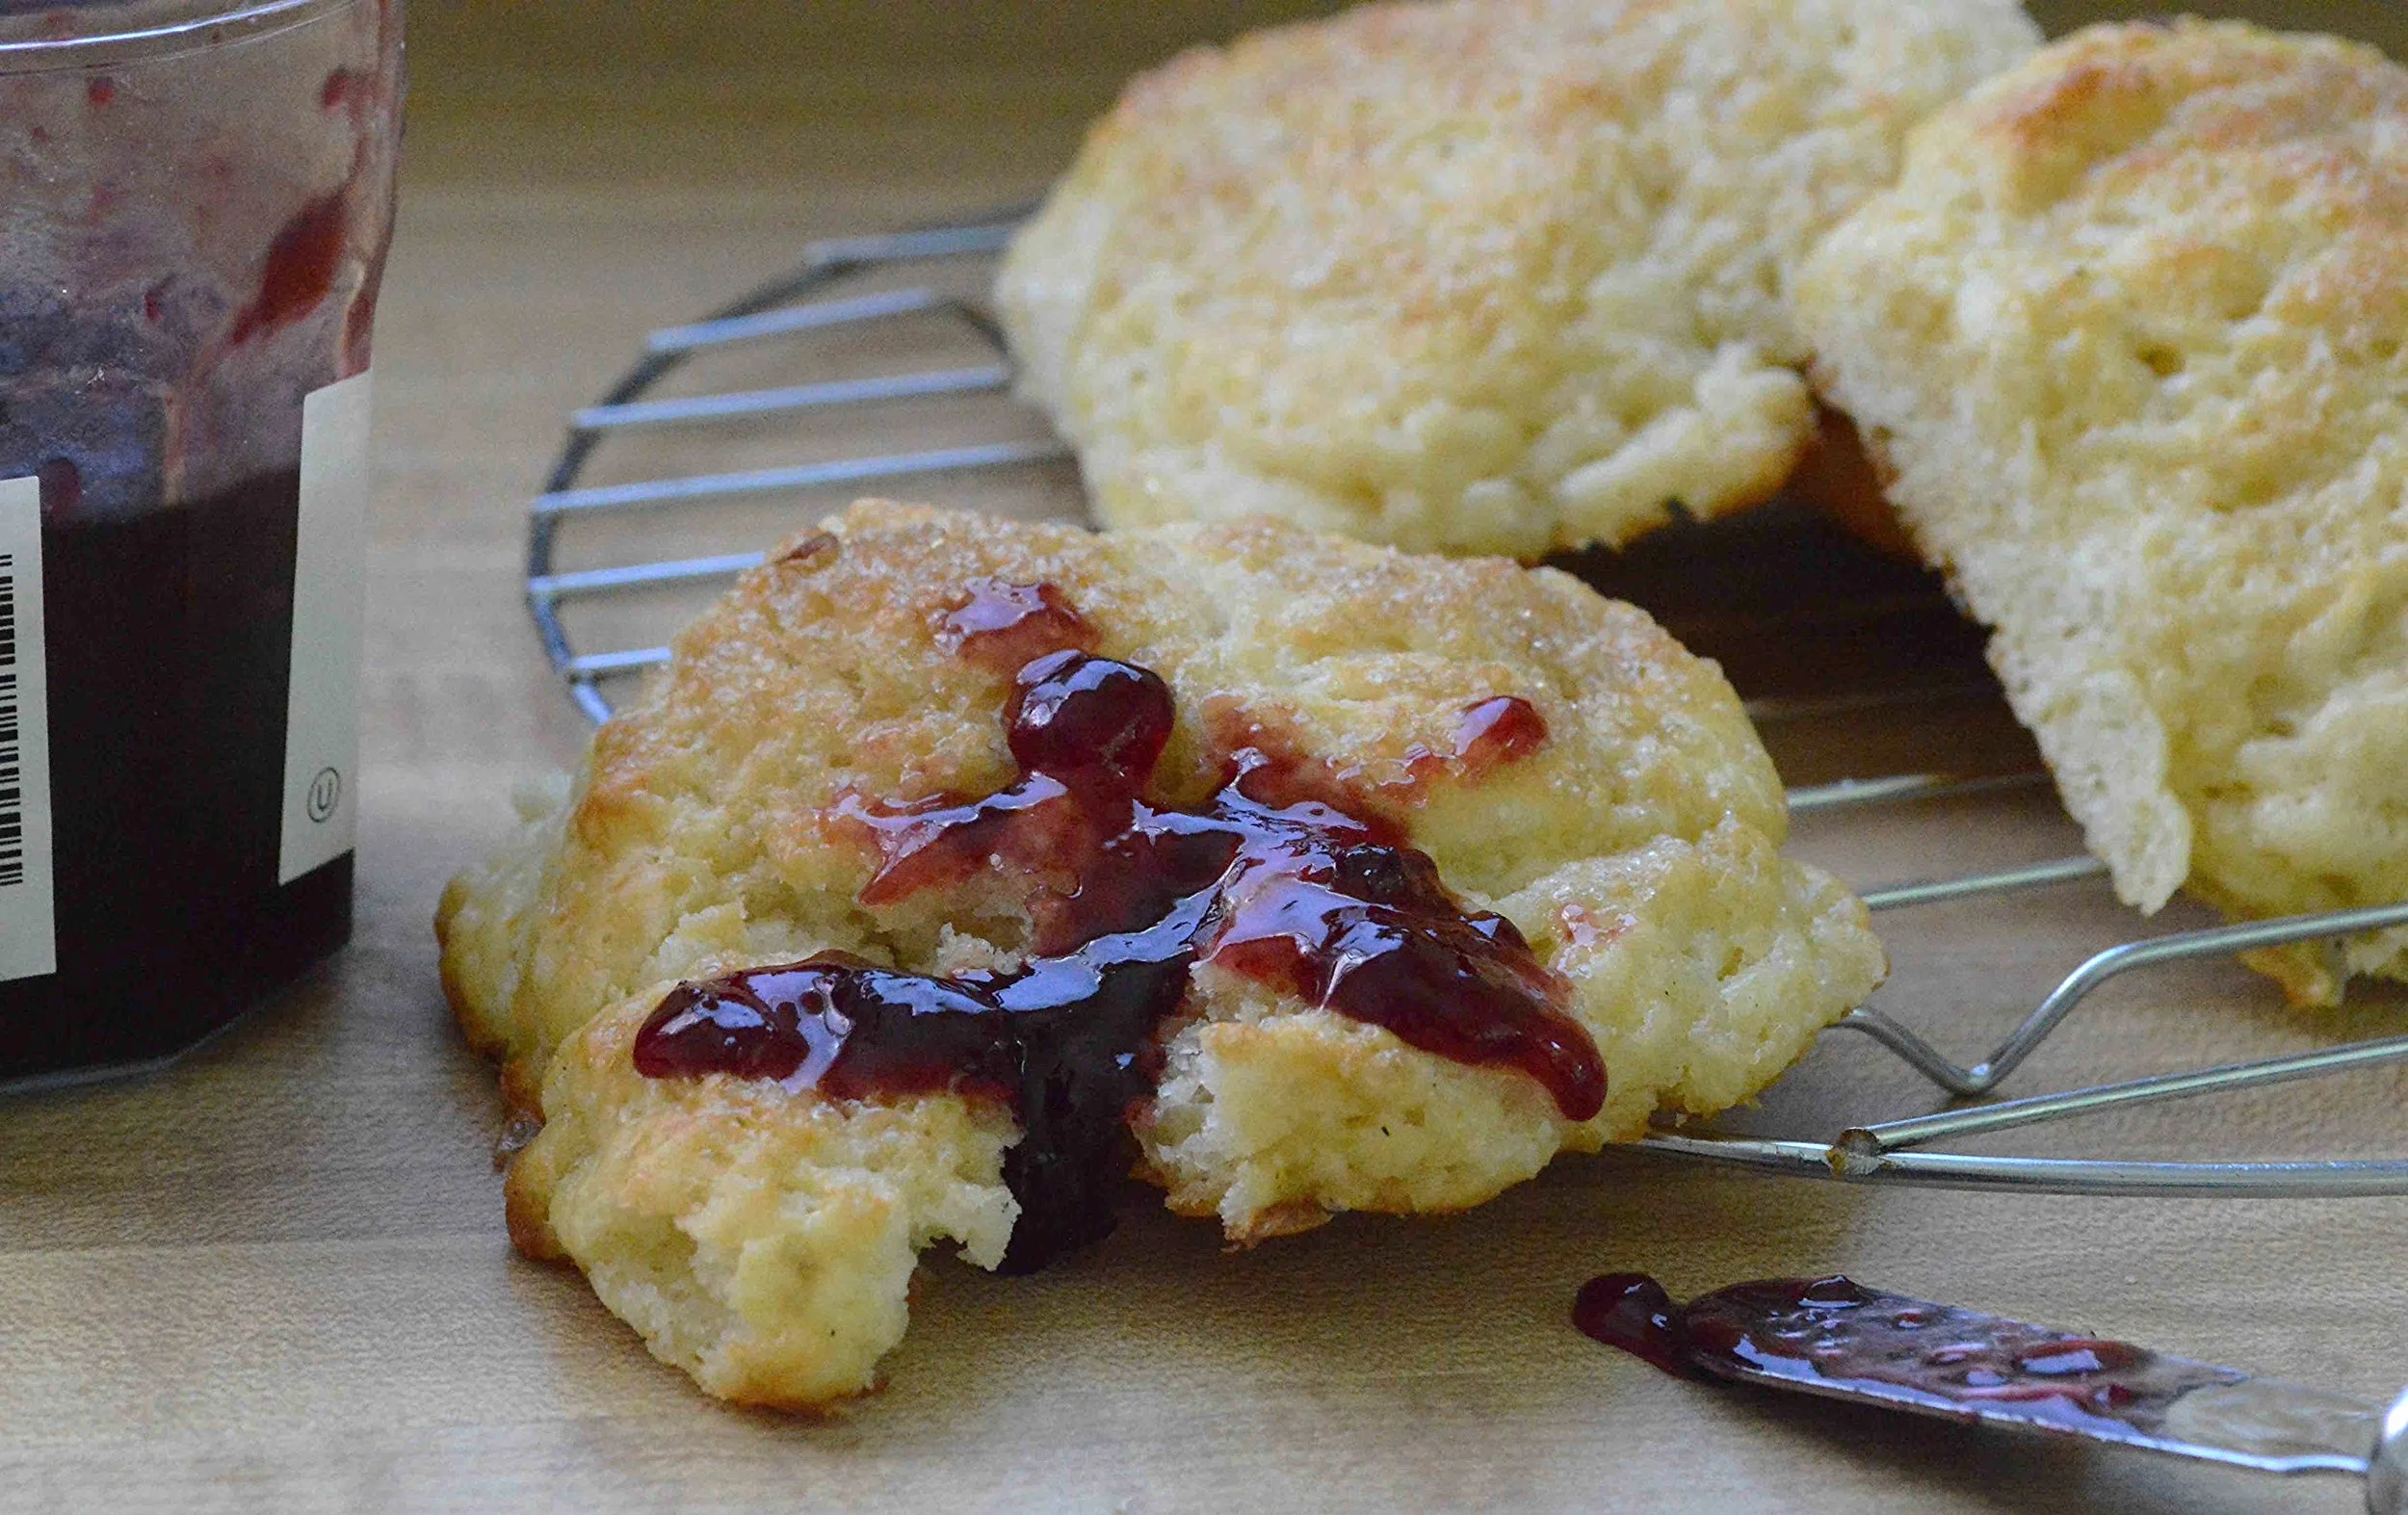
These really are unique--the exterior is very crunchy and scone-like and the interior is light and fluffy like a biscuit. It's really the best of two worlds and made even better because these are truly easy to make. No shaping or rolling out involved!! If you're looking for something new to serve for a brunch or special breakfast, the hunt is over!!
You start by cutting a generous amount of cold butter into the dry ingredients.

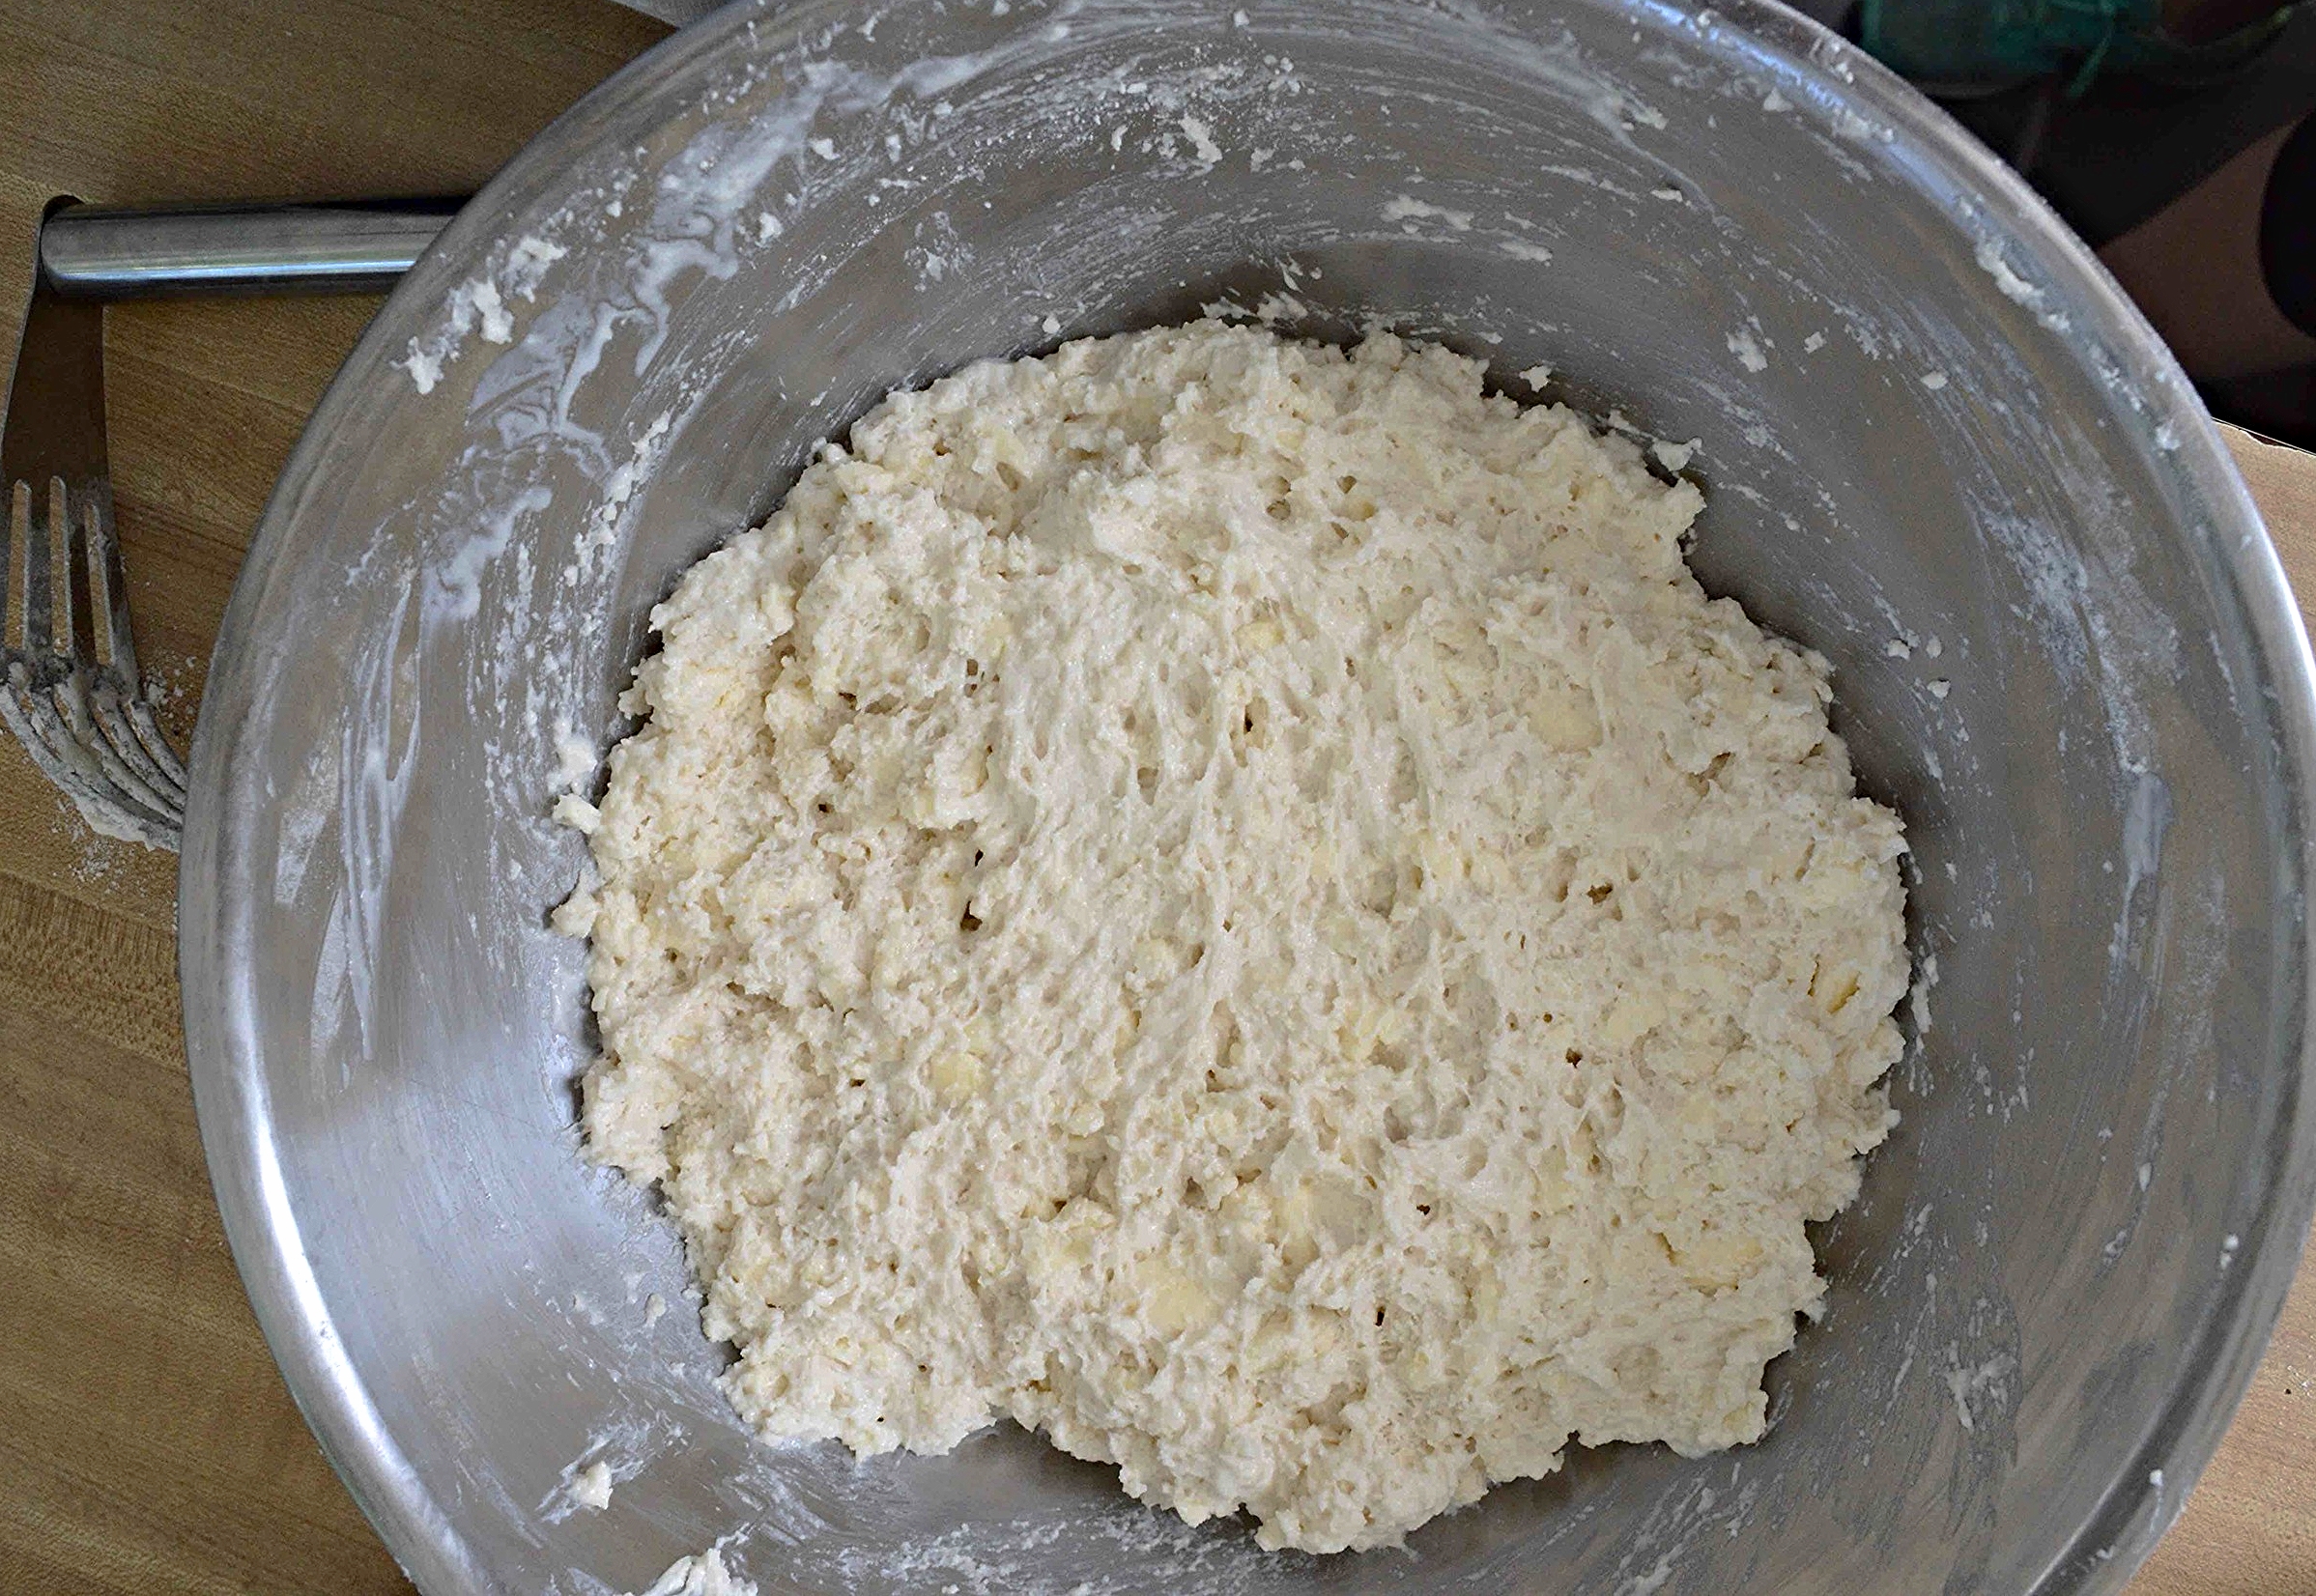
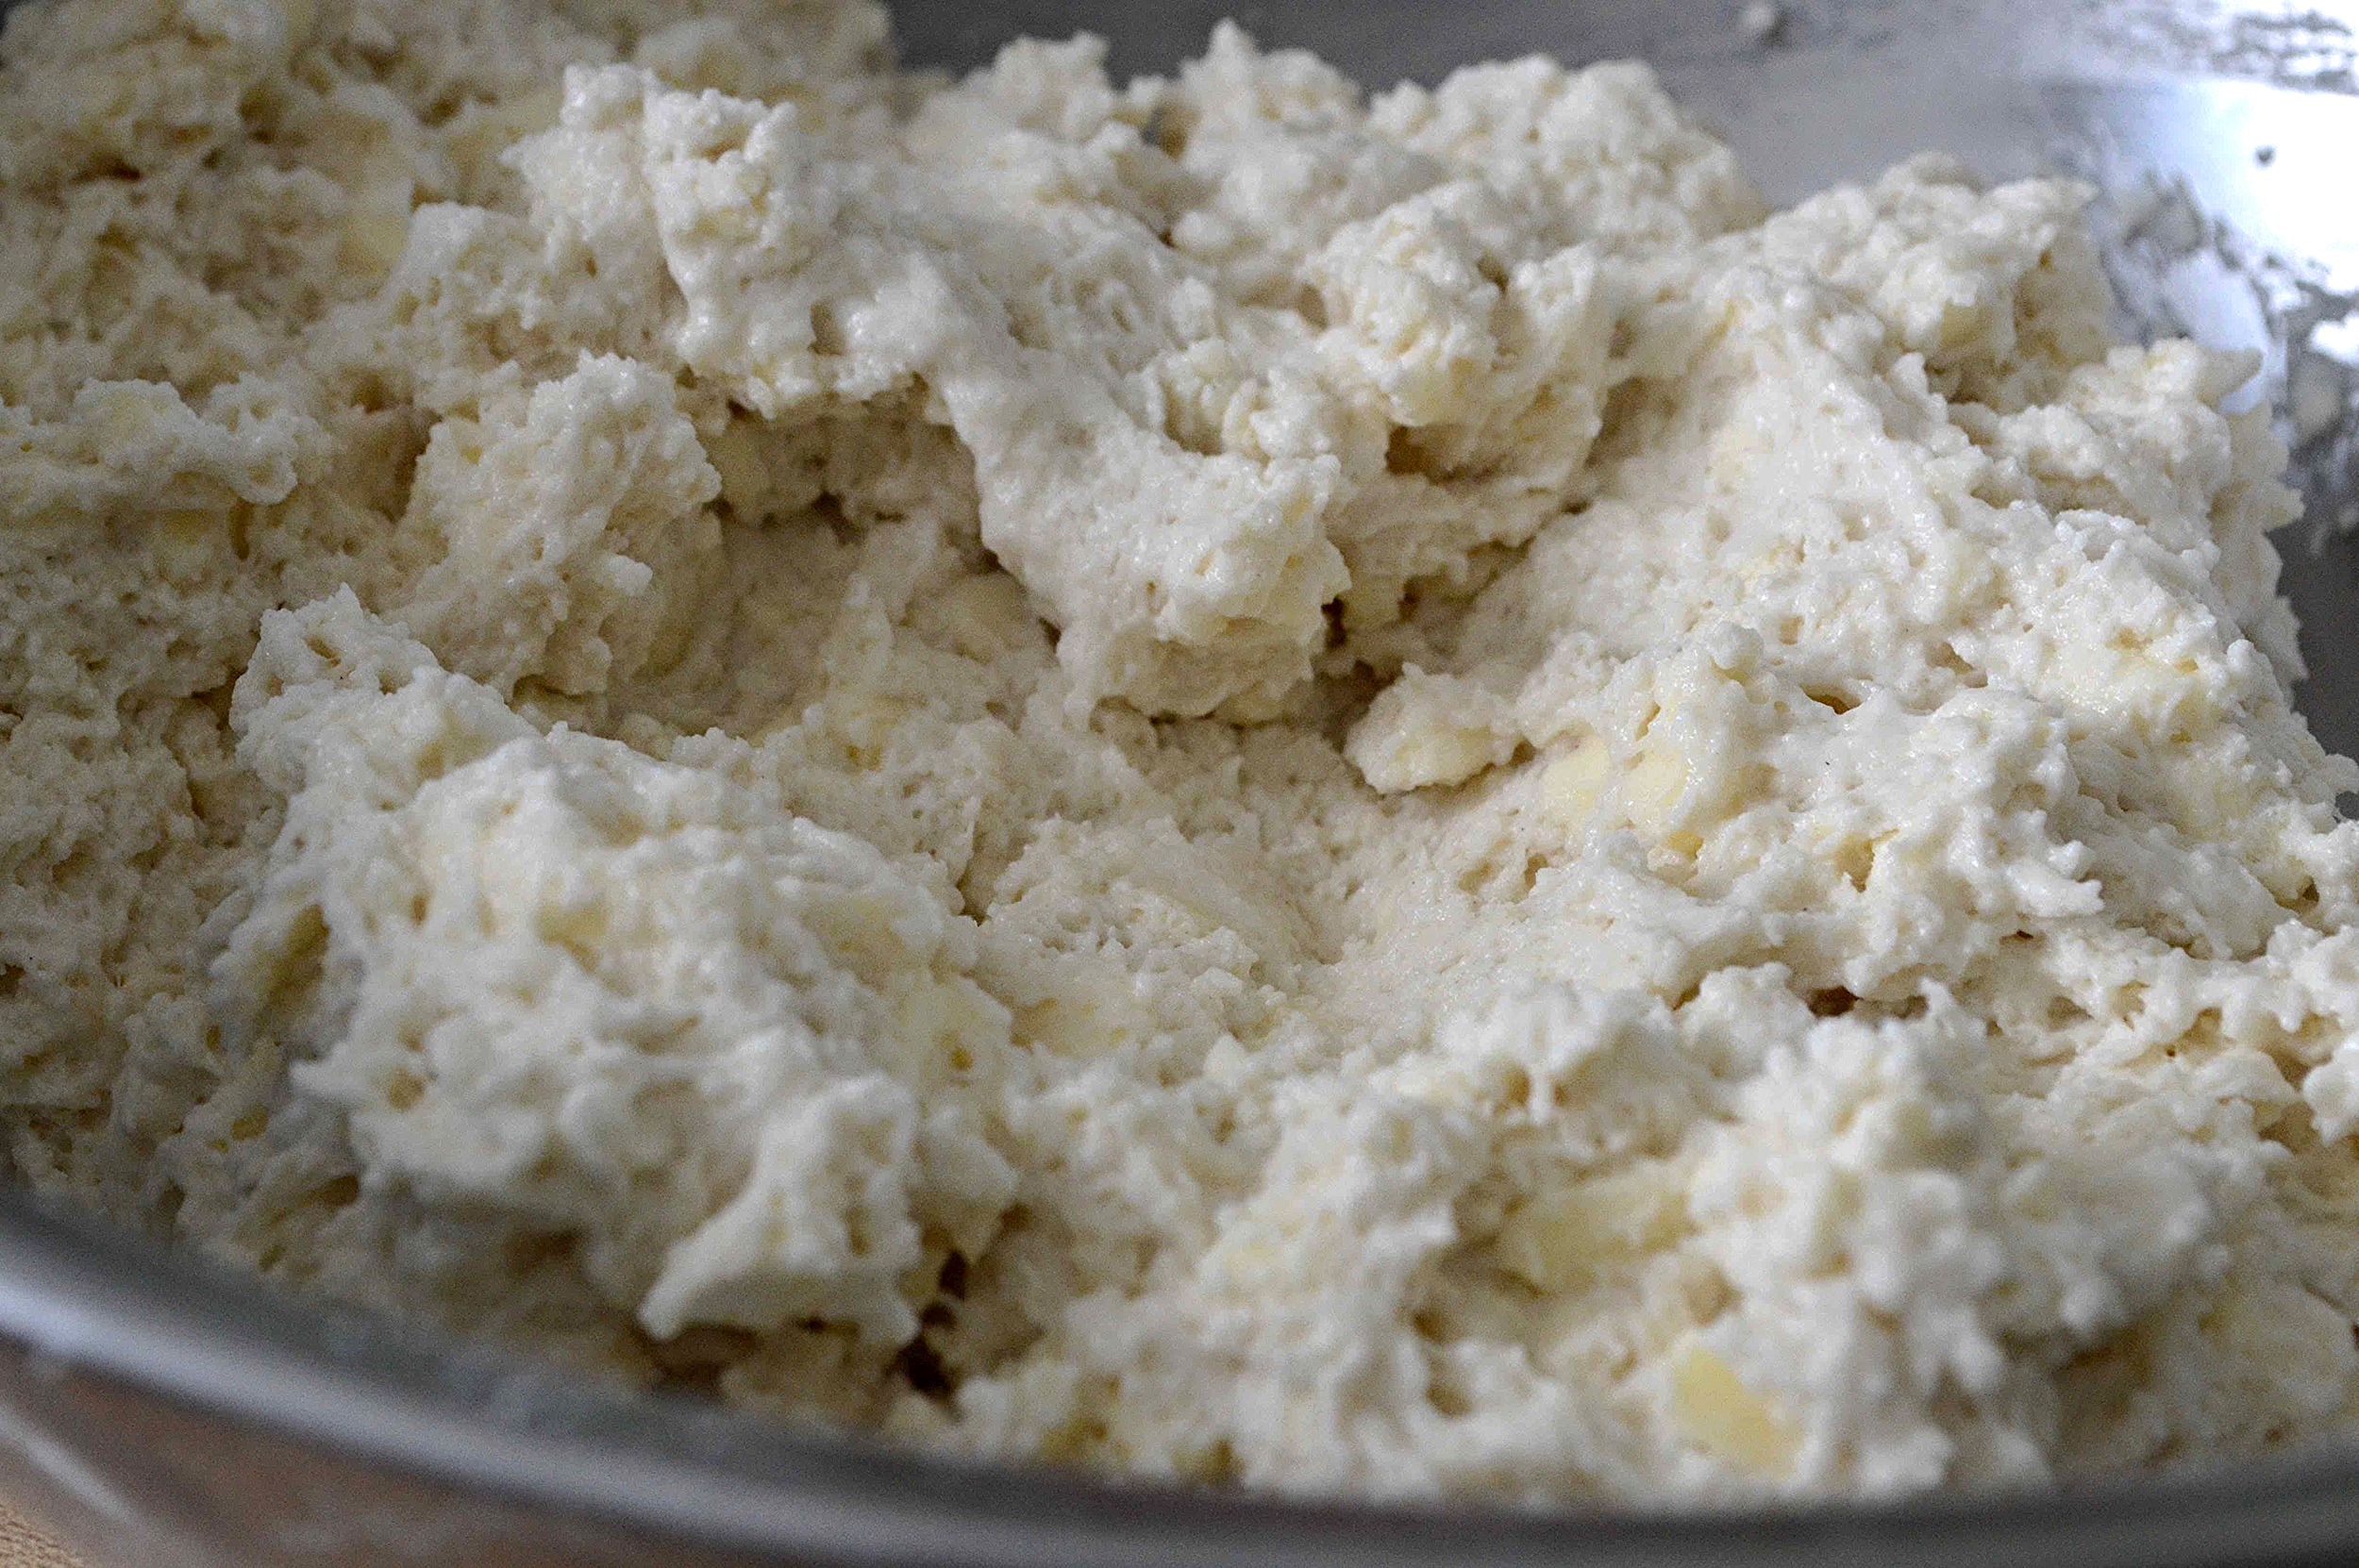
Then you add the buttermilk and fold it all together, until you can't see any more flour, but can see little chunks of butter throughout the dough. This will help to keep the biscones light and flaky.
Next, all you do is scoop mounds of the dough, using an ice cream scooper, onto a lined baking sheet, brushing them with an egg wash and turbinado sugar in the process.


The scones bake up golden brown, buttery and fluffy and really do taste like a cross between a biscuit and a scone.

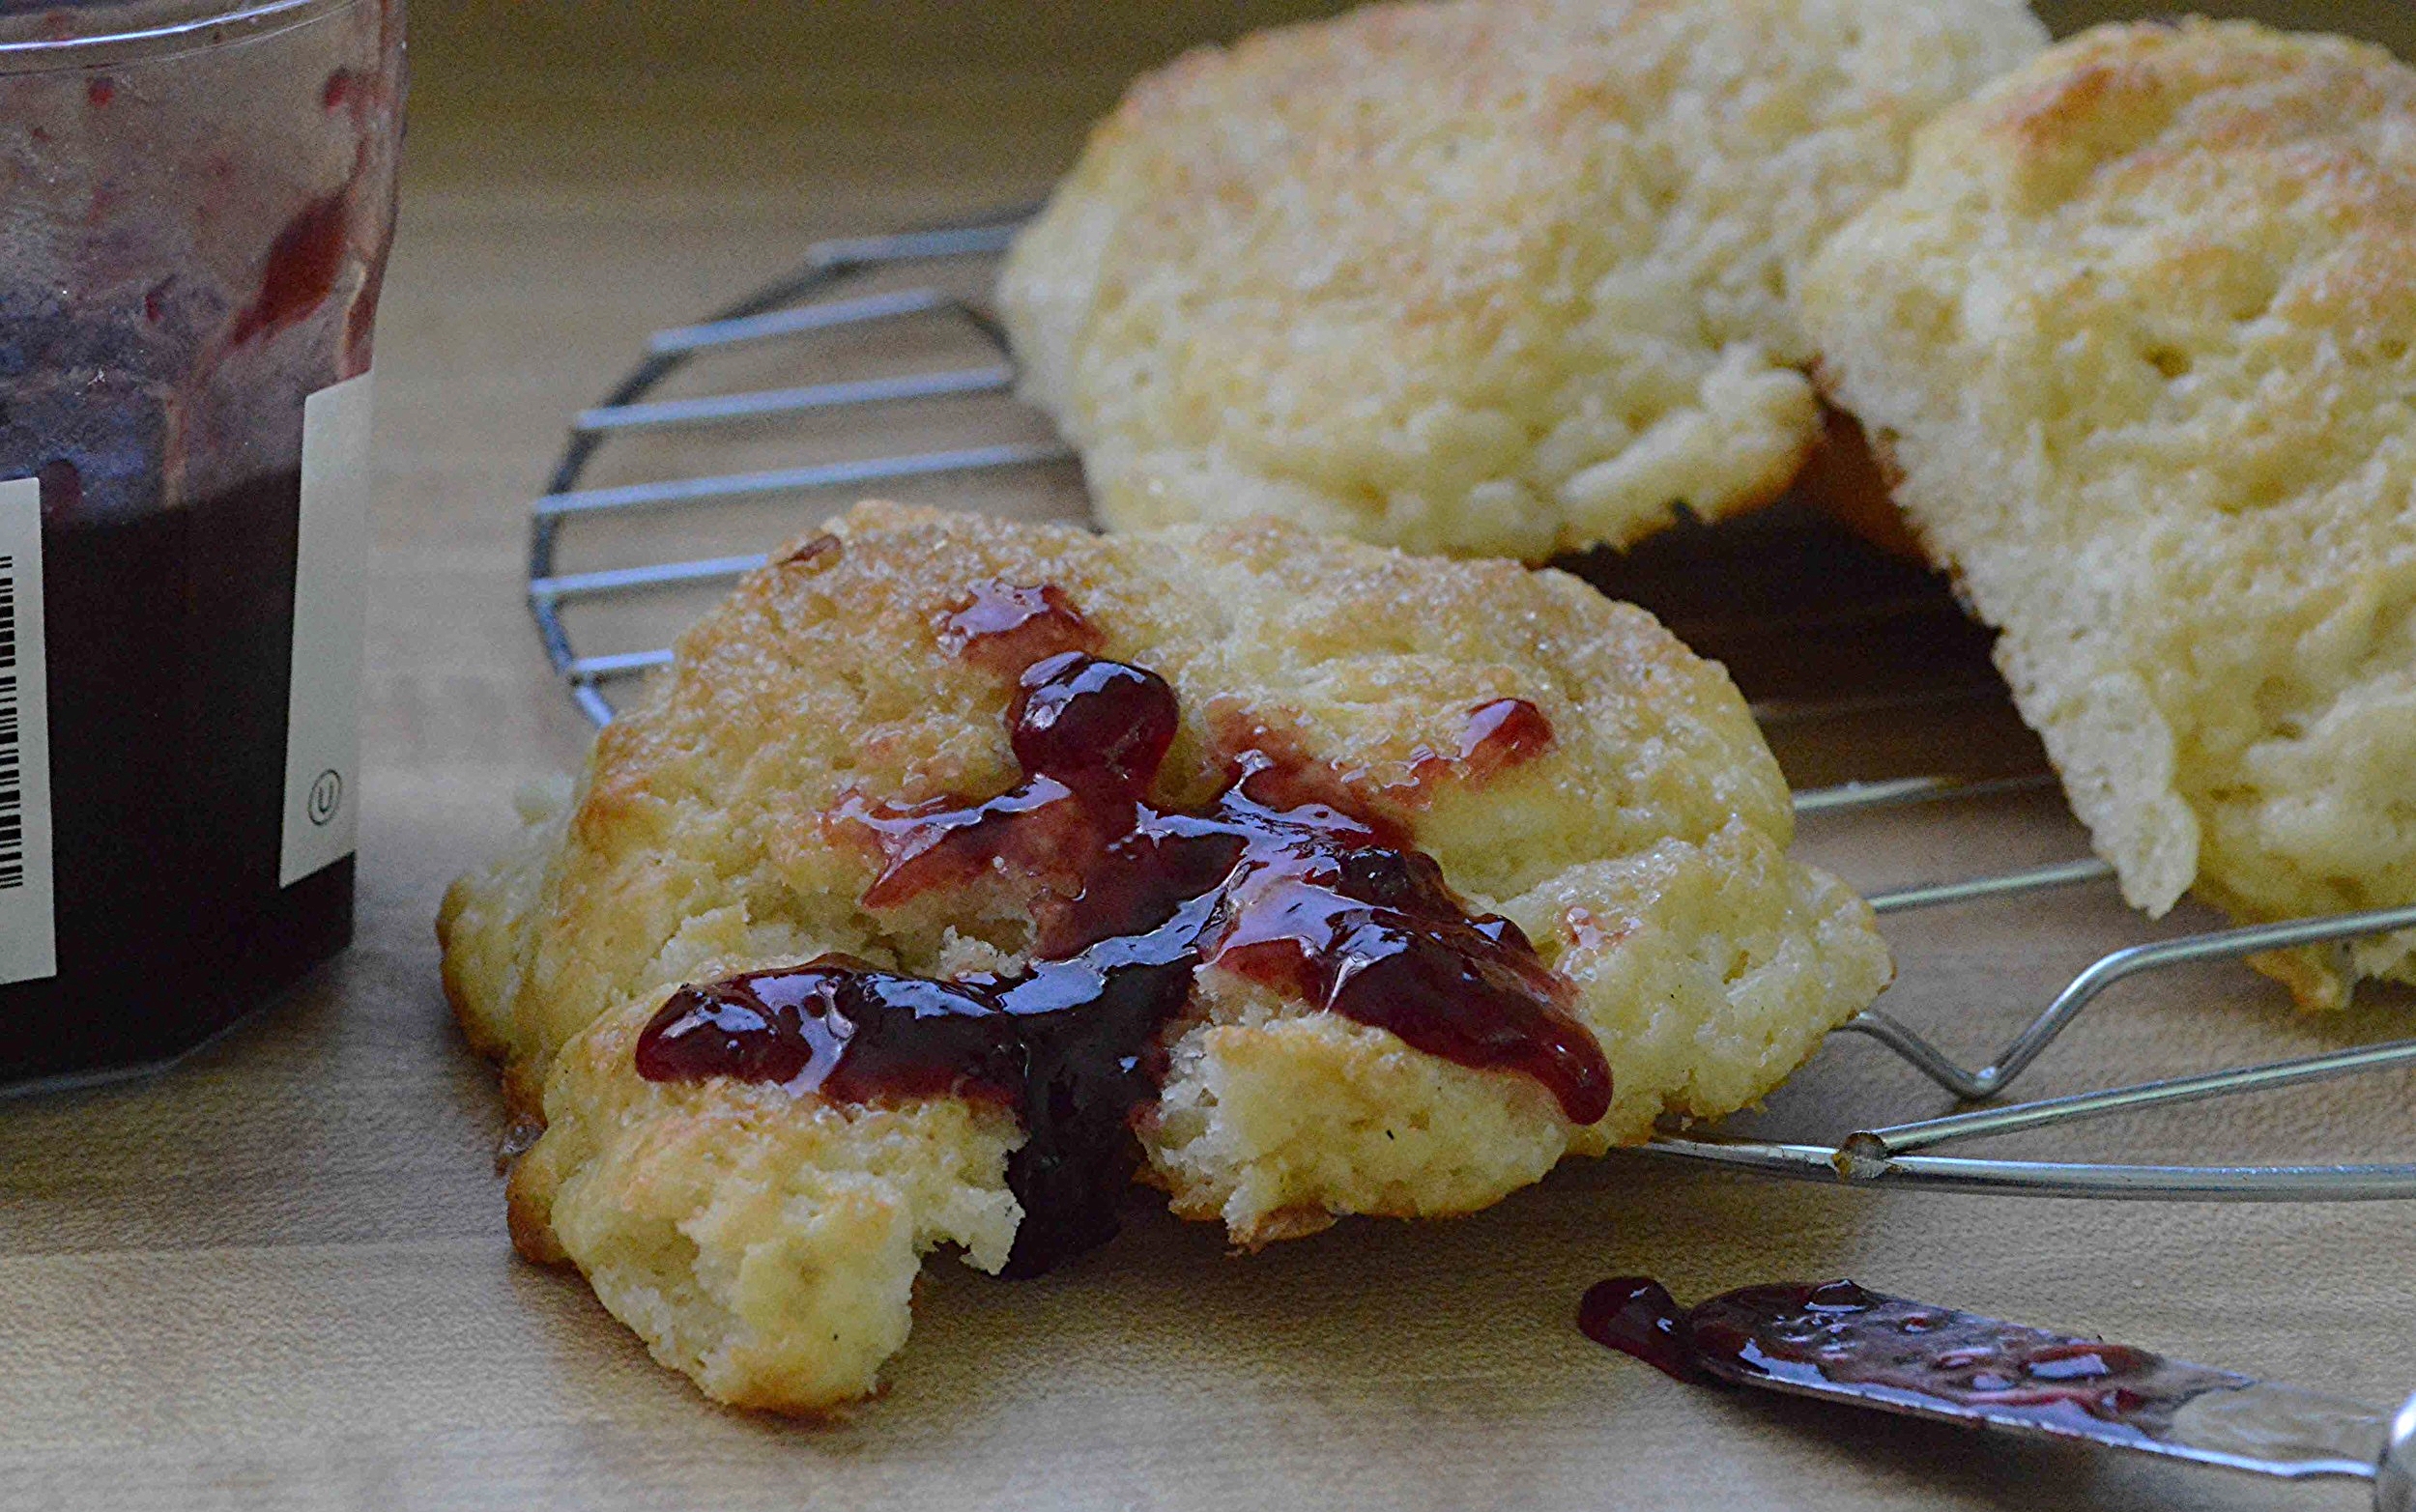
They're great on their own or smothered with jam!
Try these asap, you're gonna love 'em--no need to wait until an indecisive mood strikes!
Biscones
Makes about 1 dozen
Prep Time: 15-20 minutes: Bake Time: 20-25 minutes
Ingredients
1 1/2 cups unbleached, all-purpose flour
1 1/2 cups cake flour (not self-rising)
1/4 cup sugar
2 tablespoons baking powder
3/4 teaspoon fine sea salt
2 sticks cold unsalted butter, cut into 1/2 inch cubes and refrigerated until ready
1 1/2 cups well-shaken buttermilk
1 egg beaten with a pinch of salt for egg wash
1/4 cup turbinado sugar
1 cup dried fruit, such as raisins, cherries, craisins etc.- optional (I didn't use any)
The Recipe
1. Make sure a rack is in the center of the oven and preheat to 375ºF. Line a large rimmed baking sheet with parchment paper.
2. Place both flours, the sugar, baking powder and salt into a large mixing bowl and whisk well to combine. Remove the cut up butter from the refrigerator and add it to the bowl. Using a pastry blender, work quickly (you don't want butter to get too warm) to combine the butter and flour mixture so that you can still see some chunks of butter in the batter that range in size from small pebbles to larger chunks. Now add the dried fruit if using, and stir in.
3. Slowly pour in the buttermilk and gently fold everything together until you get a soft dough and all no flour is visible. Make sure to scrape the bottom of the bowl, as the flour has a way of clinging down there. You should still be able to see little lumps of butter in the batter. This keeps the biscones light and flaky. If your dough seems too dry, add a bit more buttermilk. You want a sticky, moist dough.
4. Using your hands, pat the dough down in the bowl, until it looks sort of like a loaf of bread. Dust the top with a bit of flour. Use a large ice cream scoop (or spoon) to scoop mounds of dough out onto the lined baking sheet, placing them at least 1 inch apart (these do spread and rise.) Gently tap down the tops of the biscones. Using a pastry brush, brush the tops generously with the egg wash and then sprinkle the tops of the biscones evenly with the turbinado sugar.
5. Bake for 20-25 minutes (mine were closer to 25), rotating the pan from front to back halfway through the baking to ensure that they cook evenly. Biscones are done when tops are lightly golden brown and seem fully baked.
6. Remove pan from oven and transfer to a cooling rack. Let biscones cool for at least 15-20 minutes before eating. Then serve immediately or later at room temperature. Biscones taste best on the day they're made, as do any biscuit or scone, but leftovers can be split in half and toasted. They're great that way too! Store leftovers at room temperature for up to 3 days.
Enjoy!
Note: Recipe adapted from The Back In The Day Bakery Cookbook by Cheryl and Griffith Day. I left 1/4 teaspoon cardamom out of the dry ingredients, because we just don't like it around here and also the dried fruit out too just because I wanted to keep these rather plain, but it would be great with the fruit added as well.