Queen Mother's Cake
Growing up, I never knew that Passover desserts were any different than desserts we ate all year round. My mom, a great baker, never ever made those less-than-stellar boxed Passover cake mixes, (sorry I don't mean to be a cake snob) but instead found "natural" ways to get around the no flour or leavening taboo and turned out stellar nut-based, egg-white desserts that anyone would be happy to eat at any time of the year. This single-layer, ground almond chocolate torte, courtesy of the amazing baker, Maida Heatter, is one of my mom's specialties. One bite of this luscious, moist chocolate covered beauty and you will know why.

Though the cake looks quite fancy and elegant, it is really very easy to make as the chocolate icing is very forgiving, hiding any imperfections, drying shiny and perfect every time! Yet as easy as it is to make, I've had troubles with this in the past and it happened again this time--with the bottom and edges burning even though I cooked it for exactly the allotted time and used an oven thermometer to ensure that my oven was heating accurately. I called my mom and she said she'd never had this problem. After I did a few internet searches, I realized that it might be the fact that I was using a dark non-stick cake pan which can make cakes turn out too dark, especially with recipes that were originally calibrated for ordinary metal pans. So I reassembled all the ingredients, lowered the temperature by 25º, rebaked the whole thing and...problem solved, lesson learned. Progress isn't everything!
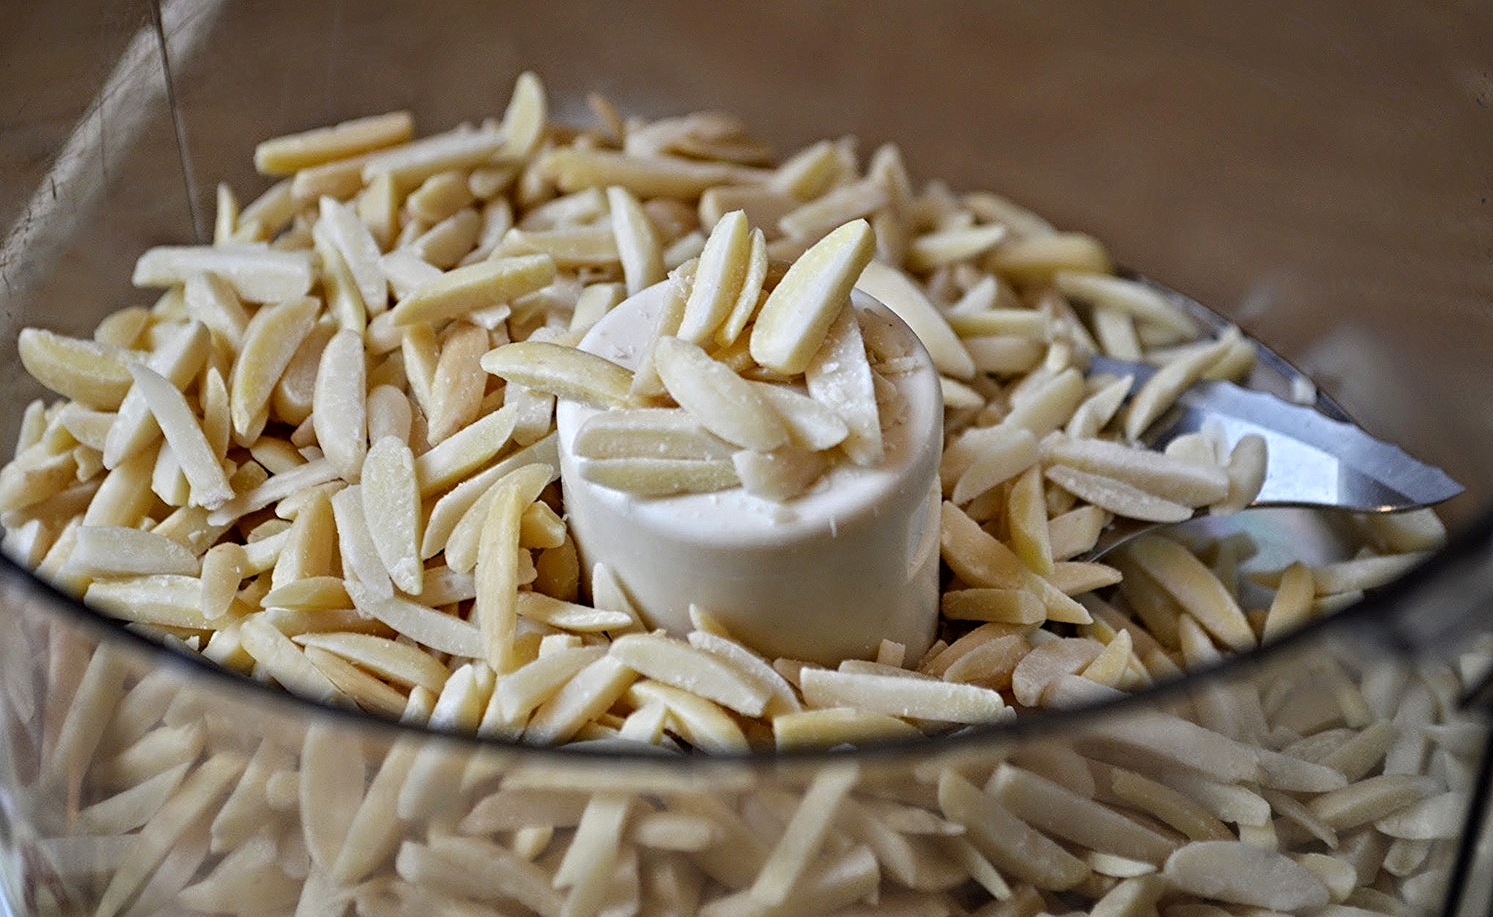
You start by grinding almonds very finely or using almond meal.
Then you melt chocolate and while that's cooling, mix together butter, sugar and egg yolks, eventually incorporating the melted chocolate back into the mixture. In a separate bowl, you beat up a lot of egg whites and then fold them into the batter to lighten things up.


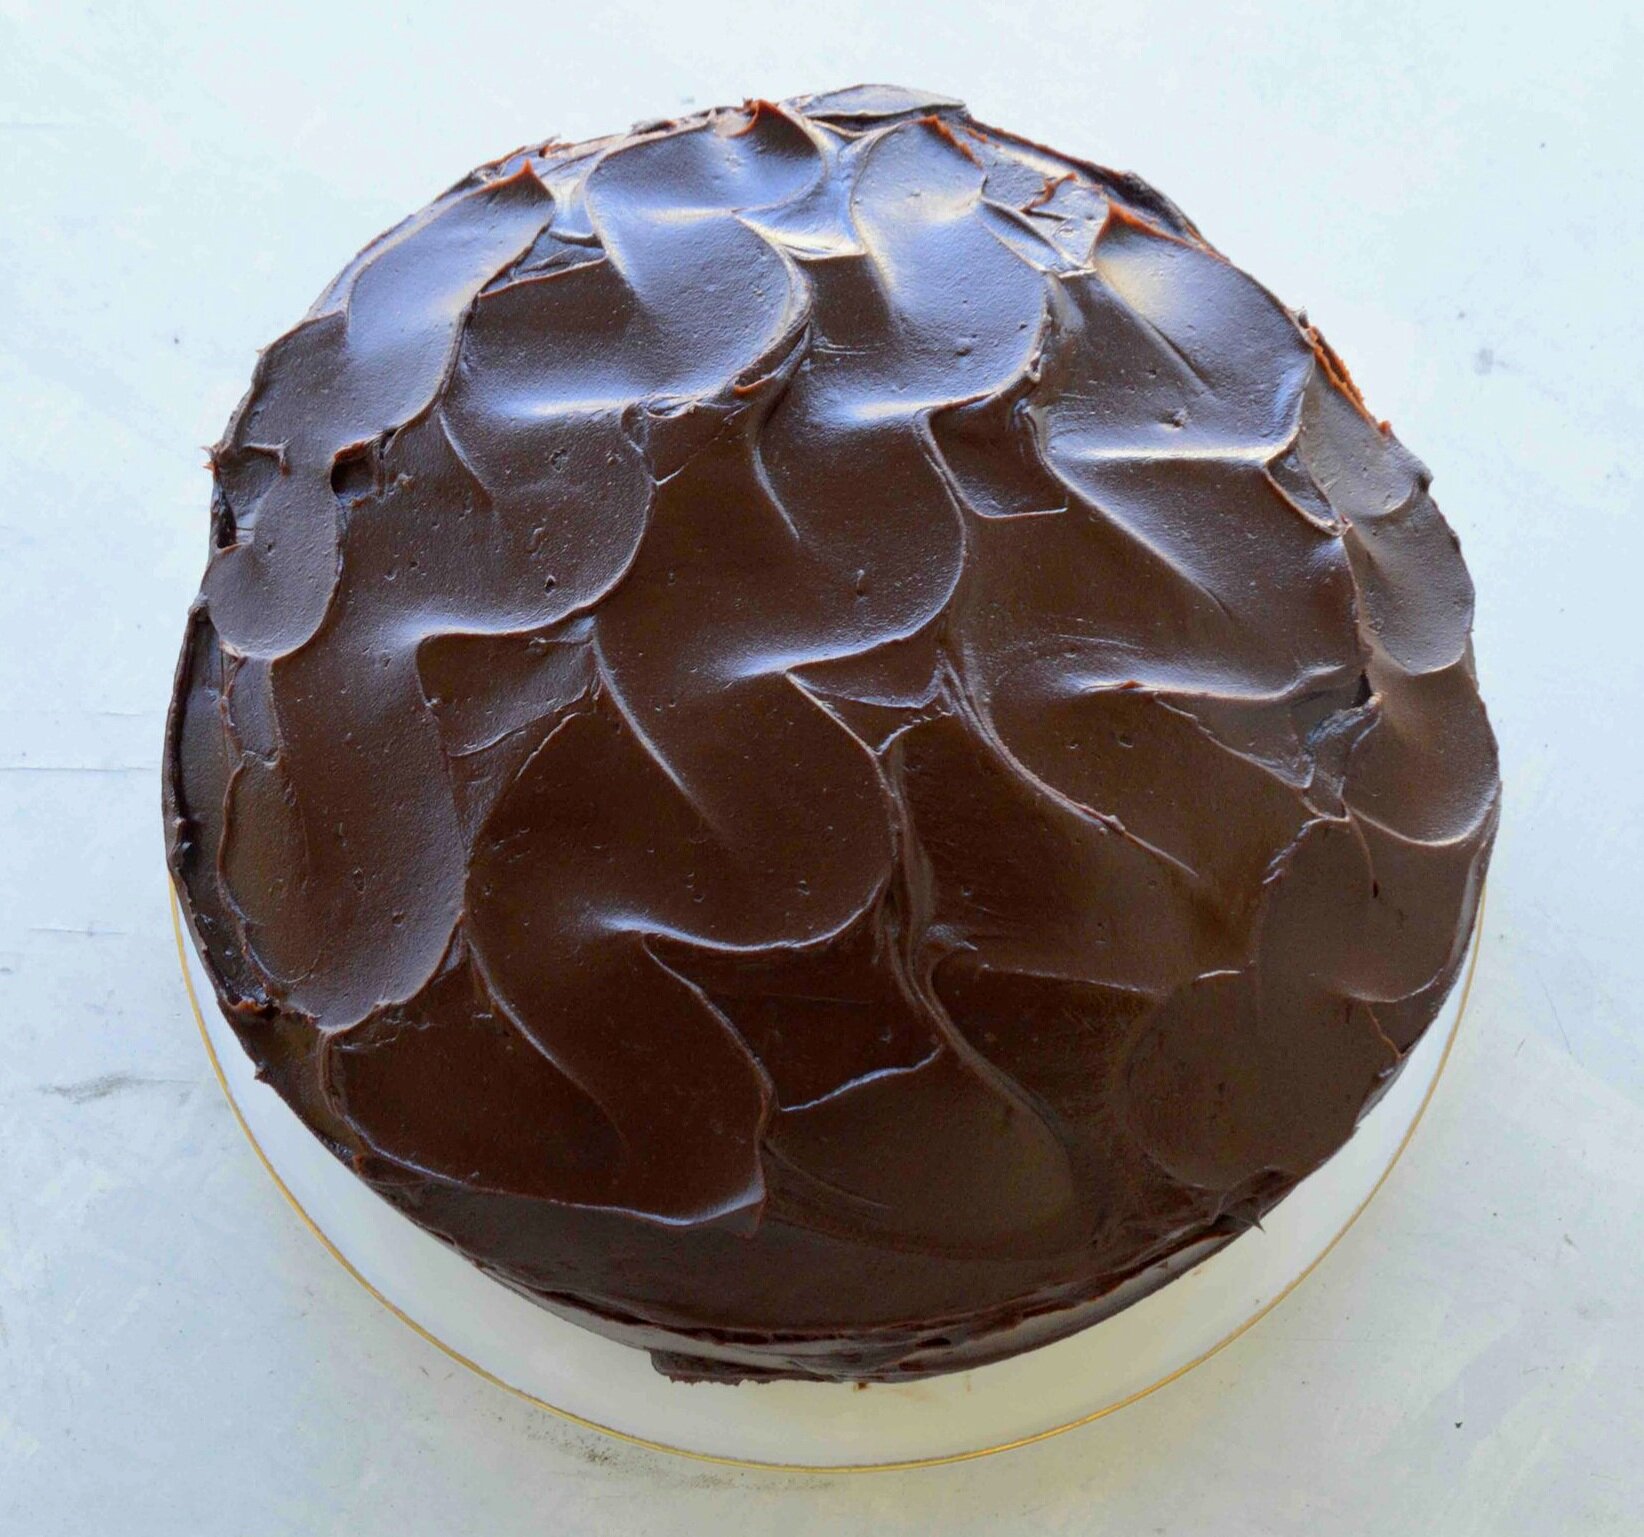
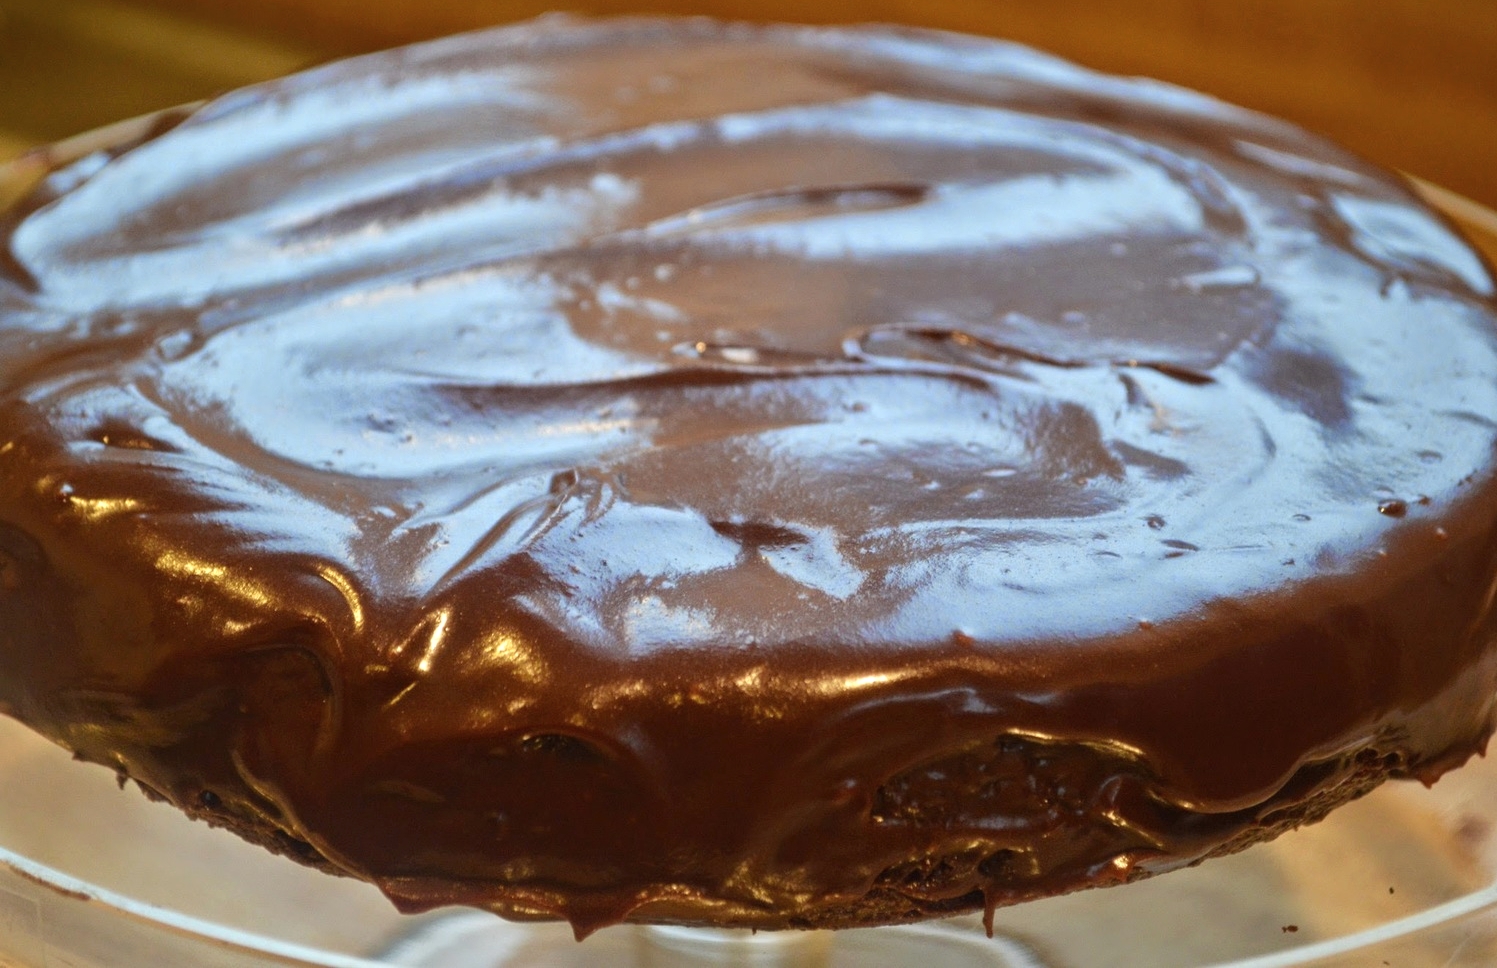
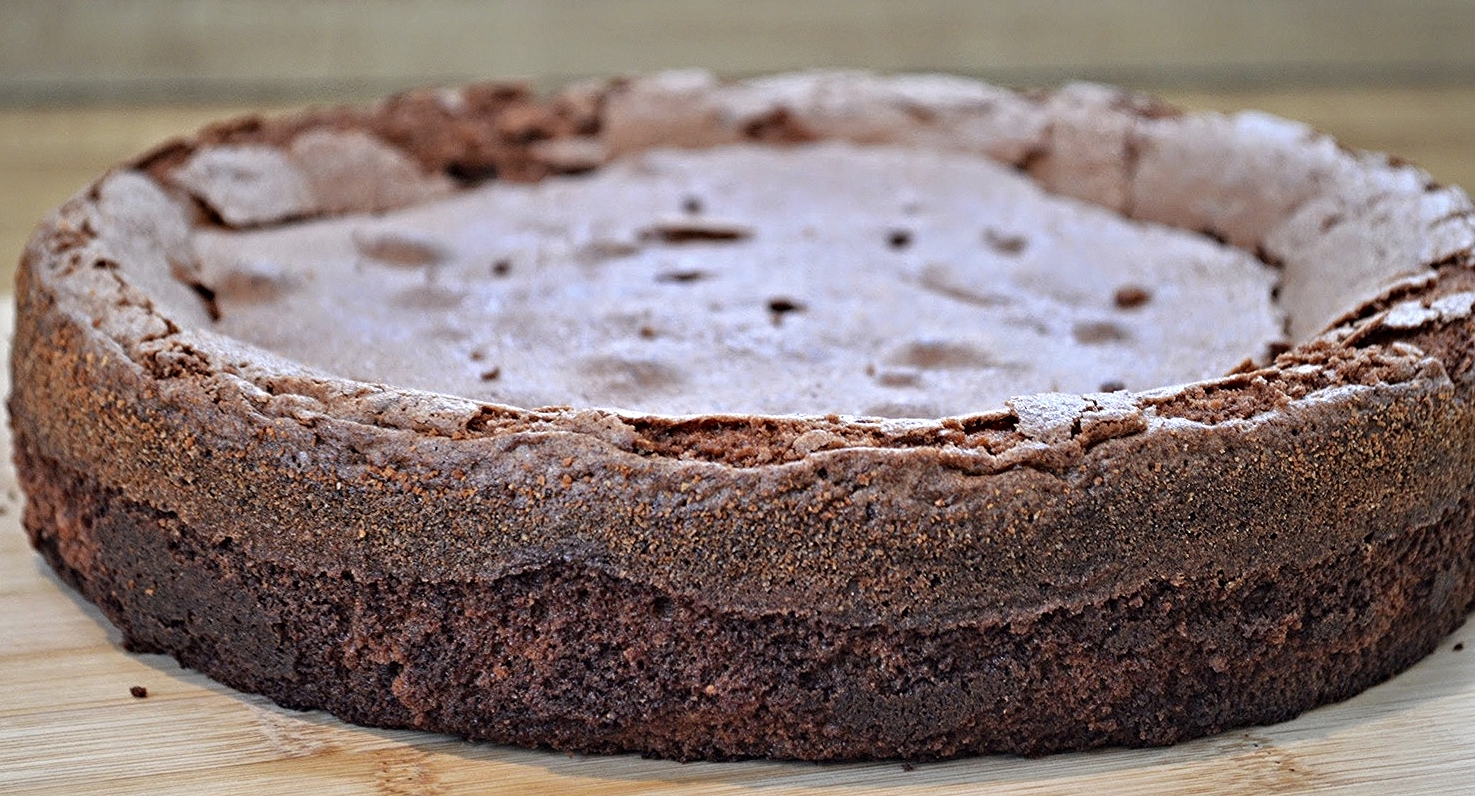
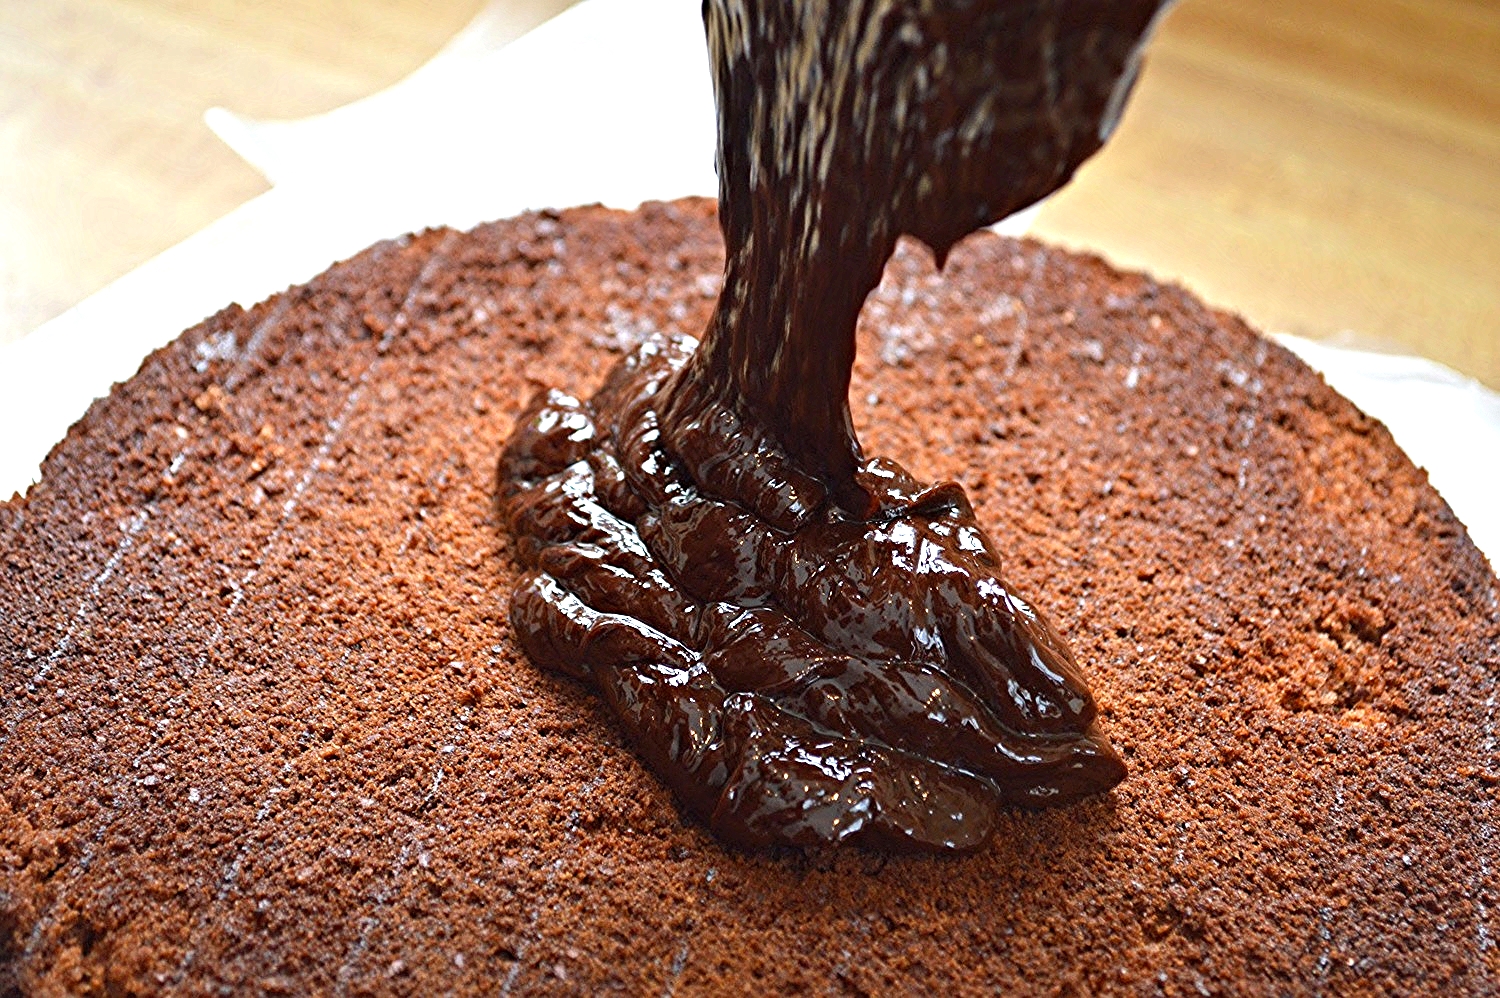
Once the cake cools, the center generally sinks--no problem--you just level it off, flip it over and pour the chocolate icing over it, smoothing it out with a spatula.

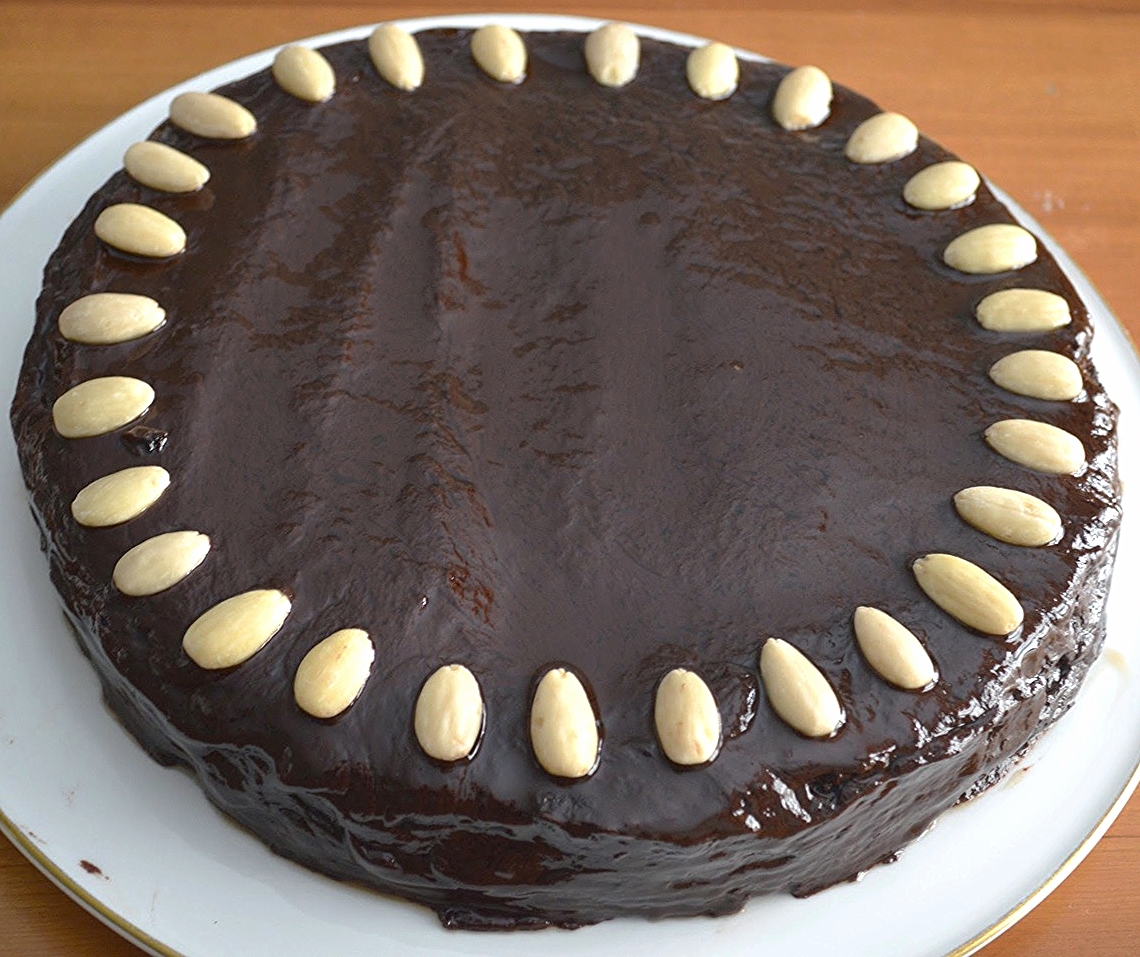
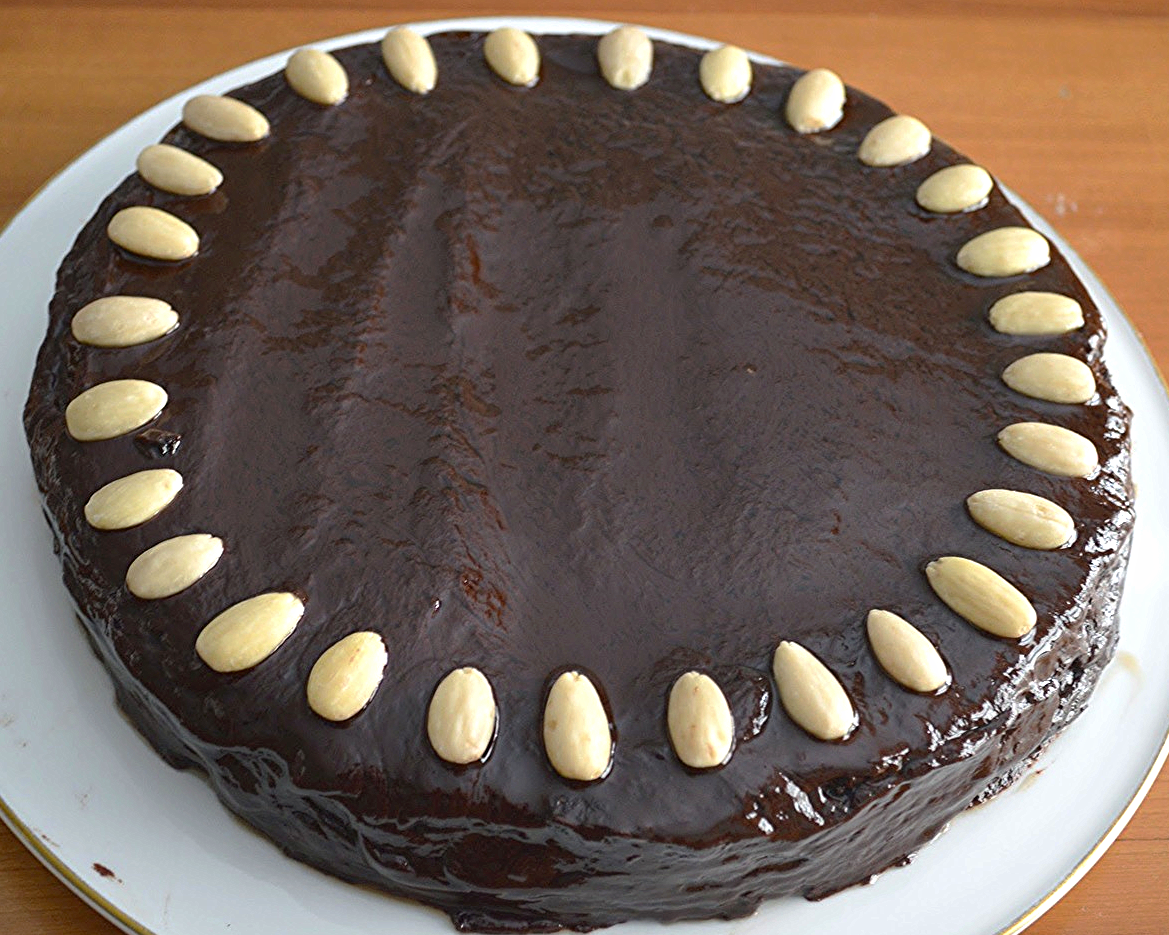
Now, you can absolutely leave it as is or you can decorate with a ring of blanched almonds, as my mom always did.

It's so simple and so pretty and each bite is a decadent mix of rich chocolate ganache-like frosting and moist nutty chocolate cake. I promise you, no one will miss the flour and you will make all your gluten-free eaters, stand up and cheer!!

Queen Mother's Cake
Makes 12 servings
Prep Time: 30 minutes; Bake Time: About 1 hour; Frosting & Assembly: 30-40 minutes (including time for frosting to thicken up)
Ingredients
For the Cake
- 6 ounces almonds (1 1/4 cups), blanched or unblanched
- 6 ounces semisweet or bittersweet chocolate, roughly chopped
- 1 1/2 sticks unsalted butter, at room temperature
- 3/4 cup sugar
- 6 large eggs, separated
- 1/8 teaspoon salt
For the Icing
- 1/2 cup heavy cream
- 1/2 teaspoon instant coffee
- 8 ounces semisweet or bittersweet chocolate, roughly chopped
- whole almonds to decorate (optional)
The Recipe
1. To make the cake: If using a dark metal pan, preheat oven to 350ºF. Otherwise, preheat to 375ºF. Butter a 9 or 10 inch springform pan and line the bottom with a round of wax paper or parchment paper. Butter the paper and dust with fine dry bread crumbs or matzoh meal. Set aside.
2. Grind the nuts very finely in a food processor or use the equivalent amount of store-bought almond meal. I've made it both ways and it works.
3. In the top of a double boiler, over barely simmering water, melt the chocolate. Cover until partially melted and then uncover and stir until completely smooth. Remove from the heat to cool slightly.
4. In the large bowl of an electric mixer, cream the butter. Add the sugar and beat for 2 minutes at medium-high speed. Add the egg yolks, one at a time, beating until well mixed after each addition. On low speed, add the chocolate and beat only to mix. Then add the almonds and beat only to mix, scraping down the sides of the bowl as needed.
5. If you have a second mixing bowl for your stand mixer or a hand held mixer as well, you can leave the batter in the bowl. Otherwise, transfer it to another large bowl and set aside. Wash your bowl and beaters and dry very well.
6. In a large bowl, (either the one you just washed or another one), add the salt to the egg whites and with clean beaters, beat the egg whites on high but only until they hold a definite shape, but are not stiff or dry. Stir a large spoonful of the beaten whites into the chocolate mixture to lighten it a bit and then fold in the rest of the whites in 3 additions.
7. Pour the mixture into the prepared pan and smooth the top, rotating the pan a bit to level the top. Bake for 20 minutes and then lower the oven 25º and bake for another 40-50 minutes. The original recipe calls for 50 minutes but mine was done at 40, so check early. When cake is done, wet a kitchen towel, slightly wring it out, fold it and place it on the counter. Remove cake from the oven and place it directly on the towel. Let it stand for 20 minutes. Then remove the sides of the cake pan and place a wire rack over the top of the cake and invert it. Remove the bottom of the pan and the paper liner. Cover with another rack and invert the cake again and let it stand till completely cool on the wire rack.
8. If the center is sunken in, use a long, thin, sharp knife to make the top level, but be careful because the cake is a bit fragile. Prepare a cake plate, by placing 4 strips of wax paper around the outer edges of the plate, making a big square, to catch the frosting droppings and keep the cake plate neat looking. Set the cake upside down, centered, on top of the 4 strips.
9. To make the icing: In a medium heavy saucepan, scald the cream over medium heat until small bubbles form at the edges. Add the coffee and stir with a whisk to dissolve. Add the chocolate and stir occasionally for about 1 minute. Remove from the heat and transfer the mixture to a bowl to stop it from cooking any further. Let the icing stand for about 15 minutes, stirring every now and then, until it's room temperature and has slightly thickened.
10. Stir the icing gently and pour it over the top of the cake. Use an offset spatula if you have one (a knife can work well too) to smooth the icing over the sides and around the cake. Smooth the top so that it looks evenly spread. Remove the 4 strips of paper carefully and after you've licked off the icing, discard. Serve cake as is or decorate with a ring of blanched almonds. Let cake stand for couple of hours so icing has time to solidify.
11. Cake keeps stored airtight at room temperature for 3-4 days.
Enjoy!
Note: Recipe adapted from Maida Heatter's Book of Great Chocolate Desserts. I used almond meal, cut the coffee in the icing considerably, lowered the oven temperature and substituted bittersweet chocolate for the cake and icing.