Easy Anadama Loaves

I've recently come to the conclusion that I've led a very sheltered life. It's only in the last year that I heard of Anadama bread, let alone tasted it. Feeling sheltered too? Scroll down and I'll enlighten you on the legend of Anadama (sounds like a John Wayne cowboy flick, right?!!)
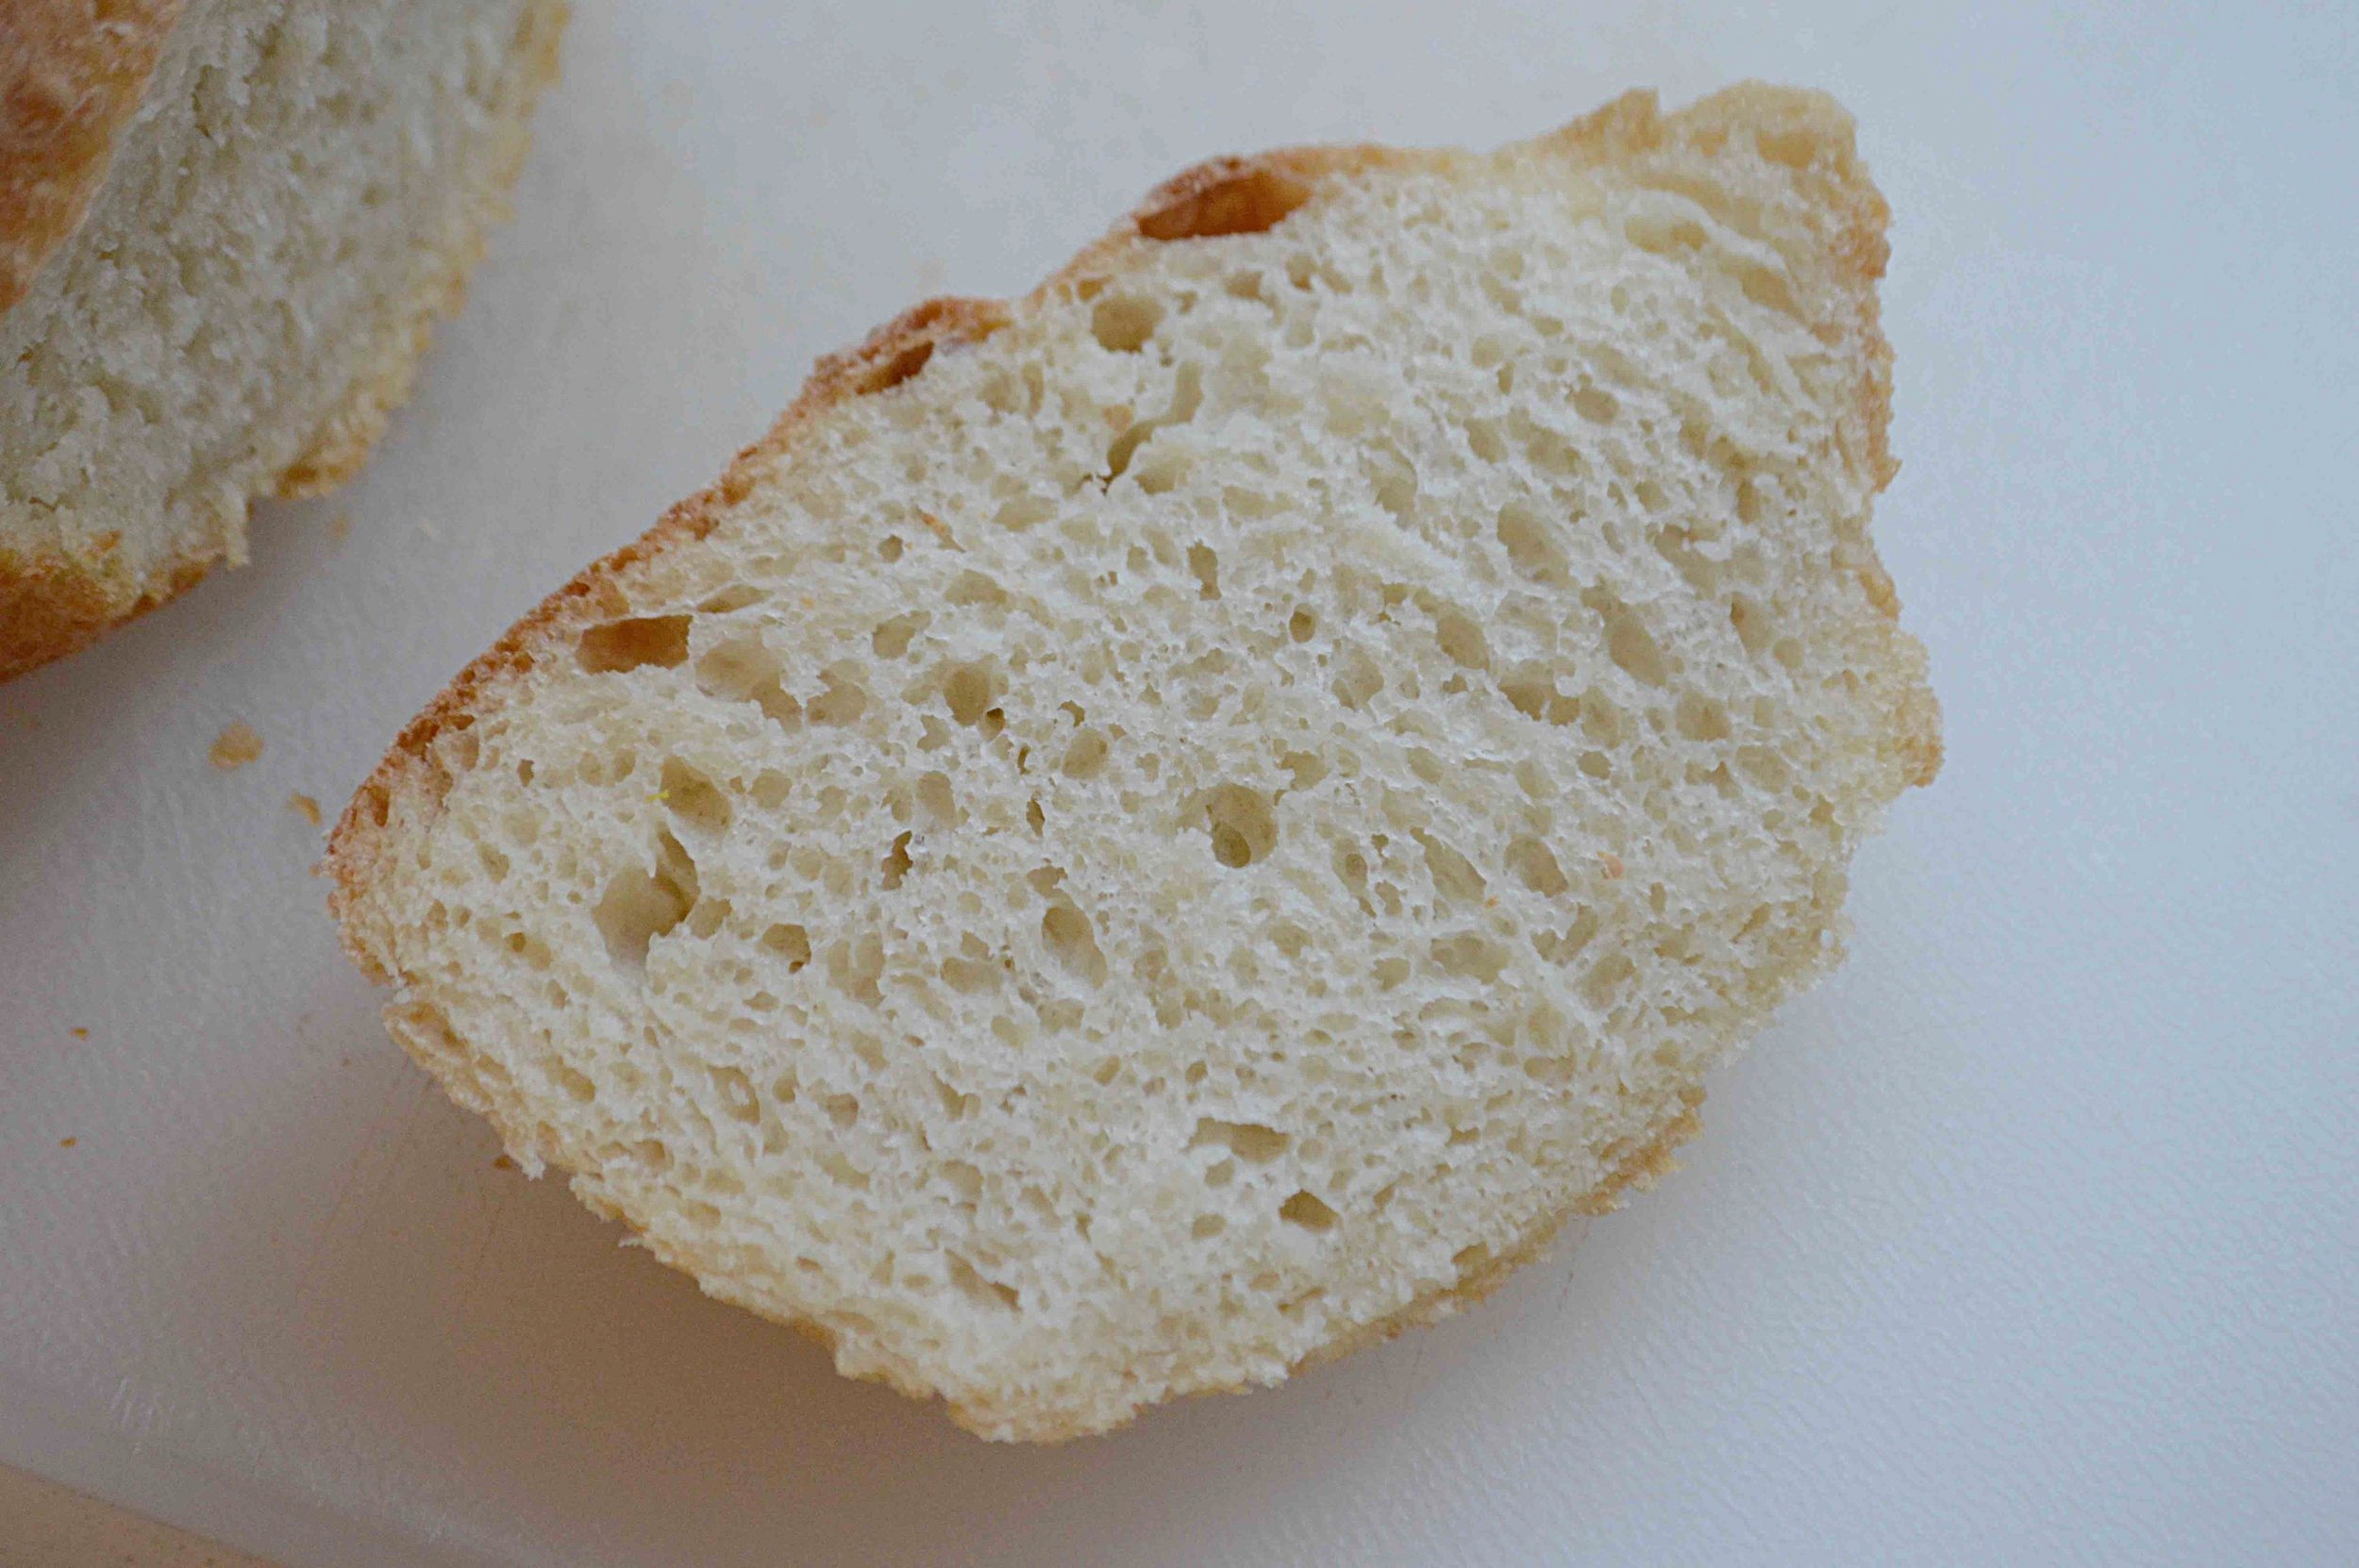
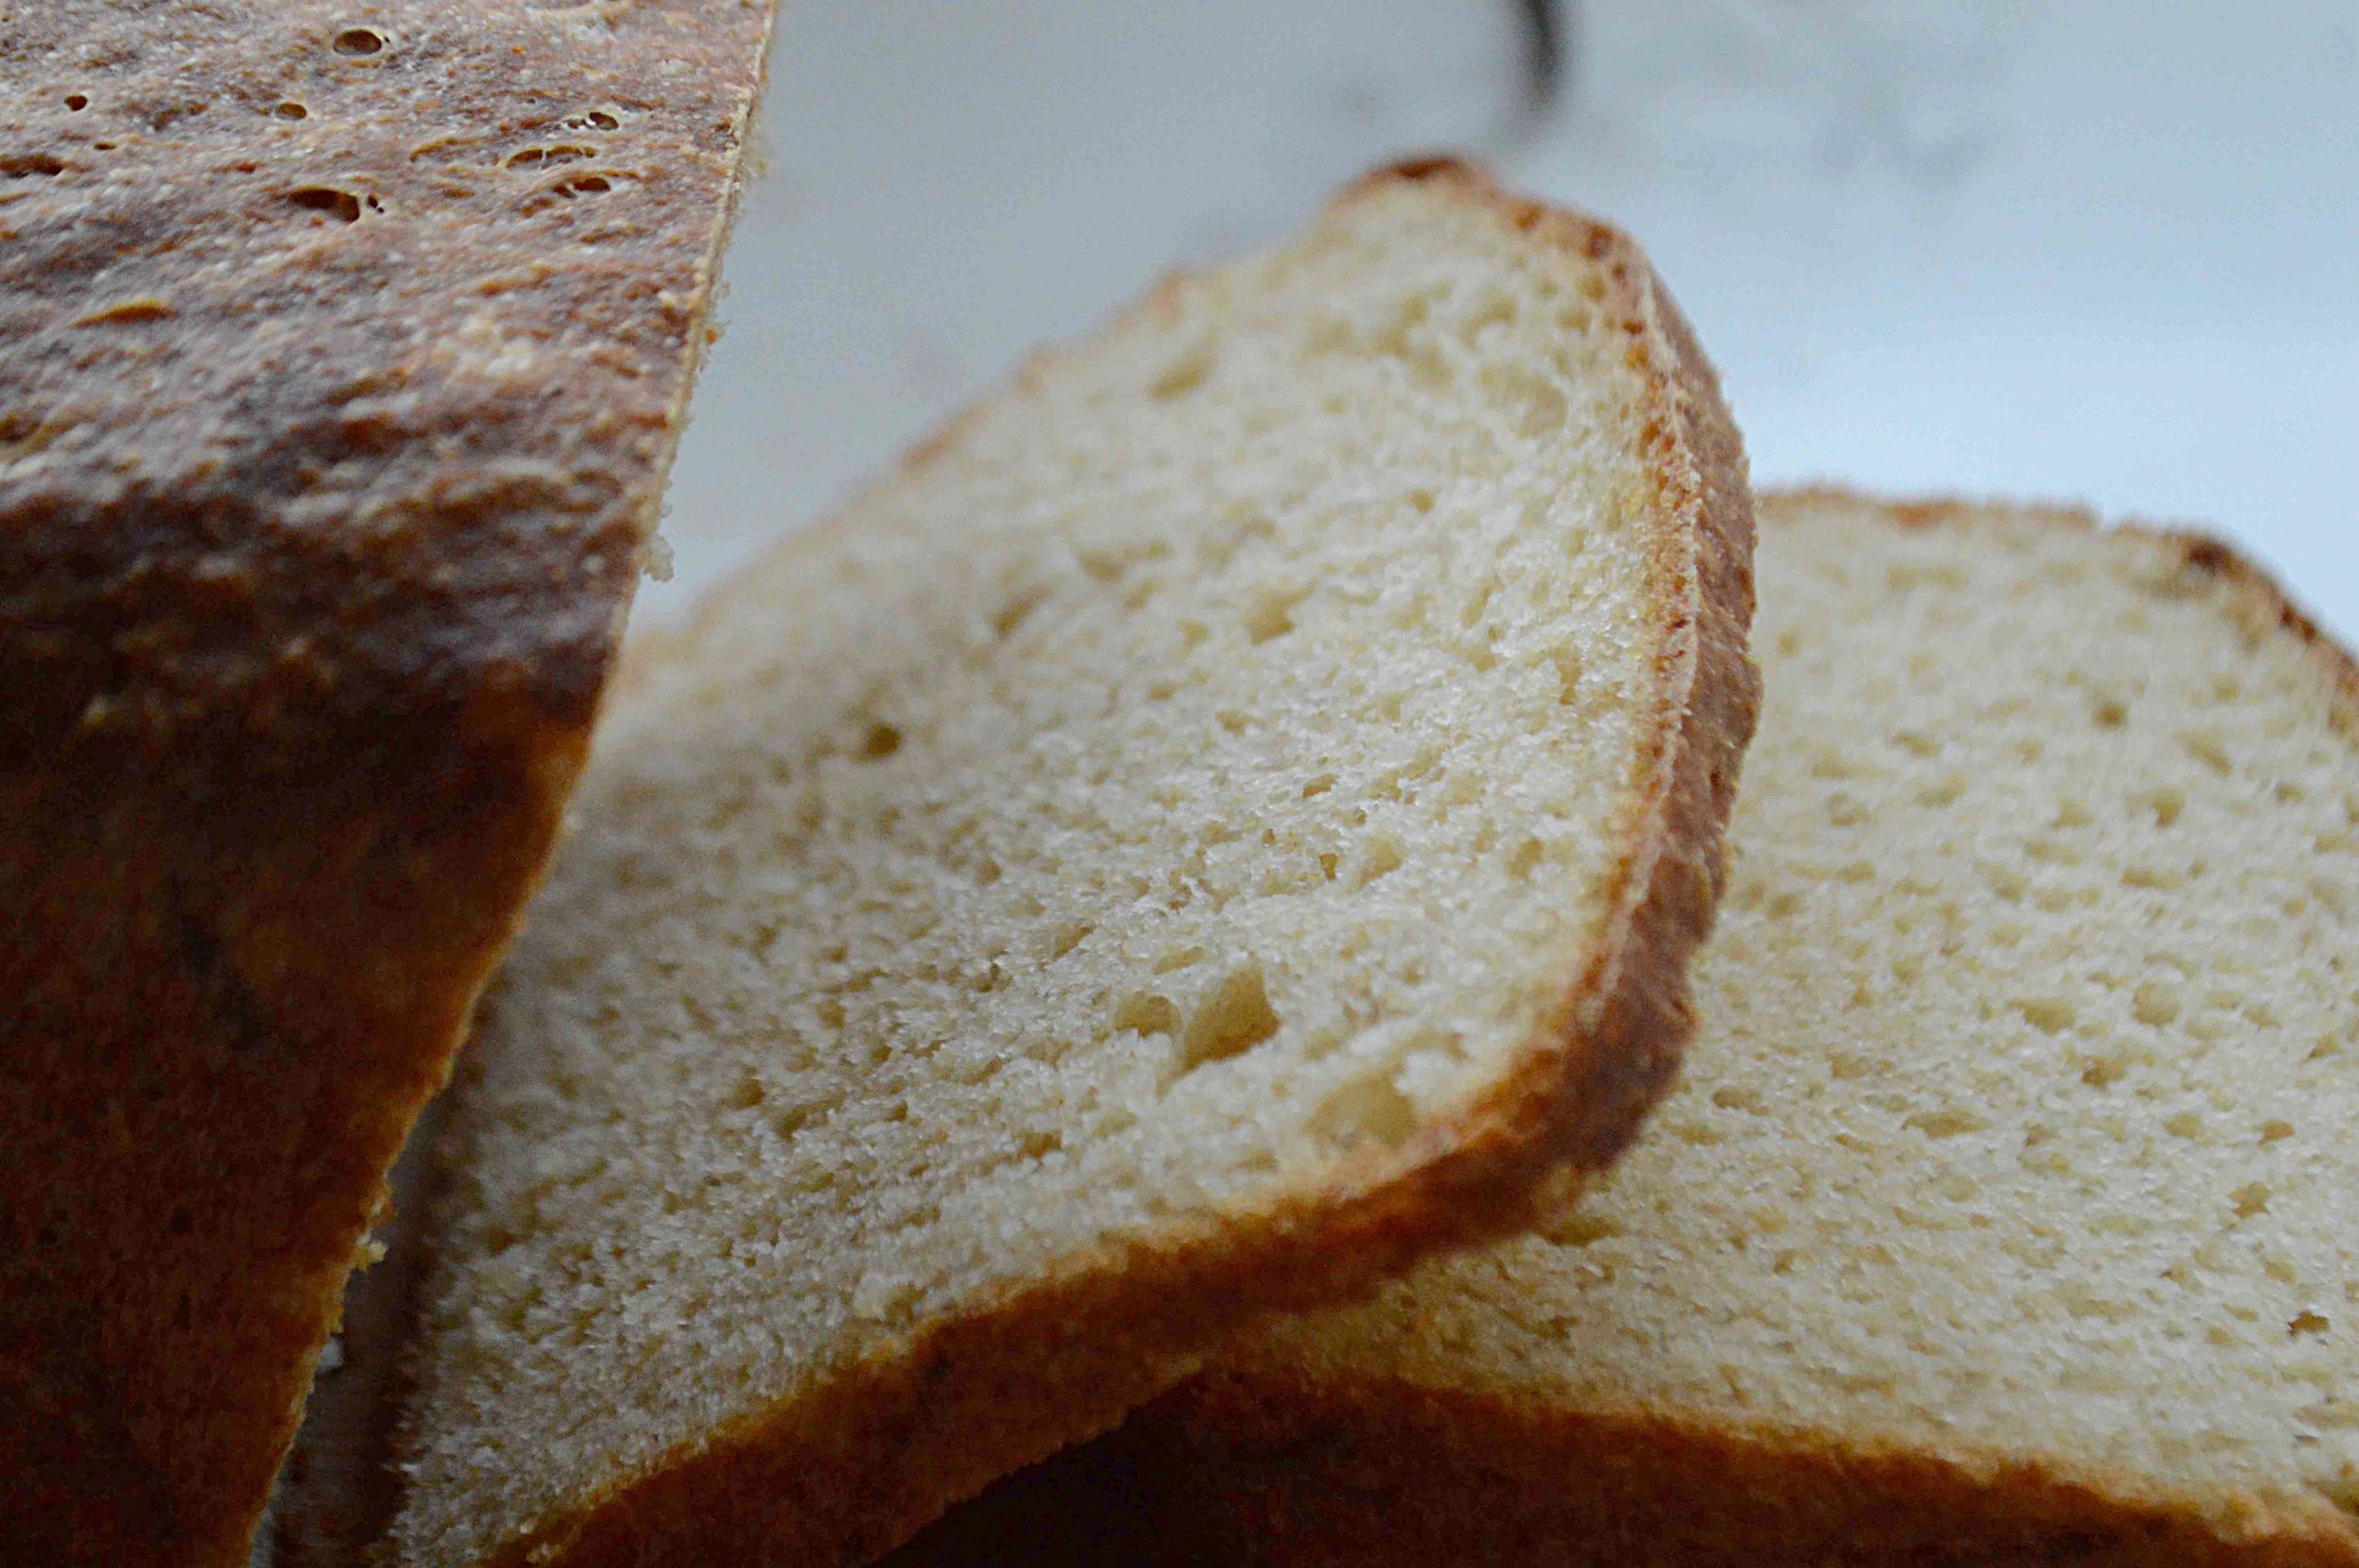
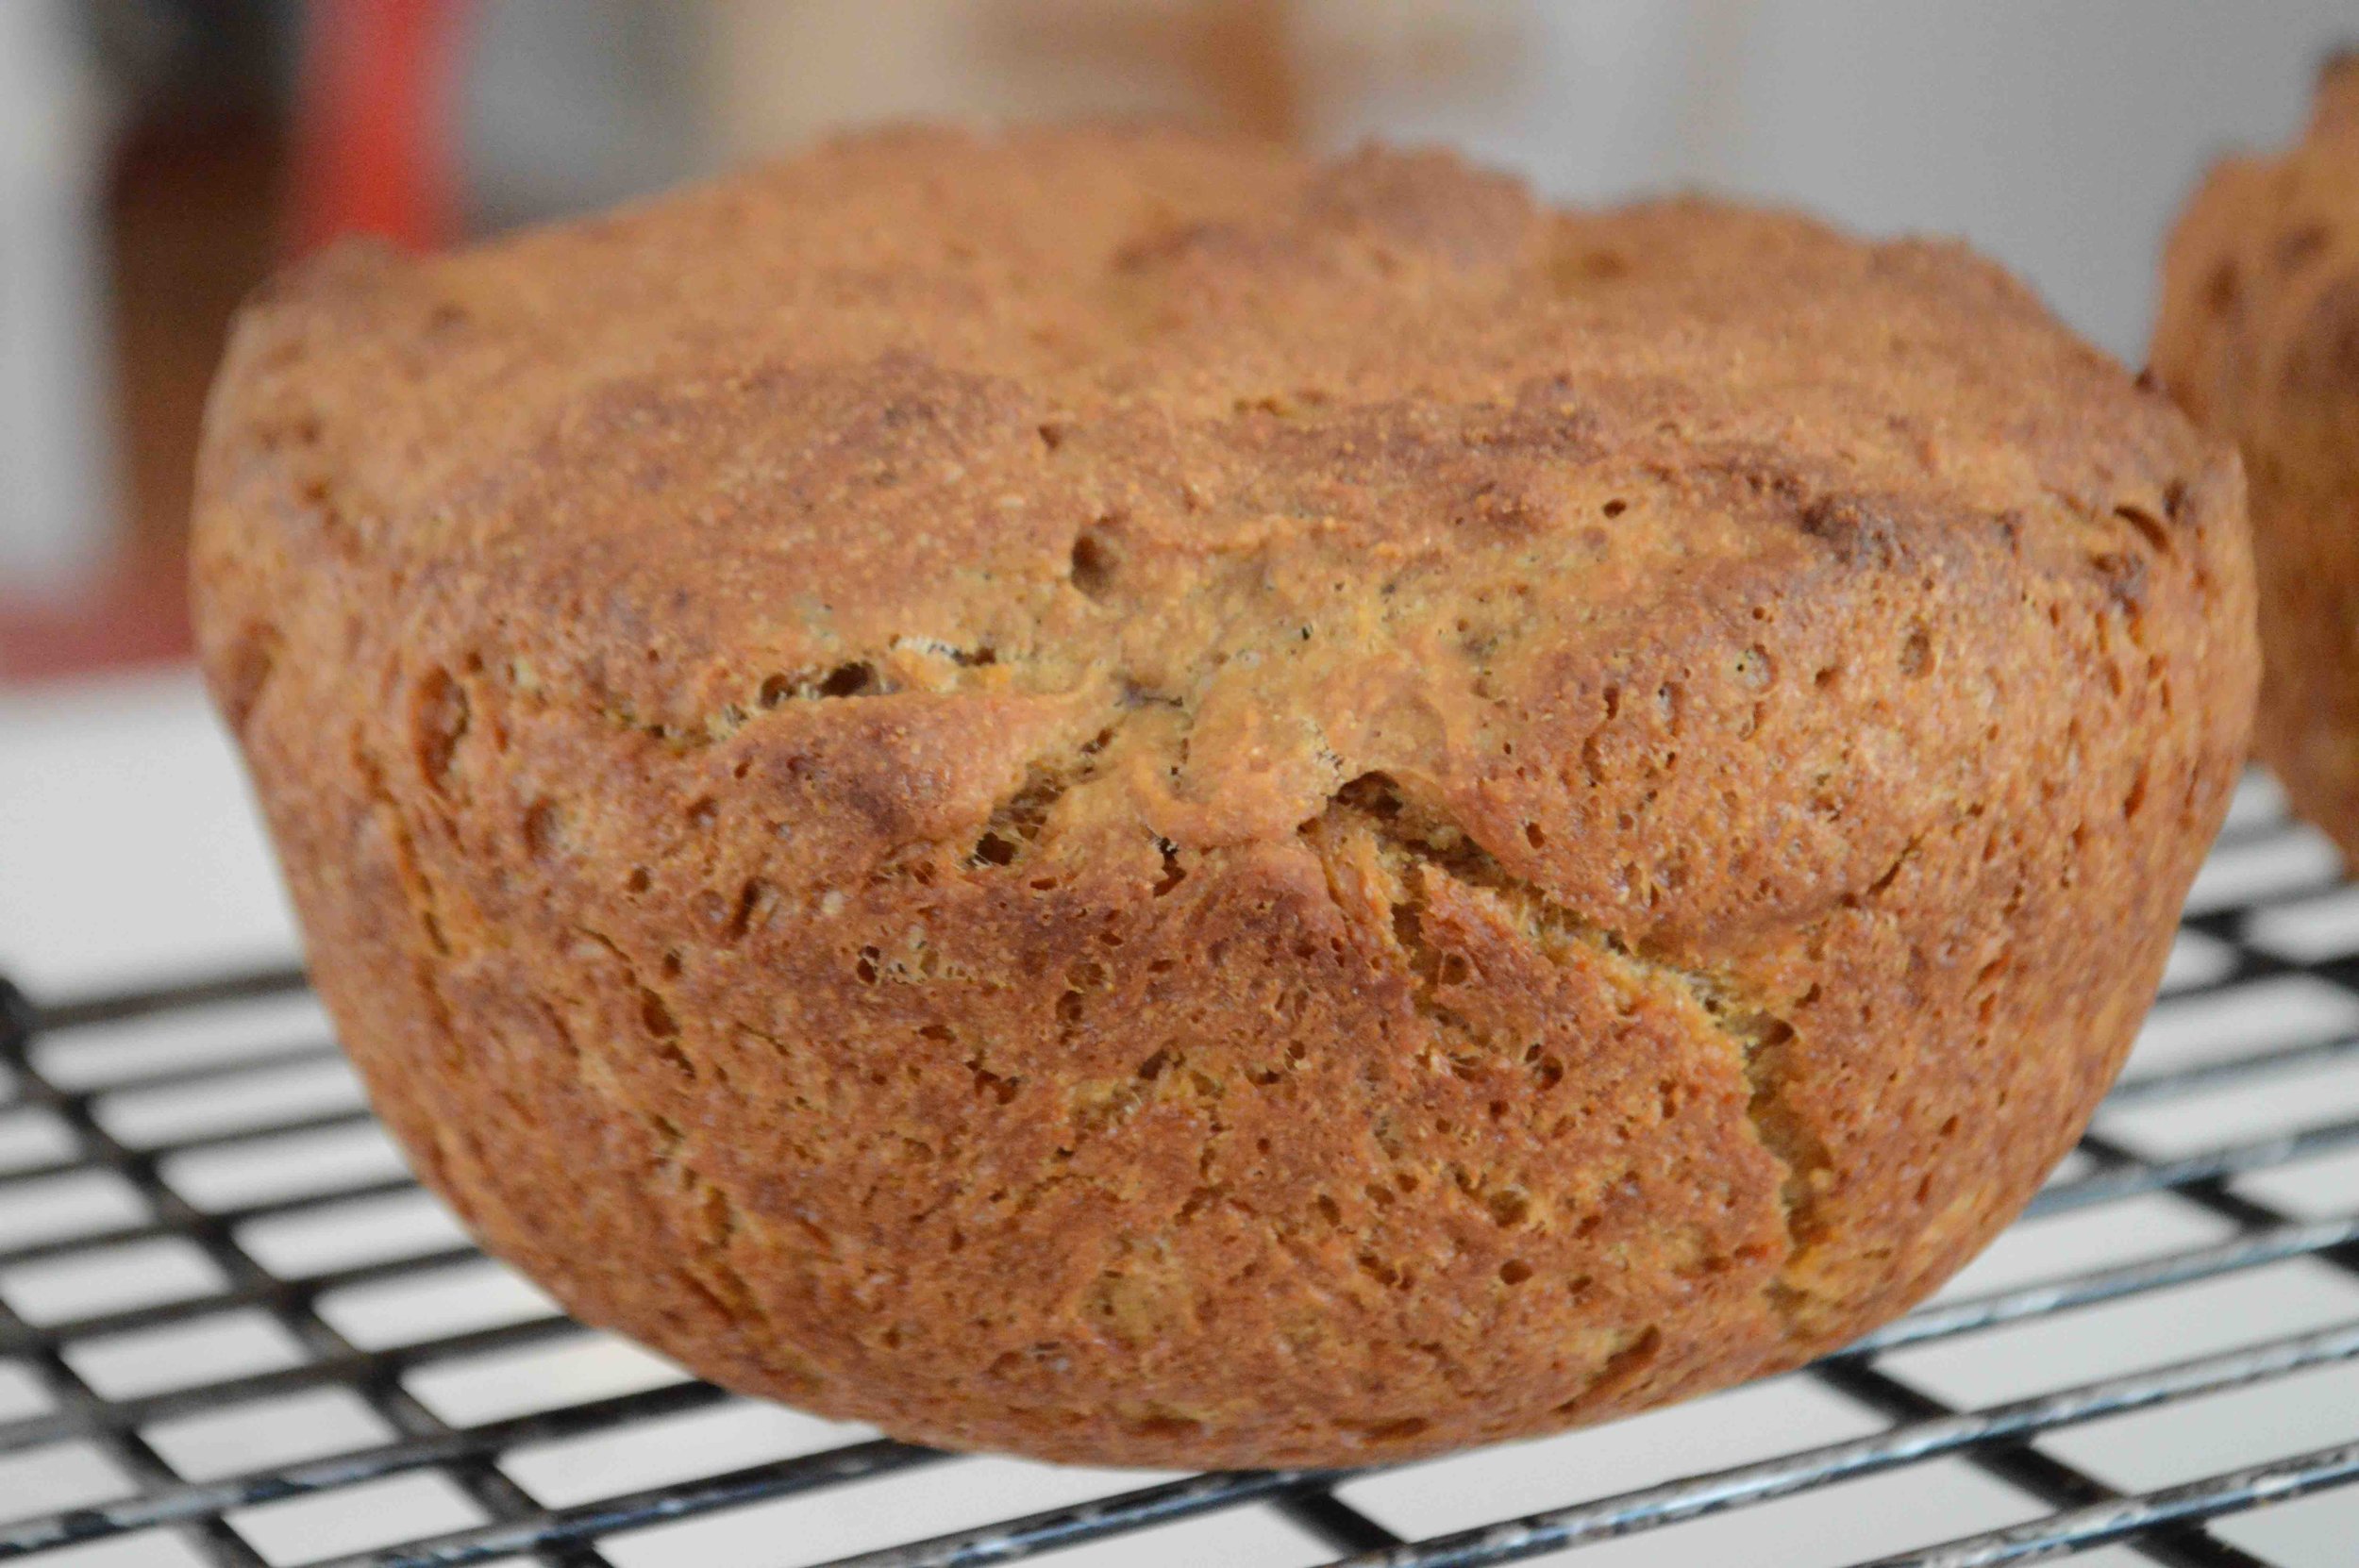
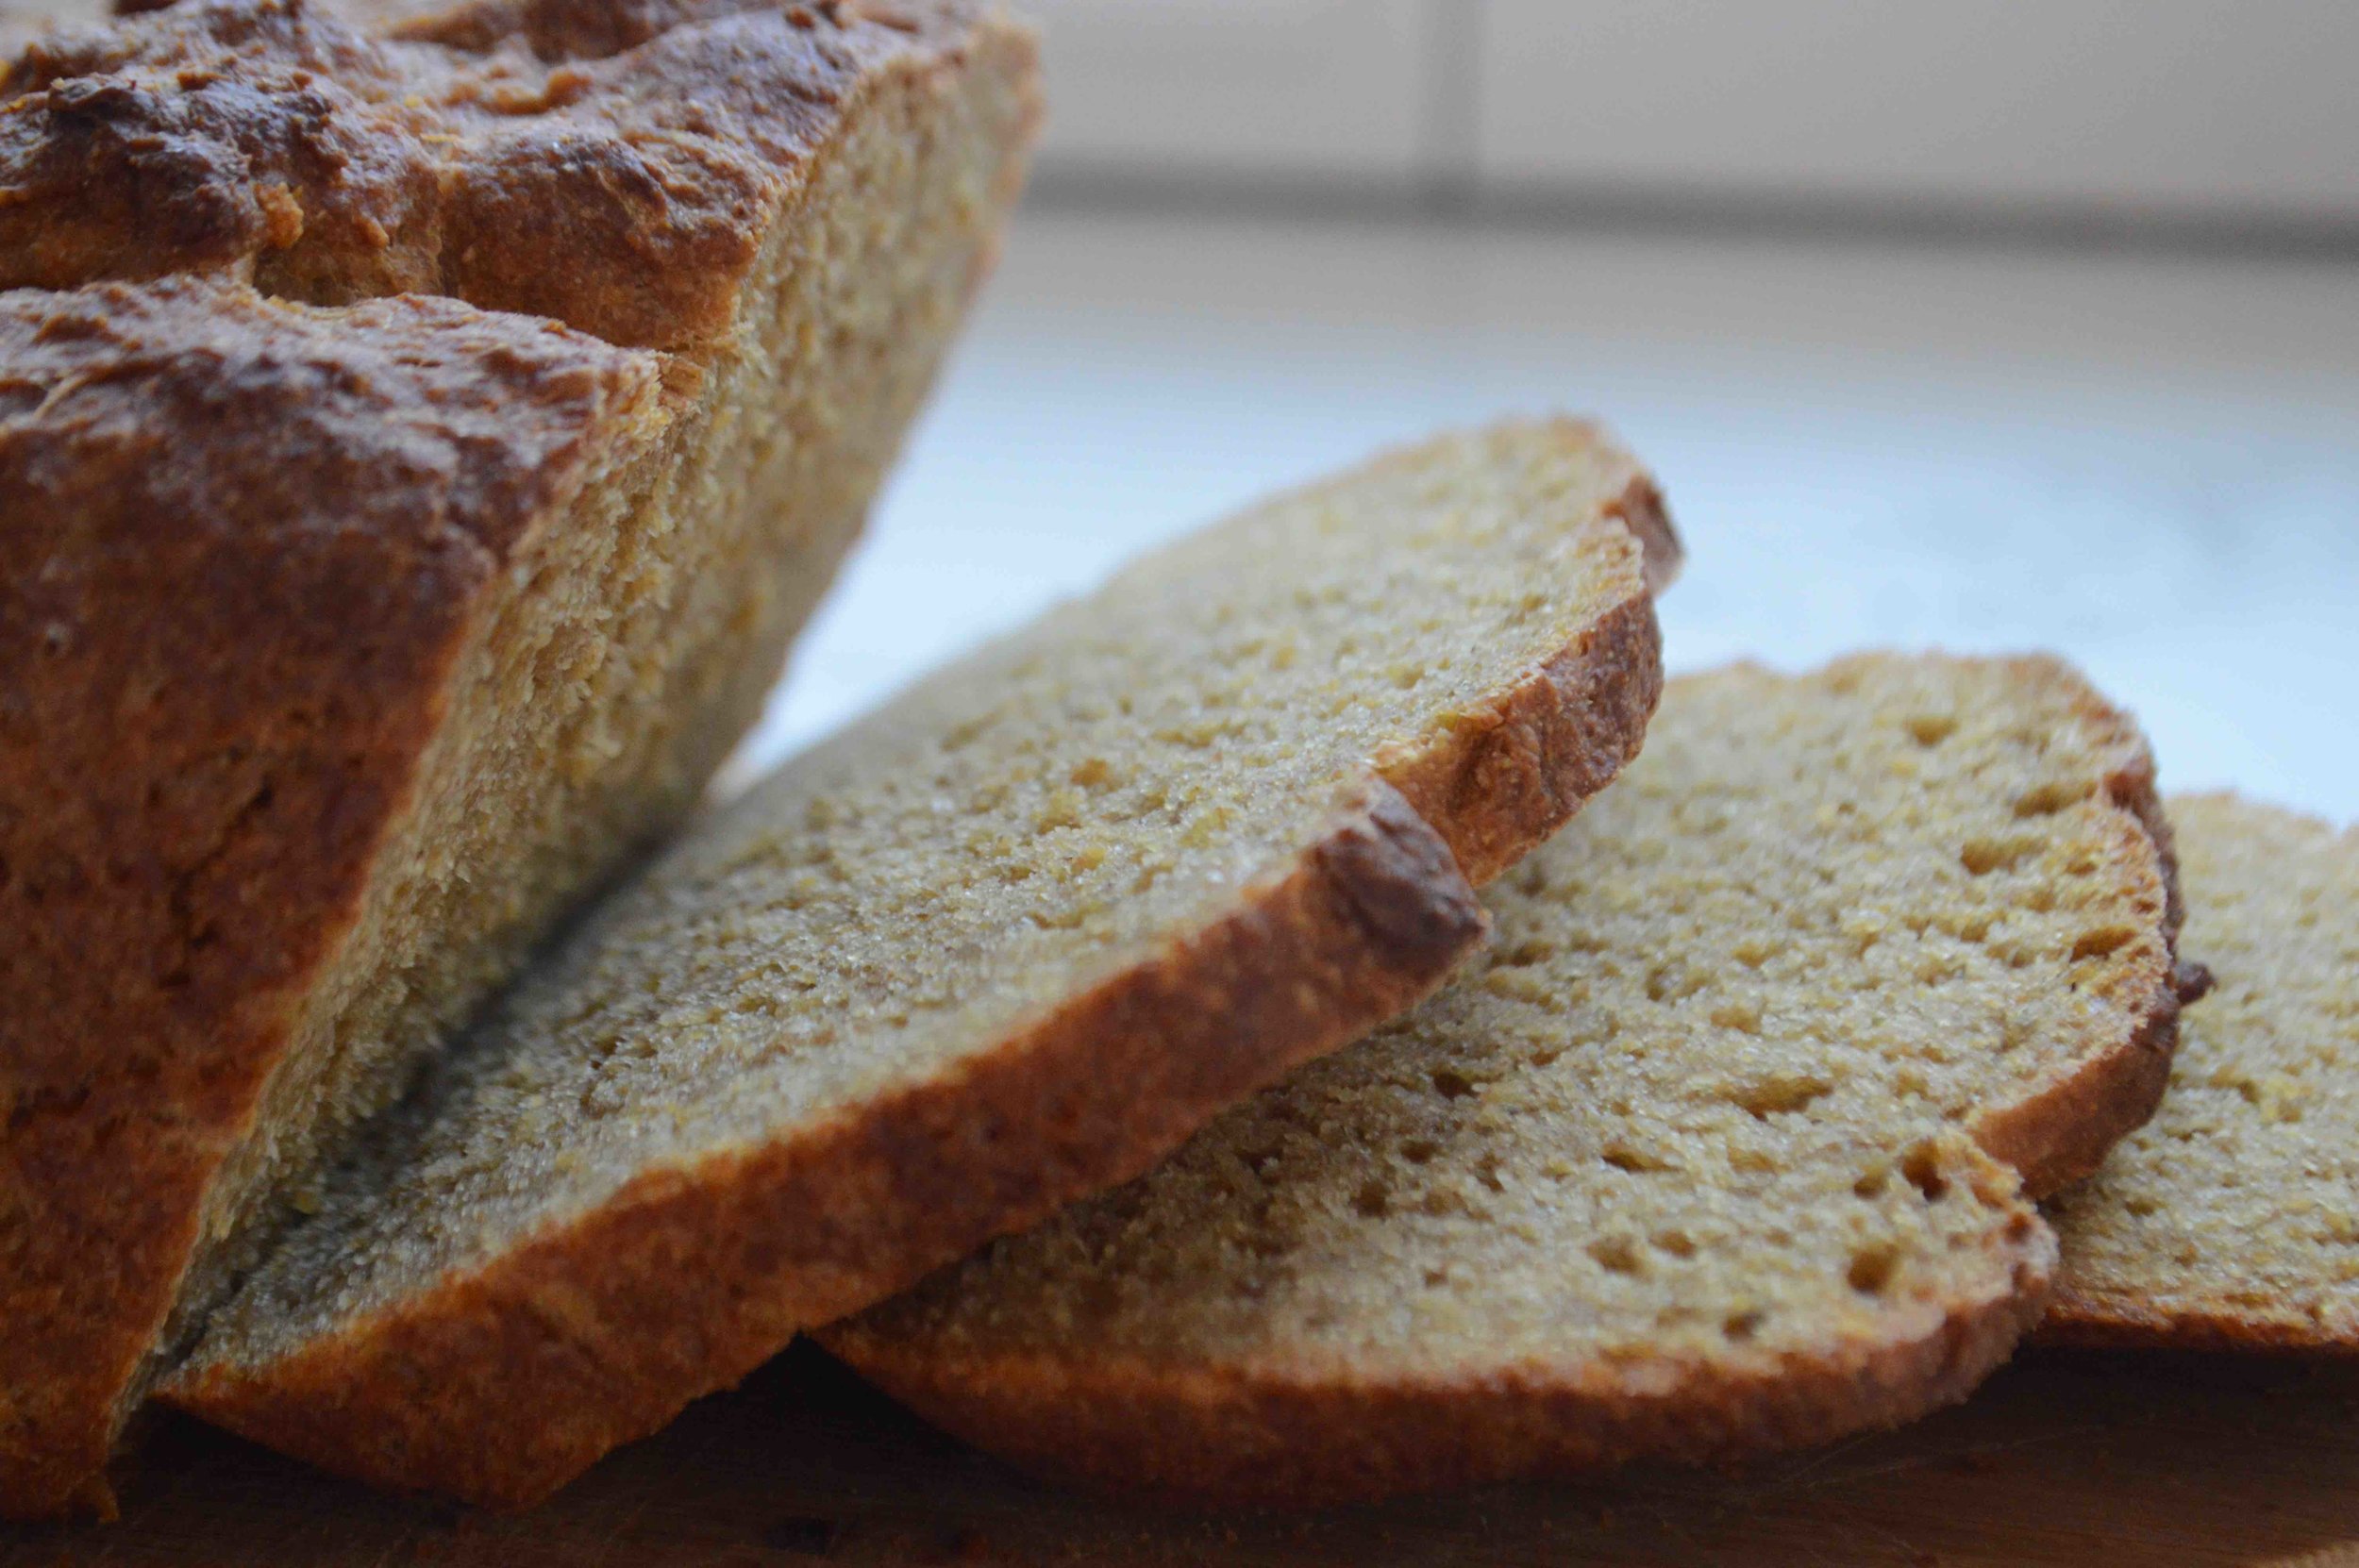
First off, you should know that Anadama bread has been around for a very long time (although when you taste this, I doubt it'll last a day--just my feeble attempt at humor here) but in any case, it's a bread that hails from New England and included cornmeal mush and molasses, both staples at that time. The story goes that a fisherman, whose wife kept serving him cornmeal porridge with molasses after coming home from a hard day at sea, finally got fed up and threw the mixture, along with some flour and yeast, into a pan and baked up a loaf, all the while cursing his culinarily-challenged wife, "Anna, damn her!" Hence the name. Poor Anna! But thanks to her we have this wonderful caramel-colored bread that's hearty without being heavy, slightly sweet and with a wonderfully chewy, crunchy crust. This version includes cornmeal as well as white and whole wheat flour so it has a more complex, almost nutty texture.
Like the other no-knead, instant yeast breads I've shared with you (No-Fuss Honey Whole Wheat Bread, Everyday Brioche and this Peasant Bread) Anadama Bread comes together in a snap and with virtually no hands-on time. And it will truly make your house smell divine as it bakes. it's great on it's own, toasted with butter and jam or as a sandwich. It's been popping up quite a bit in my bread rotation (if you're new to the blog, I've been baking all our bread for about a year now and I'm still sane, I think) and no one seems to be complaining! Try it today and give Anna a break--no cursing the poor thing out!!
Easy Anadama Loaves
Makes 2 loaves
Prep Time: A couple of hours of rising time with only about 10 minutes of hands-on work; Bake Time: 45 minutes*
Ingredients
- 1/2 cup (93 grams) medium-grind cornmeal (I really like Bob's Red Mill for this)
- 1 cup boiling water
- 2 tablespoons unsalted butter, plus more softened butter for greasing bowls
- 1/4 cup molasses (depending on what brand I use the loaves turn out lighter or darker--no worries)
- 1 cup lukewarm water, made by combining ¼ cup boiling water with ¾ cup cold water
- 2 ¼ cups (288 grams) unbleached, all-purpose flour
- 1 cup (128 grams) whole wheat flour
- 2 teaspoons kosher salt
- 2 ¼ teaspoons instant yeast
The Recipe
1. Place cornmeal in a medium bowl and pour boiling water over it. Add in 2 tablespoons butter and molasses and use a whisk to combine, trying to eliminate any lumps. Let mixture sit for 30 minutes. Then pour in the lukewarm water and whisk to combine.
2. While the cornmeal mixture is sitting, place the white and wheat flours, the salt and yeast in a large bowl and whisk together well. When cornmeal mixture is ready, add it in and use a R ubber spatula to mix everything together, until all of the liquid is absorbed and you have one sticky ball of dough. You don't want to see any unmixed flour. Cover the bowl with a damp kitchen towel and place in a warm spot to rise for 1- 1 ½ hours, until doubled in bulk. If your kitchen is cold, you can turn the oven on to 250º F and place the bowl near it.
3. Make sure oven rack is centered and preheat to 375º F. Generously butter two 1-quart oven-safe Pyrex bowls. Uncover the dough and use two forks to deflate the dough by pulling it in from the sides toward the center and turning the bowl ¼ turns until you are left with a rough ball of dough.
4. Now take both forks and part the dough down the center, so you have 2 halves. Use the forks to scoop up one half and plop it into the prepared bowl. Repeat with the other half. Set the bowls back in the warm area, uncovered, to rise for 20-25 minutes, until dough just crowns the tops of the bowls. Sometimes it takes a little longer to fully rise--it's ok.
5. Bake the dough for about 45 minutes until golden brown--sometimes I go a bit longer to get a darker crust with this one and to insure it really cooks throughout. Turn loaves out onto a wire rack. If bottoms don't look deep brown, return to oven for another 10 minutes or so. Let cool for at least 15 minutes before slicing. Bread lasts well wrapped at room temperature for about a week.
*I've made this bread many times and occasionally it bakes up with a thin gummy layer at the bottom. I think it's because it's a heavier dough, what with both the whole wheat flour and cornmeal, in addition to the white flour. Three things that help with this are to use a scale to weigh the flour (measuring cups and the techniques used to fill them vary widely and it seems to matter with this bread in particular), let the dough rise a little longer than usual, especially the second rise so that the dough really crowns the bowl and finally when you turn the loaves out of the bowl, if the bottoms aren't a deep brown, you can place them upside down on a baking sheet and cook them for another 15 minutes or until the bottoms are browned. The dough is very forgiving!
Enjoy!
Note: Recipe adapted from Bread Toast Crumbs by Alexandra Stafford.