
Dark Chocolate Digestive Biscuits
Let’s go on a little trip across the pond, shall we? Ok, sure it’s virtual like everything else these days, but after you’ve baked up a batch of these addictively delicious Dark Chocolate Digestive Biscuits, I promise you’ll feel like a proper Brit. You might even find yourself “fancying a cuppa”!!

A lifetime ago my husband and I took a driving trip around the UK and discovered the joys of Cornwall, Wales, the Lake District, Scotland and digestive biscuits!! So what actually is a digestive biscuit you may be asking? And does it actually help with digestion?
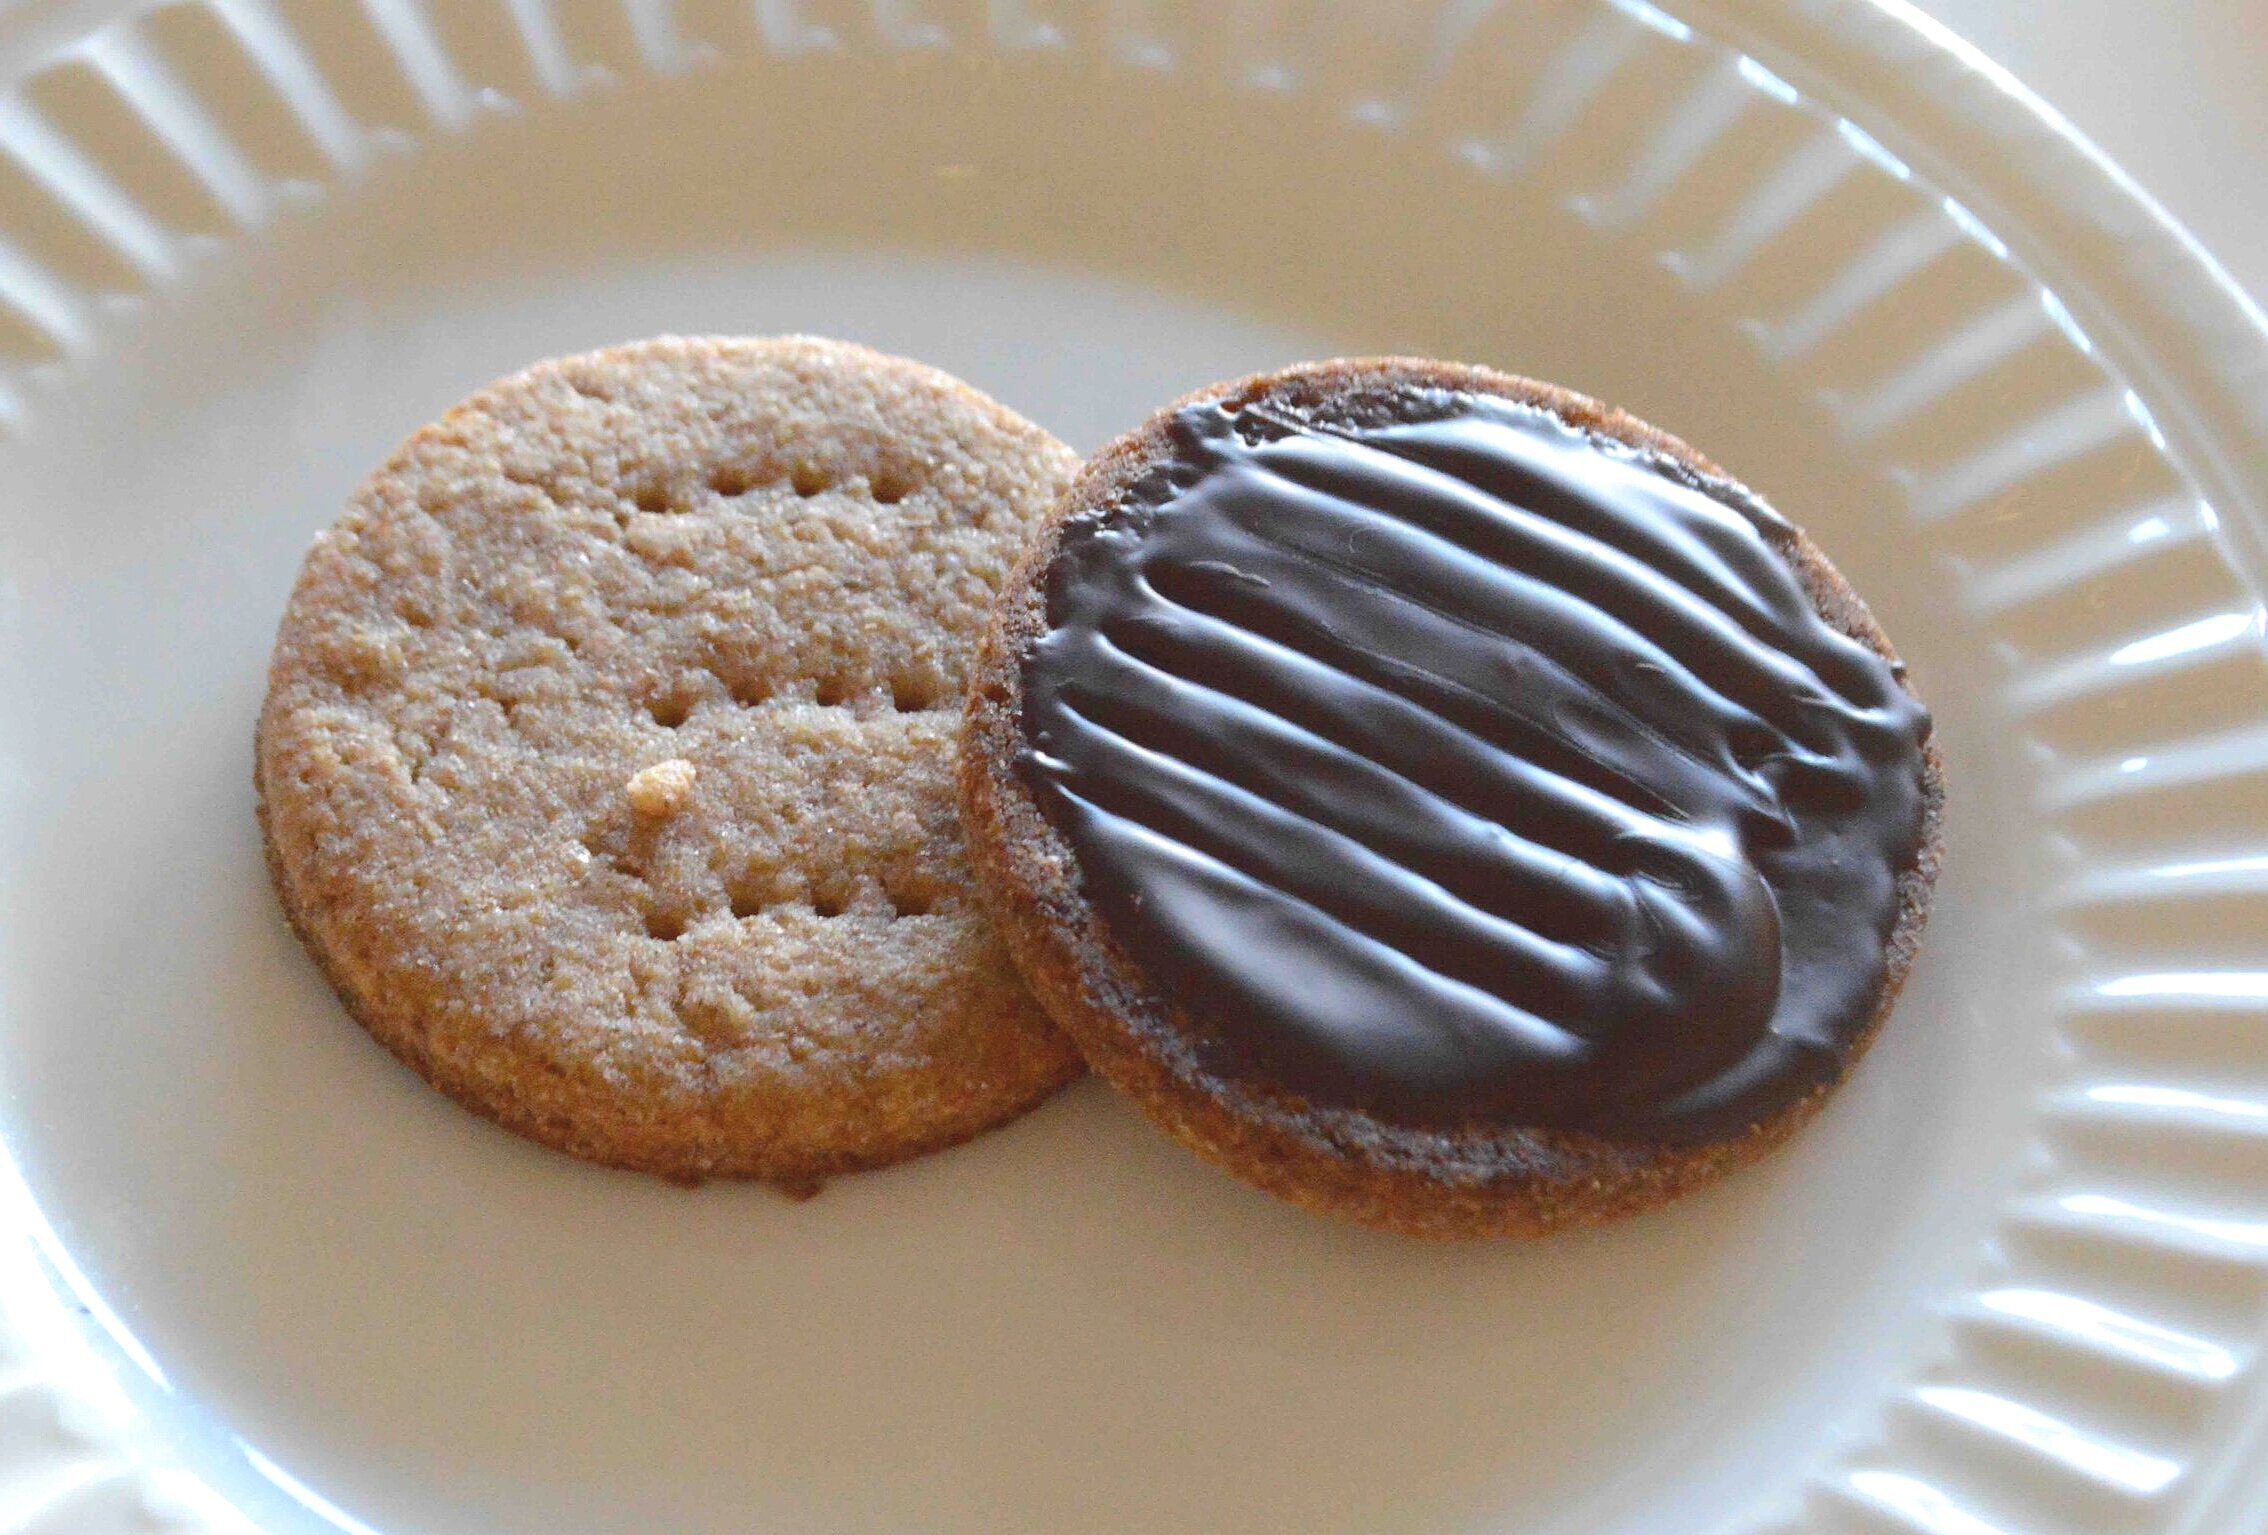
Basically a digestive biscuit is a not-too-sweet wholewheat shortbread-like cookie that goes amazingly well with a cup of steaming tea since it holds its shape when dunked. They come plain, or coated with milk or dark chocolate and they’re extremely popular in England—kind of like how graham crackers are here.
As far as being good for the digestion, the original cookies were made with baking soda which was thought to help with heartburn, but really I think it was just an ingenious piece of marketing. This version only uses baking powder, so while I can’t claim that they will help with any tummy problems, I can guarantee that they will do wonders for your mental health!! It’s impossible to be unhappy when you bite into one!

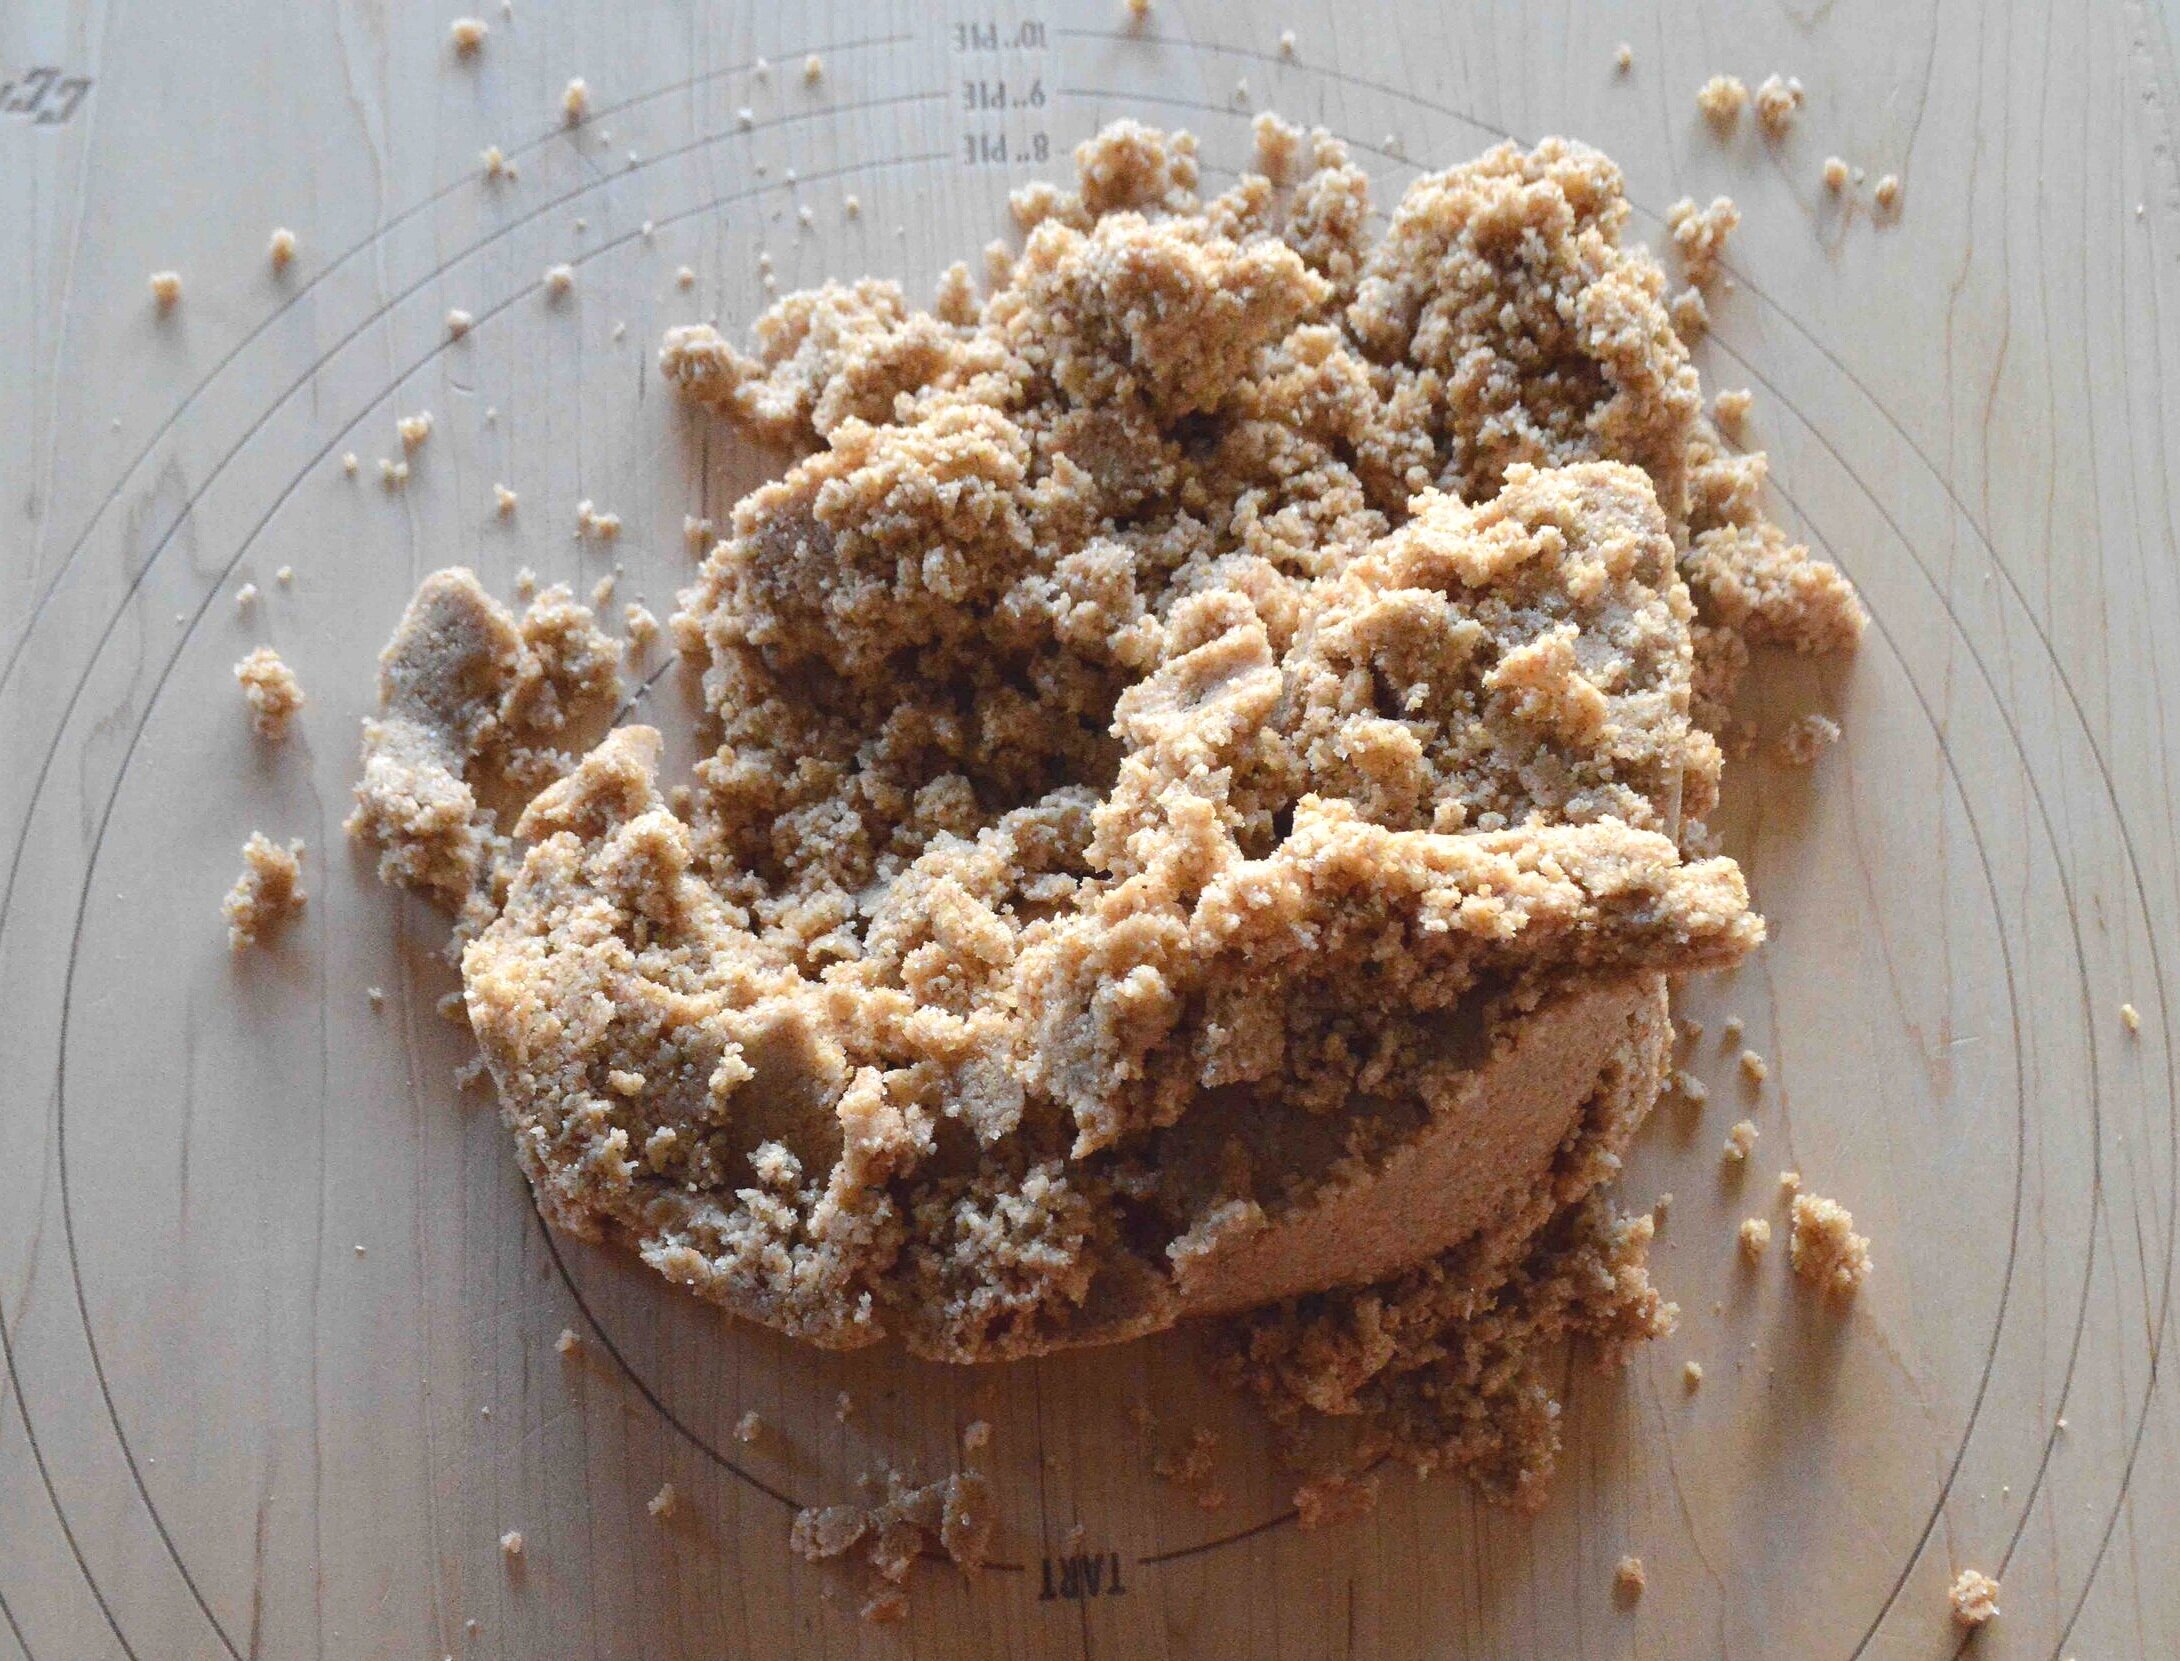
The dough, which consists of whole wheat flour, wheat germ, butter, sugar, salt and the aforementioned baking powder, comes together fairly quickly and easily in a food processor.
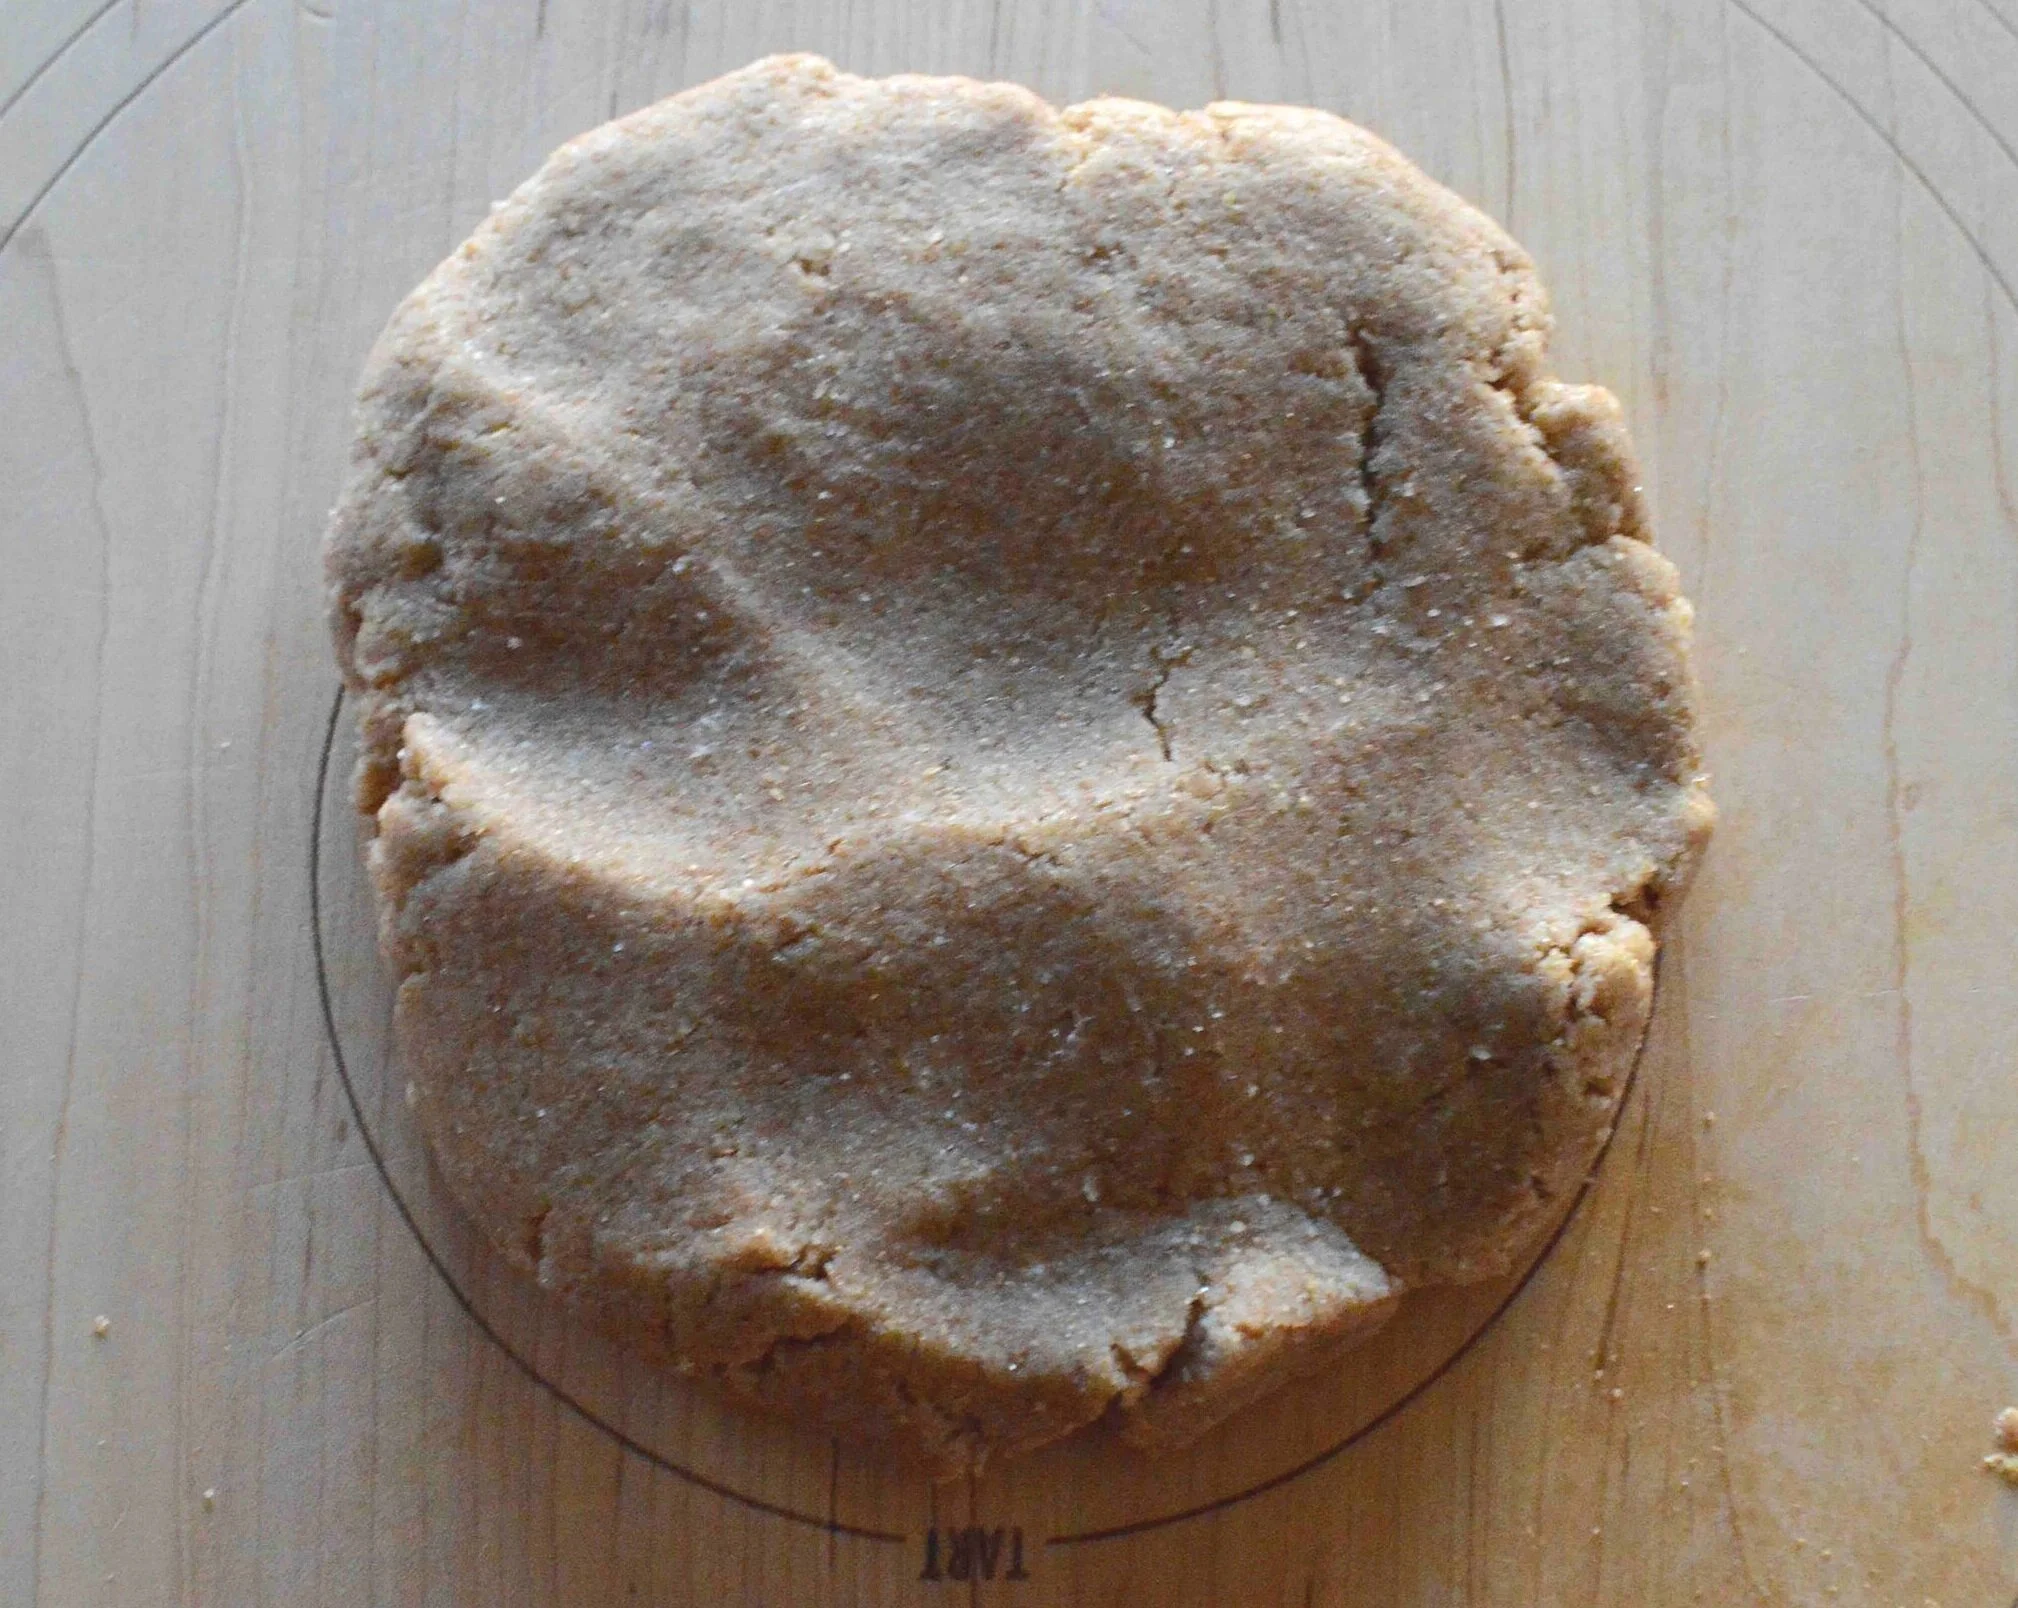
It’s kinda crumbly but a little kneading will do the trick.
And you’ll be able to form it into a flattish disk.
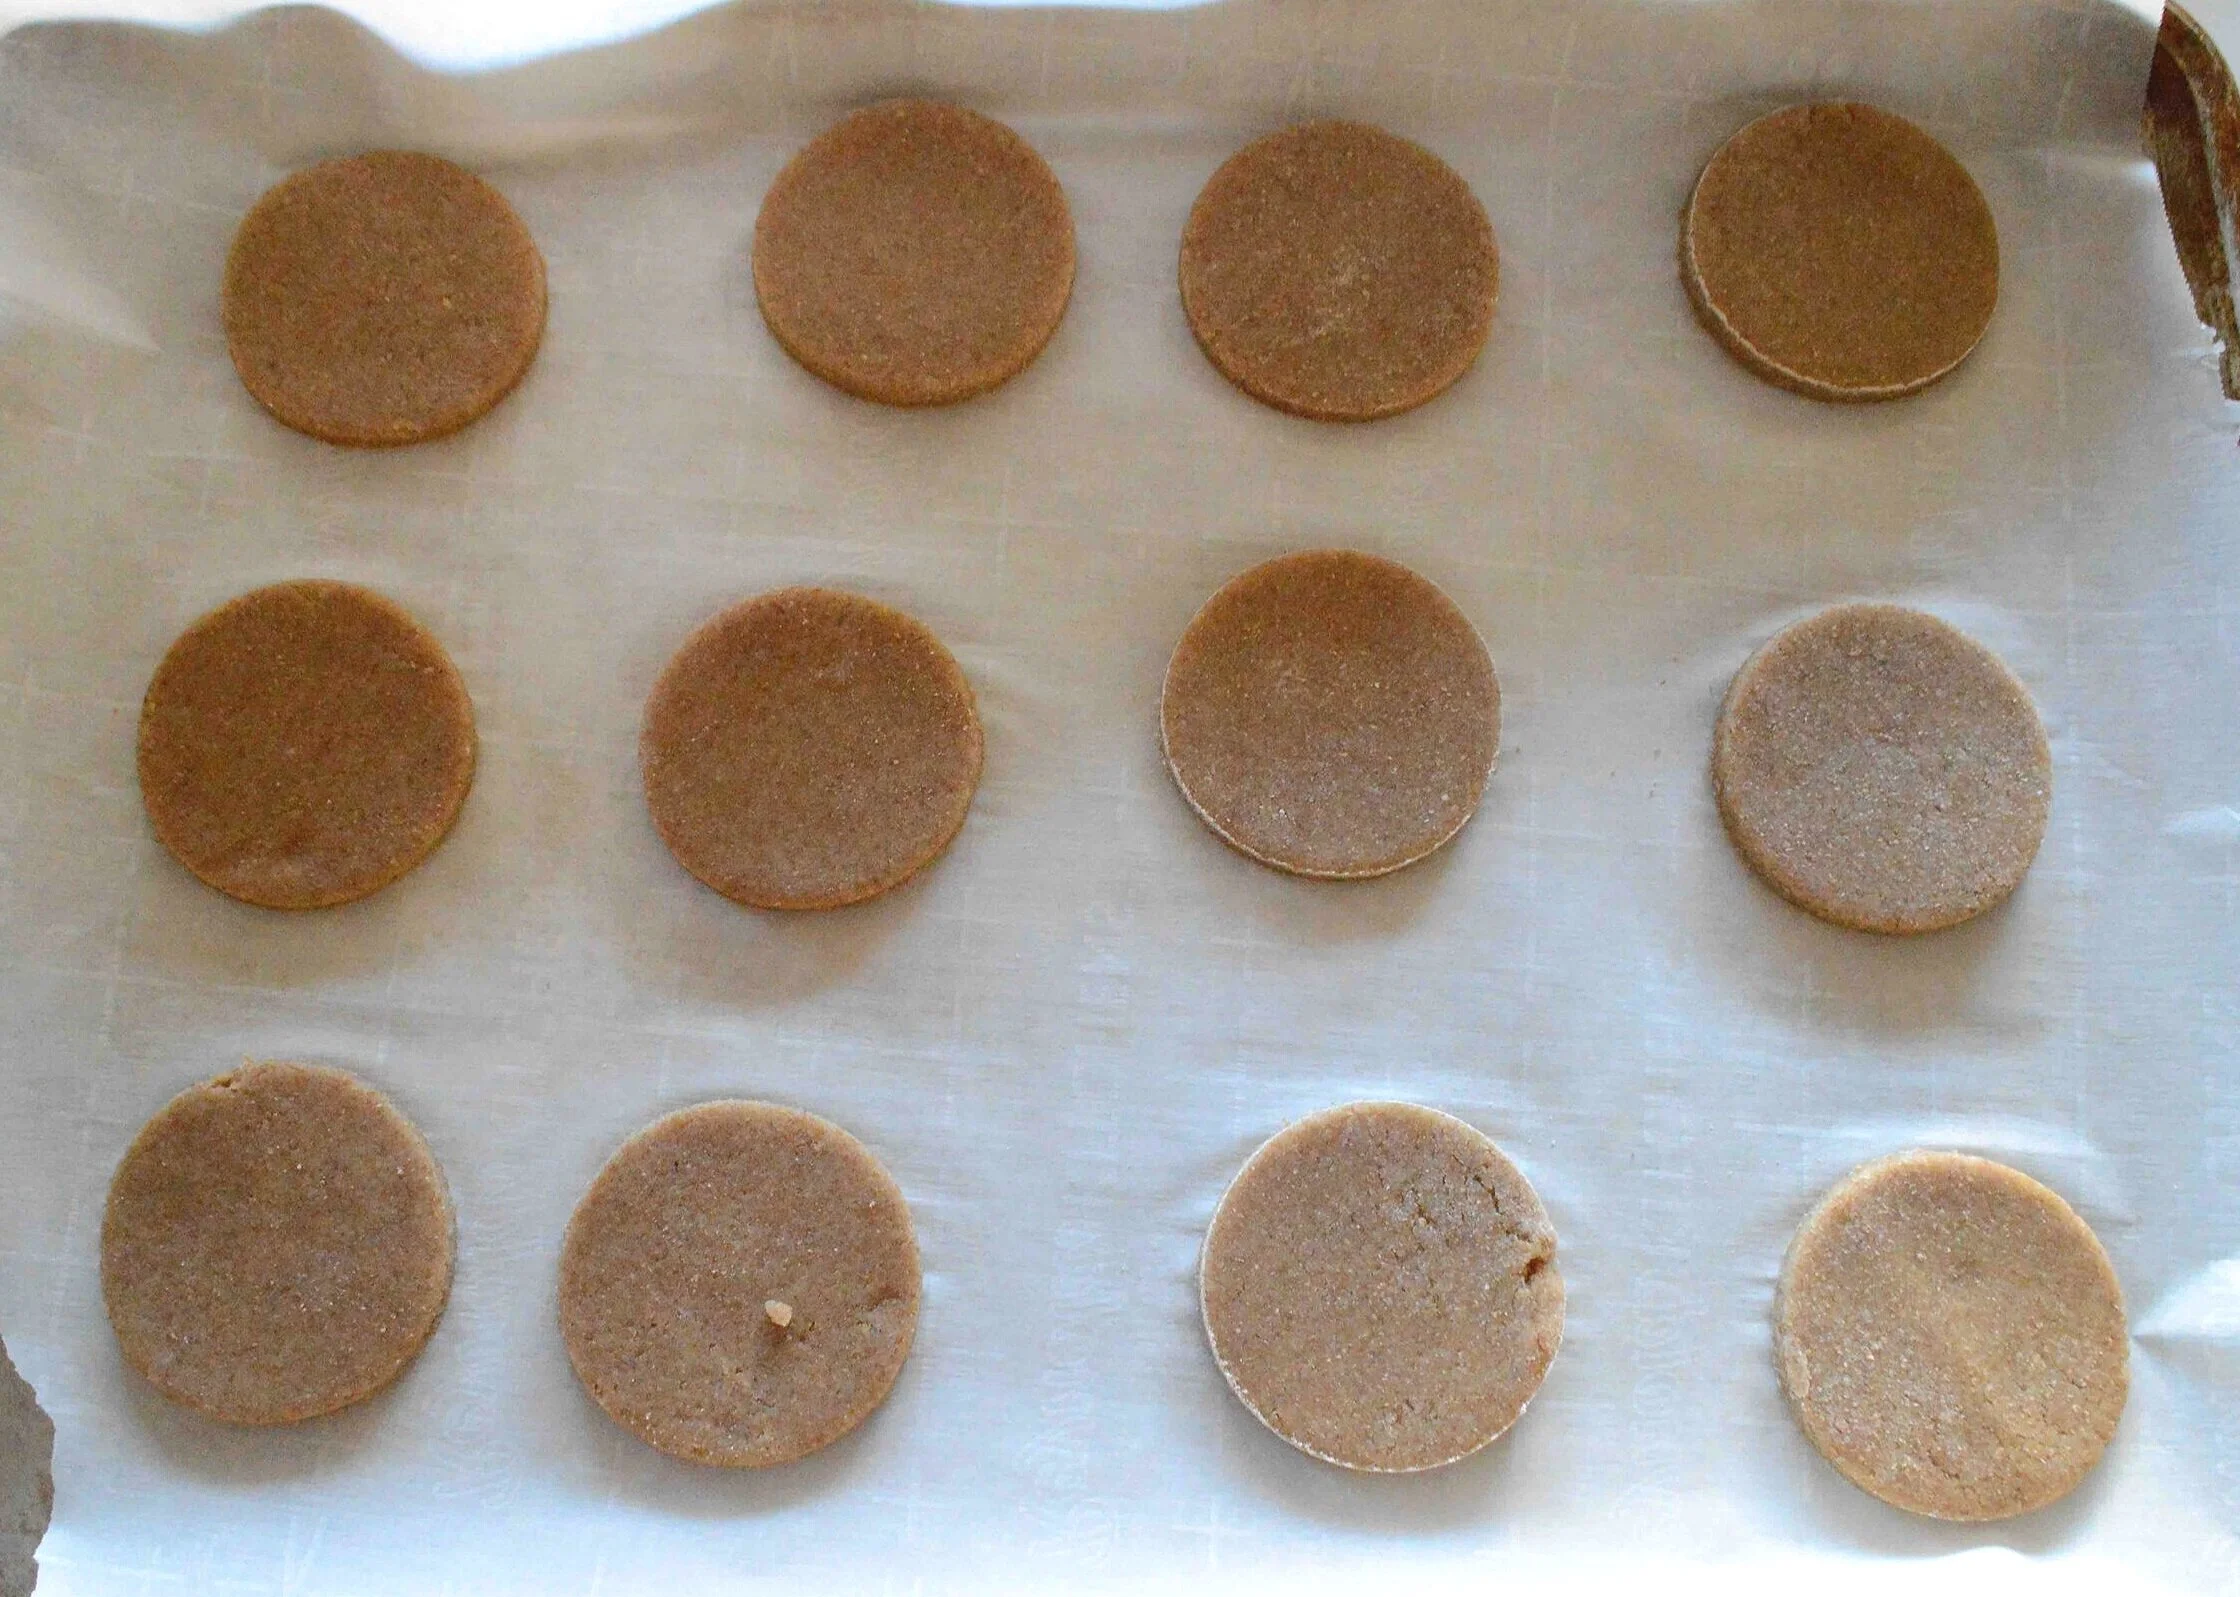
Then you just roll out the dough and cut out the cookies,

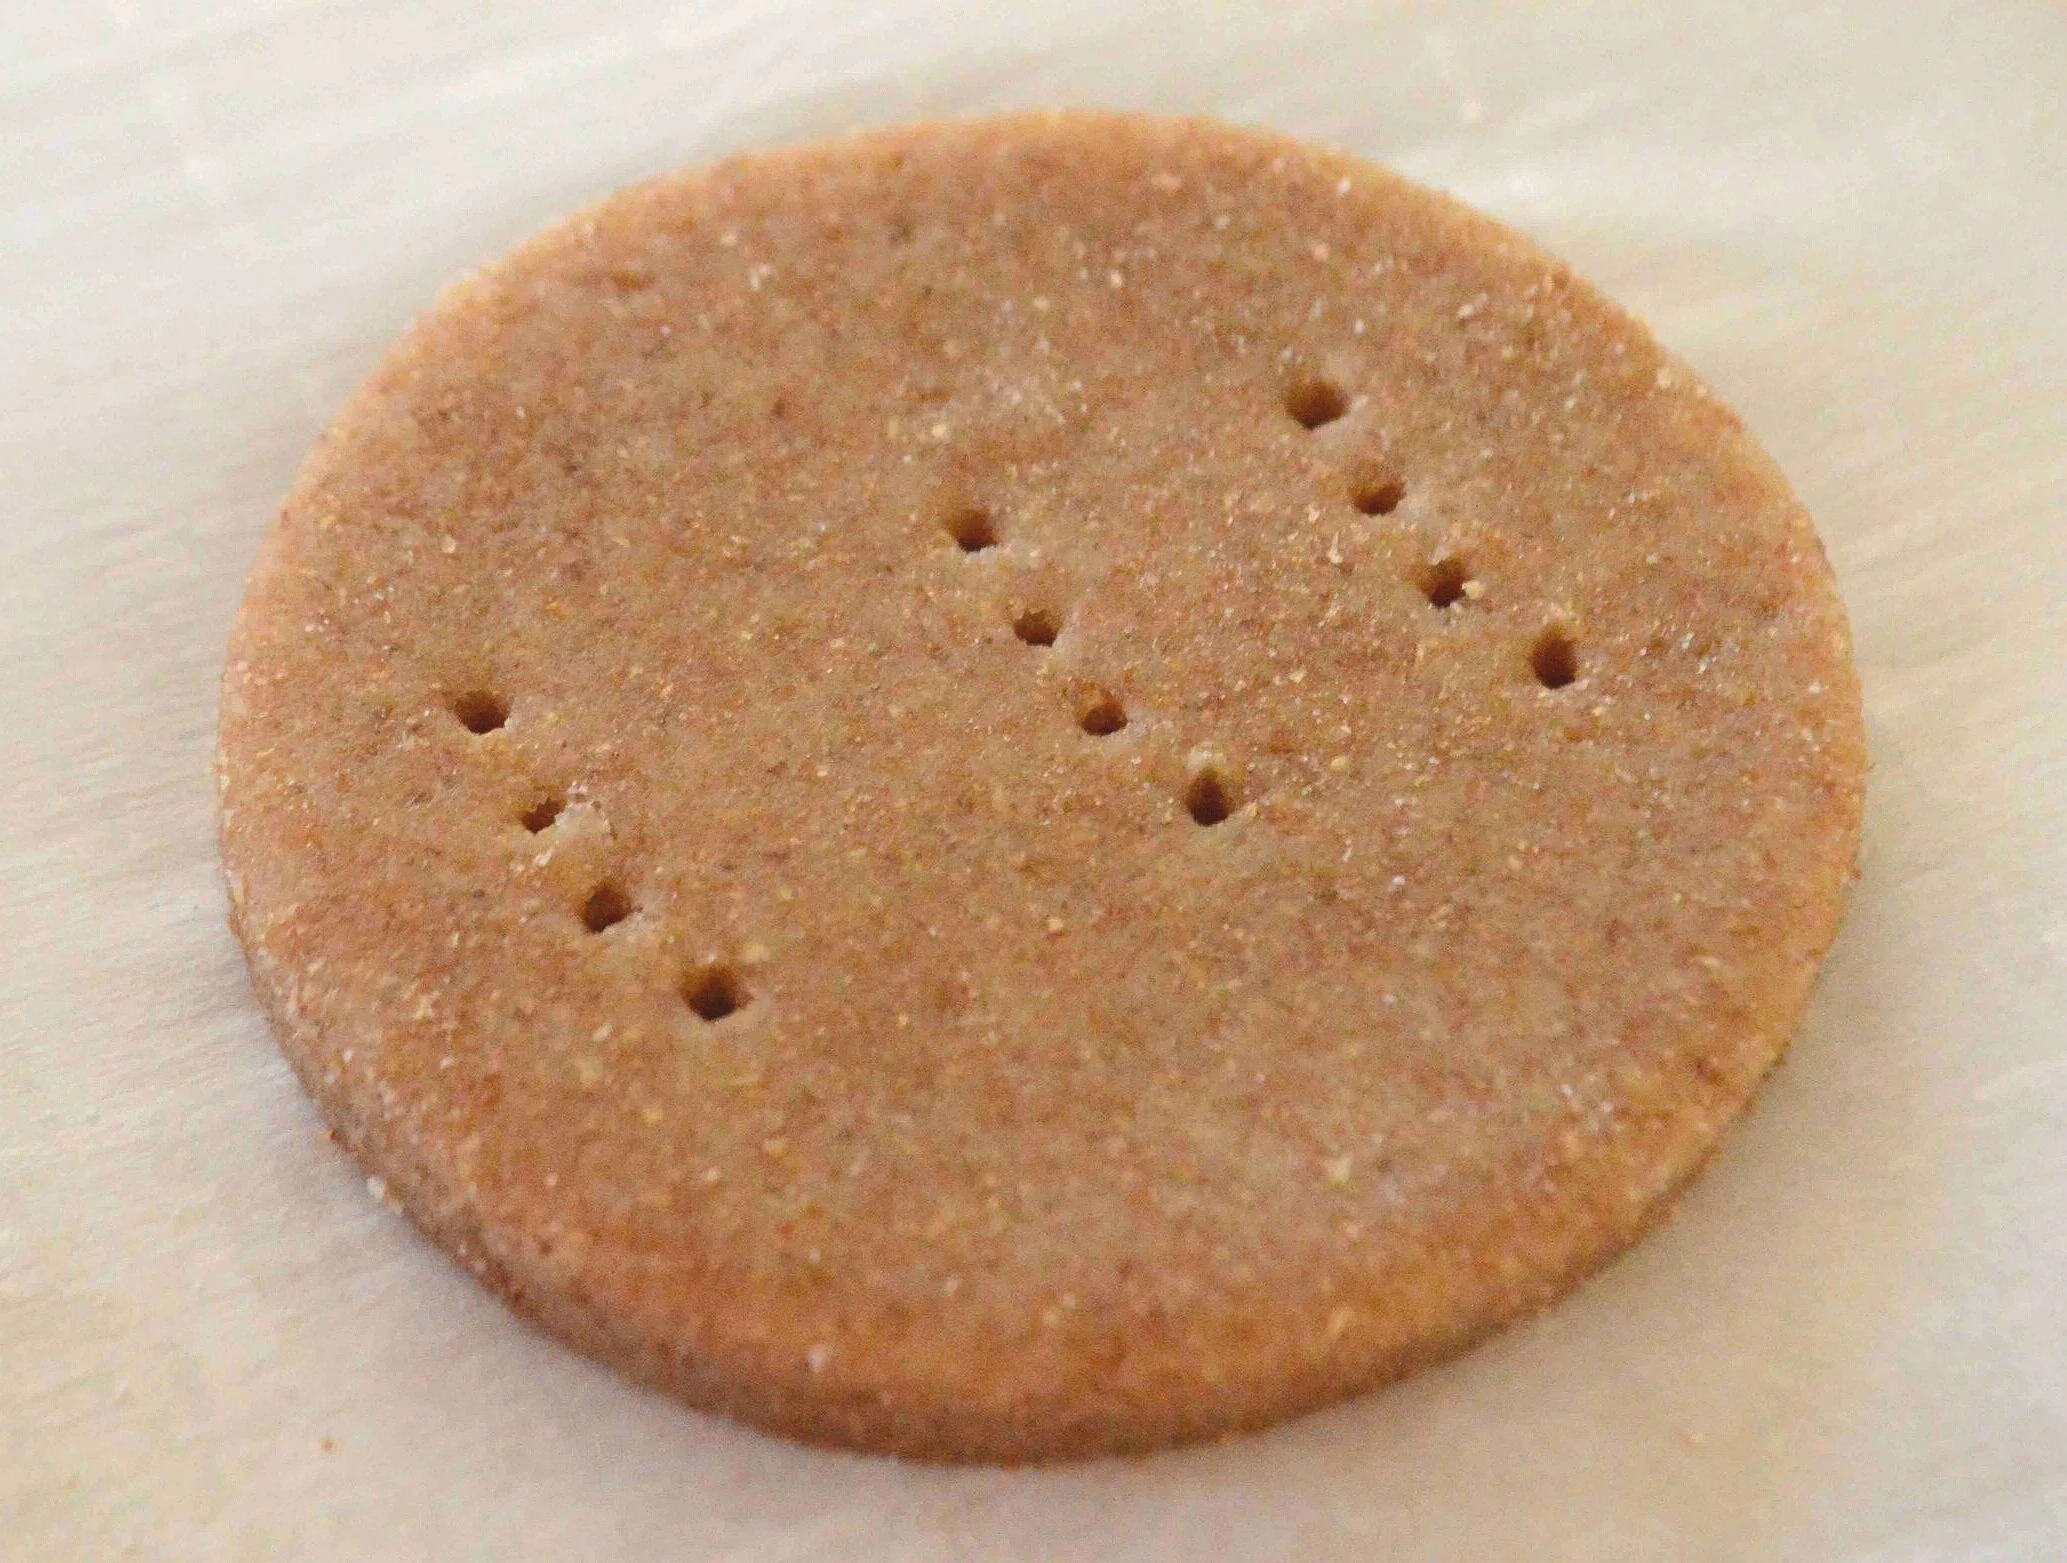
Transferring them to the baking sheets and punching a few holes with the tines of a fork to give them that signature digestive biscuit look!
They bake up golden brown and crisp-tender and you could totally just leave them as is, but who are we kidding, a little chocolate always makes things better, right?!!

After a short stint in the fridge to allow things to firm up, you’re good to go.

Every bite melts in your mouth and I dare you to stop at just one!!

So bake up a batch, brew a pot of tea and have yourself a brilliant weekend! Cheerio!!
Dark Chocolate Digestive Biscuits
Makes 24 cookies
You will need a food processor for these.
Ingredients
8 tablespoons chilled unsalted butter (1 stick) cut into pieces
½ cup wheat germ
6 tablespoons sugar
1 teaspoon baking powder
1 teaspoon kosher salt
1 ⅓ cups whole wheat flour, plus a little more for rolling out
¼ cup milk
2 ounces good dark chocolate, chopped
1 teaspoon refined coconut oil
The Recipe
1. Preheat oven to 350ºF and line 2 large baking sheets with parchment paper. Set aside.
2. In the large bowl of a food processor, blend together the flour, wheat germ, sugar, baking powder, salt and butter until you get a fine crumbly meal and you can barely see the butter. Add the milk and process again until the dough is damp and crumbly and sort of sticks together.
3. Turn the dough out onto an unfloured board and gently knead it so that it sticks together—it will seem too crumbly at first but keep at it and knead it into a ball. Then flatten into a disk. Lightly flour the board and roll out the dough to just about ¼-inch thick. Flour a 2 ½ inch cookie cutter (or a wide mouthed glass) and cut out as many cookies as possible, transferring them to the prepared cookie sheets, spacing them at least a couple of inches apart. As you cut them out, you may need to dust them with more flour—if so, just try to brush it off with a pastry brush once you transfer them. Knead the scraps together, reroll and then cut out more cookies.
4. Use a fork to prick each cookie 3 times and bake one sheet at a time, rotating the sheet once during the baking process, for 15-18 minutes, until bottoms and edges are slightly browned—don’t overbake because these harden as they cool. Let cool for a few minutes on the sheet on a wire rack, then transfer cookies to the rack to finish cooling completely. Leave the parchment on the sheets and set aside.
5. Place the chocolate and coconut oil in a microwave-safe bowl and melt in 20 second blasts, stirring after each time, until melted and smooth. Let cool for a few minutes, stirring so that the mixture has a chance to thicken. When cookies are cool, use a small knife to spread a nice layer of chocolate on the flat underside of each cookie and place, chocolate side up, on the parchment lined sheets. If you like, you can even use a fork to press a few wavy lines in the chocolate the way the cookies that come in the package look. Chill the cookies on the sheet until the chocolate is set, about 15 minutes, then store at room temperature in an airtight container for 2-3 weeks.
Enjoy!
Note: Recipe from Bon Appétit Magazine. I didn’t stray much from this recipe—it’s so good!


