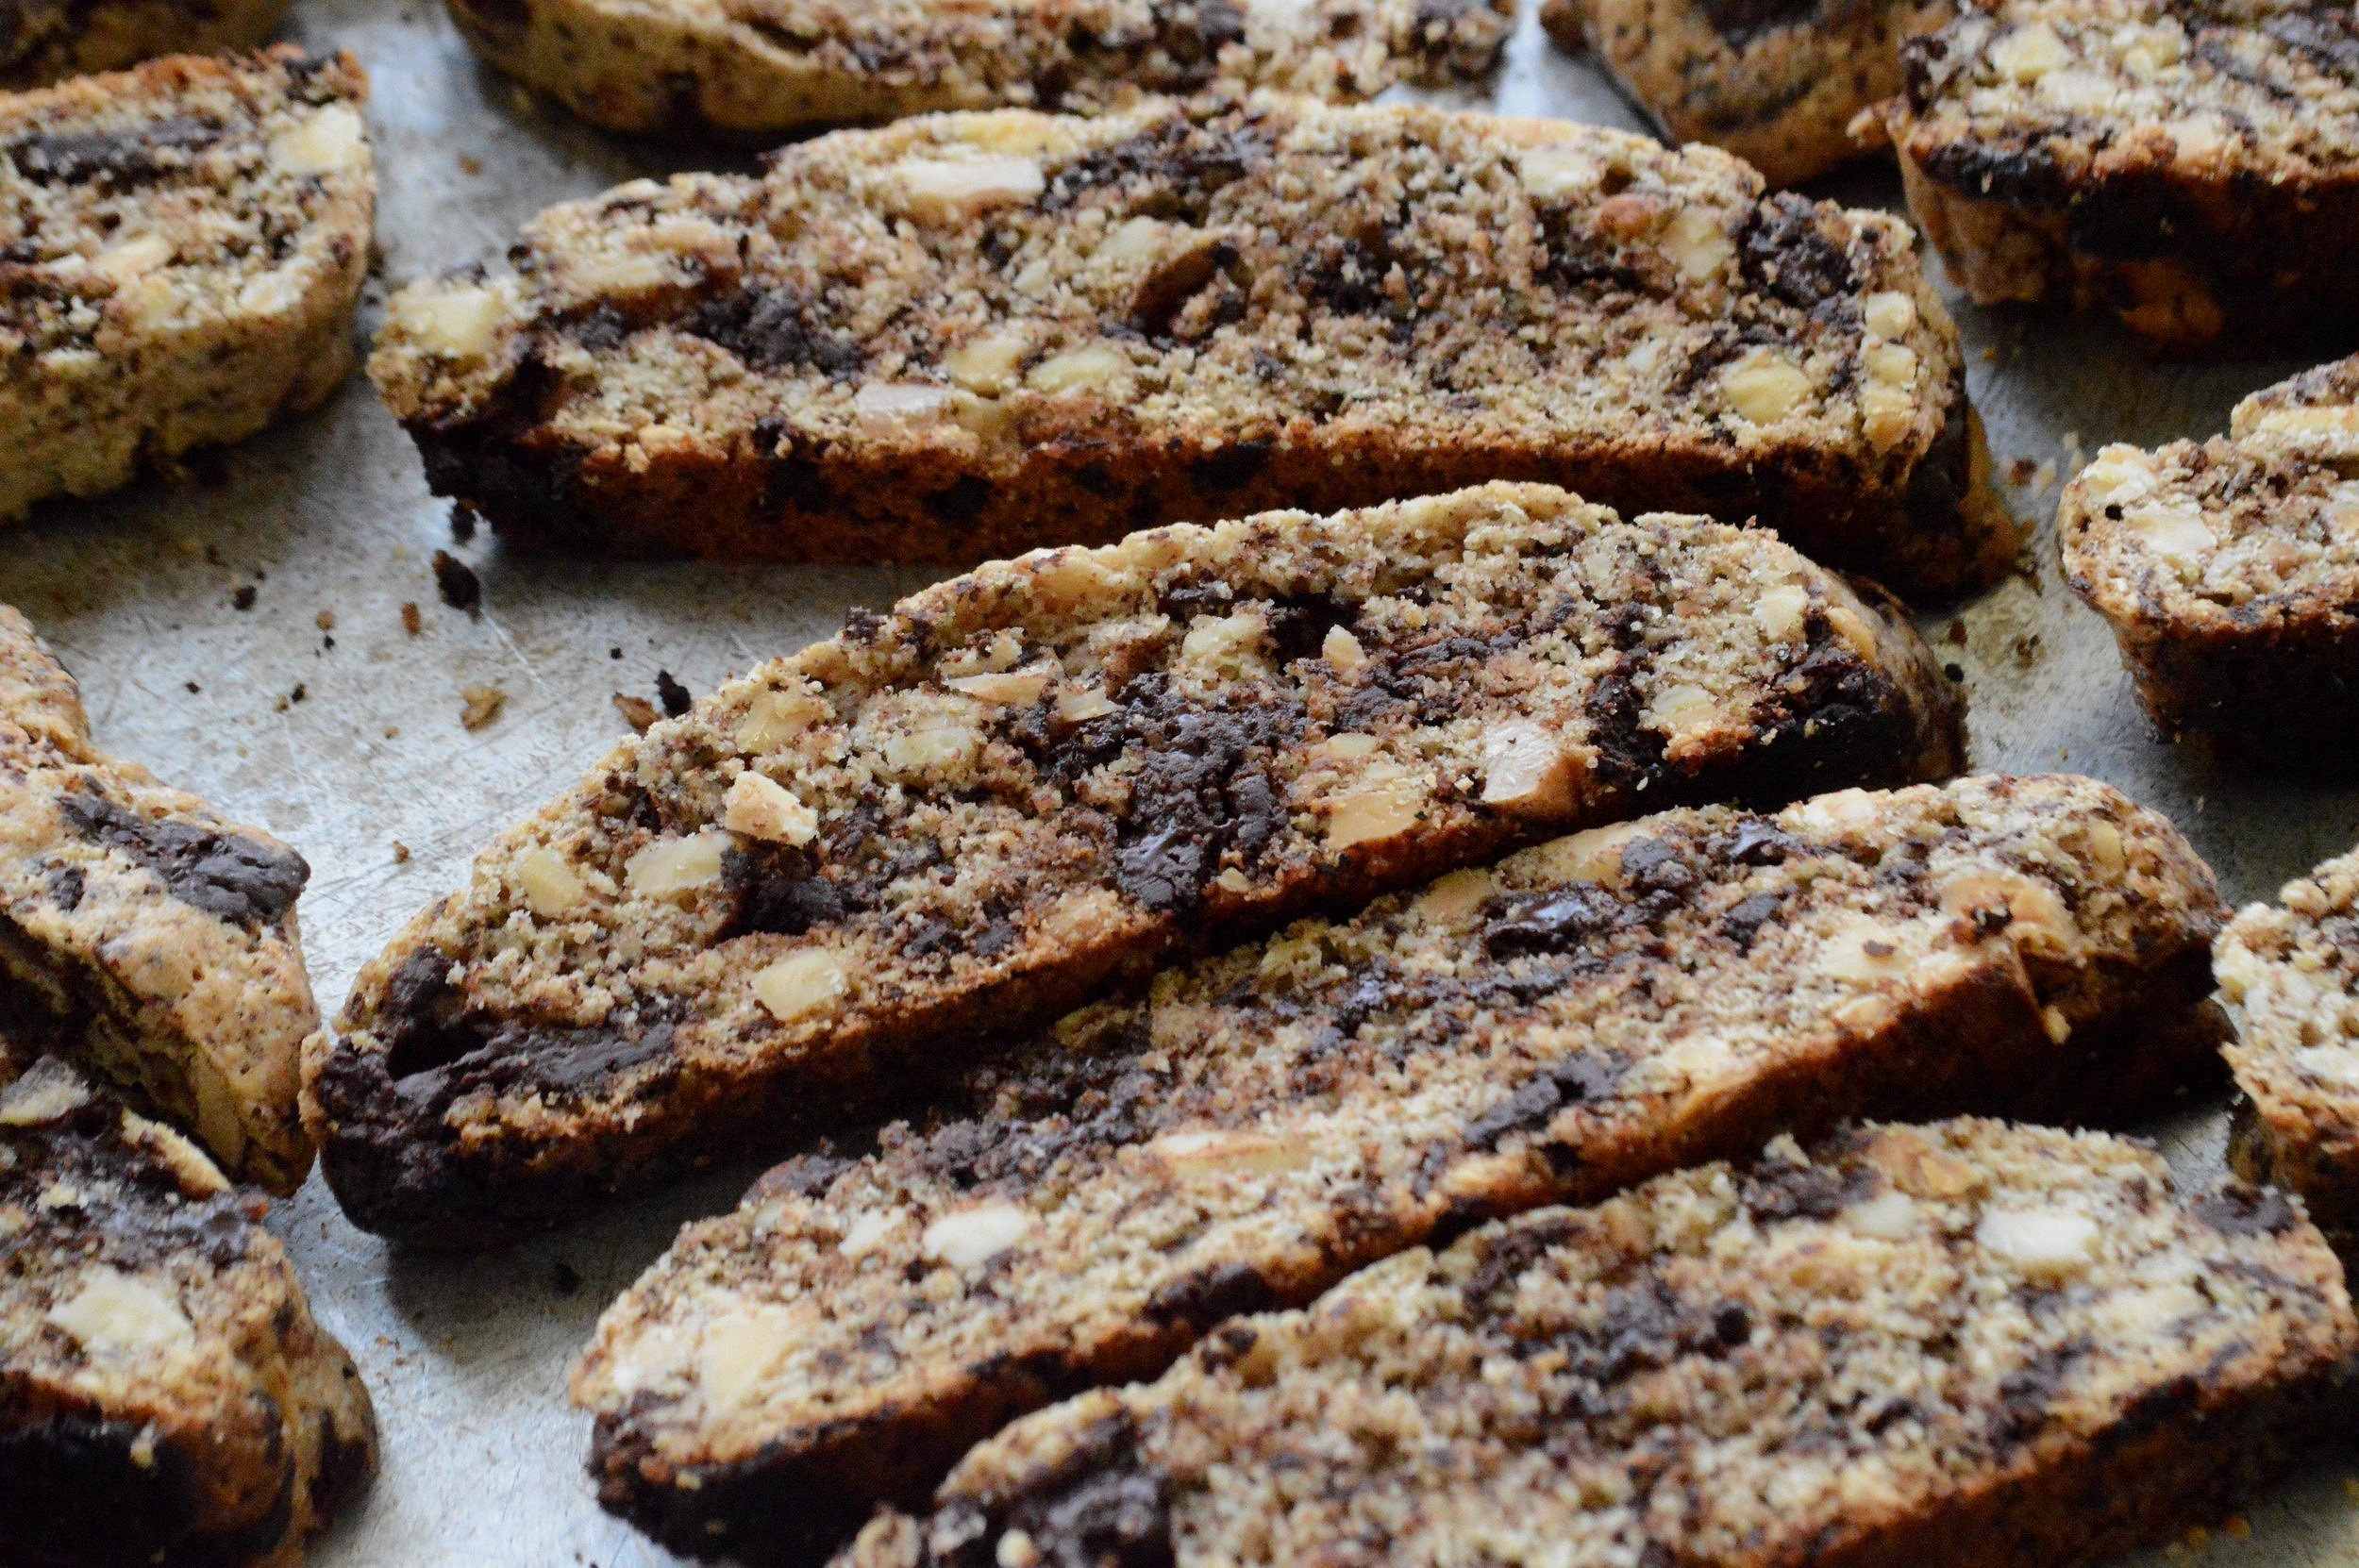
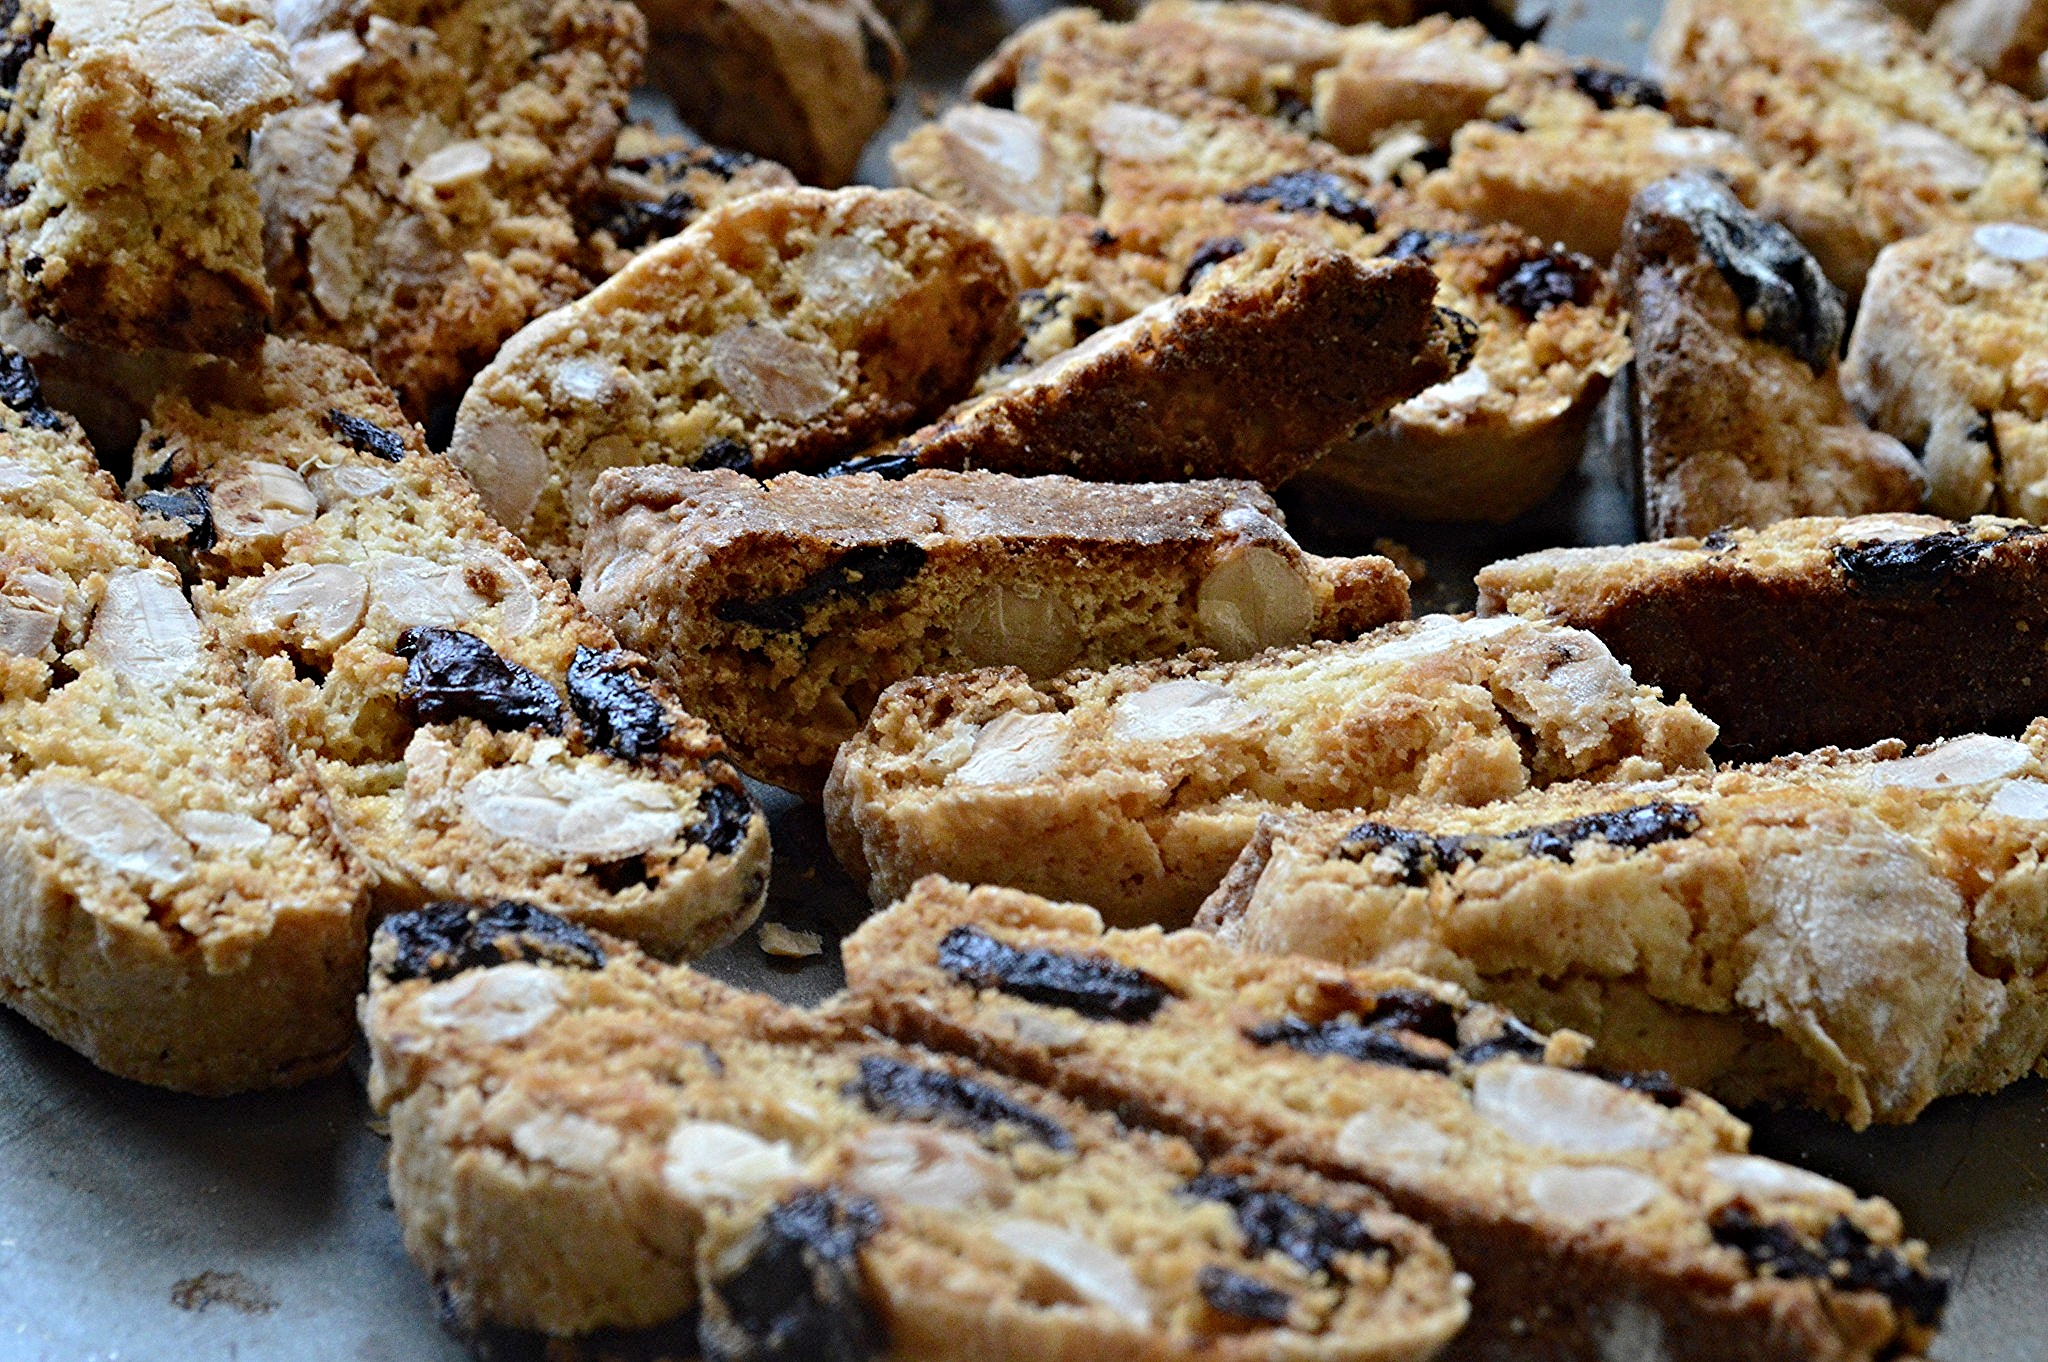
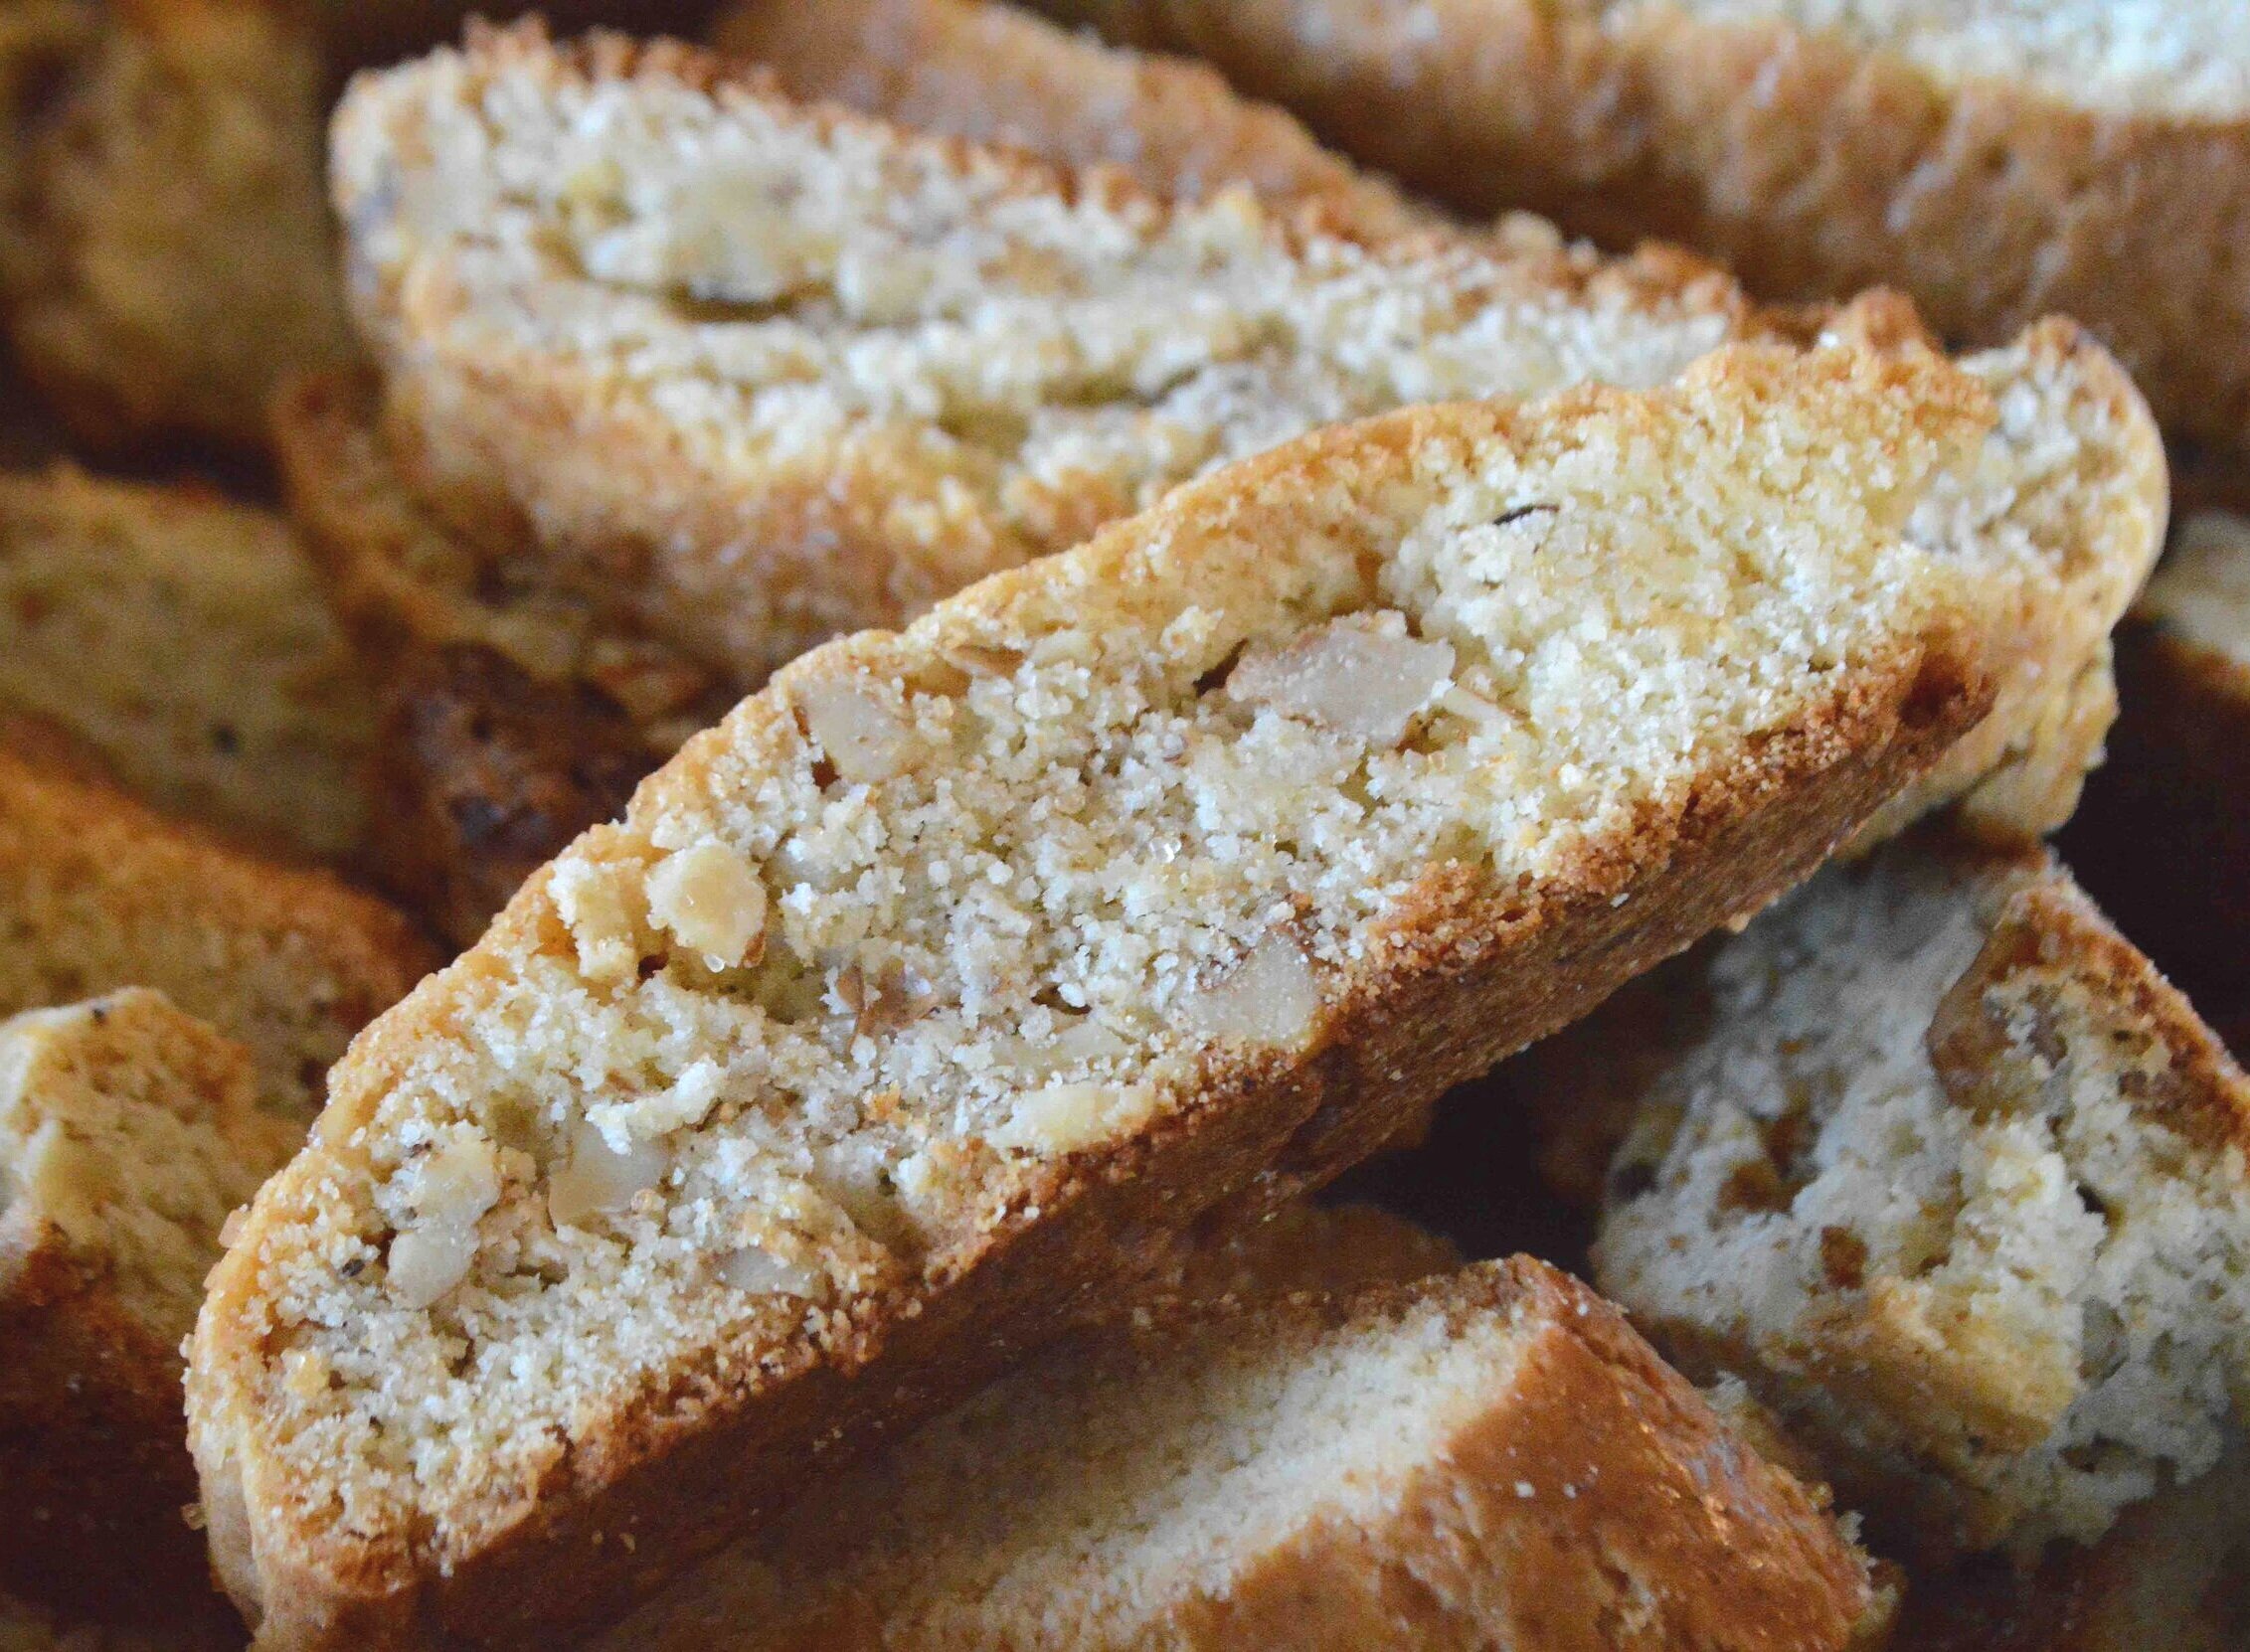
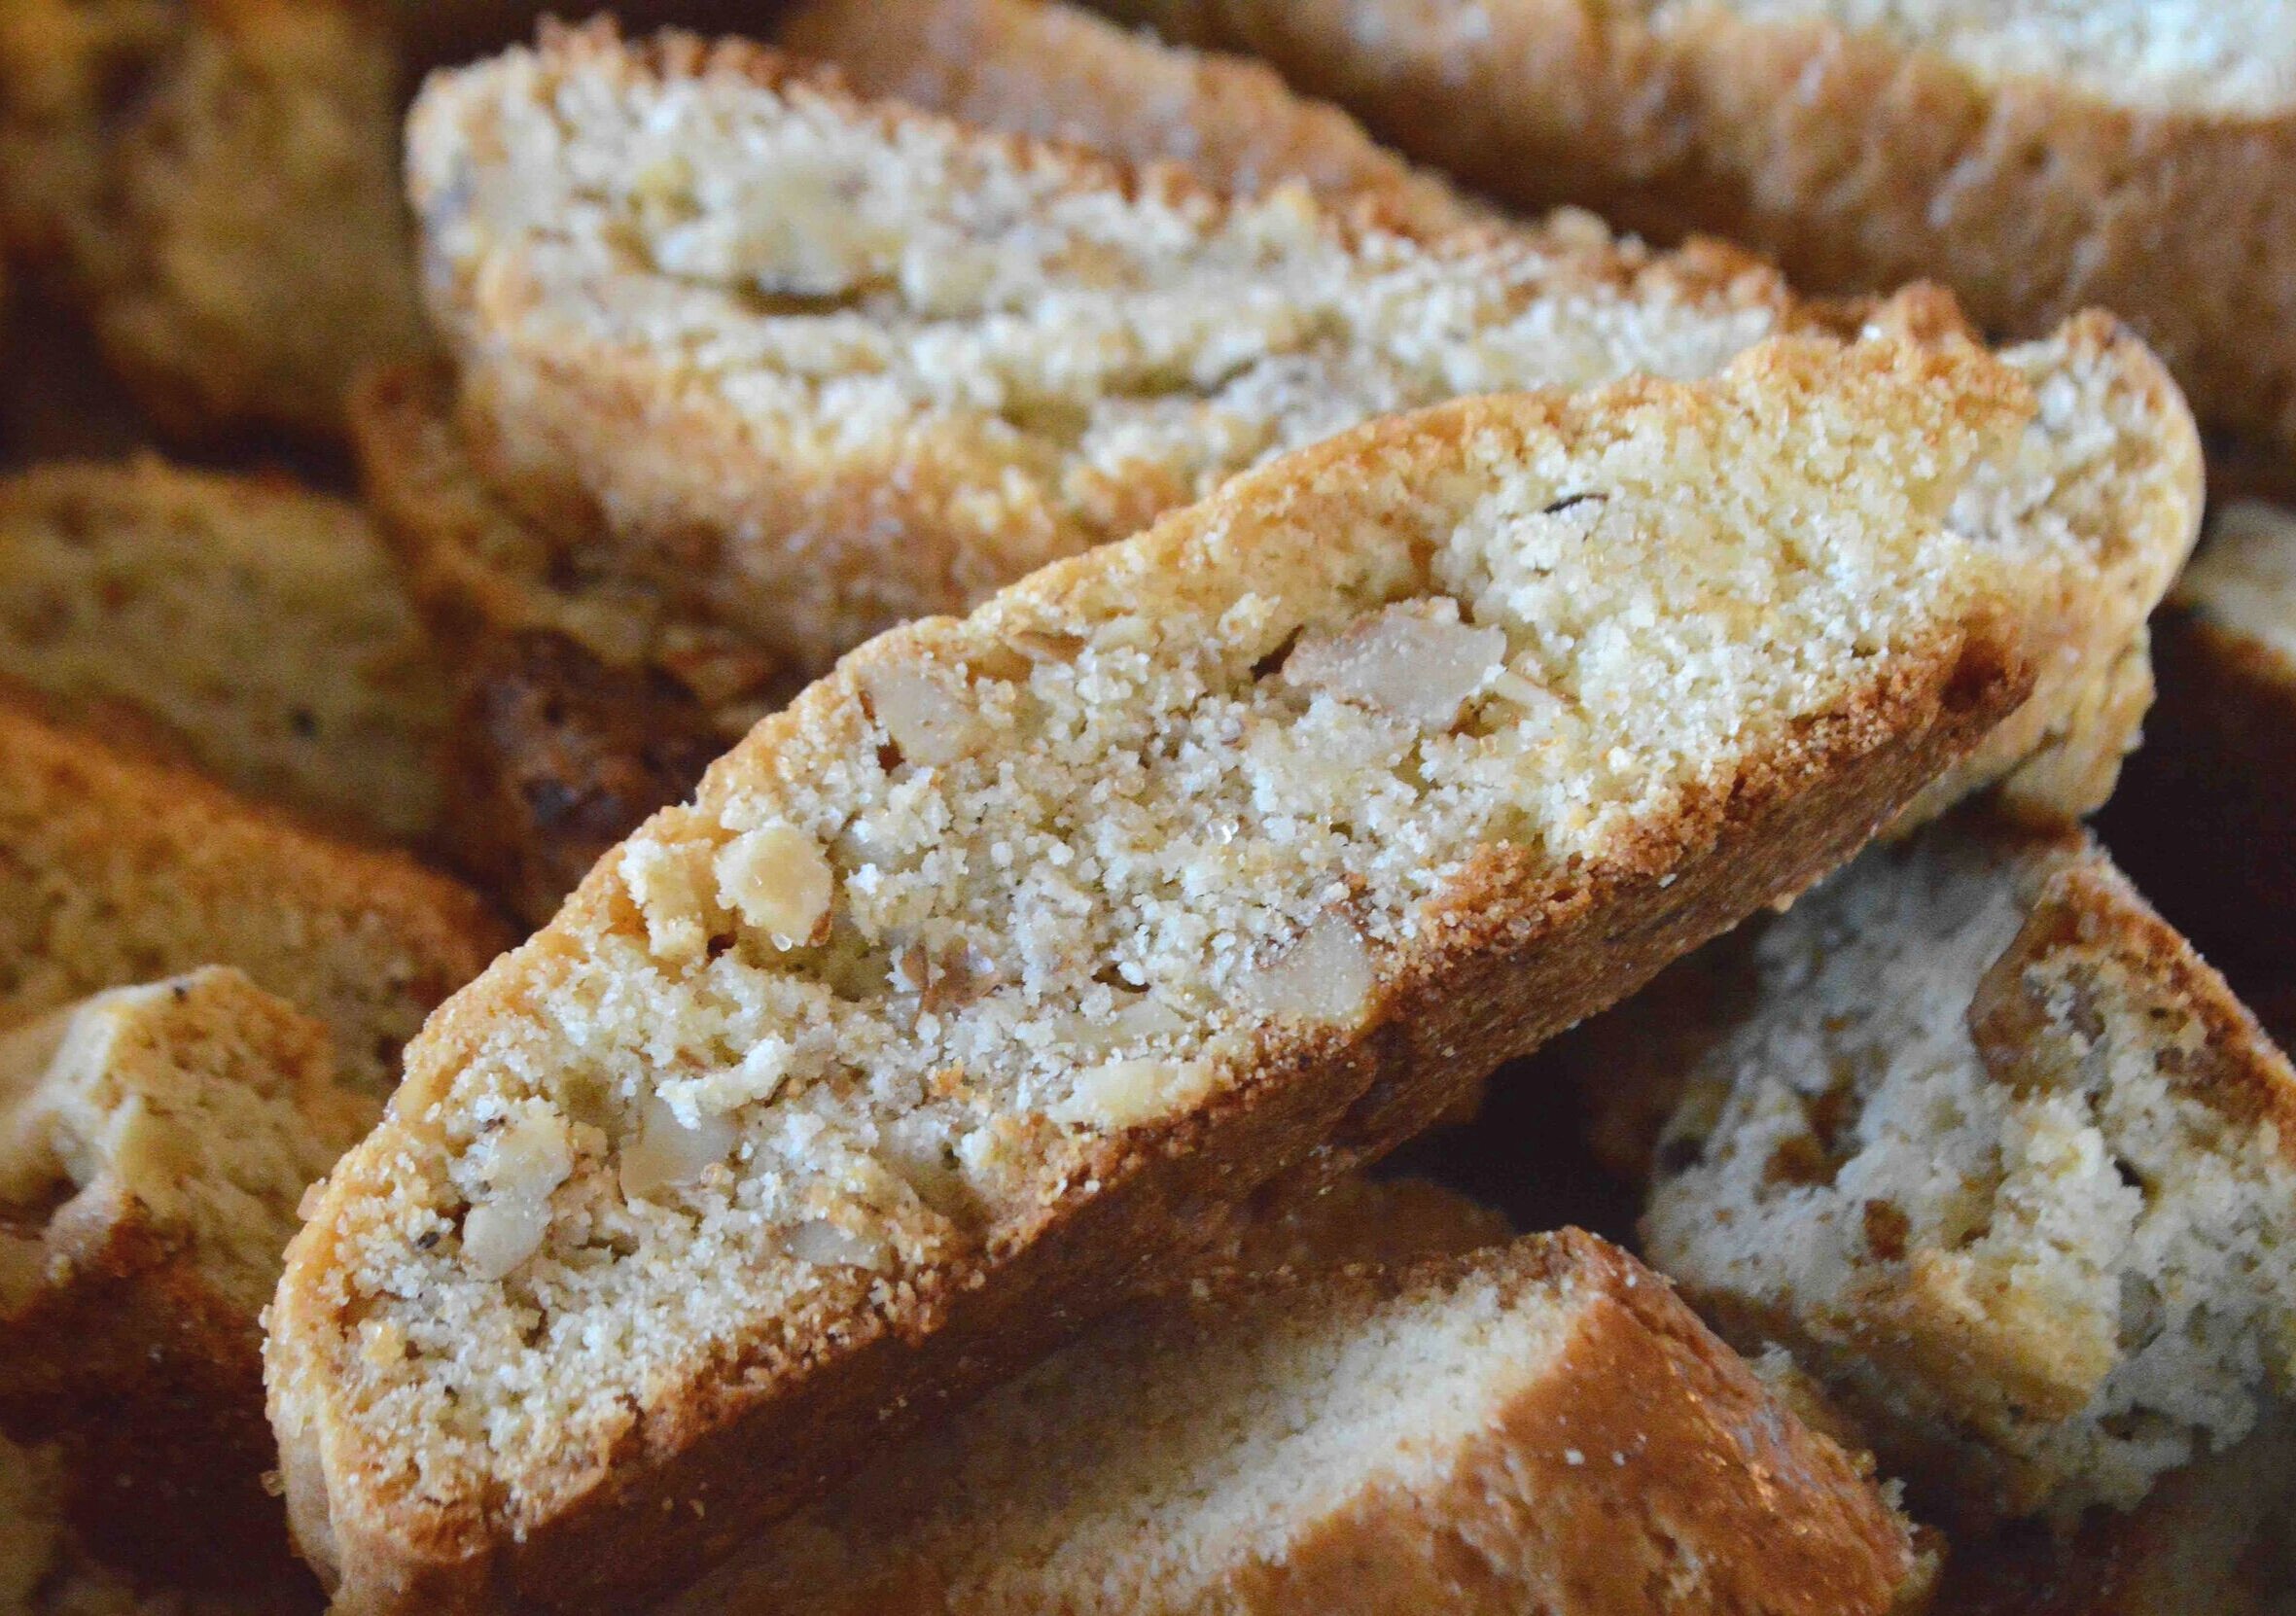
Lemon-Walnut Biscotti
Sending you off into the weekend with these delicate and delightful Lemon-Walnut Biscotti.
There’s no charming family story behind them—
Or special event that I whipped these up for—
Nor did I really need to test out another lemon biscotti recipe, as this lemon-almond one has been a huge favorite for a while now—

Nope, I just made them because it was a rainy day and we didn’t have any cookies in the house and sometimes you gotta do what you gotta do…
And boy, am I glad that I did!!!

Guys, these are special and different enough to warrant a permanent space in my heart!!
For one thing, since they’re made with butter they’re softer and more delicate than most biscotti, with an almost melt-in-your-mouth consistency!
And though I’m often not the hugest walnut fan, I LOVE them in these cookies. They just seem to pair so well with the softer consistency since walnuts are a “softer” nut than the traditional almonds you usually see in biscotti. Plus, lemons and walnuts just go so well together!

They’re perfect on their own or dunked into a mug of tea. So comforting!
Whatever you’re doing this weekend, these unnecessary, but very necessary biscotti are guaranteed to make it better! Have a great one my friends, and I’ll see you next week as we head into the end of May and a hopefully much calmer and more fun and optimistic Memorial Day than last year!!xoxo

Lemon-Walnut Biscotti
Makes at least 3 dozen
Prep Time: 15 minutes, plus at least 3 hours chilling time and up to 3 days; Bake Time: 50 minutes (plus 20 minutes to cool) and an extra 20 minutes for the second bake
Ingredients
3 cups unbleached, all-purpose flour
1 teaspoon salt
1 teaspoon baking powder
¼ teaspoon baking soda
10 tablespoons unsalted butter, room temperature
1 ⅓ cups sugar
The finely grated zest and juice from 1 large lemon, divided
3 large eggs, divided
3 cups walnuts, roughly chopped
Demerara sugar for sprinkling on top
The Recipe
1. In a medium bowl, whisk the flour, salt, baking powder and baking soda together and set aside.
2. Use an electric mixer to beat the butter, sugar and lemon zest together in a large bowl until well blended. One at a time, add 2 of the eggs, beating just to blend and scraping down the sides of the bowl with a rubber spatula. Beat in the lemon juice and scrape the sides down again, then on low speed add the flour mixture and beat until just blended. Remove the bowl from the mixer and stir in the walnuts.
3. Lay out three sheets of plastic wrap on a flat surface and divide the dough into 3 equal pieces. On the plastic wrap, form each piece into an 8-inch log and then flatten the logs so they are about 2 ½-inches wide. Wrap the logs well and then place all three on a baking sheet. Place in the fridge for at least 3 hours and up to 3 days to firm up.
4. When you are ready to bake, position a rack in the upper third of the oven and preheat to 325ºF. Line a large rimmed baking sheet with parchment paper. Unwrap the logs and place them on a diagonal on the prepared sheet, so there is some room between each one. Beat the remaining egg well and brush the tops of the logs with it, then sprinkle with a generous amount of the demerara sugar.
5. Bake the logs for about 50 minutes, until they are golden brown and just firm to the touch. Remove the sheet from the oven and let the logs cool on the sheet on a wire rack for 20-30 minutes. Turn the oven down to 300ºF.
6. Use a long serrated knife to cut the logs on the diagonal, into ½-inch slices and return to the baking sheet, cut-side down. Depending on the size of the sheet, you may need to line another baking sheet with parchment paper so that you’ll have enough room. Bake for 10 minutes, then turn the cookies (careful they are hot) and bake again for another 10 minutes until they are golden brown around the edges. Cool the cookies on the sheet on a wire rack until completely cool.
7. Cookies can be stored in an airtight container for at least 1 week.
Enjoy!
Note: Recipe adapted from an old issue of Bon Appétit Magazine.