Mini Pavlovas with Strawberries and Vanilla Whipped Cream
It’s Friday! And it’s April! And its Spring! And there are holidays and vaccines…and pavlovas!! Specifically, these Mini Pavlovas with Strawberries and Vanilla Whipped Cream! So, so much to celebrate!!
If you’ve never had pavlova before, you are going to adore this perfect dinner party dessert and if you’re a already a pavlova-lover, you, like me, are kicking yourself and wondering why you don’t make this light, airy, fruity dessert more often?!!

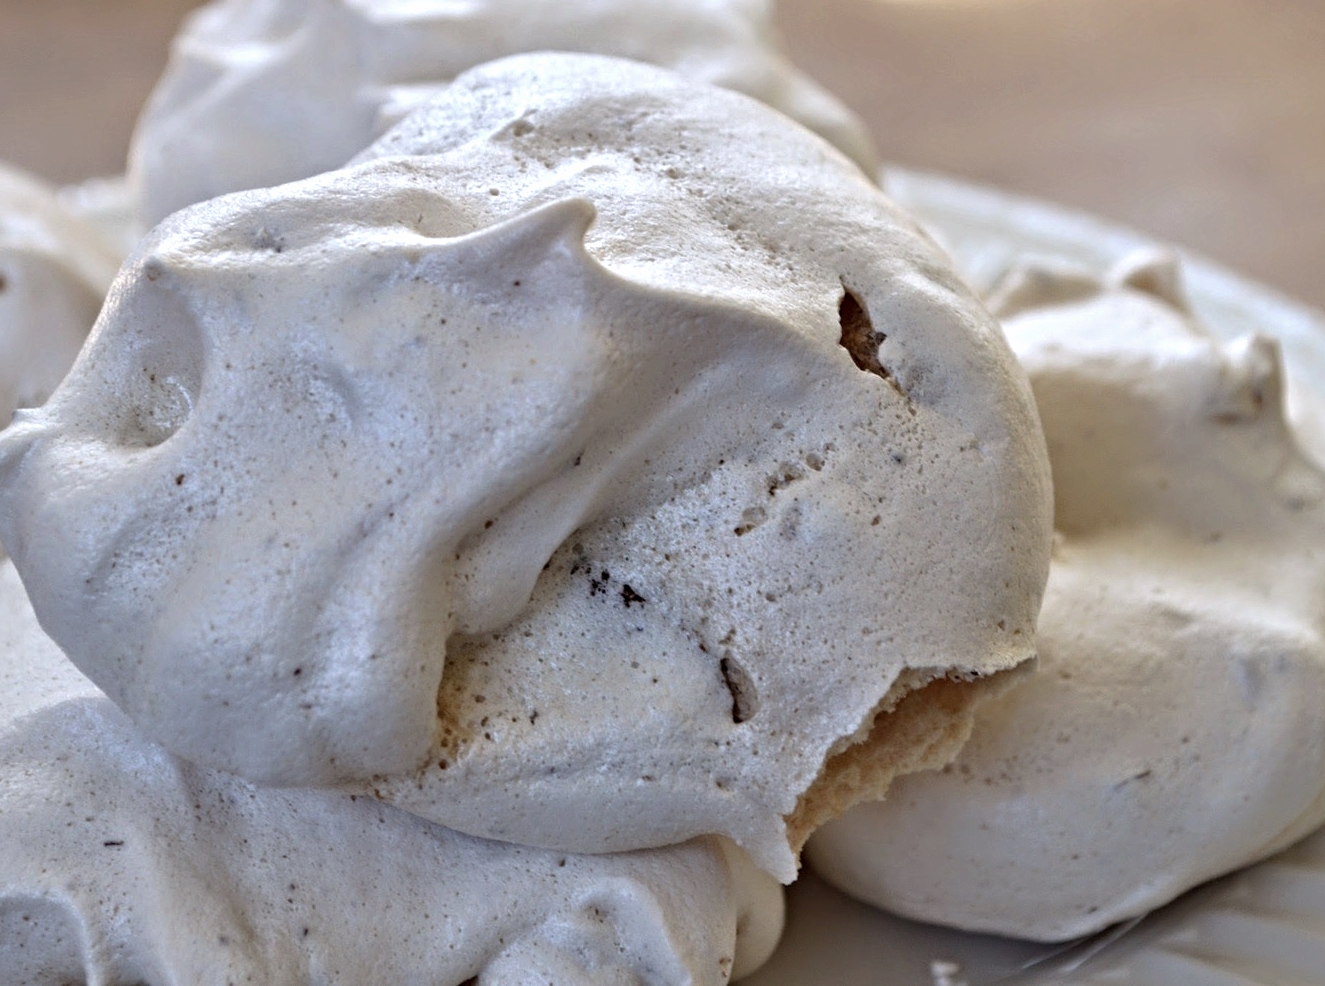
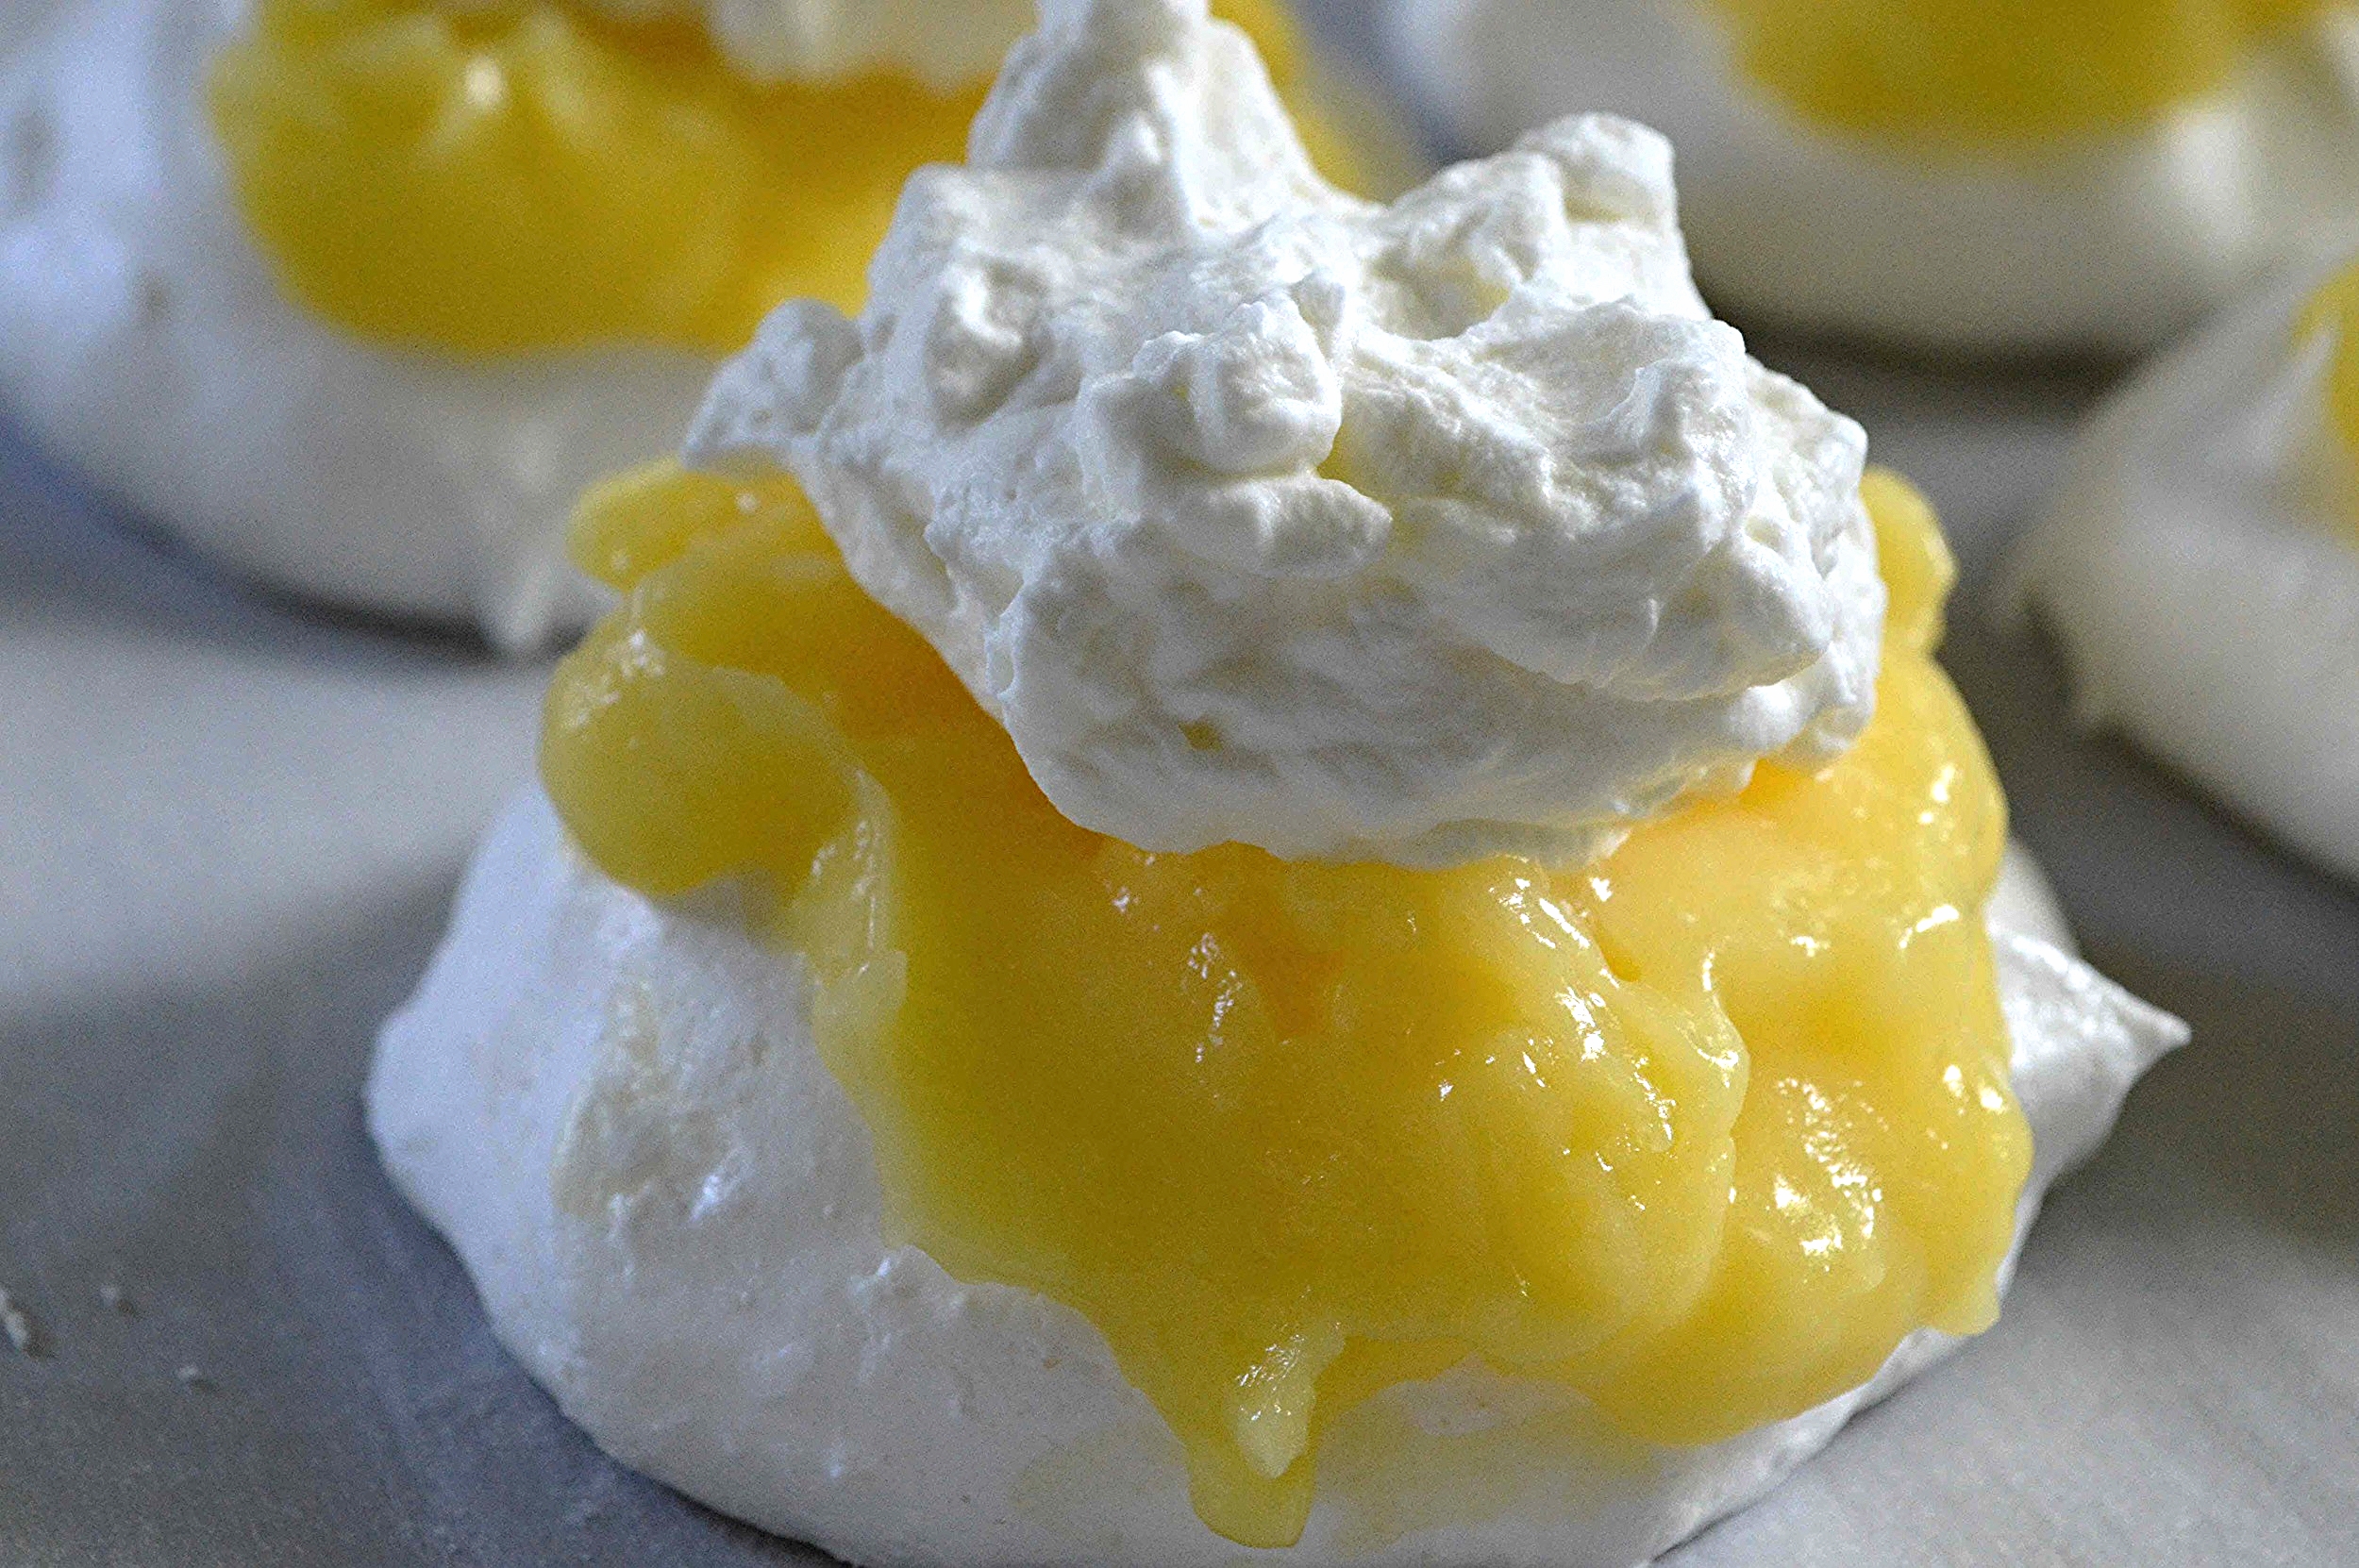
There are many stories about the origins of pavlova (usually it’s attributed to a ballerina or Australia or something like that—I’ll spare you the details since you can go ahead and google it if you like) but what I will tell you about this very classic dessert is that it consists of a meringue shell which gets filled with whipped cream, sometimes also a fruit curd and then topped with a variety of fresh fruit. Major yum!!
Oh, and It’s a WOW factor dessert too—people will literally ooh and aah when you bring it out to the table…until you cut into it, at which point the whole thing falls apart but nobody cares because it all tastes so heavenly and everyone is busy stuffing their mouths with spoonful after spoonful of it!
Today we’re making little individual pavlovas, which are fun and maybe a smarter serve given the spread of germs these days. Anyhoo, the meringue shells are truly easy to make as long as you follow these 3 simple rules:
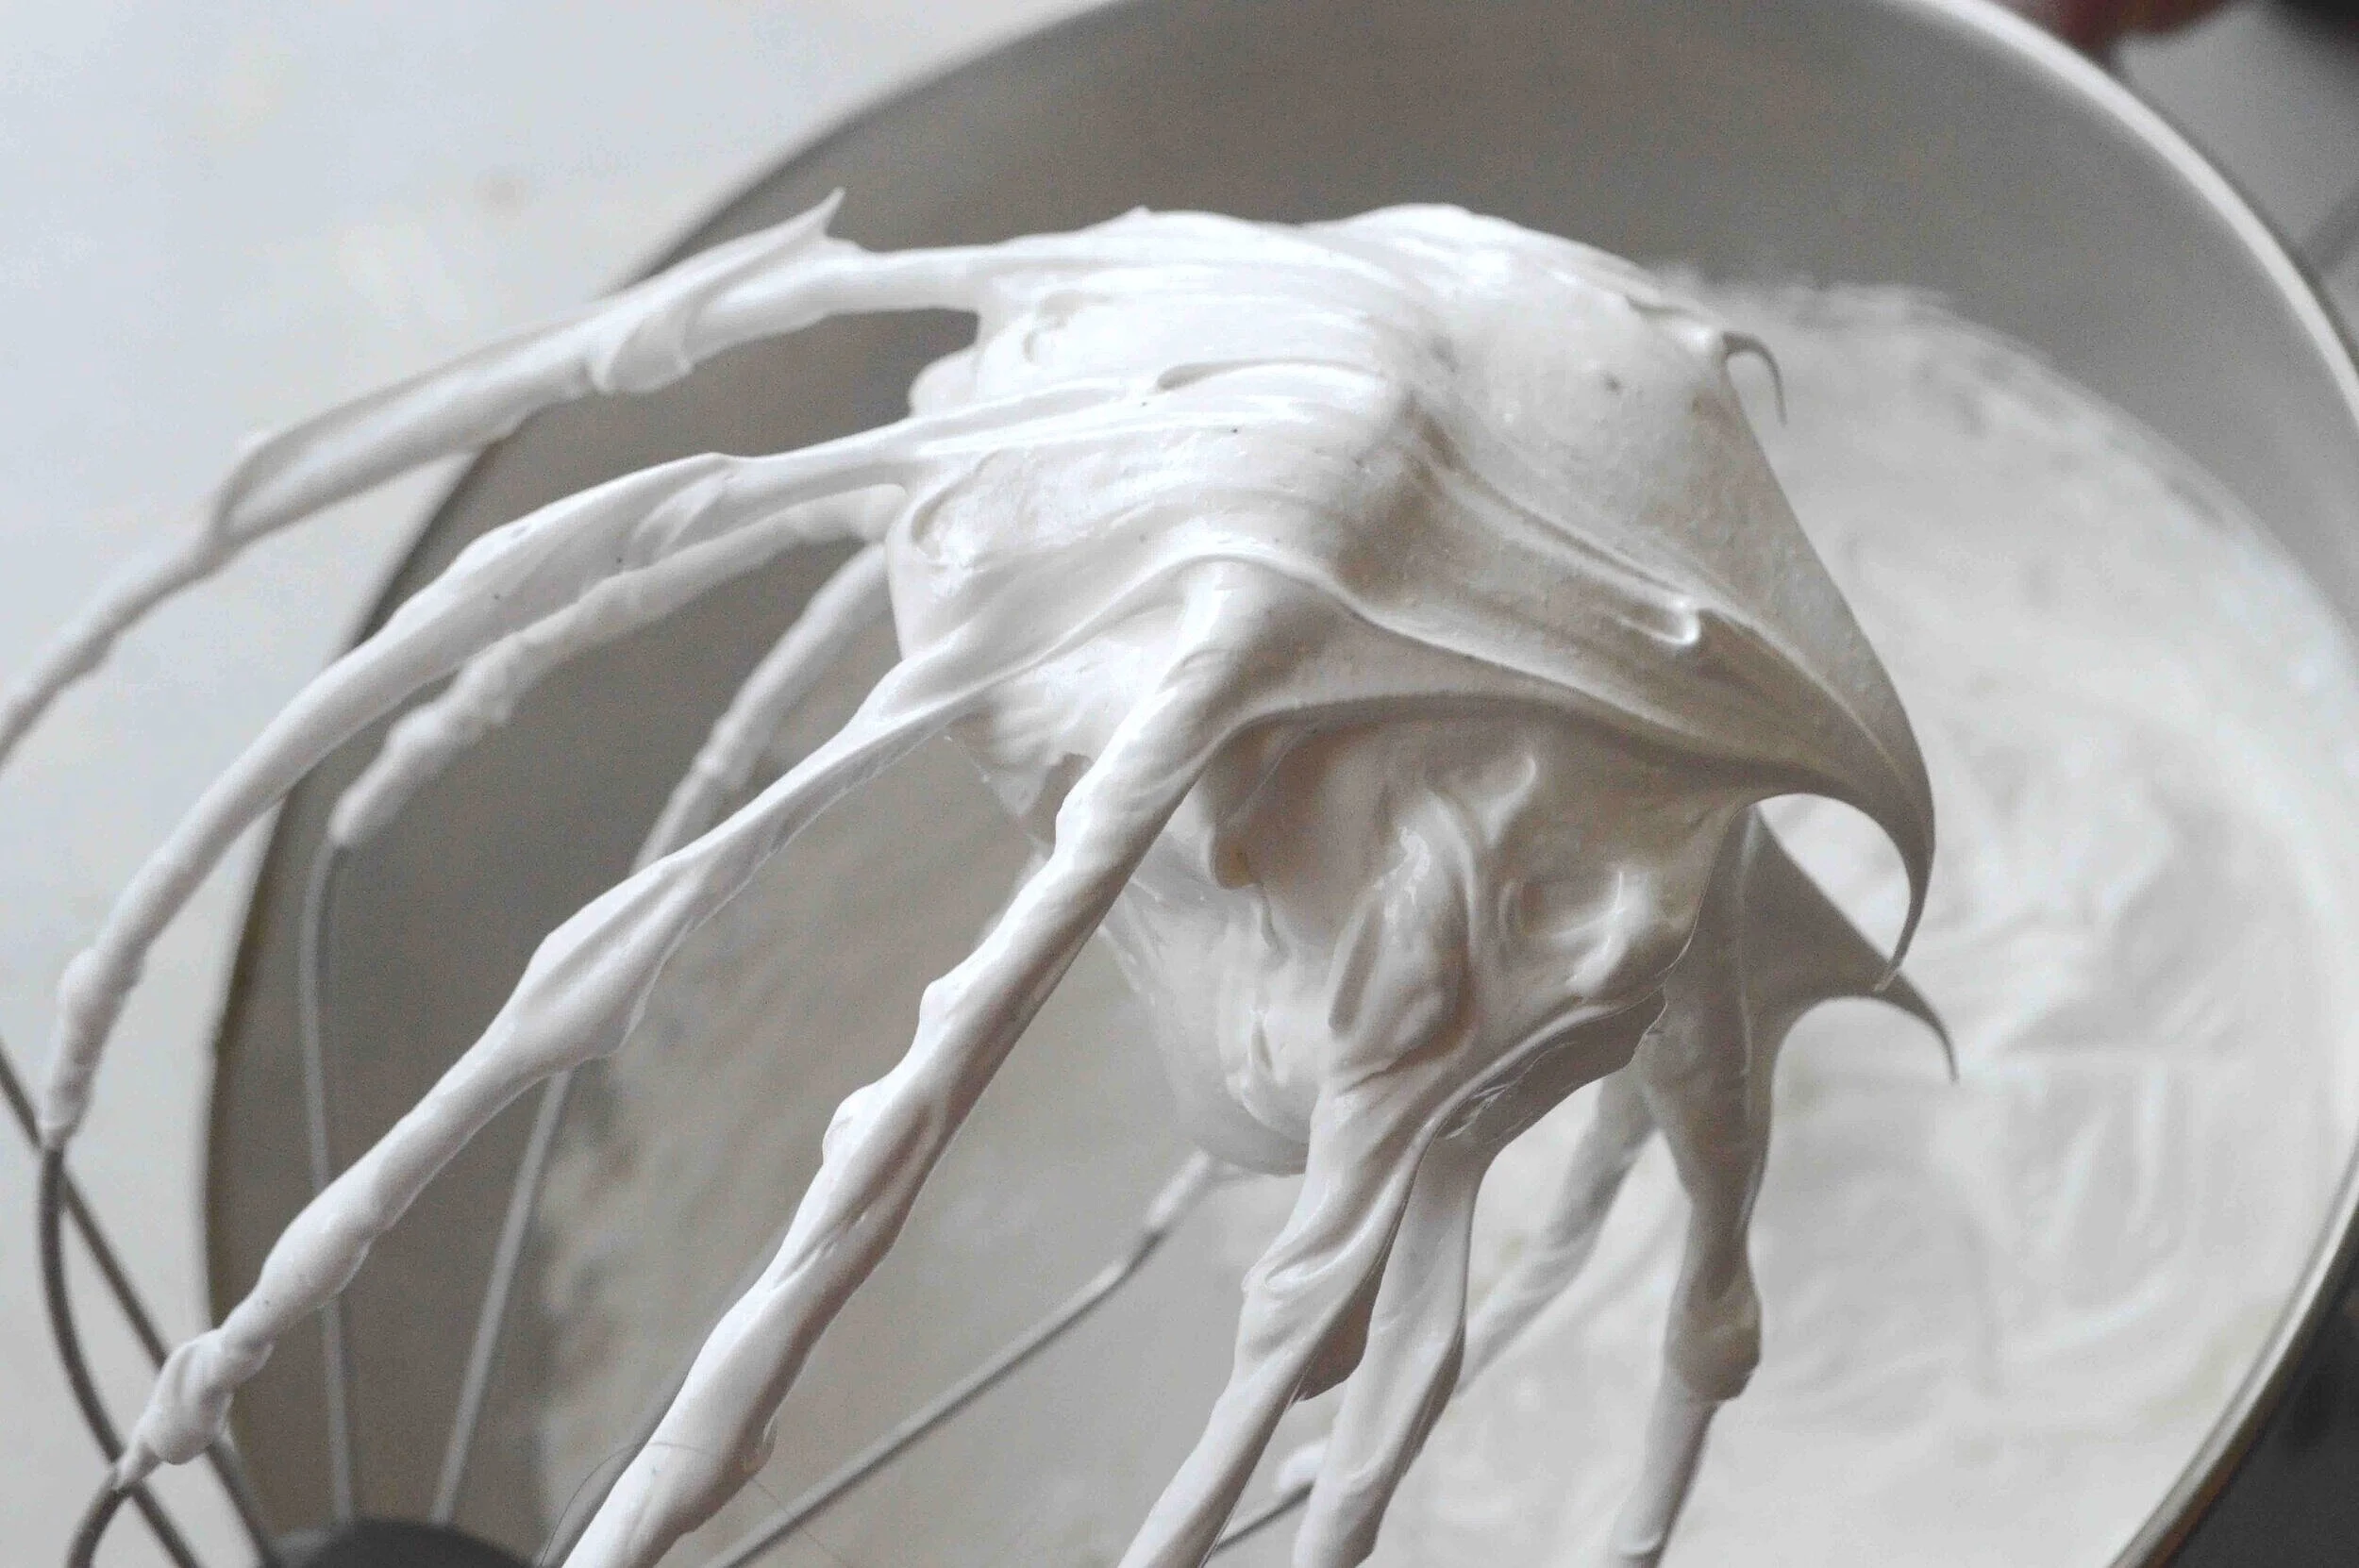
1) Beat the egg whites until they are really stiff.
2) Cook the meringues low and slow and let them entirely dry out in the oven.

3) Try not to make them on a rainy or really humid day or you run the risk of unwanted sogginess.
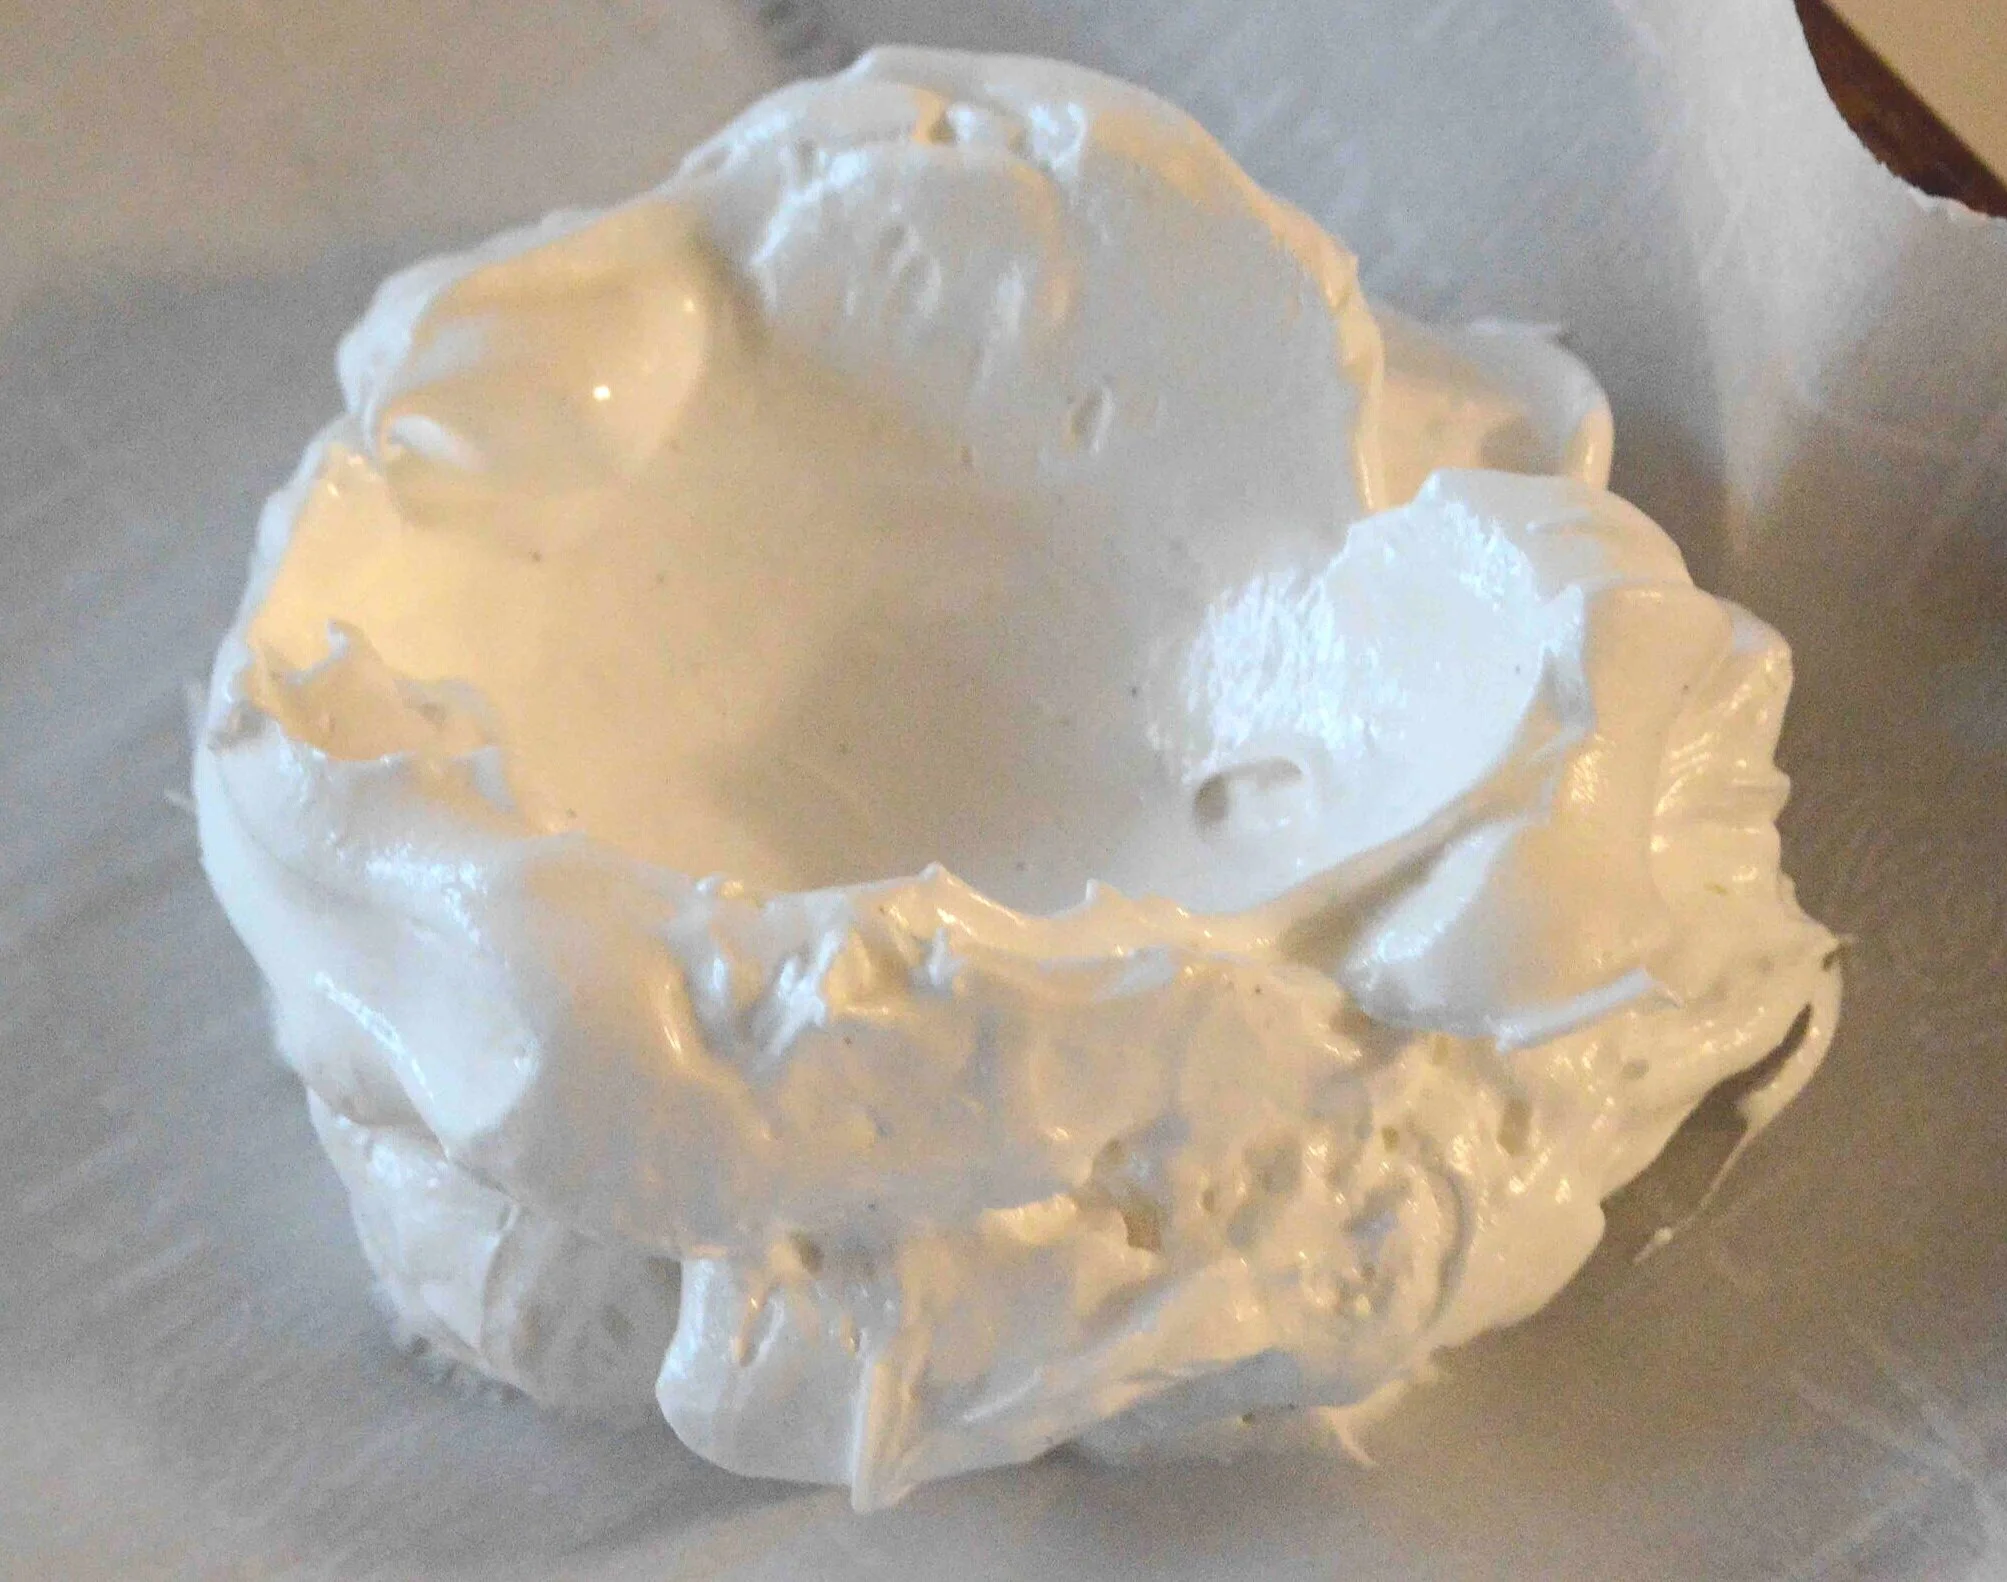
You can pipe the meringue onto the baking sheets to get really neat circles, or like me, you can simply just spoon them out, for a more freeform, rustic, craggy look.
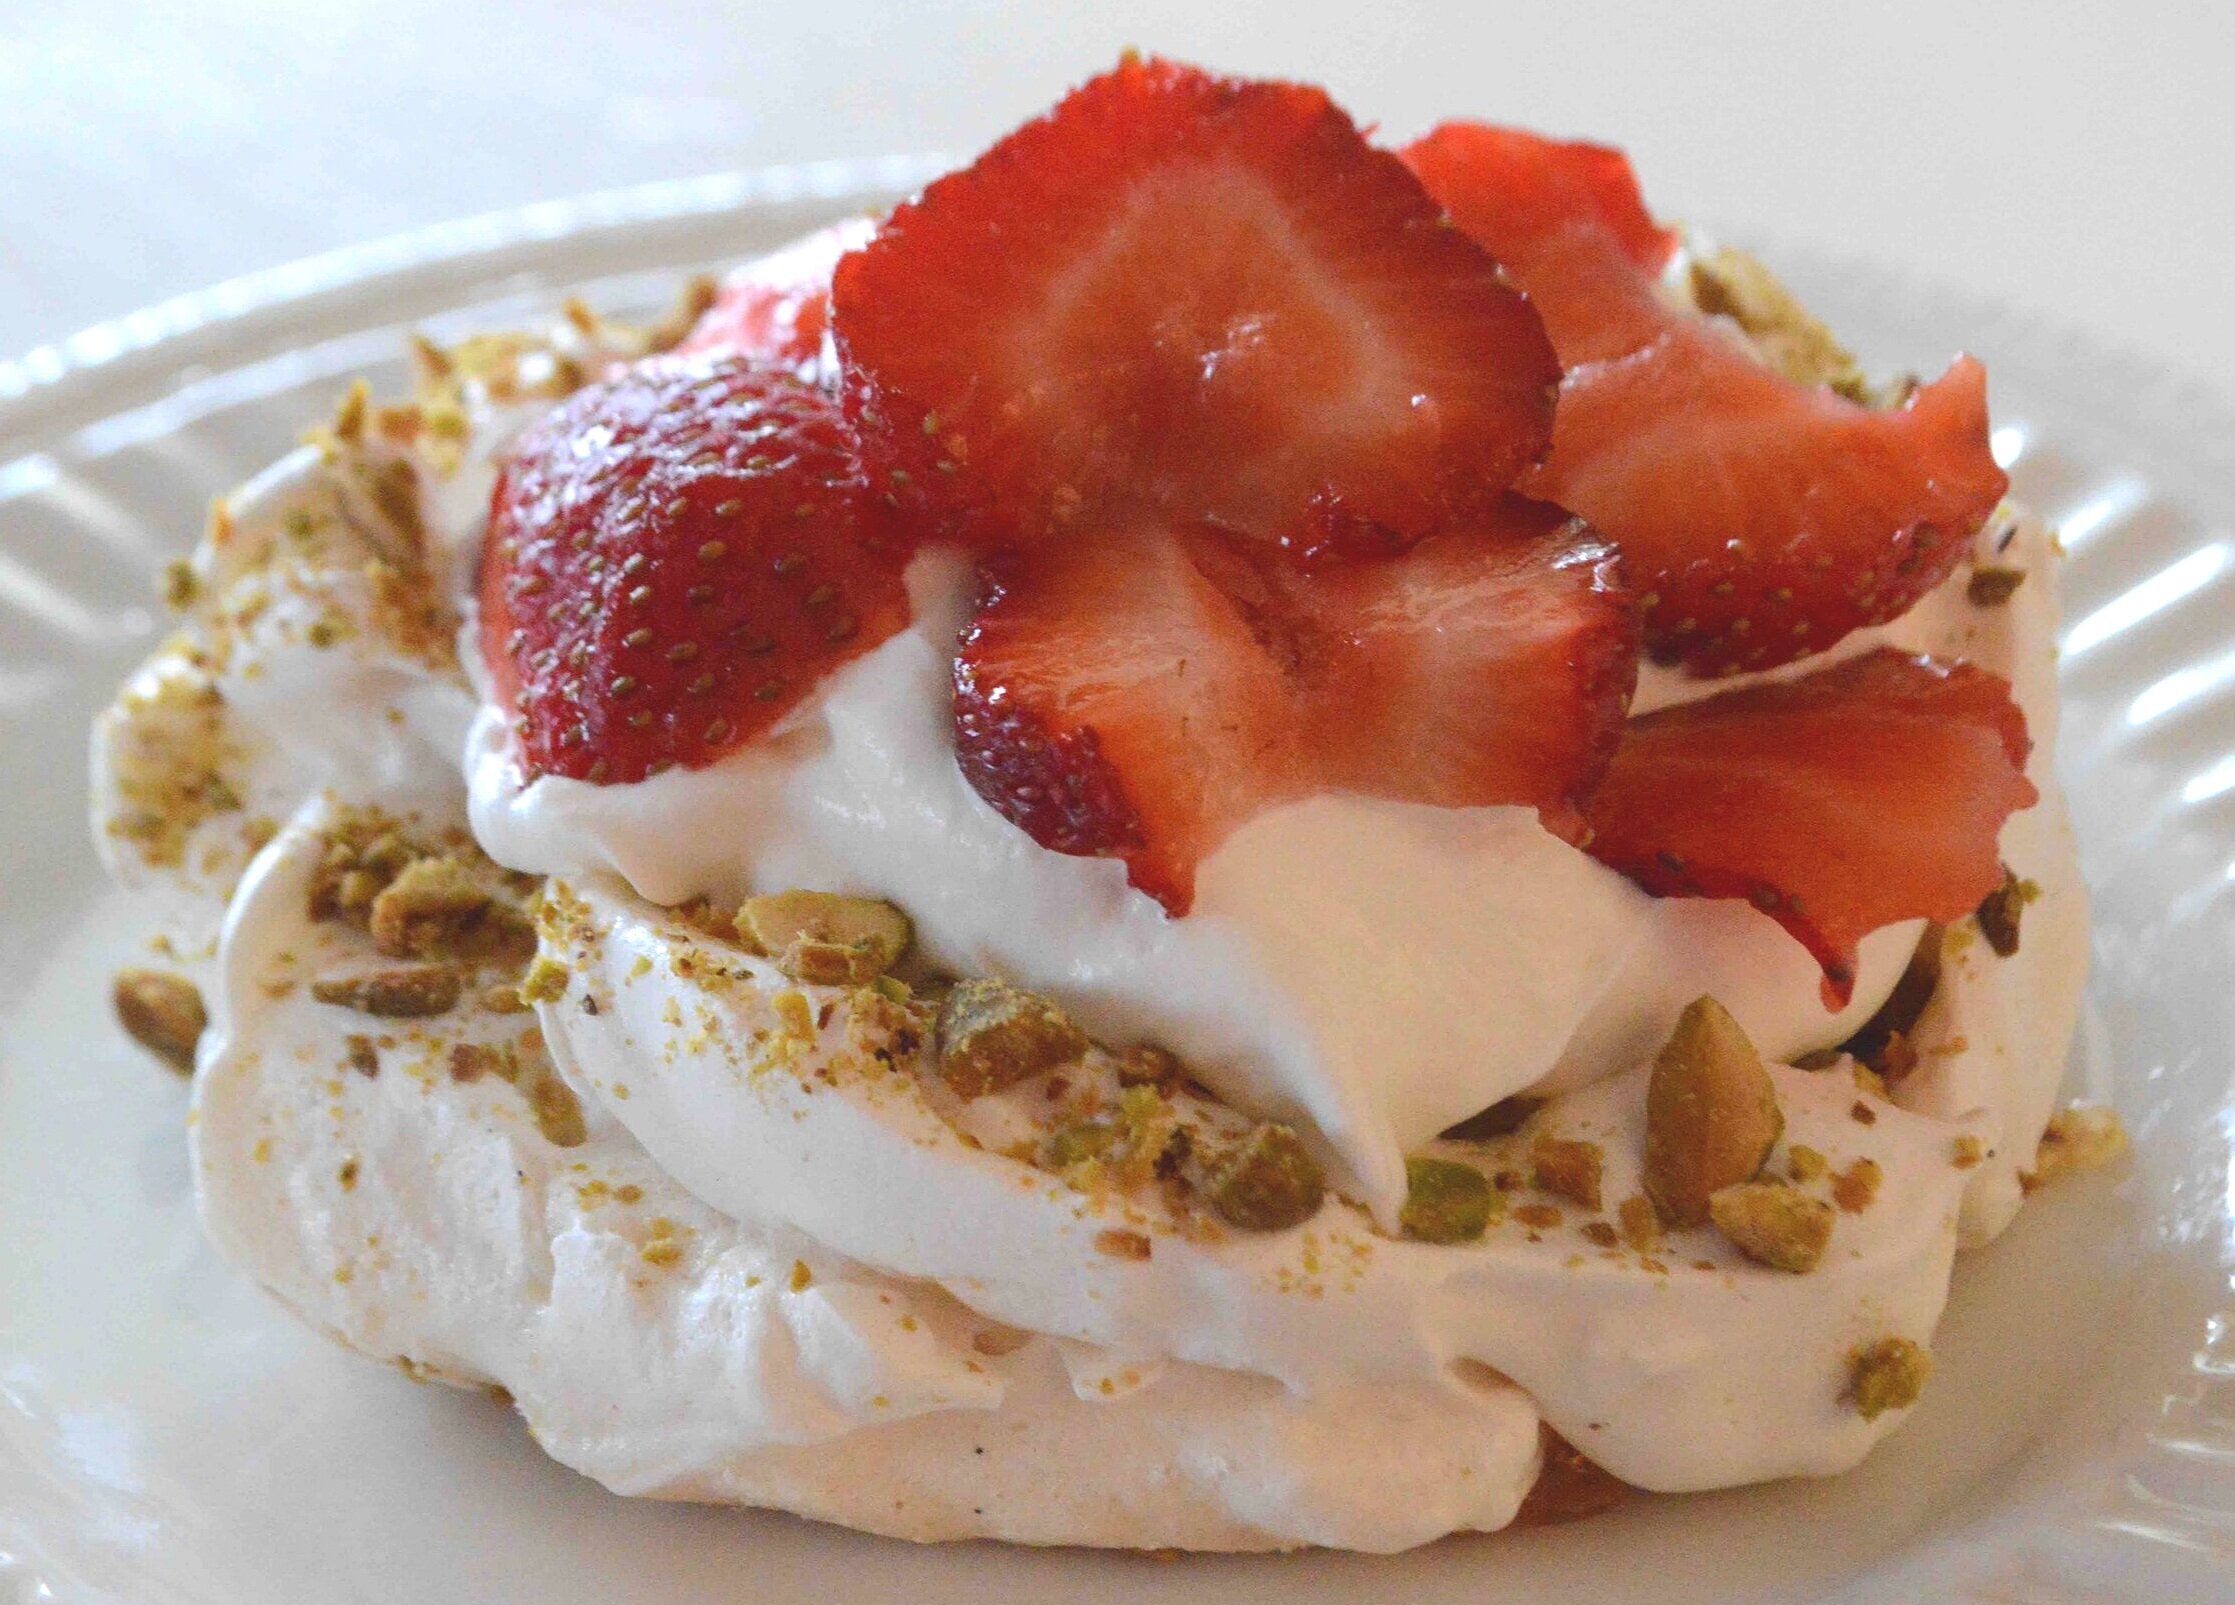
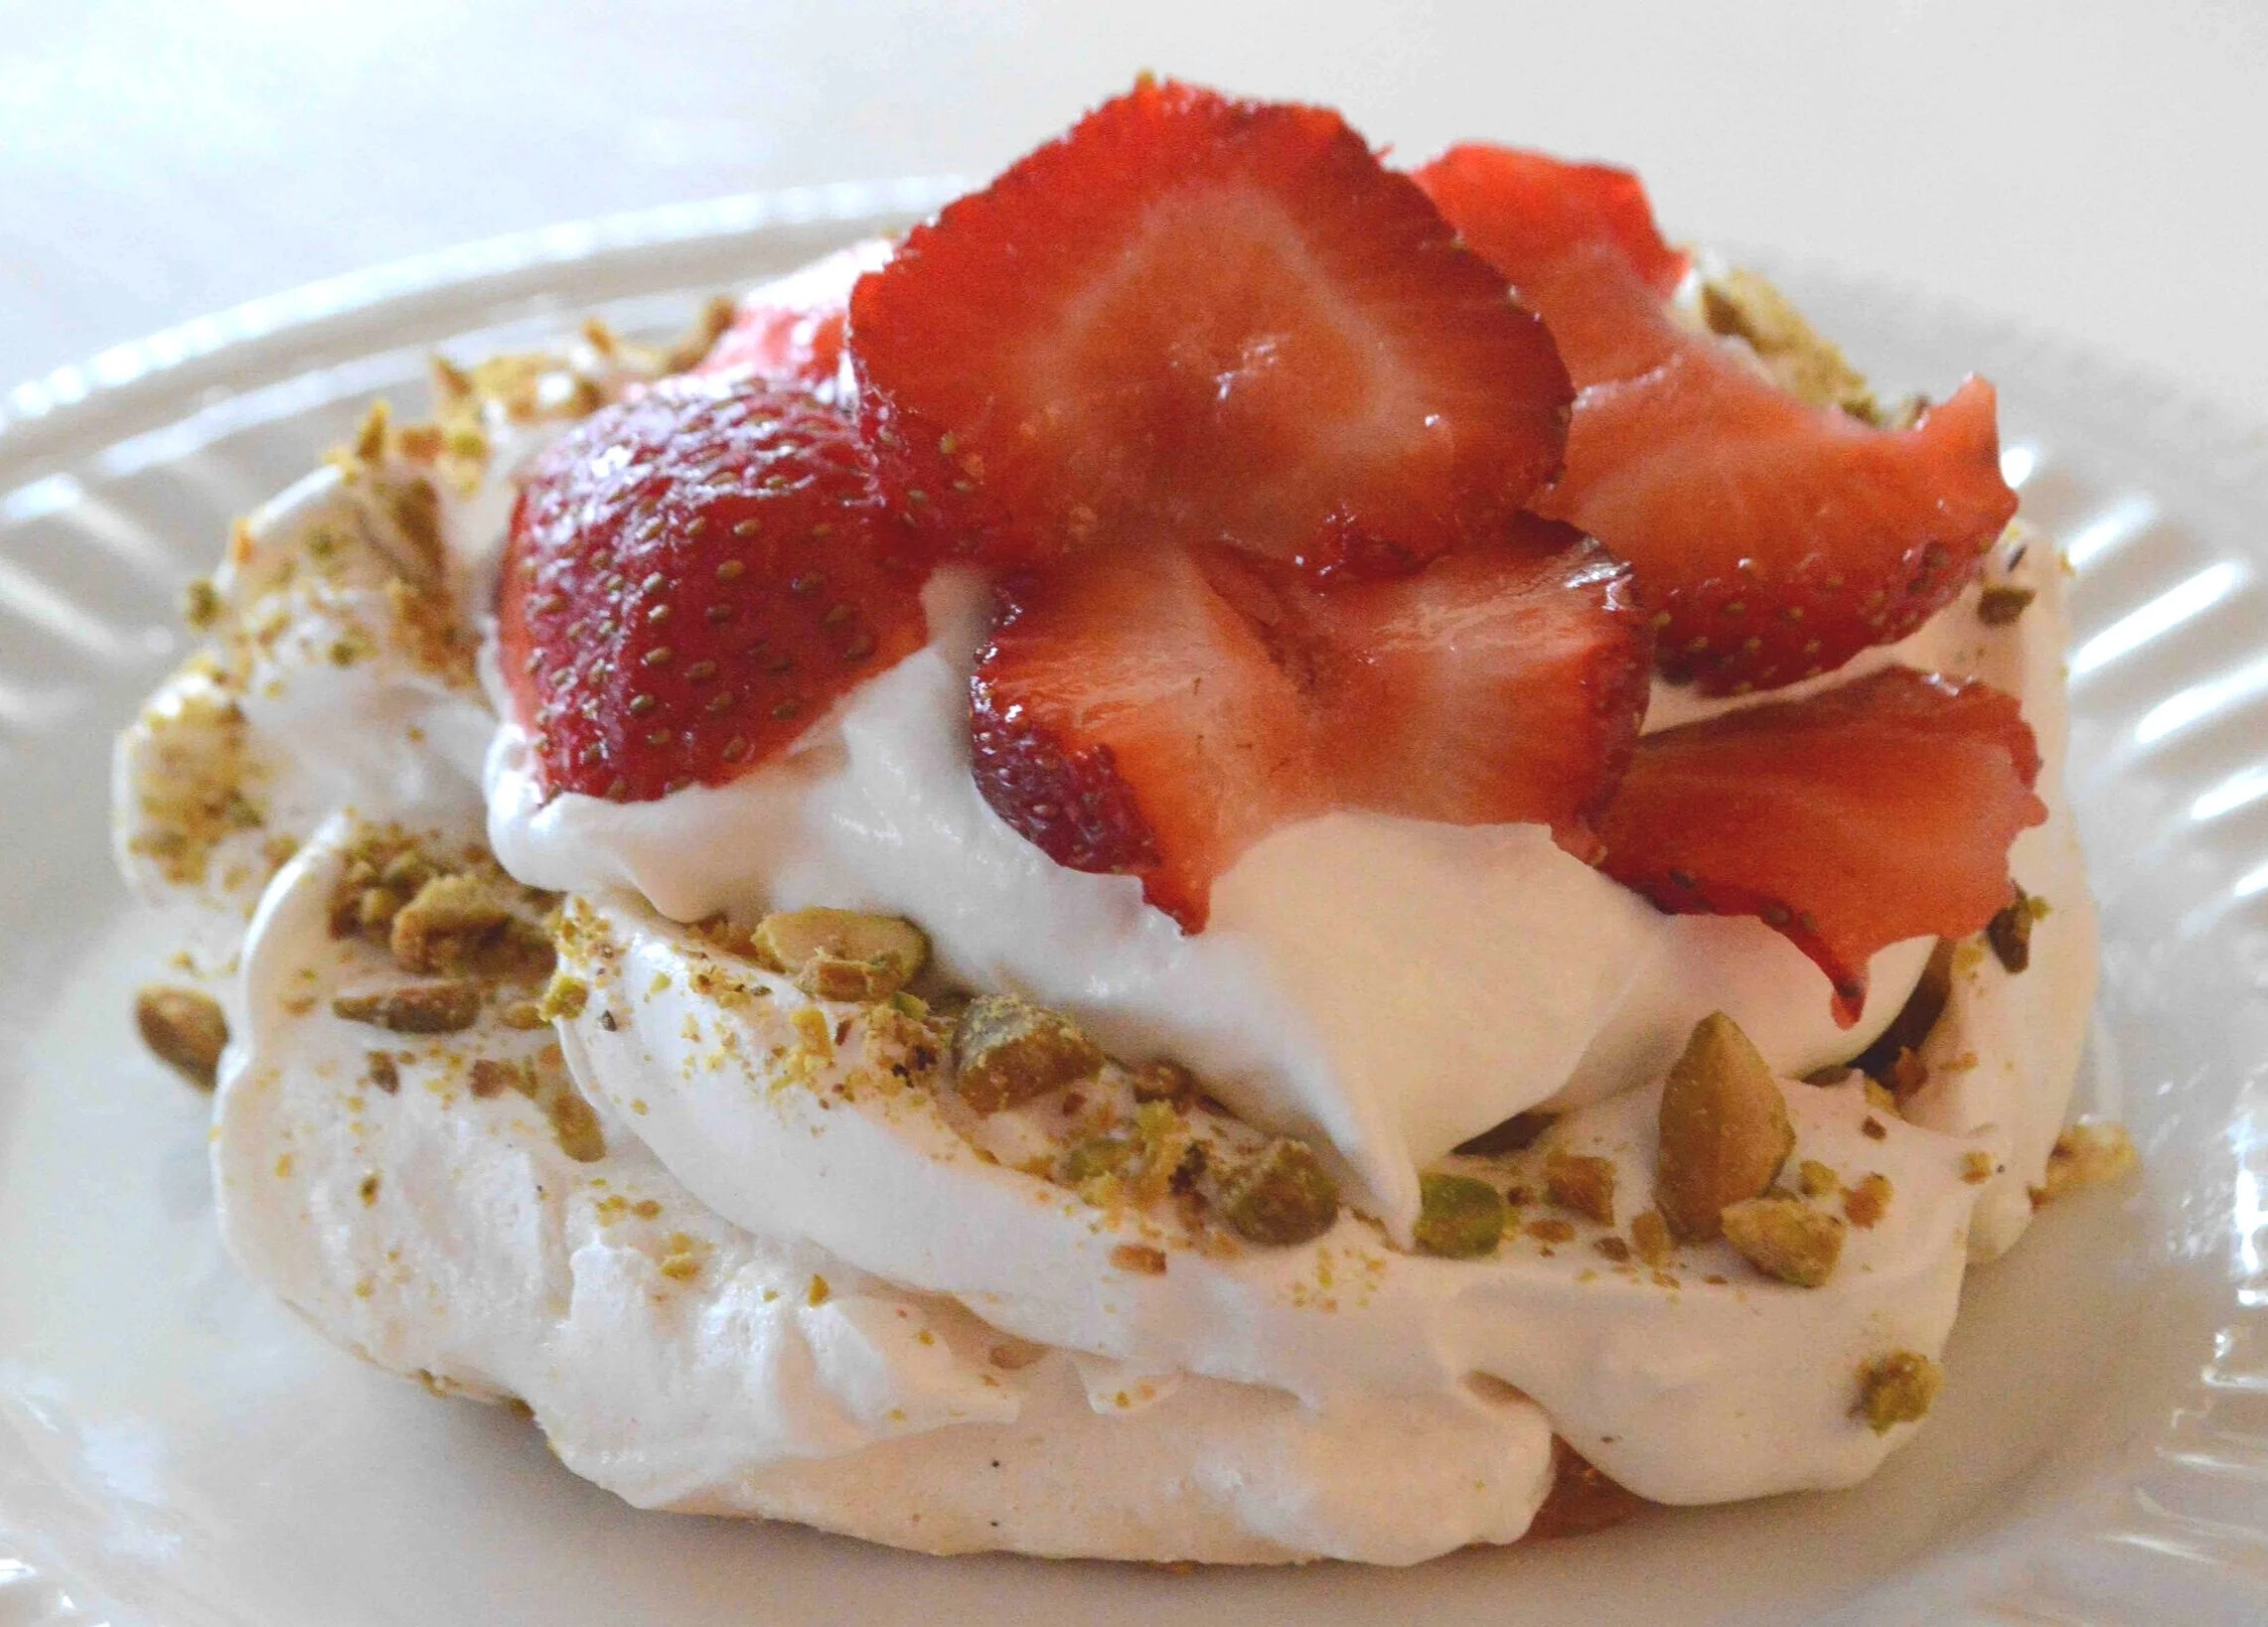
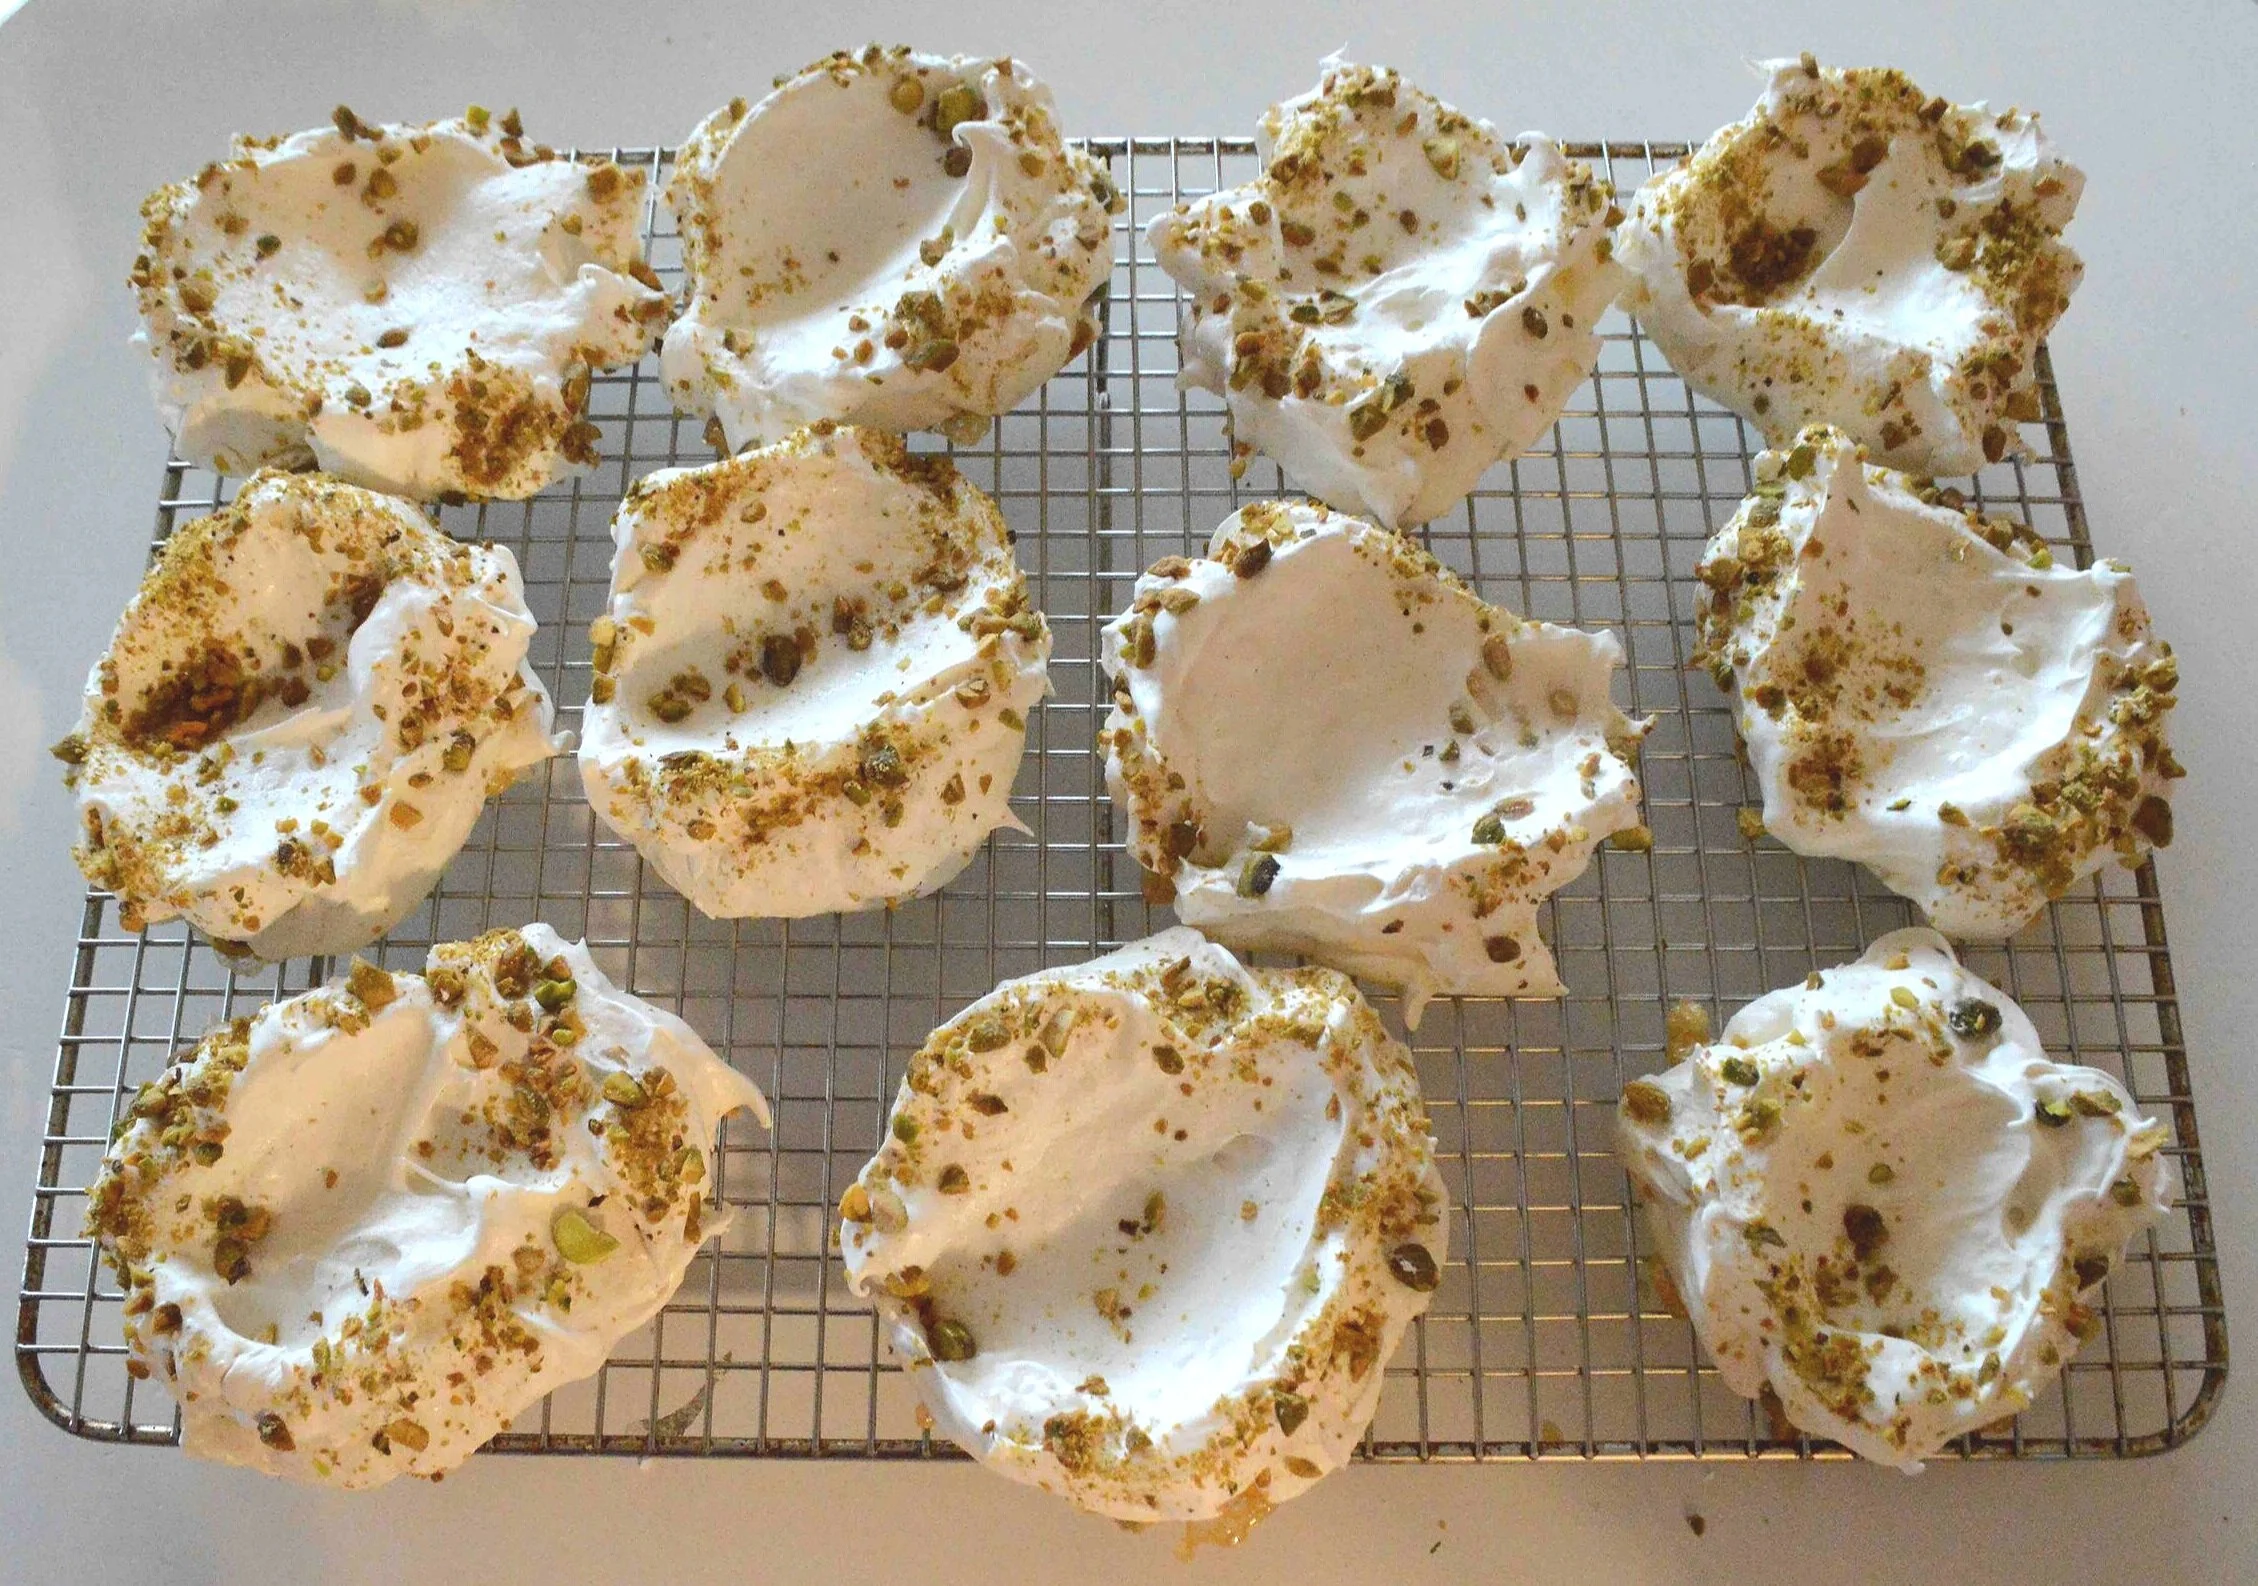
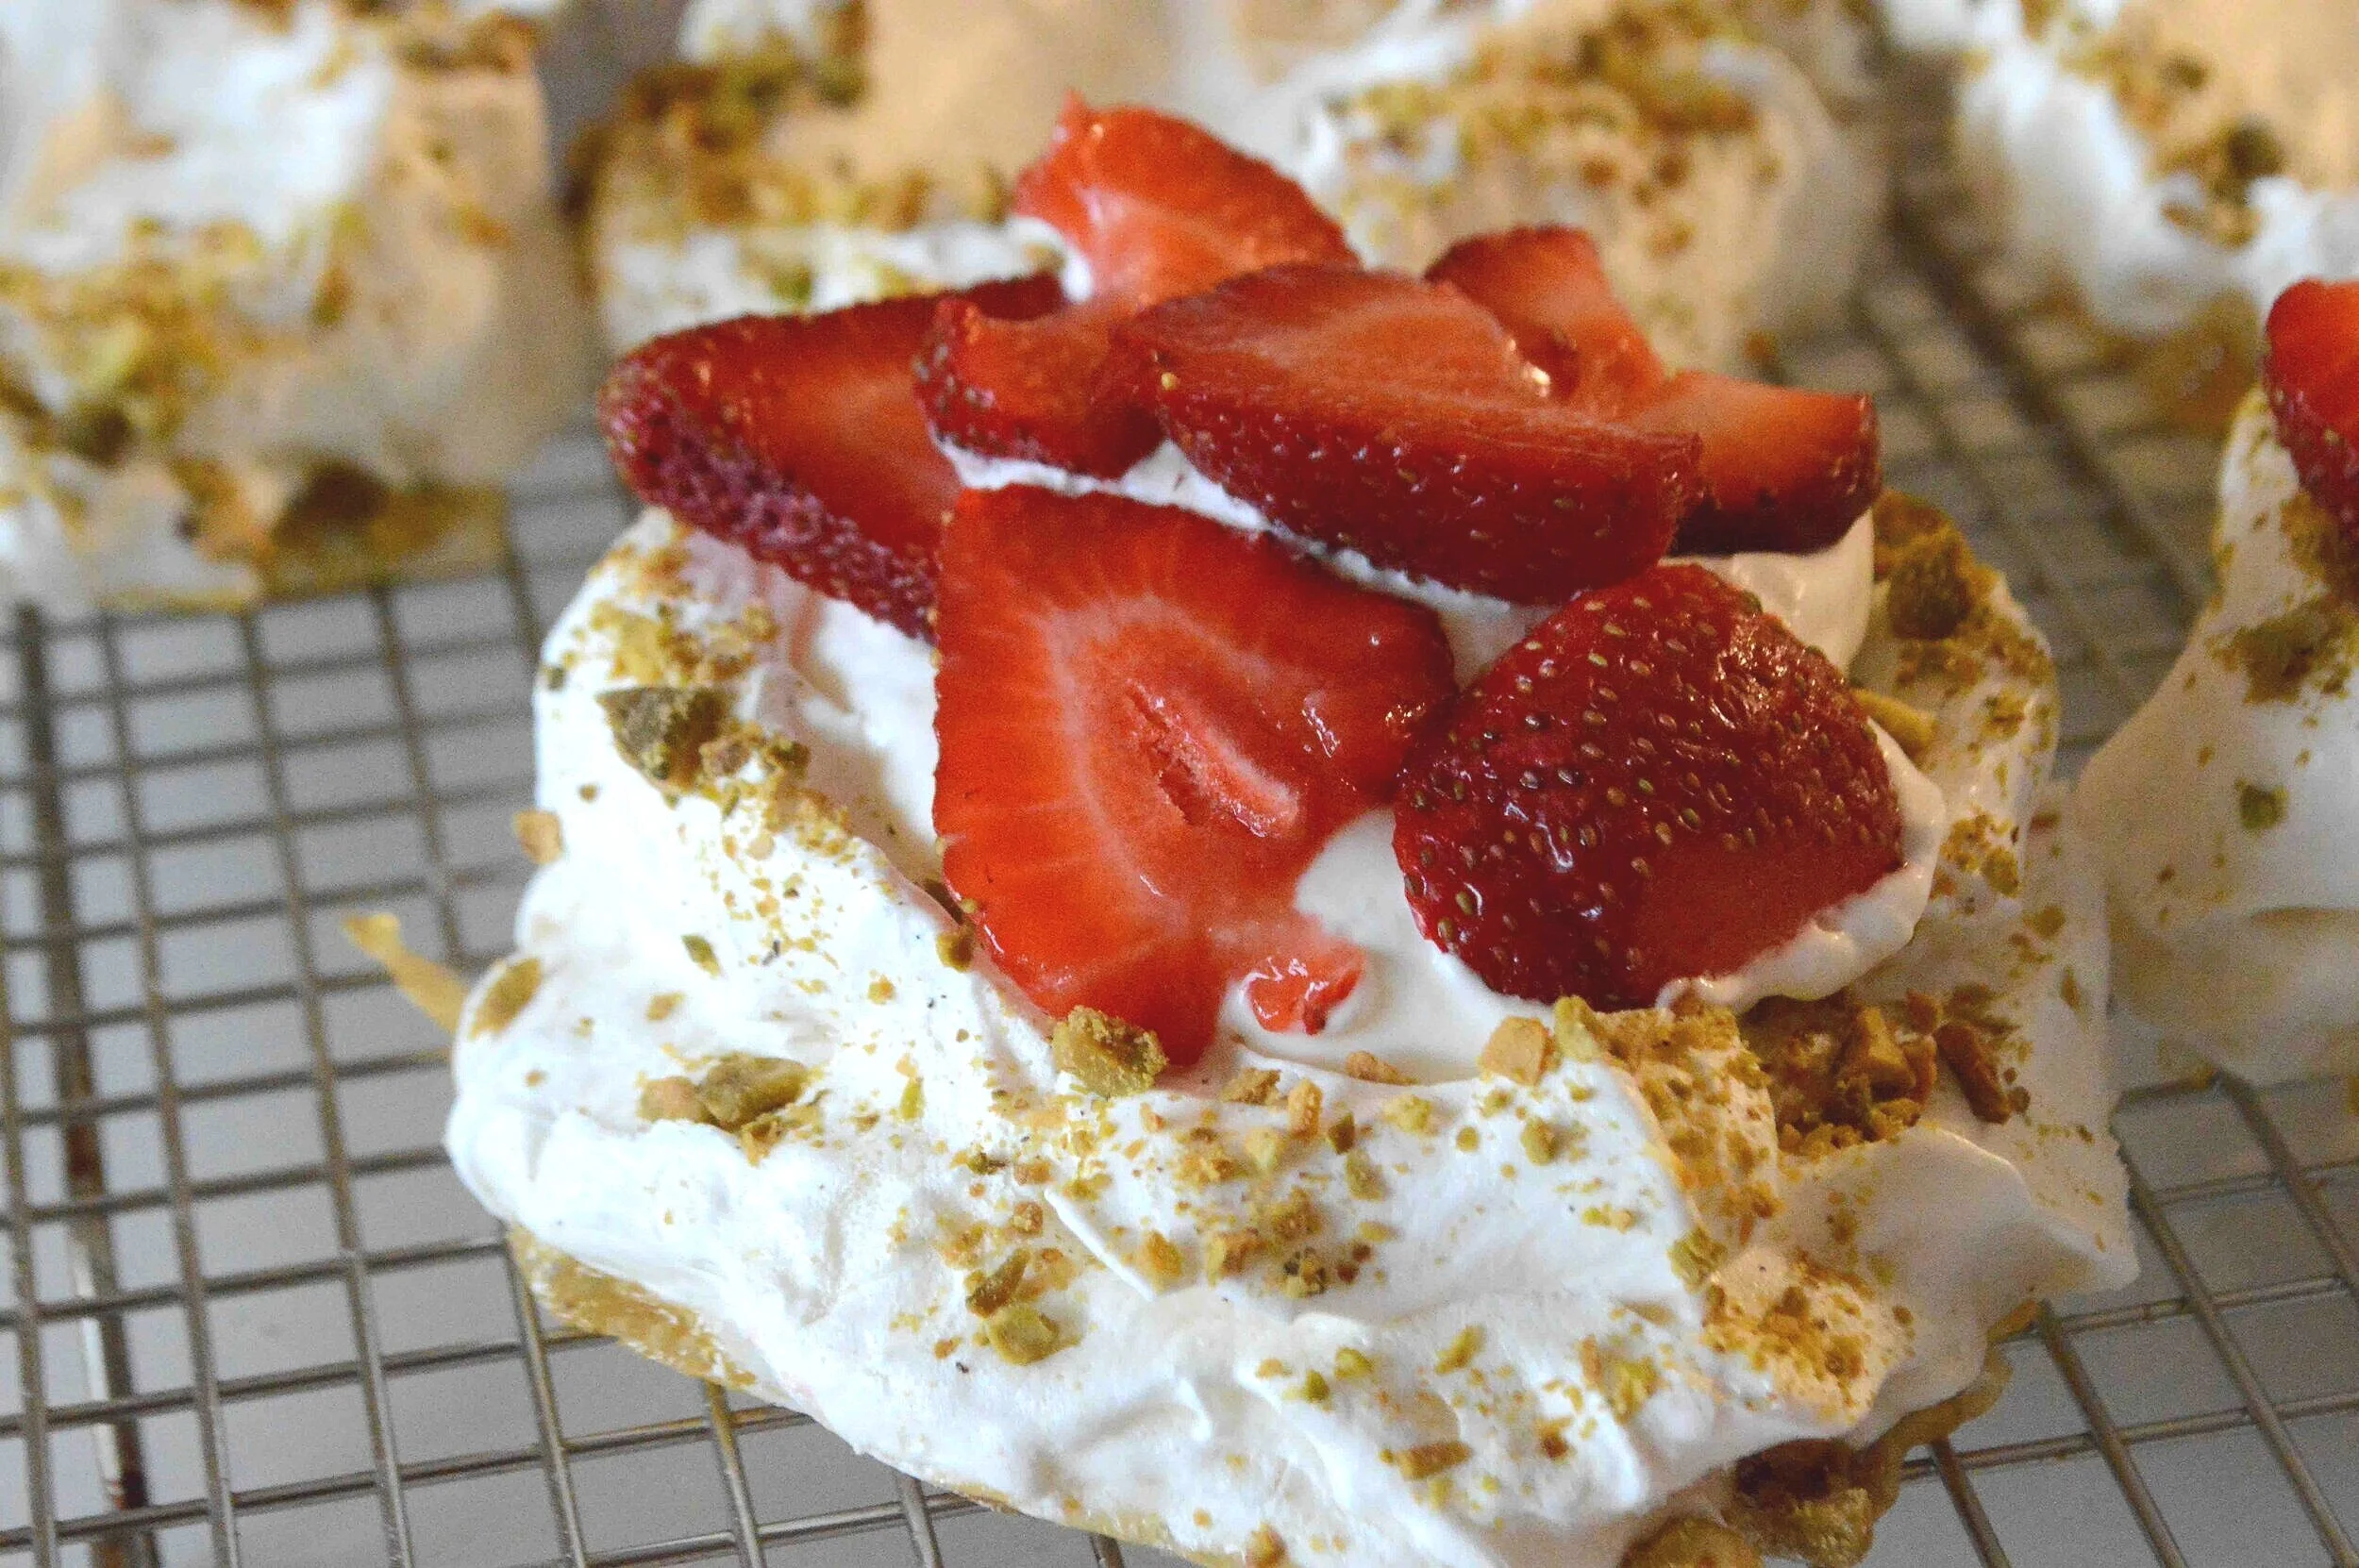
And you can then bake them as is or decorate the edges with some chopped nuts (I used pistachios) for added color, crunch and flavor.
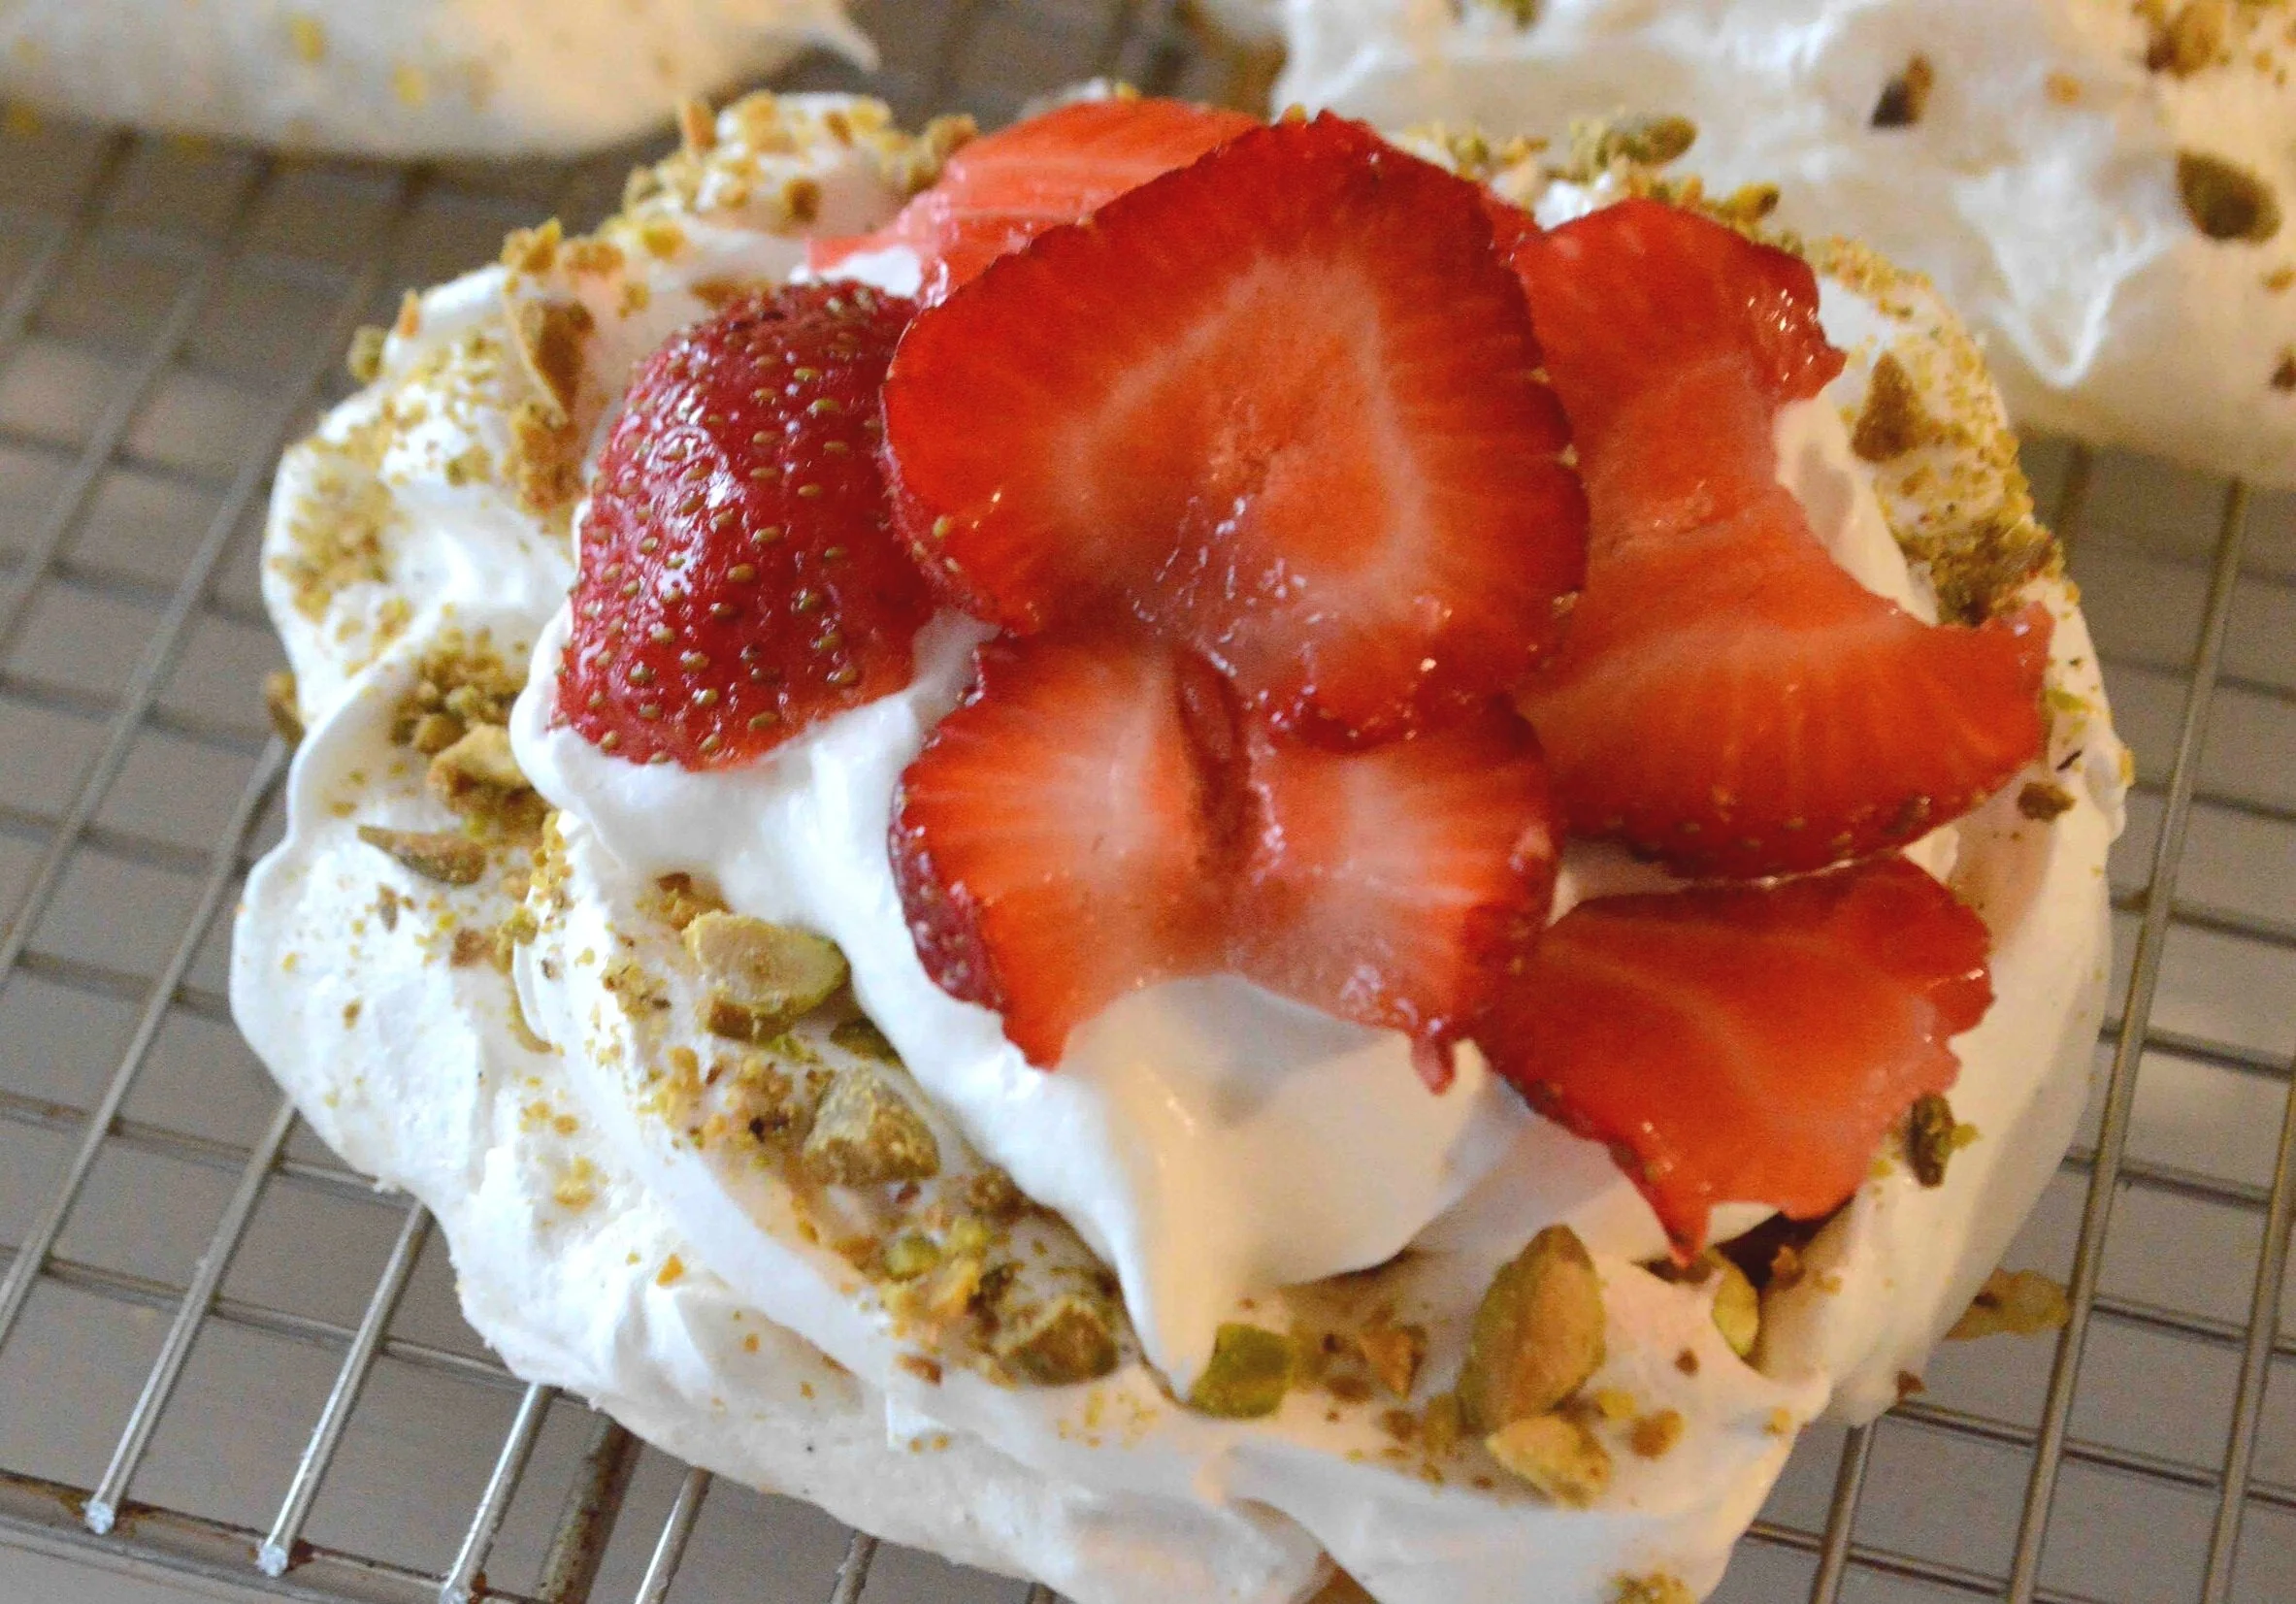
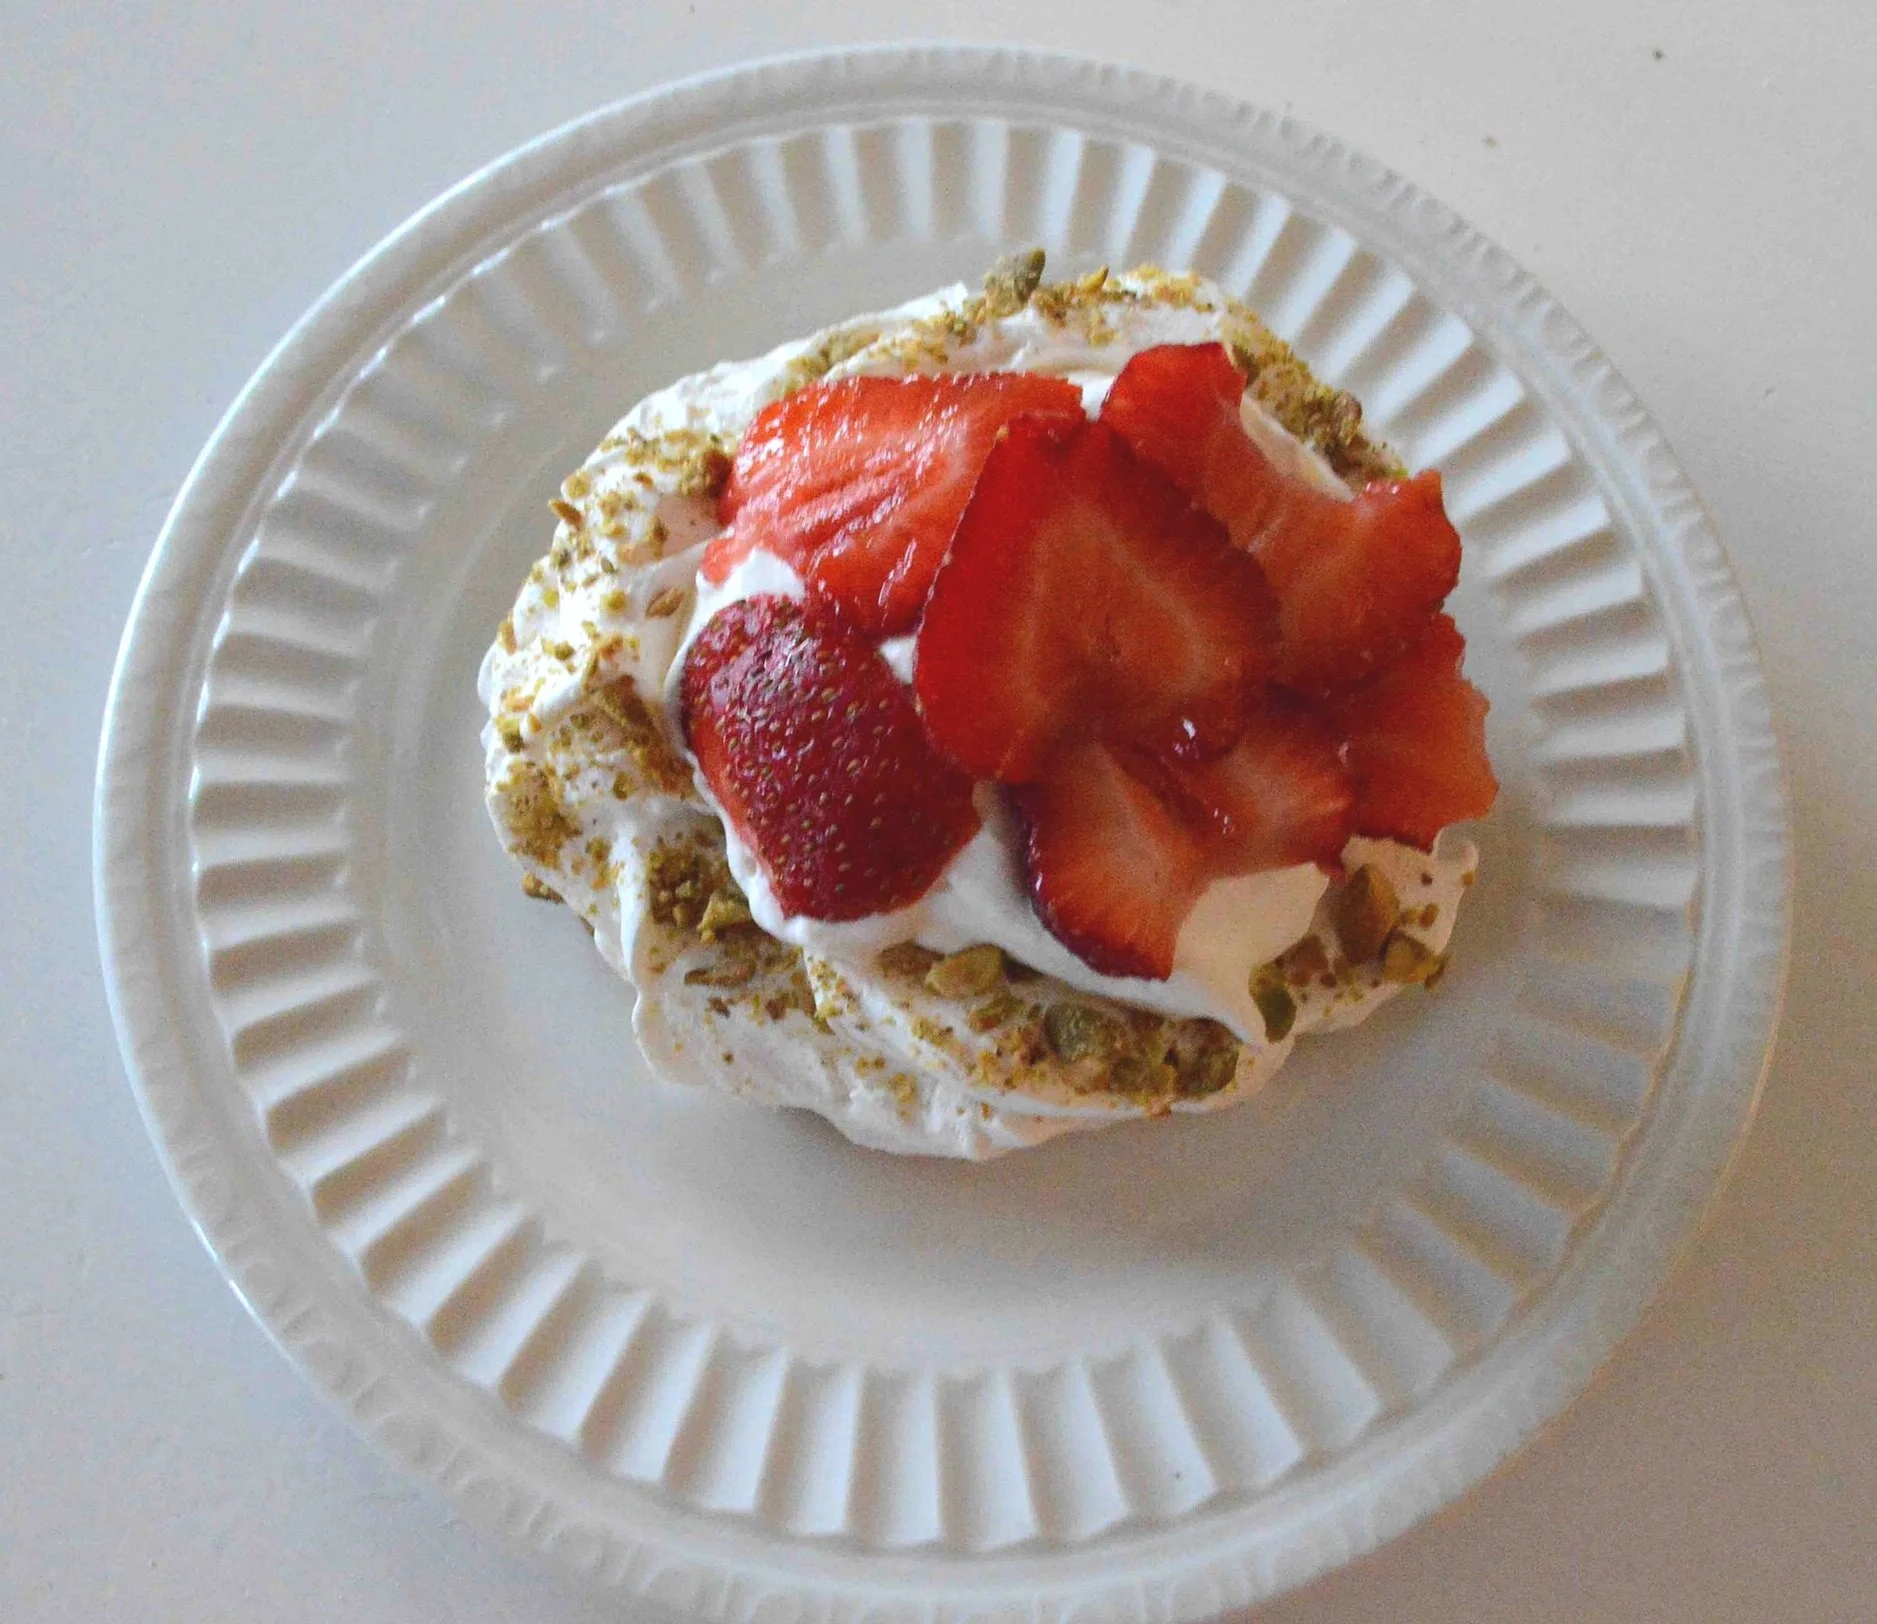
Once the meringues have baked and entirely cooled, you simply fill them with an easy-to-make homemade vanilla whipped cream
And scatter sliced strawberries atop that.
So pretty!
And so right for now! Light and crisp meringue, pillowy vanilla whipped cream and sweet strawberries—how can you go wrong?!!
Have a wonderful holiday weekend my friends and I’ll be back next week with more seasonal food and fun!xoxo
Mini Pavlovas with Strawberries and Vanilla Whipped Cream
Makes 12 servings
Prep Time for meringues: 35 minutes; Bake Time: 2 and ½ hours, plus several hours cooling in oven; Prep Time for berries and whipped cream: 10-15 minutes
Ingredients
For the meringues
1 ¼ cups sugar
6 large egg whites
Pinch of cream of tartar
½ teaspoon kosher salt
1 vanilla bean, split lengthwise or 2 teaspoons vanilla extract
½ cup finely chopped pistachios, for decorating (optional)
For the pavlovas
2 pints strawberries, hulled and sliced (you could definitely sub in raspberries, blueberries or any combo of berries you prefer)
1 ¼ cups heavy cream
2 tablespoons sugar
1 ½ teaspoons vanilla extract
The Recipe
1. Preheat oven to 350ºF. Place the sugar in a shallow baking dish, like a pie plate or pyrex dish and bake for 8 minutes. Meanwhile place the egg whites in the bowl of the electric mixer with the whisk attachment. When the timer rings for the 8 minutes, set the timer for 2 more minutes for sugar and beat the egg whites with the cream of tartar until foamy. It’s fine if you only have a handheld mixer—you’ll just have to beat for a little longer later on in the process.
2. Remove the sugar from the oven and turn the temperature down to 200ºF. With the mixer still running, slowly pour (or spoon) the sugar into the eggs, eventually adding the salt. Now turn the mixer on to high speed and beat until stiff peaks form and the sides of the bowl are barely warm when you touch them. This will definitely take at least 8-10 minutes and longer for a handheld mixer. Add in the vanilla bean seeds or extract and beat just to mix.
3. Line two rimmed baking sheets with parchment paper and scoop out 12 equalish-sized meringue mounds, dividing between the two sheets. Use the back of spoon to make a little well in the center of each mound, so that the rounds are about 3-inches across. If you are using the pistachios, decorate the edges of the well with them to create a border.
4. Bake the sheets for about 2 ½ hours, reversing the sheets from top to bottom and back to front after about an hour to help them cook evenly. Meringues are done when they feel dry and firm to the touch. Turn off the oven and use a wooden spoon to prop open the oven door. Let the meringues cool completely in the oven. This will take at least a couple of hours. You can definitely make these 1 day ahead and store them in an airtight container at room temperature.
5. Right before you’re ready to serve them, whip the heavy cream with the sugar and vanilla until soft peaks form. Spoon a generous amount of whipped cream into the mounds of each meringue and top with the sliced strawberries. Serve immediately.
6. Leftover unfilled meringue shells can be stored at room temperature in an airtight container for at least 1 week and filled as needed.
Enjoy!
Note: Recipe adapted from a 2015 edition of Bon Appétit Magazine. I tinkered with proportions and ingredients.