Homemade Marshmallow Overloaded S'mores Bars


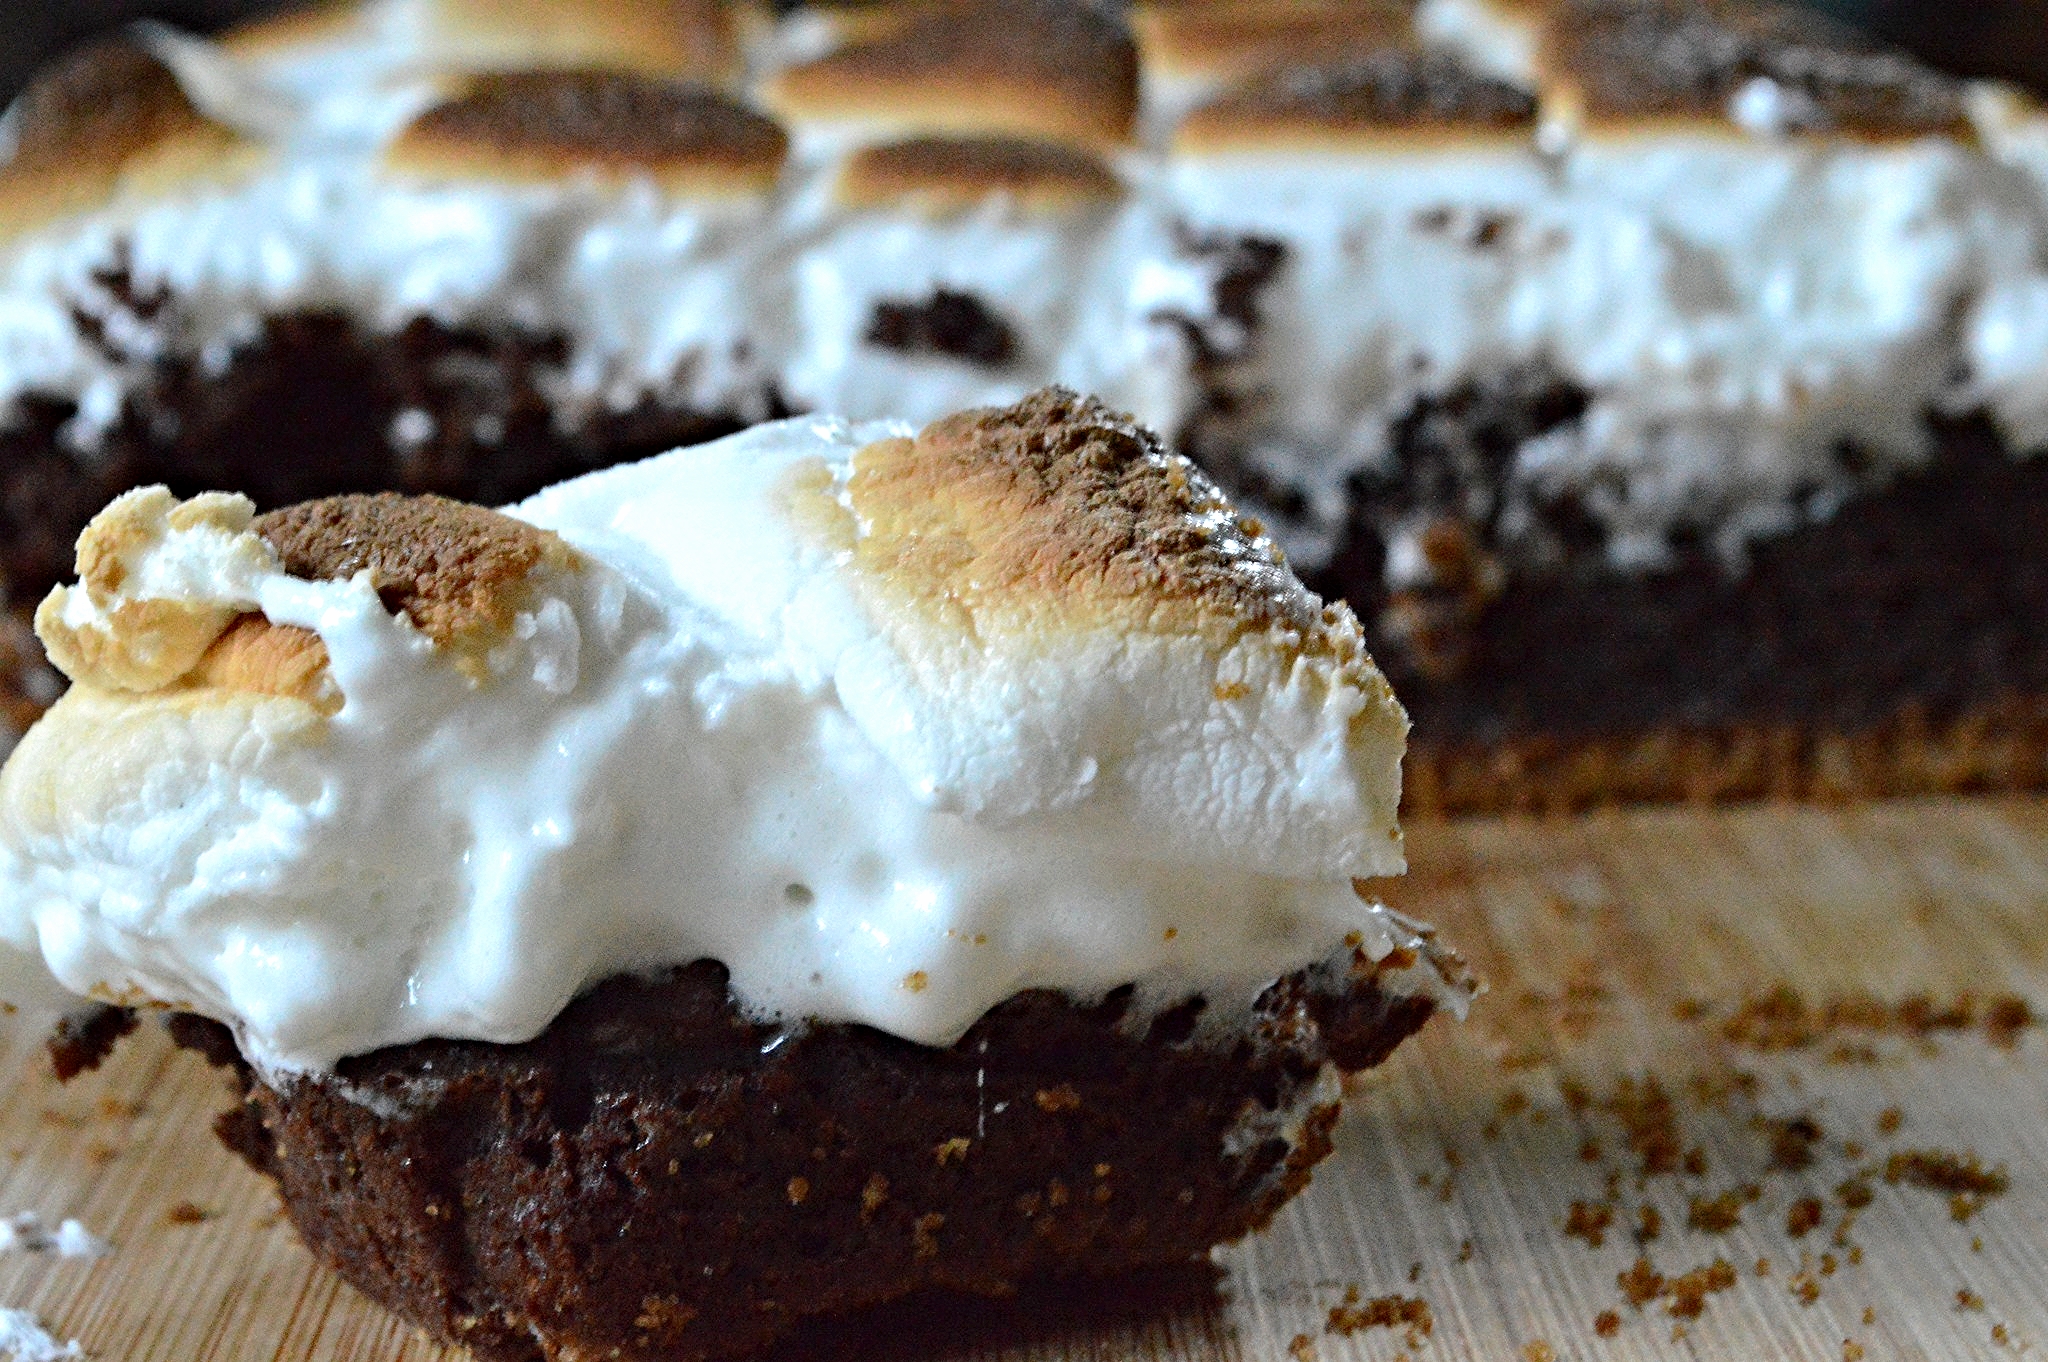
How does a buttery graham cracker crust slathered with a rich chocolate ganache filling and topped by more than 2 inches of homemade marshmallows sound? And what if you were to torch that marshmallow so that it's gorgeously caramelized and gooey? Getting excited now? If not, I'm not sure that you're still breathing!! You may be in need of emergency ingestion of one of these homemade marshmallow overloaded s'mores bars to zap you back into the land of the living!

I can't think of a more summery dessert than s'mores and these are like s'mores on steroids--people of all ages will be wowed! Especially when you bring out the kitchen blowtorch and let your party guests toast the tops of their own marshmallow bars (be careful with the little guys, though!)That's what we did for July 4th and it was a huge hit...and not just with the kiddies!!
If I'm being honest (and it's what I'm aiming for here with you guys) marshmallows make me feel kinda meh--at least the store bought kind. But earlier this year, I made my first batch of homemade and now the world is a different place!! The homemade version bears little resemblance other than in color to those you buy in the bag and they are not at all hard to whip up (pun intended!!) If you've always wanted to try your hand at making the homemade marshmallows, now's your chance 'cause it's s'mores season guys and these s'mores bars are seriously amazing!
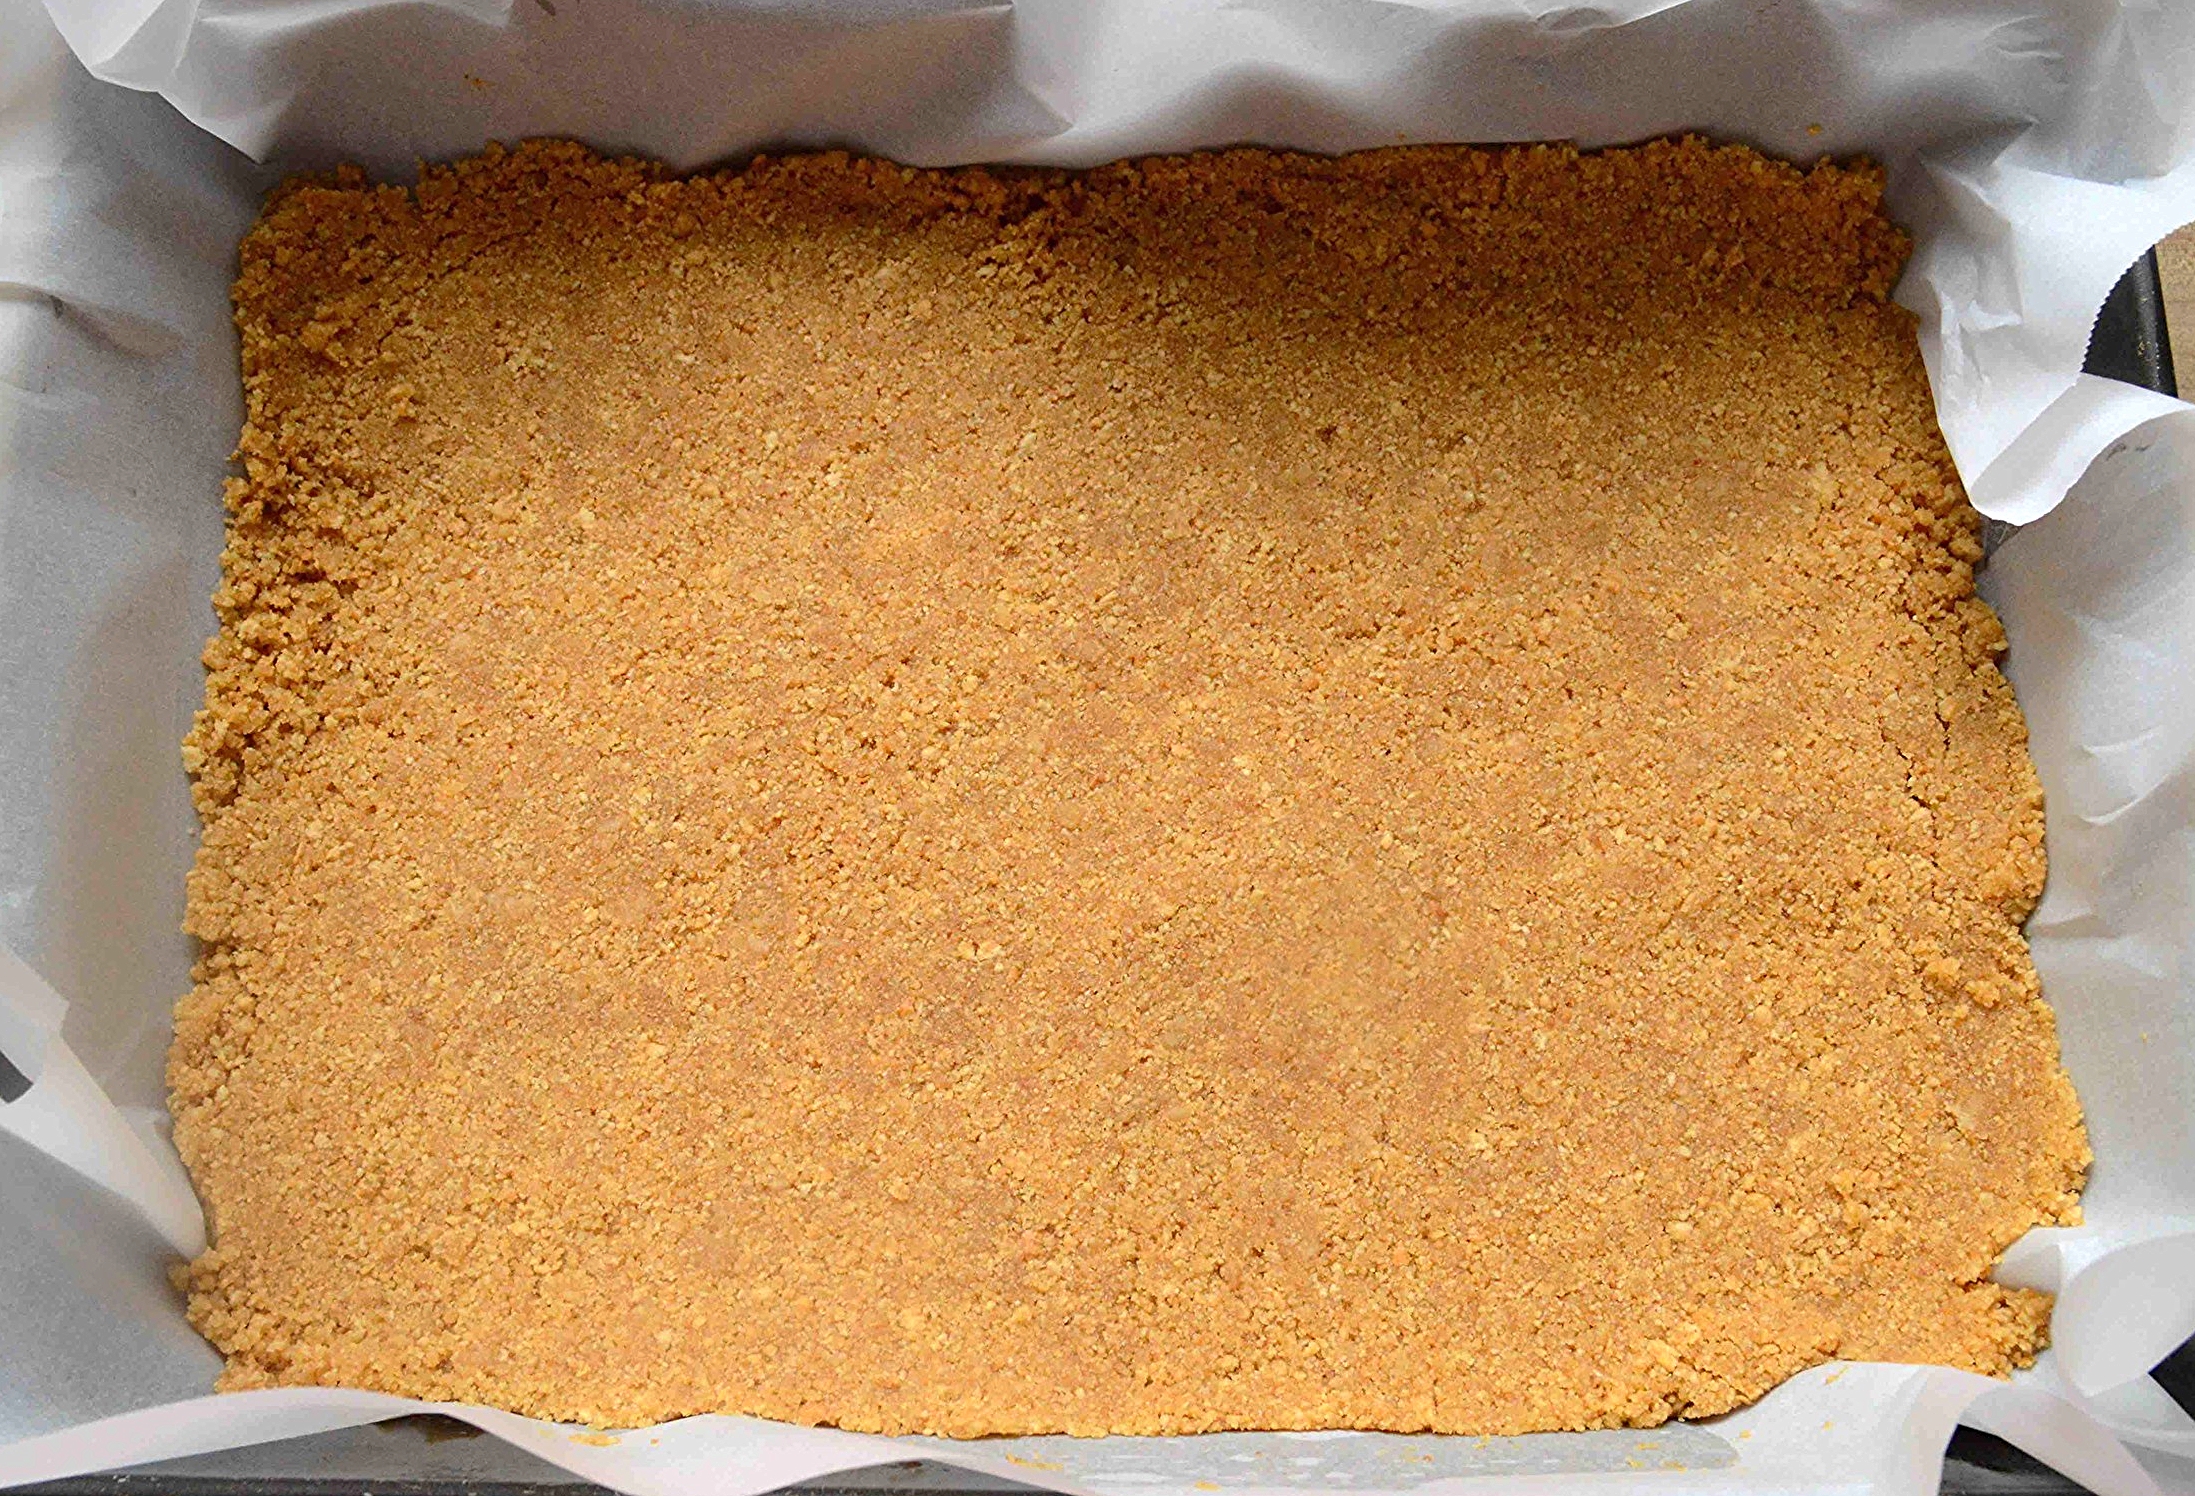
You start by making a simple graham cracker crust--
Which you then top with an simple chocolate ganache filling. The entire thing gets baked for a short time. And then you go to work on the star of the dish: the marshmallow!

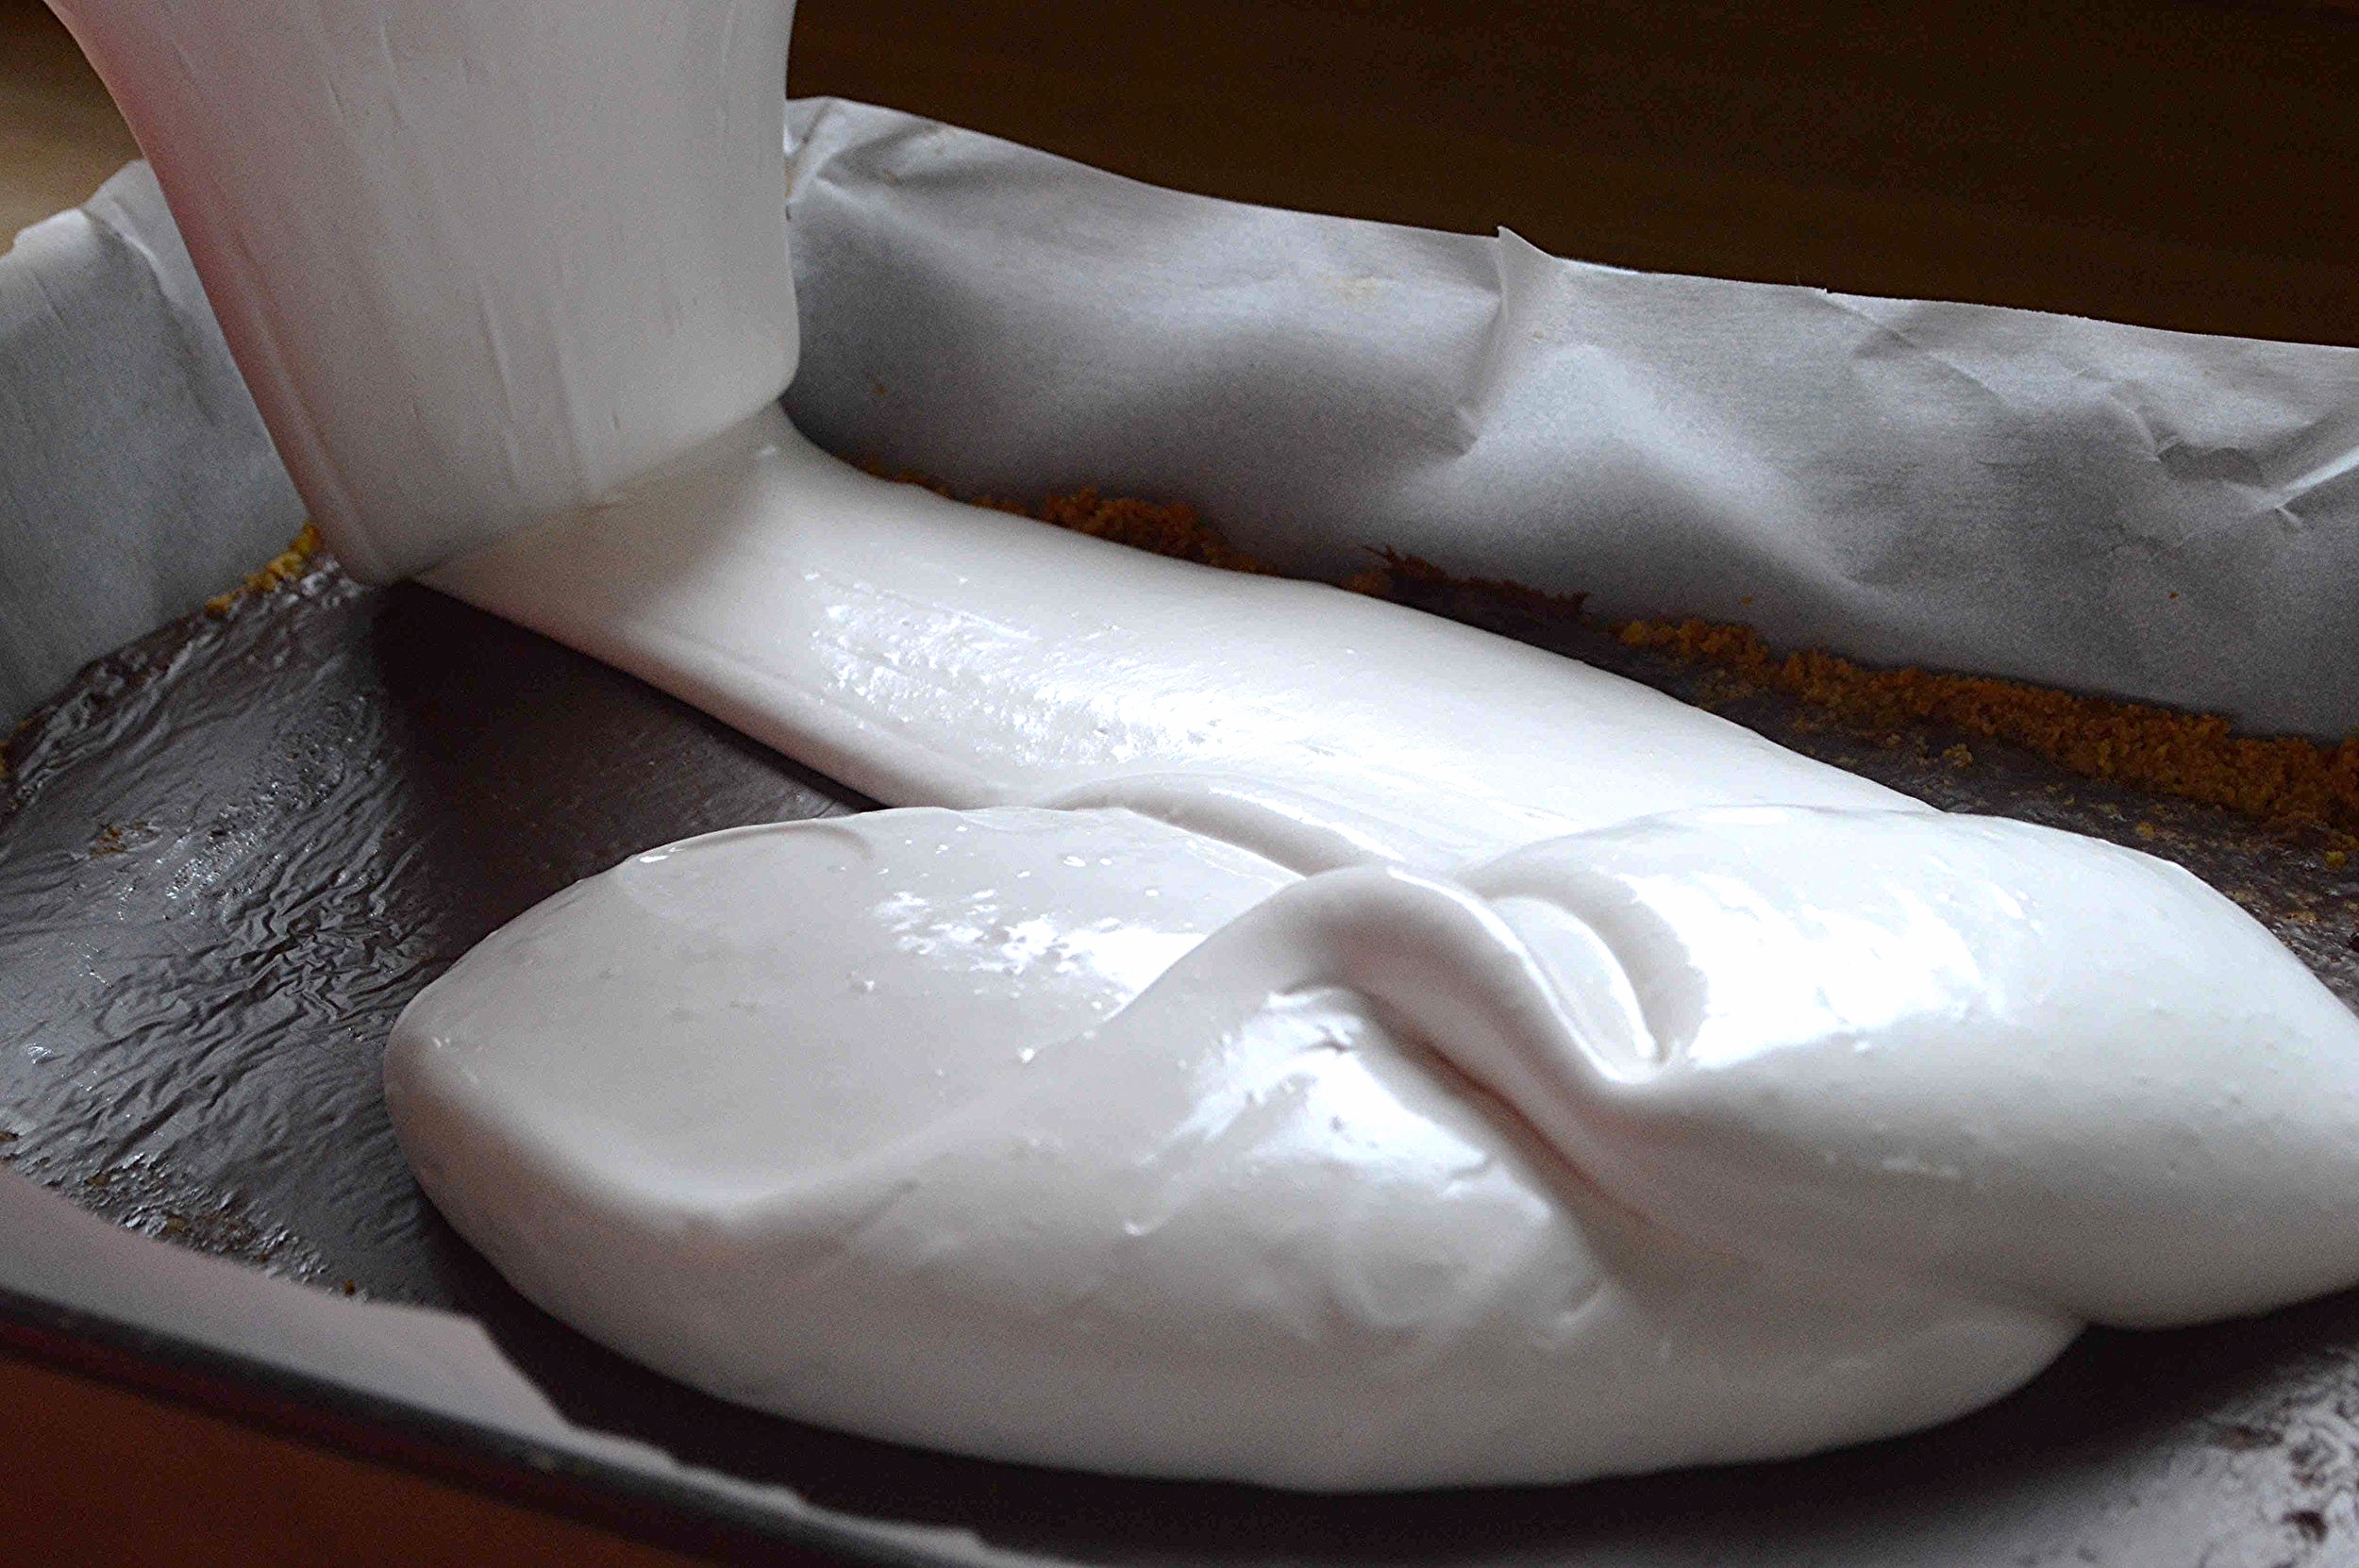
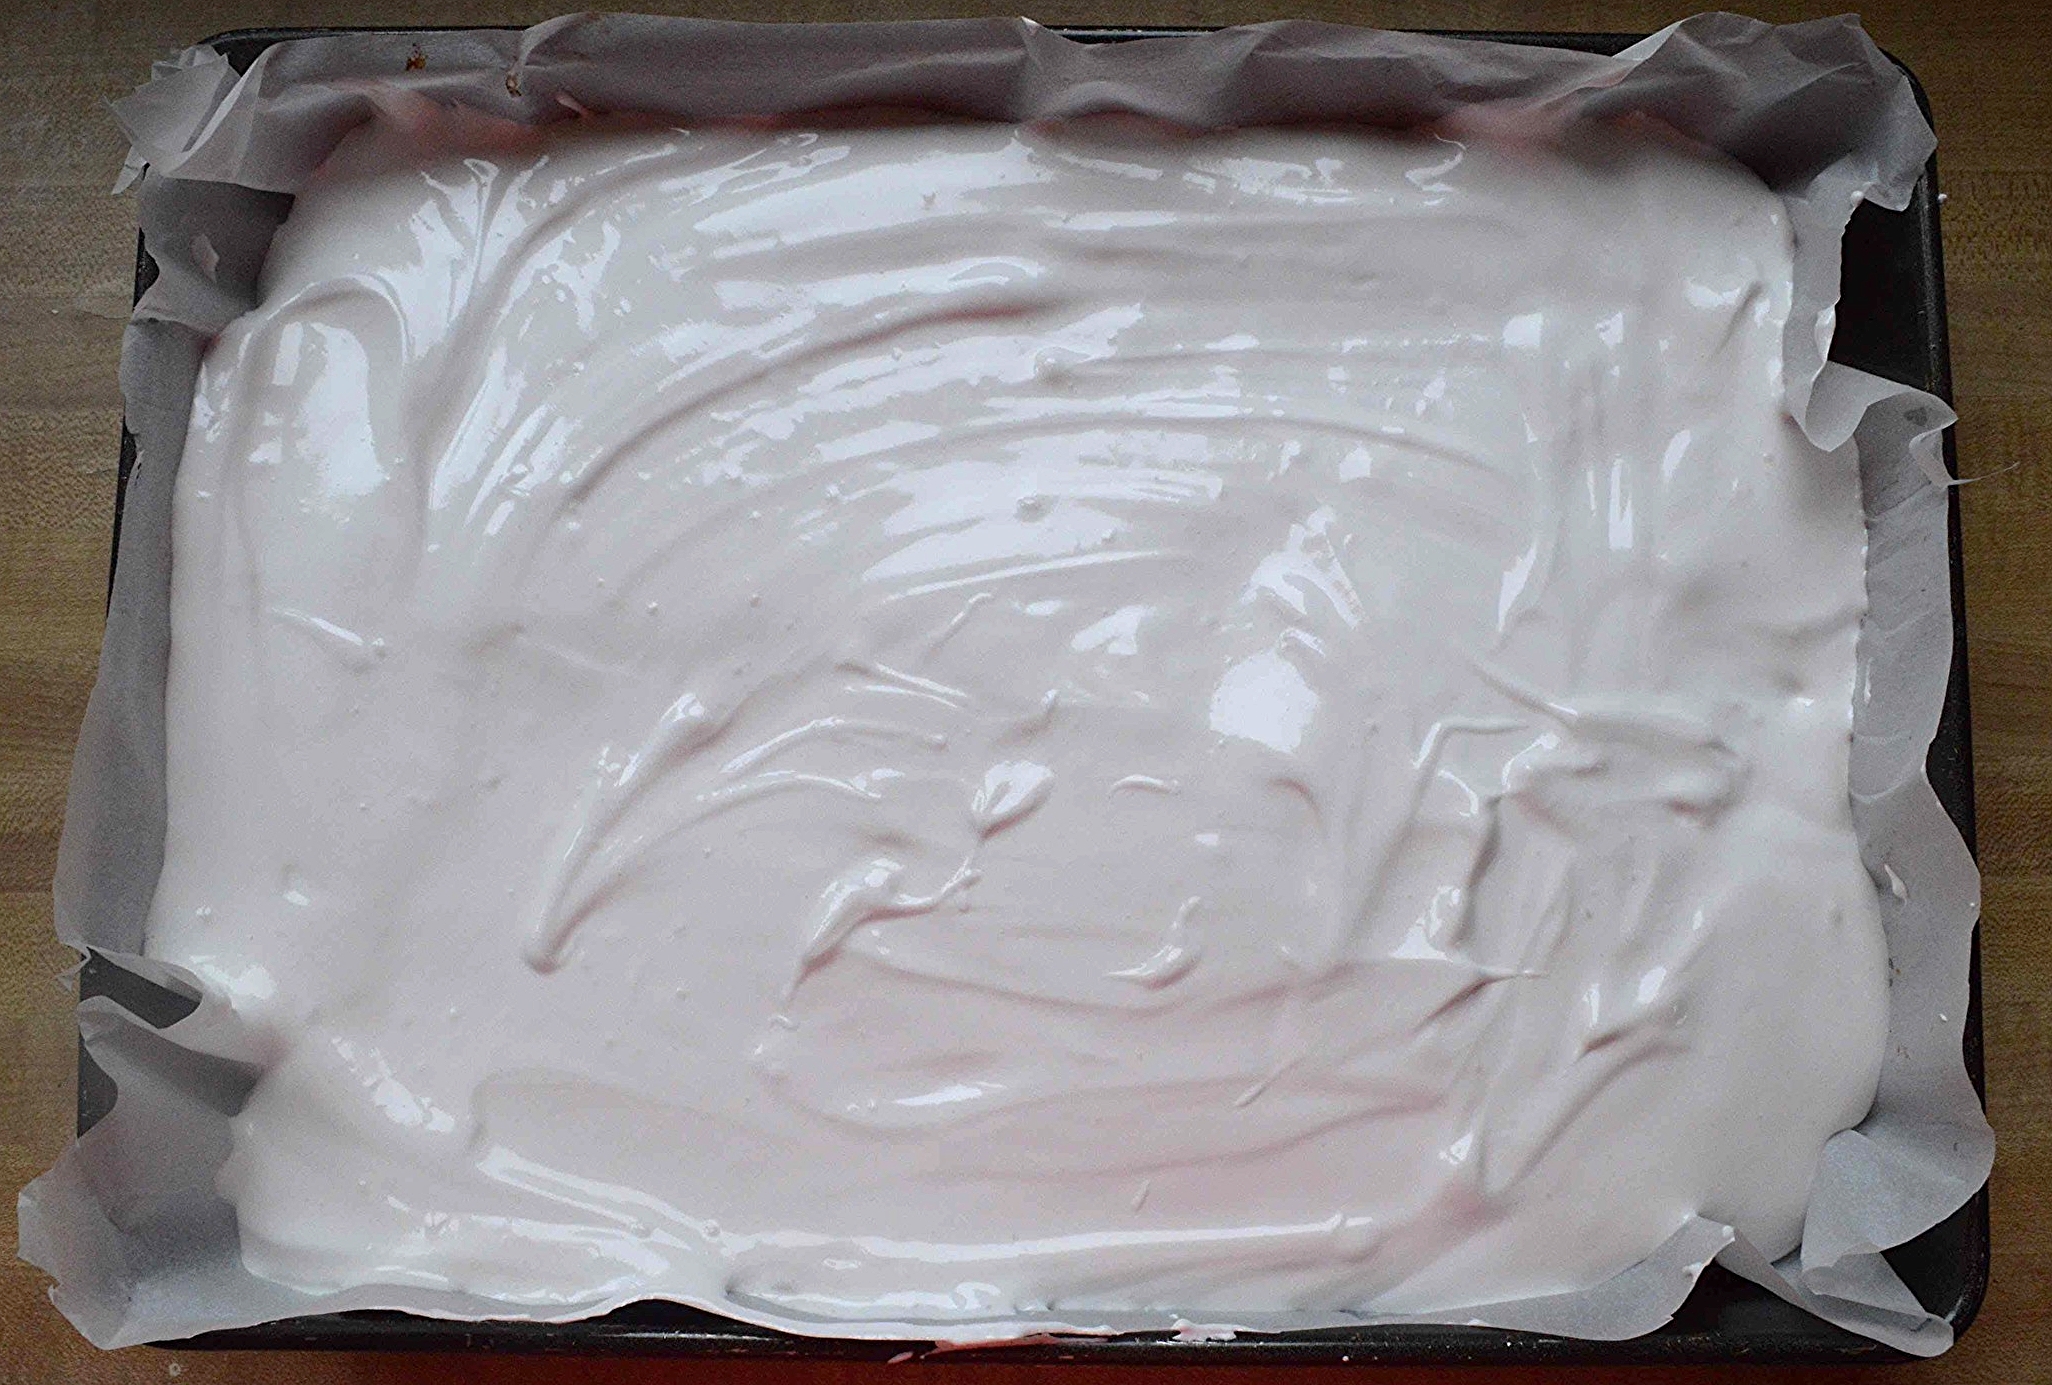
It's thick, it's gooey and it comes together in under 20 minutes with almost no hands-on work at all which for something this gloriously wonderful is nothing short of a miracle! And once that miracle is made you layer it on top of the graham cracker/chocolate base.
Now is the hardest part 'cause you have to wait several hours or even better yet, overnight, for the marshmallow to set up, but when you do you'll be rewarded with bars that are every marshmallow lovers dream!

And when you torch the tops of those overloaded bars so that they get golden brown and gooey--well, there are just no words to describe the wonderfulness!!! Indulgent, yes, but a must-make treat at least once this summer! C'mon, what else are summers for?!!!

Homemade Marshmallow Overloaded S'mores Bars
Makes about 24 bars
You will need a handheld kitchen blowtorch for these or the oven broiler.
Prep Time: About 1 hour, plus time for the marshmallows to set up
Ingredients
3/4 cup butter
2 cups store bought graham cracker crumbs
1 1/4 cups sweetened condensed milk (from a 14 ounce can)
3/4 cup bittersweet or semisweet chocolate chips
1 recipe of Homemade Marshmallows-original version
The Recipe
1. Preheat oven to 350ºF and spray a 9x13-inch baking pan with nonstick cooking spray. Line the pan with parchment paper that overhangs the long sides of the pan and set aside.
2. Over low heat, melt the butter in a small saucepan and set aside to cool a bit. Add the crumbs to a medium bowl and when the butter is lukewarm, add the butter to the crumbs. Mix well so that all the crumbs are coated and then press the mixture evenly into the prepared pan. Set aside.
3. Melt the chocolate chips in a double boiler over simmering water but make sure the water does not touch the bottom of the bowl. Whisk in the sweetened condensed milk and combine well. Pour the mixture over the graham crust in the pan and bake in the oven for 15 minutes or until the chocolate has set. Remove from the oven and let cool.
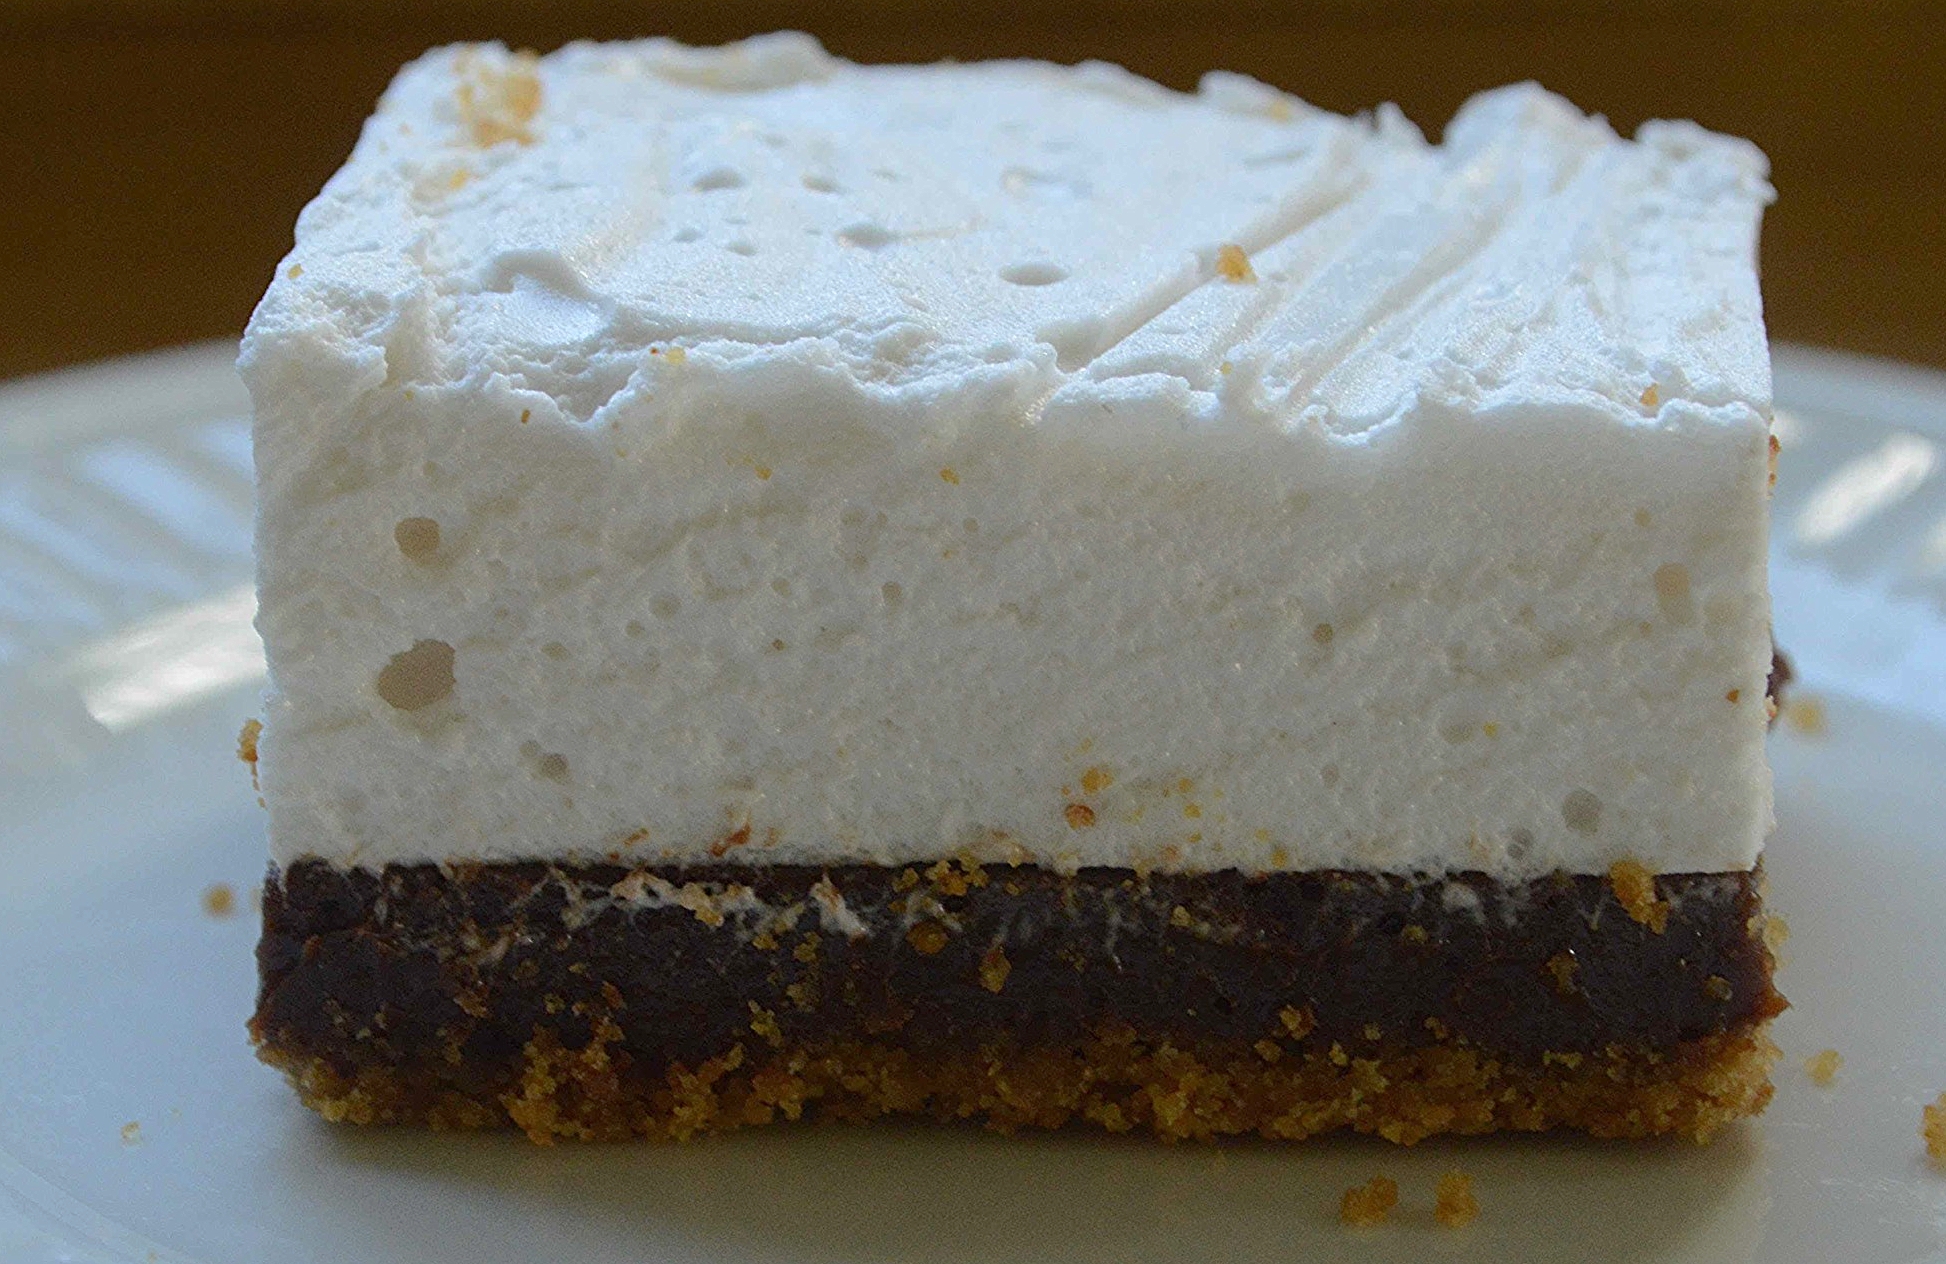
4. Prepare the marshmallow and spread it evenly over the cooled base. Grease a large piece of plastic wrap generously with butter and press it directly onto the surface of the marshmallow tightly. Place the pan in a cool spot for at least three hours or even better yet, overnight.
5. Once the marshmallow has set up, remove the plastic wrap and run a butter knife along the edges of the pan that don't have the overhang and carefully remove the slab from the pan. Cut the slab into 24 bars, wiping the knife clean after each cut, so as not to ruin the whiteness of the marshmallow with any stray chocolate.
6. Use a handheld kitchen blowtorch to toast the tops of the marshmallows so that they get all golden browned and gooey. Alternatively, you could stick them under the broiler for a minute or so but keep a careful eye on them.
7. These are best made one day ahead of when you need to serve them so that they can set up. Leftover bars will keep in an airtight container in the fridge for about a week.
Enjoy!
Note: Recipe adapted from Butter Baked Goods by Rosie Daykin