The Model Bakery's Pain Au Chocolat-Famous Fridays

There's so much to celebrate today! Not only is it the start of a much-needed weekend, but it also happens to be National Croissant Day!! Yippee! And then of course because it's Friday that means that around here we celebrate something special in the foodie world. Today, for this edition of Famous Fridays, we're combining the two and not only celebrating The Model Bakery Cookbook by Karen Mitchell and Sarah Mitchell Hansen, owners of the over 90 years old classic bakery, The Model Bakery, but also the classic world-beloved pastry, the pain au chocolat (or chocolate croissant)!! Plus, the fact that I was actually able to turn out bakery-worthy croissants in my own kitchen is deserving of celebration itself, I might humbly add. It's truly a noteworthy day!

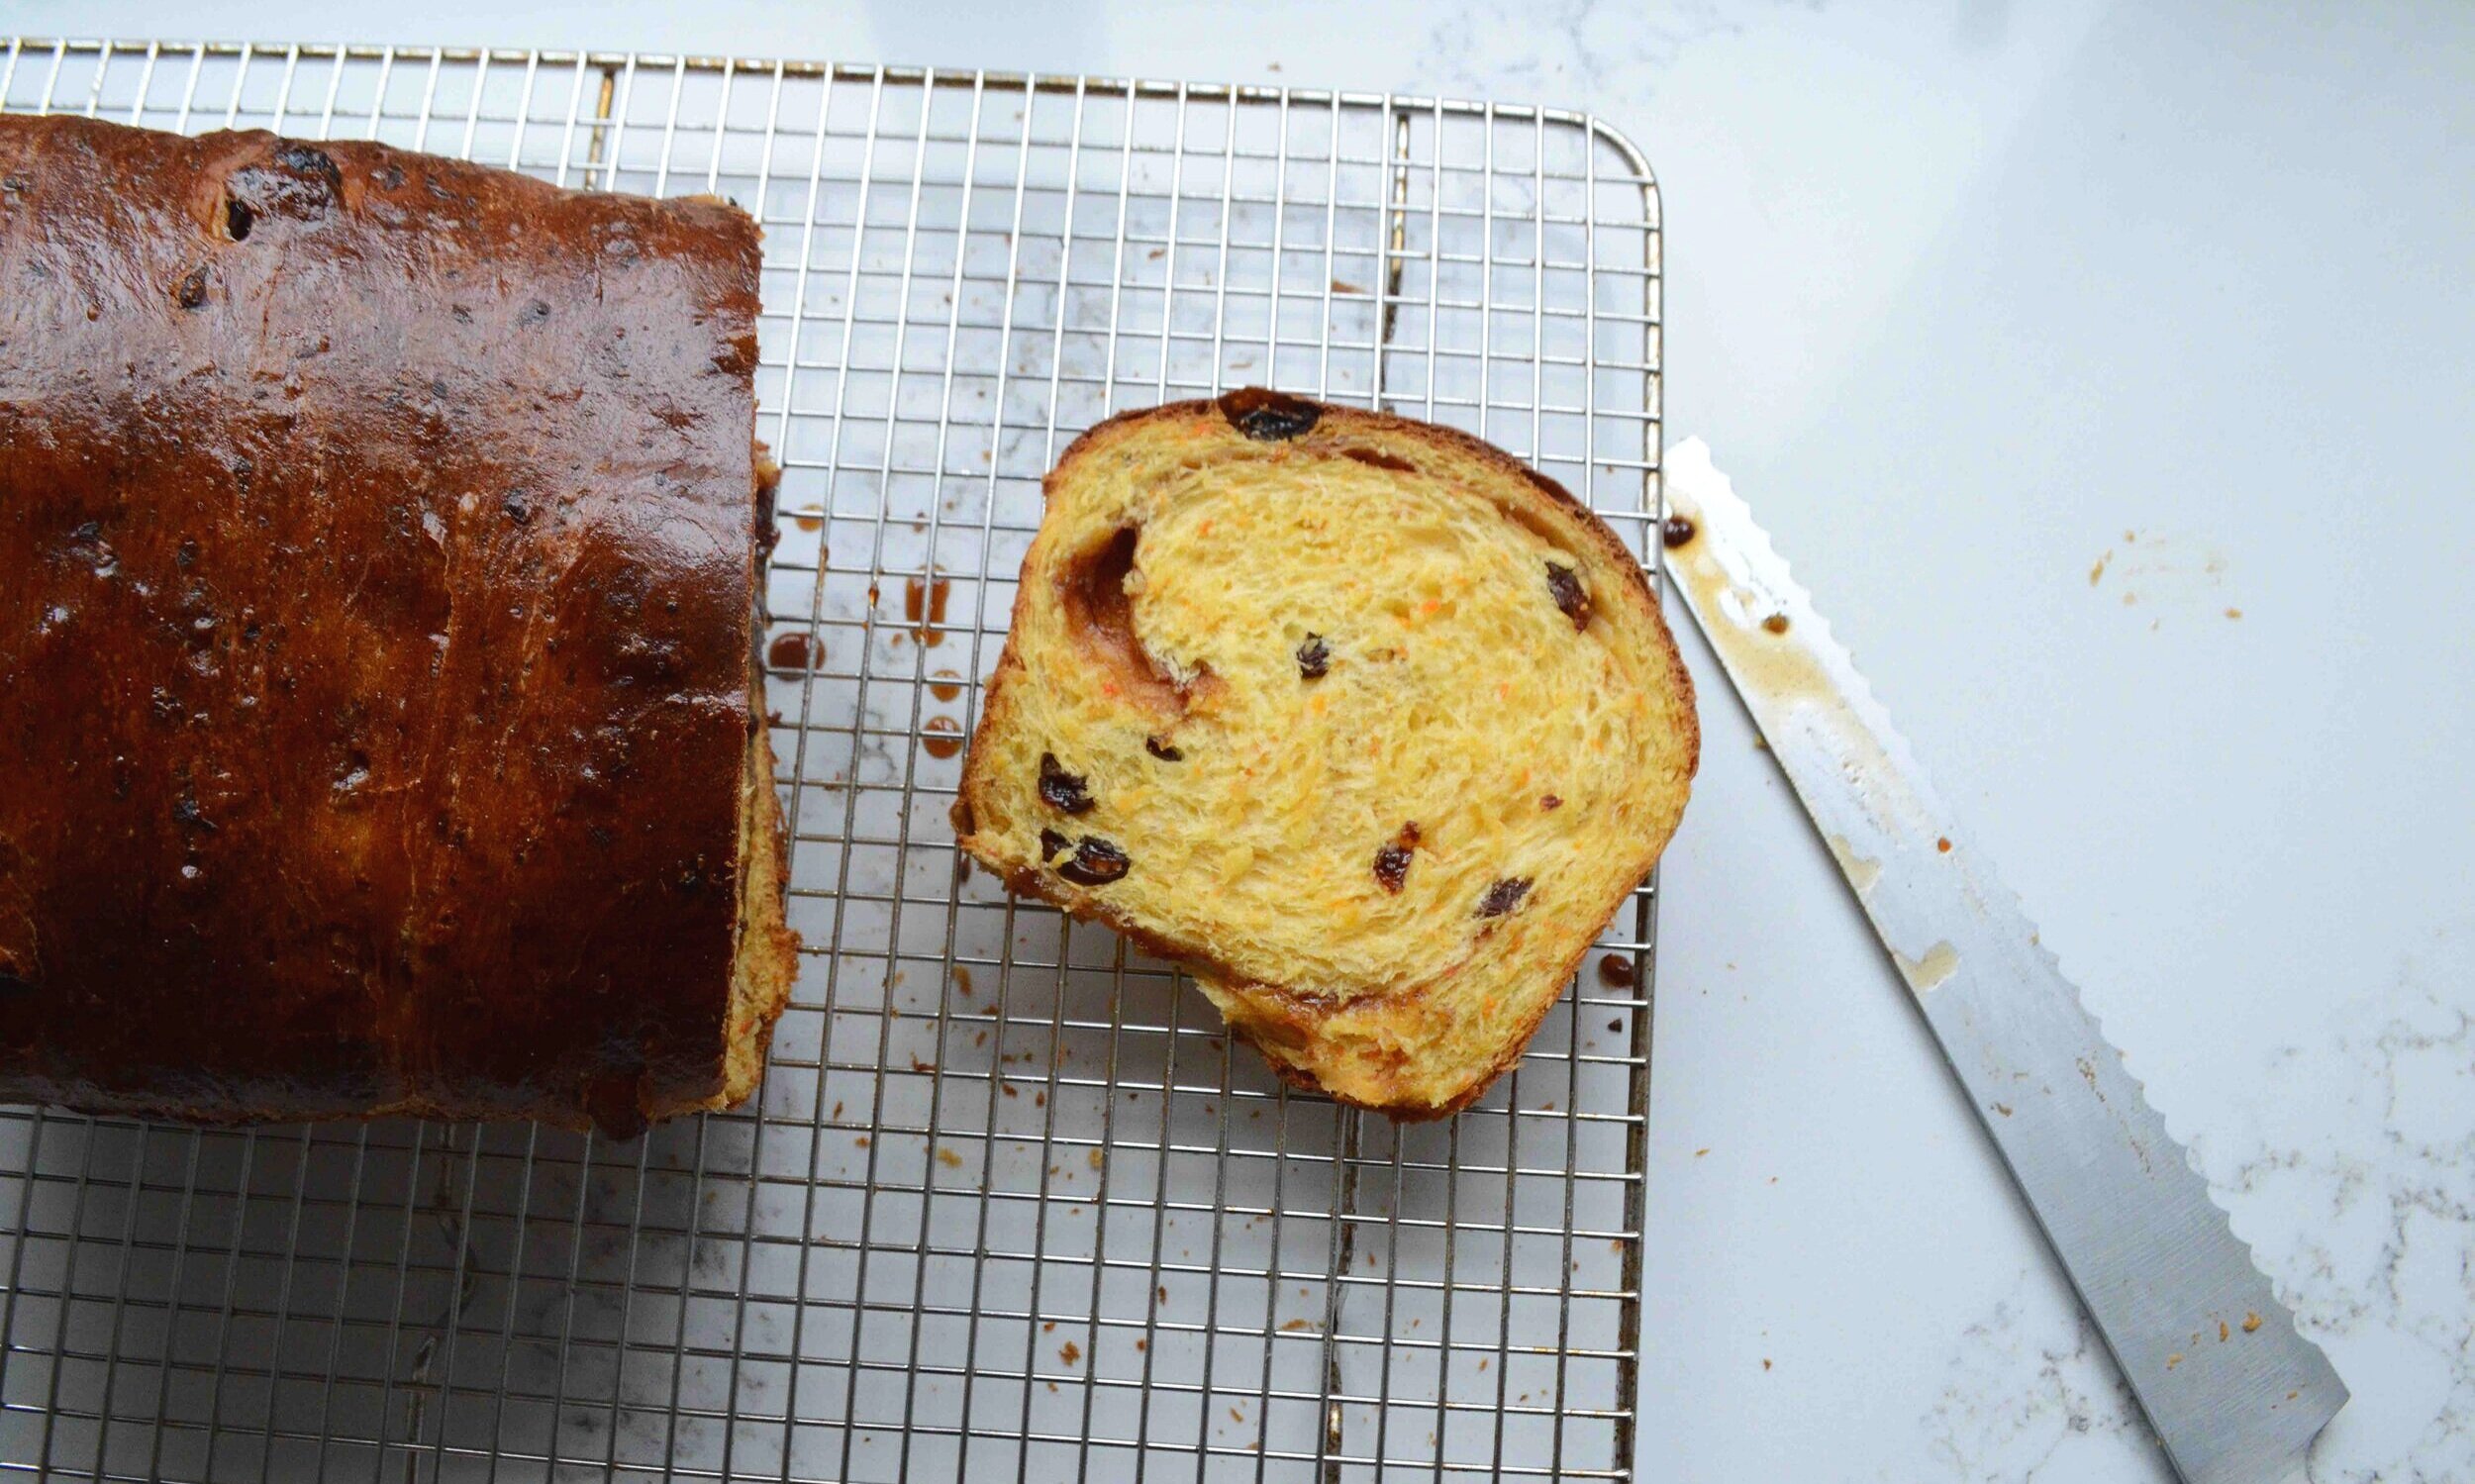
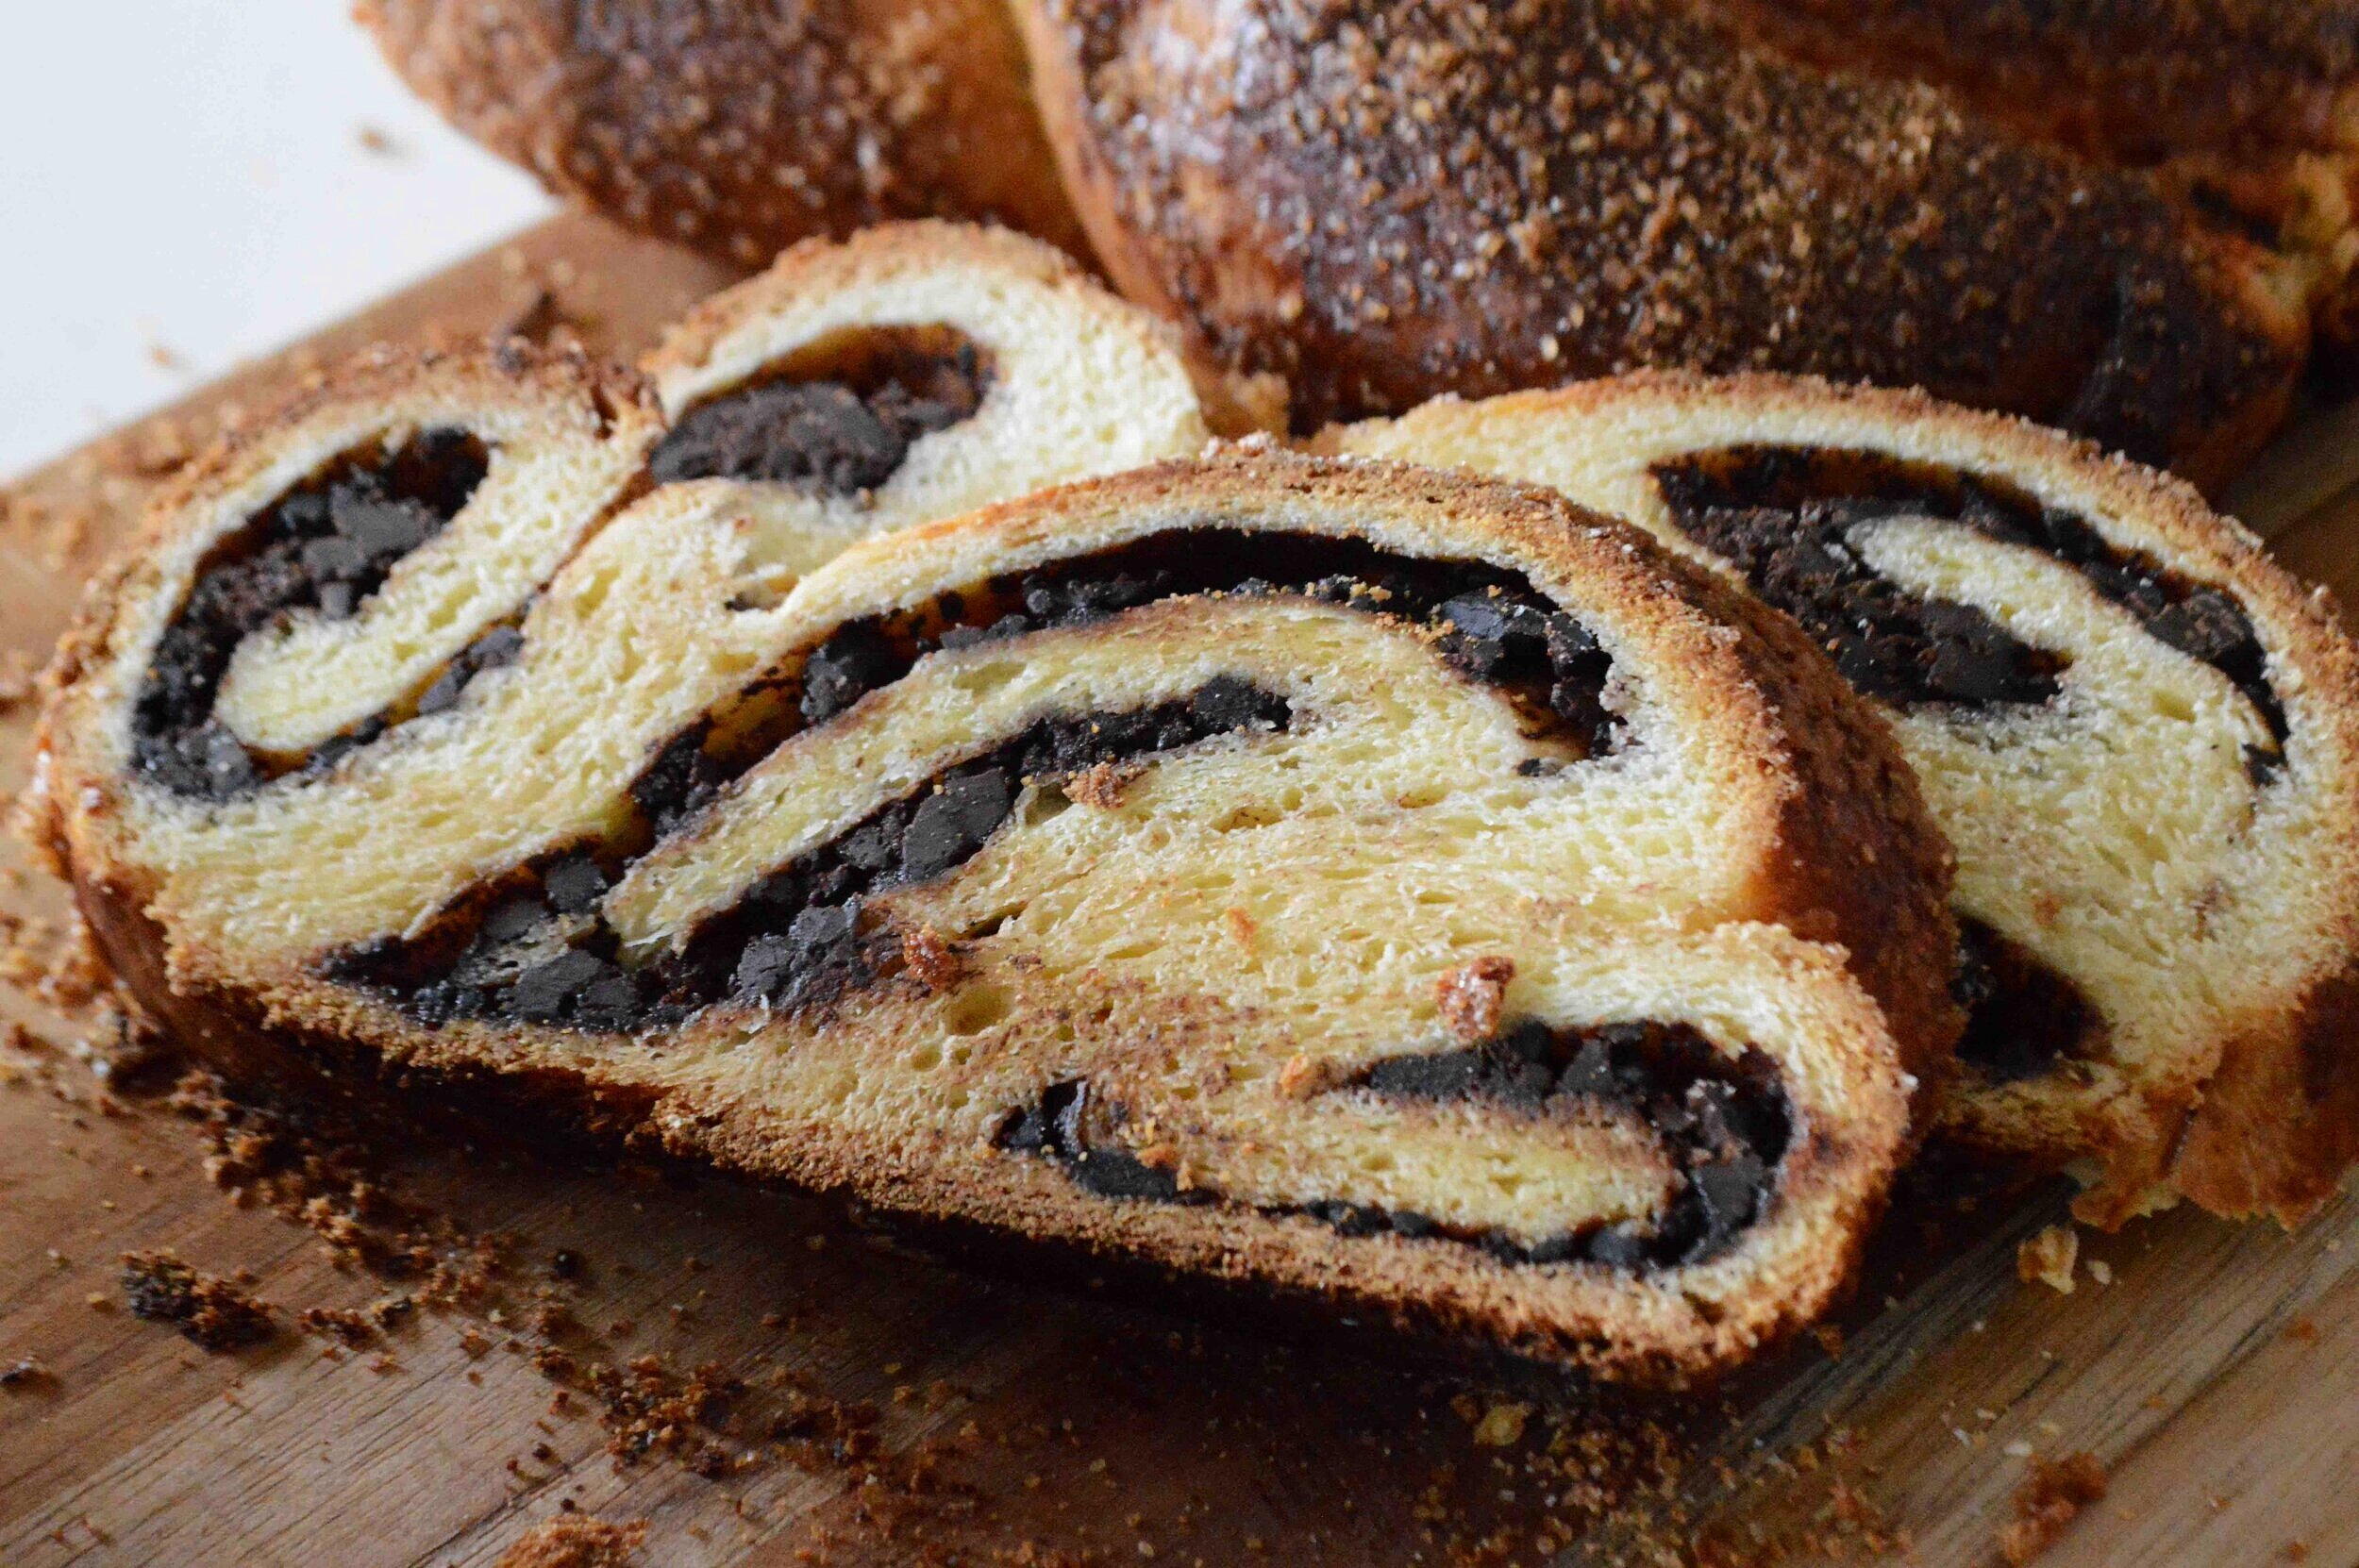
I've never really thought much about taking a trip to the Napa Valley--I'm not a huge wine person and I know that's a really big part of it--but now I'm dying to go because that's where The Model Bakery is located and if the bakery is churning out things that look and taste as good (and probably better) than the things I've made from their wonderful cookbook, I've got to get me there!! They're famous for their artisan breads and pastries which are beautifully featured in the cookbook. And clearly explained. That's why I chose to make the pain au chocolat from the book. I've tried other recipes before with less than stellar results but when I read the instructions in this cookbook, successful croissants seemed more doable than ever, and happily, I was right! Yes, these are time consuming, but no, they are not particularly difficult and when you take a bite of the flaky pastry loaded with warm chocolate, I promise you it'll all be worth it!! And I'll be here to guide you through all of the steps.
You start by making a fairly sticky yeast dough and forming it into a rectangle that gets chilled for a couple of hours.


Next, you roll the dough out into a fairly large rectangle and shmear two-thirds of it with cool, but softened butter.

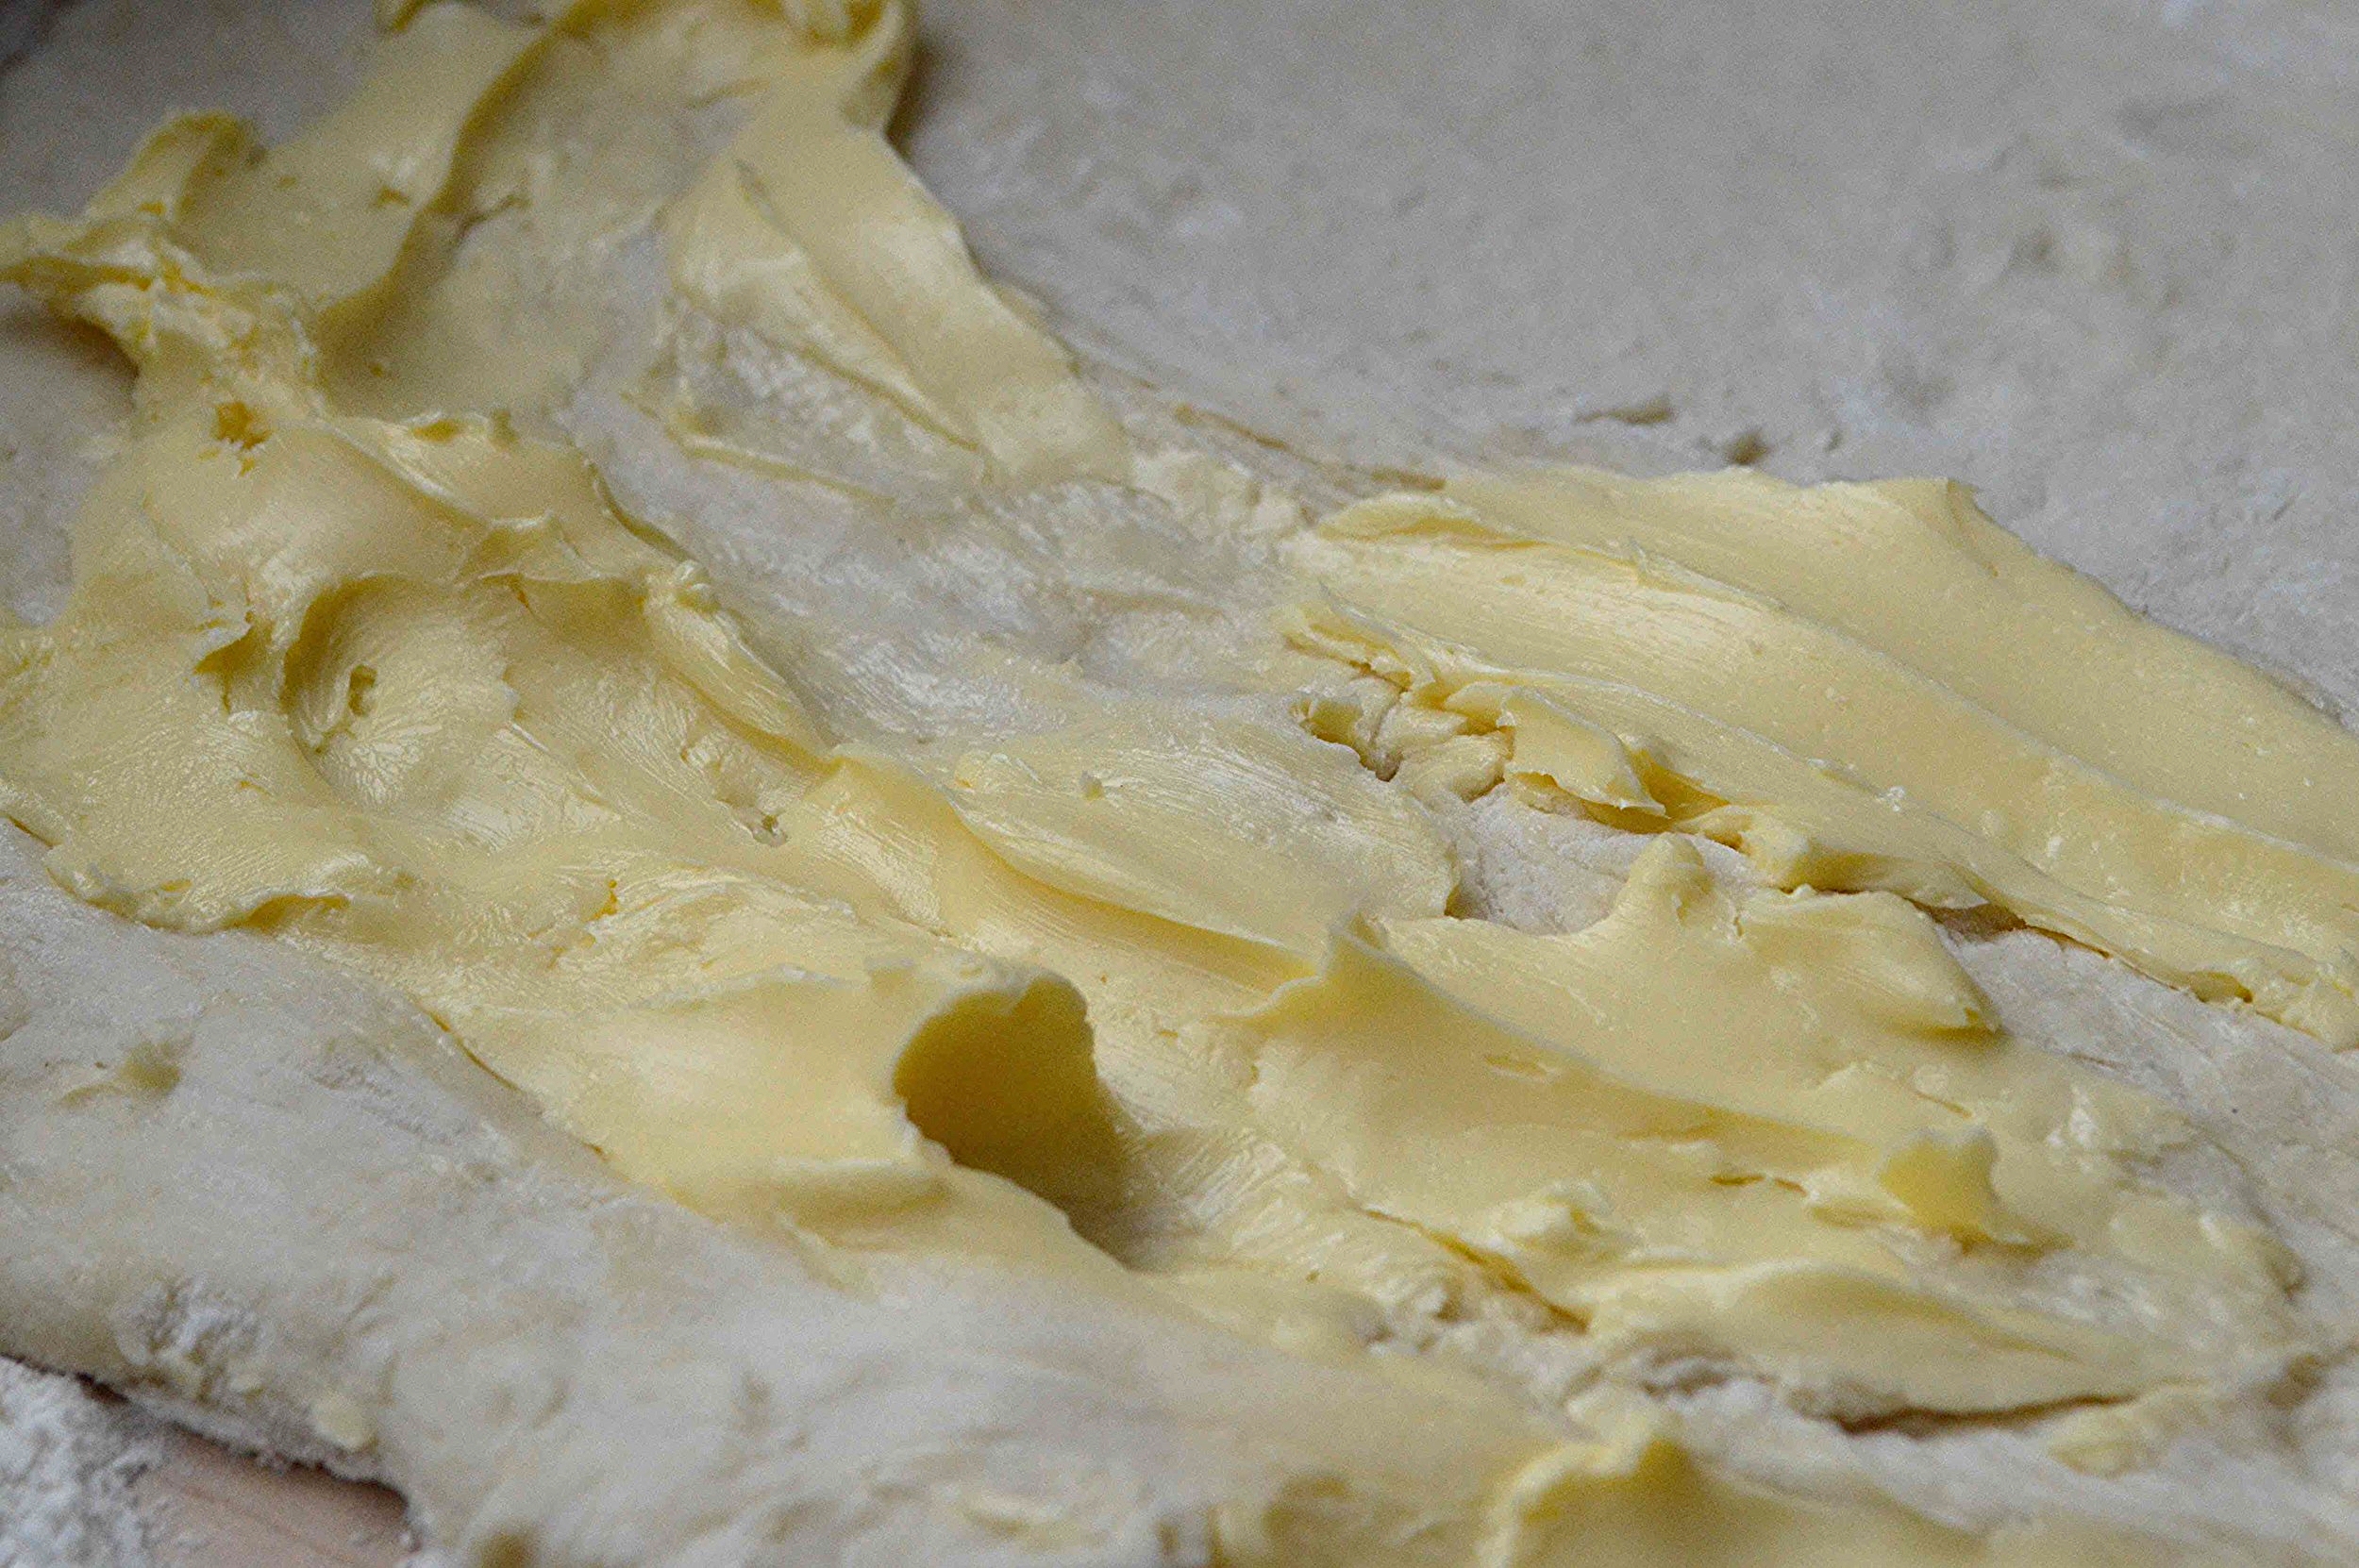
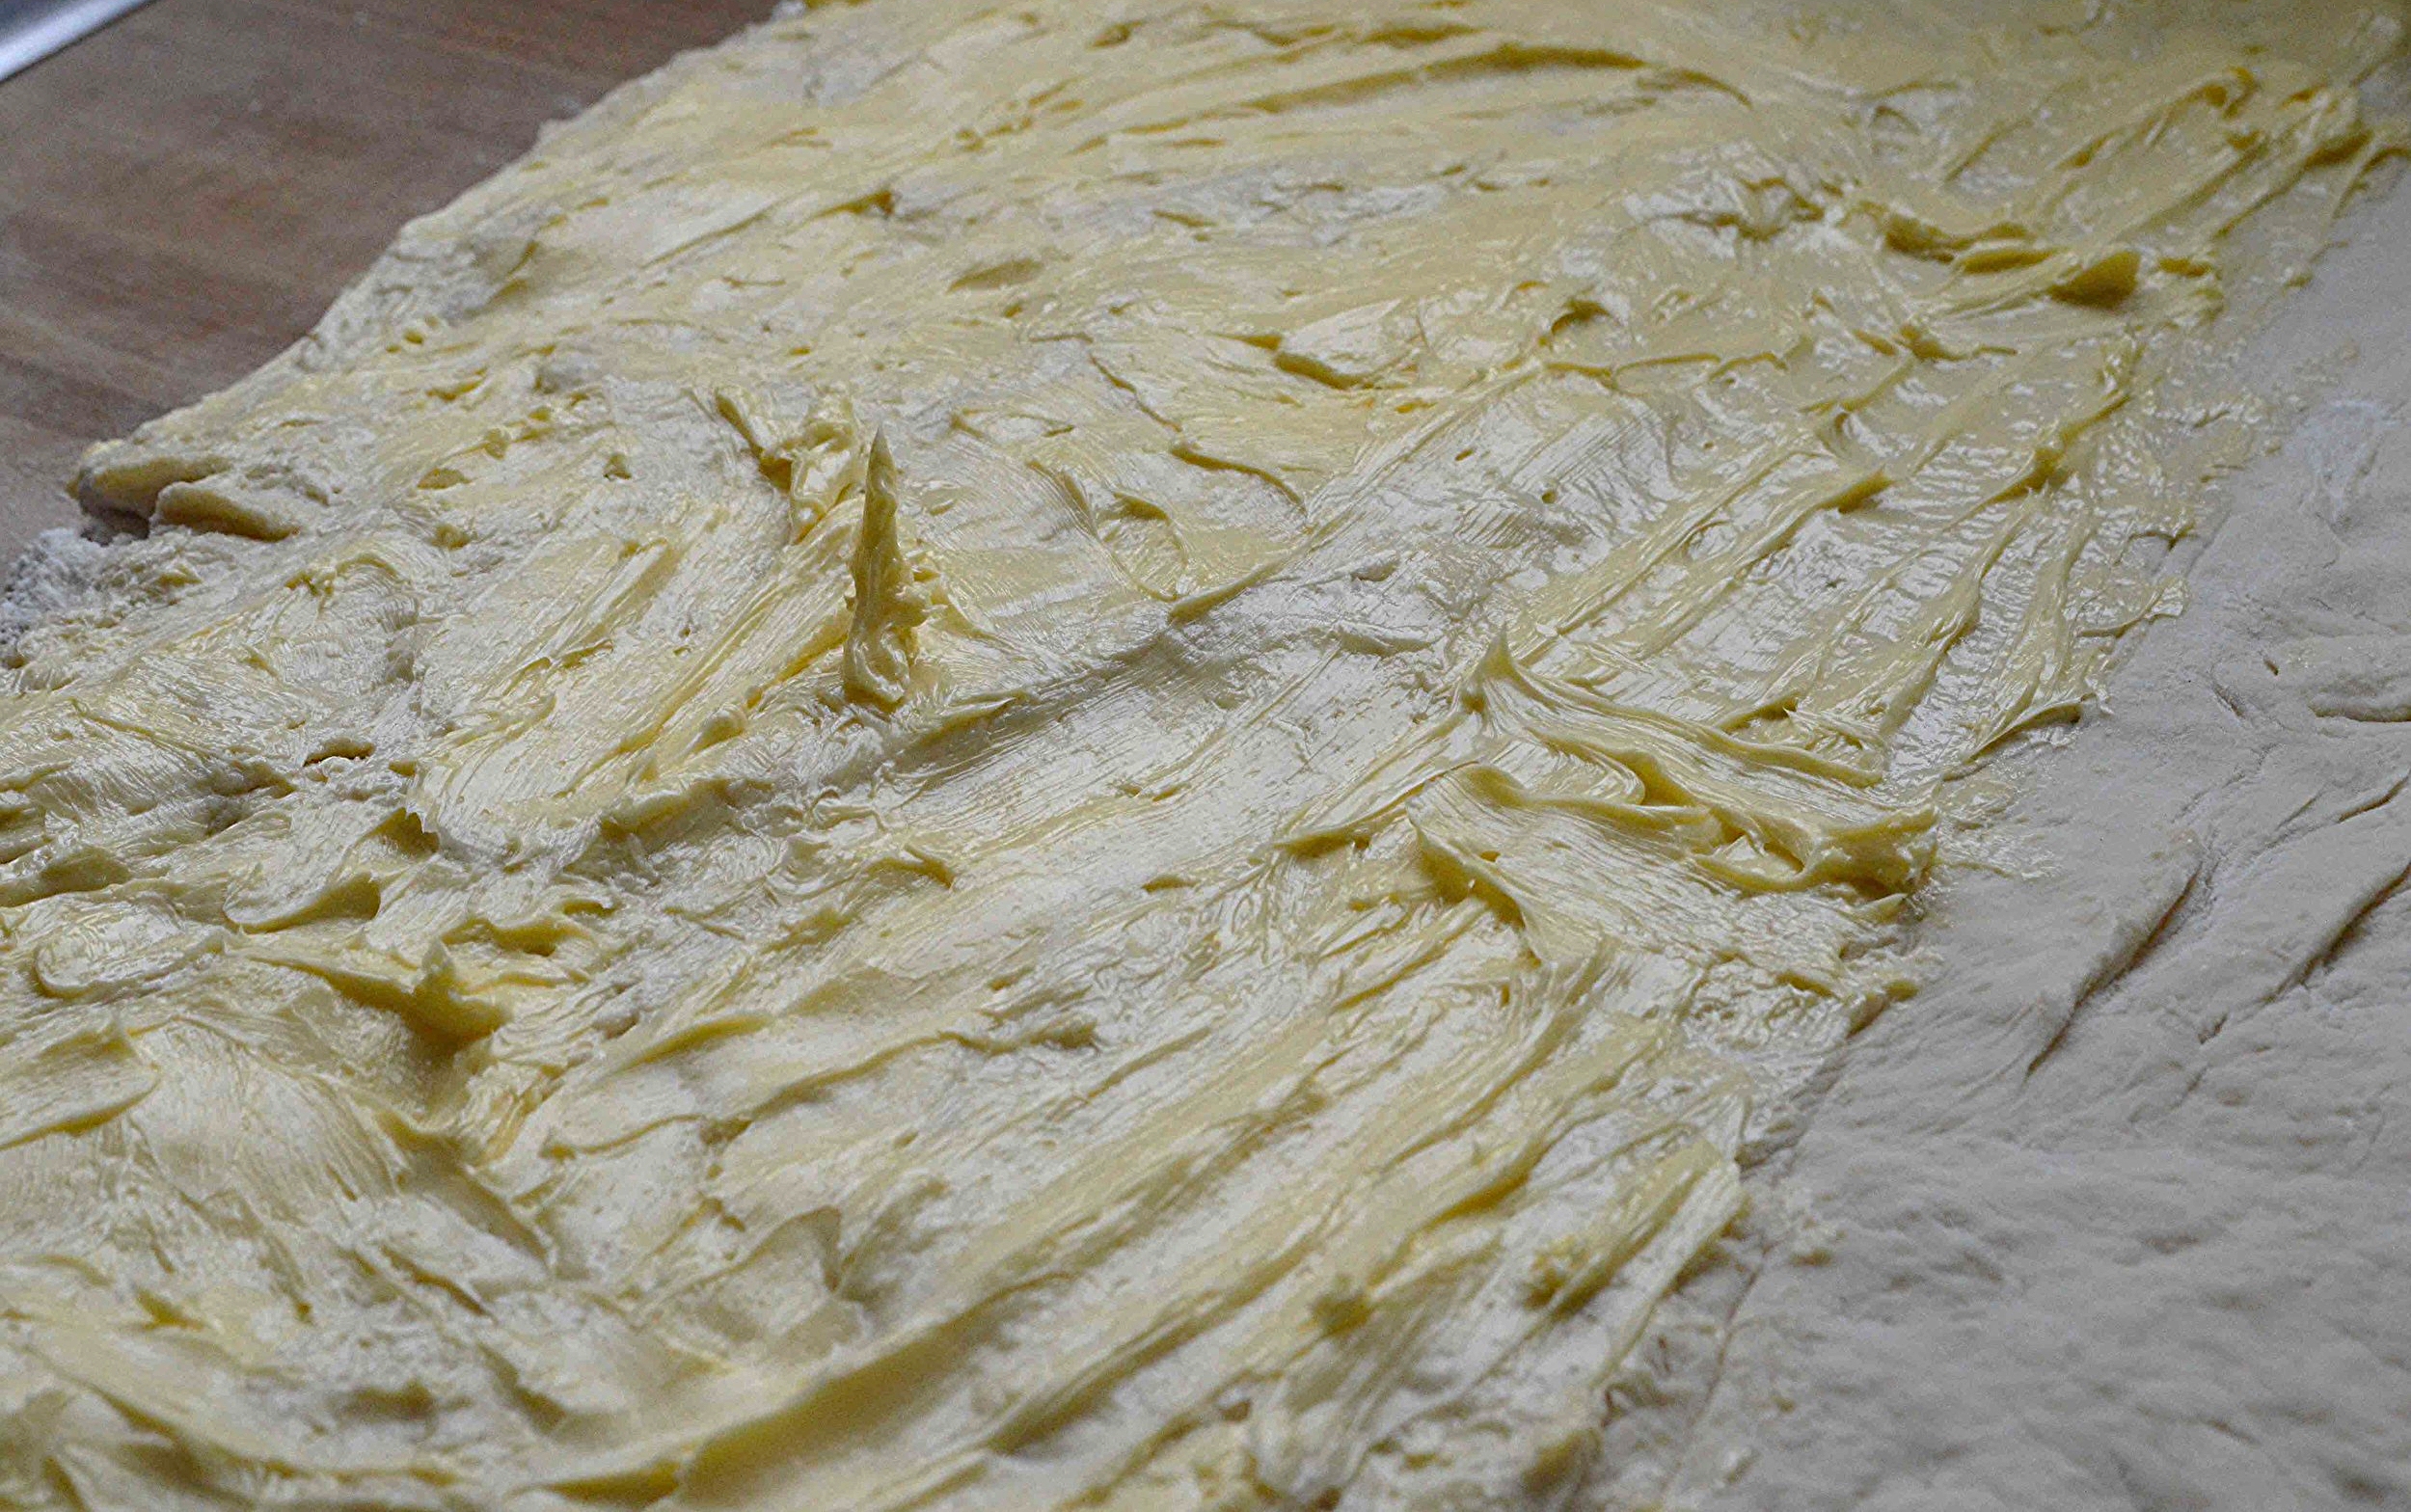
Now you start the folding process, which is known as a turn. Working from the third of the dough that you leave unbuttered, you fold the dough over into the middle, like you would a business letter, following with the other side so that you finish with one long strip folded into thirds. You'll do this turn twice more, with a chilling of the dough in between.


Several hours later after you've turned and chilled the dough, you'll be ready to begin making the actual pastries. You roll the dough out one last time and then cut it into 12 equal portions.


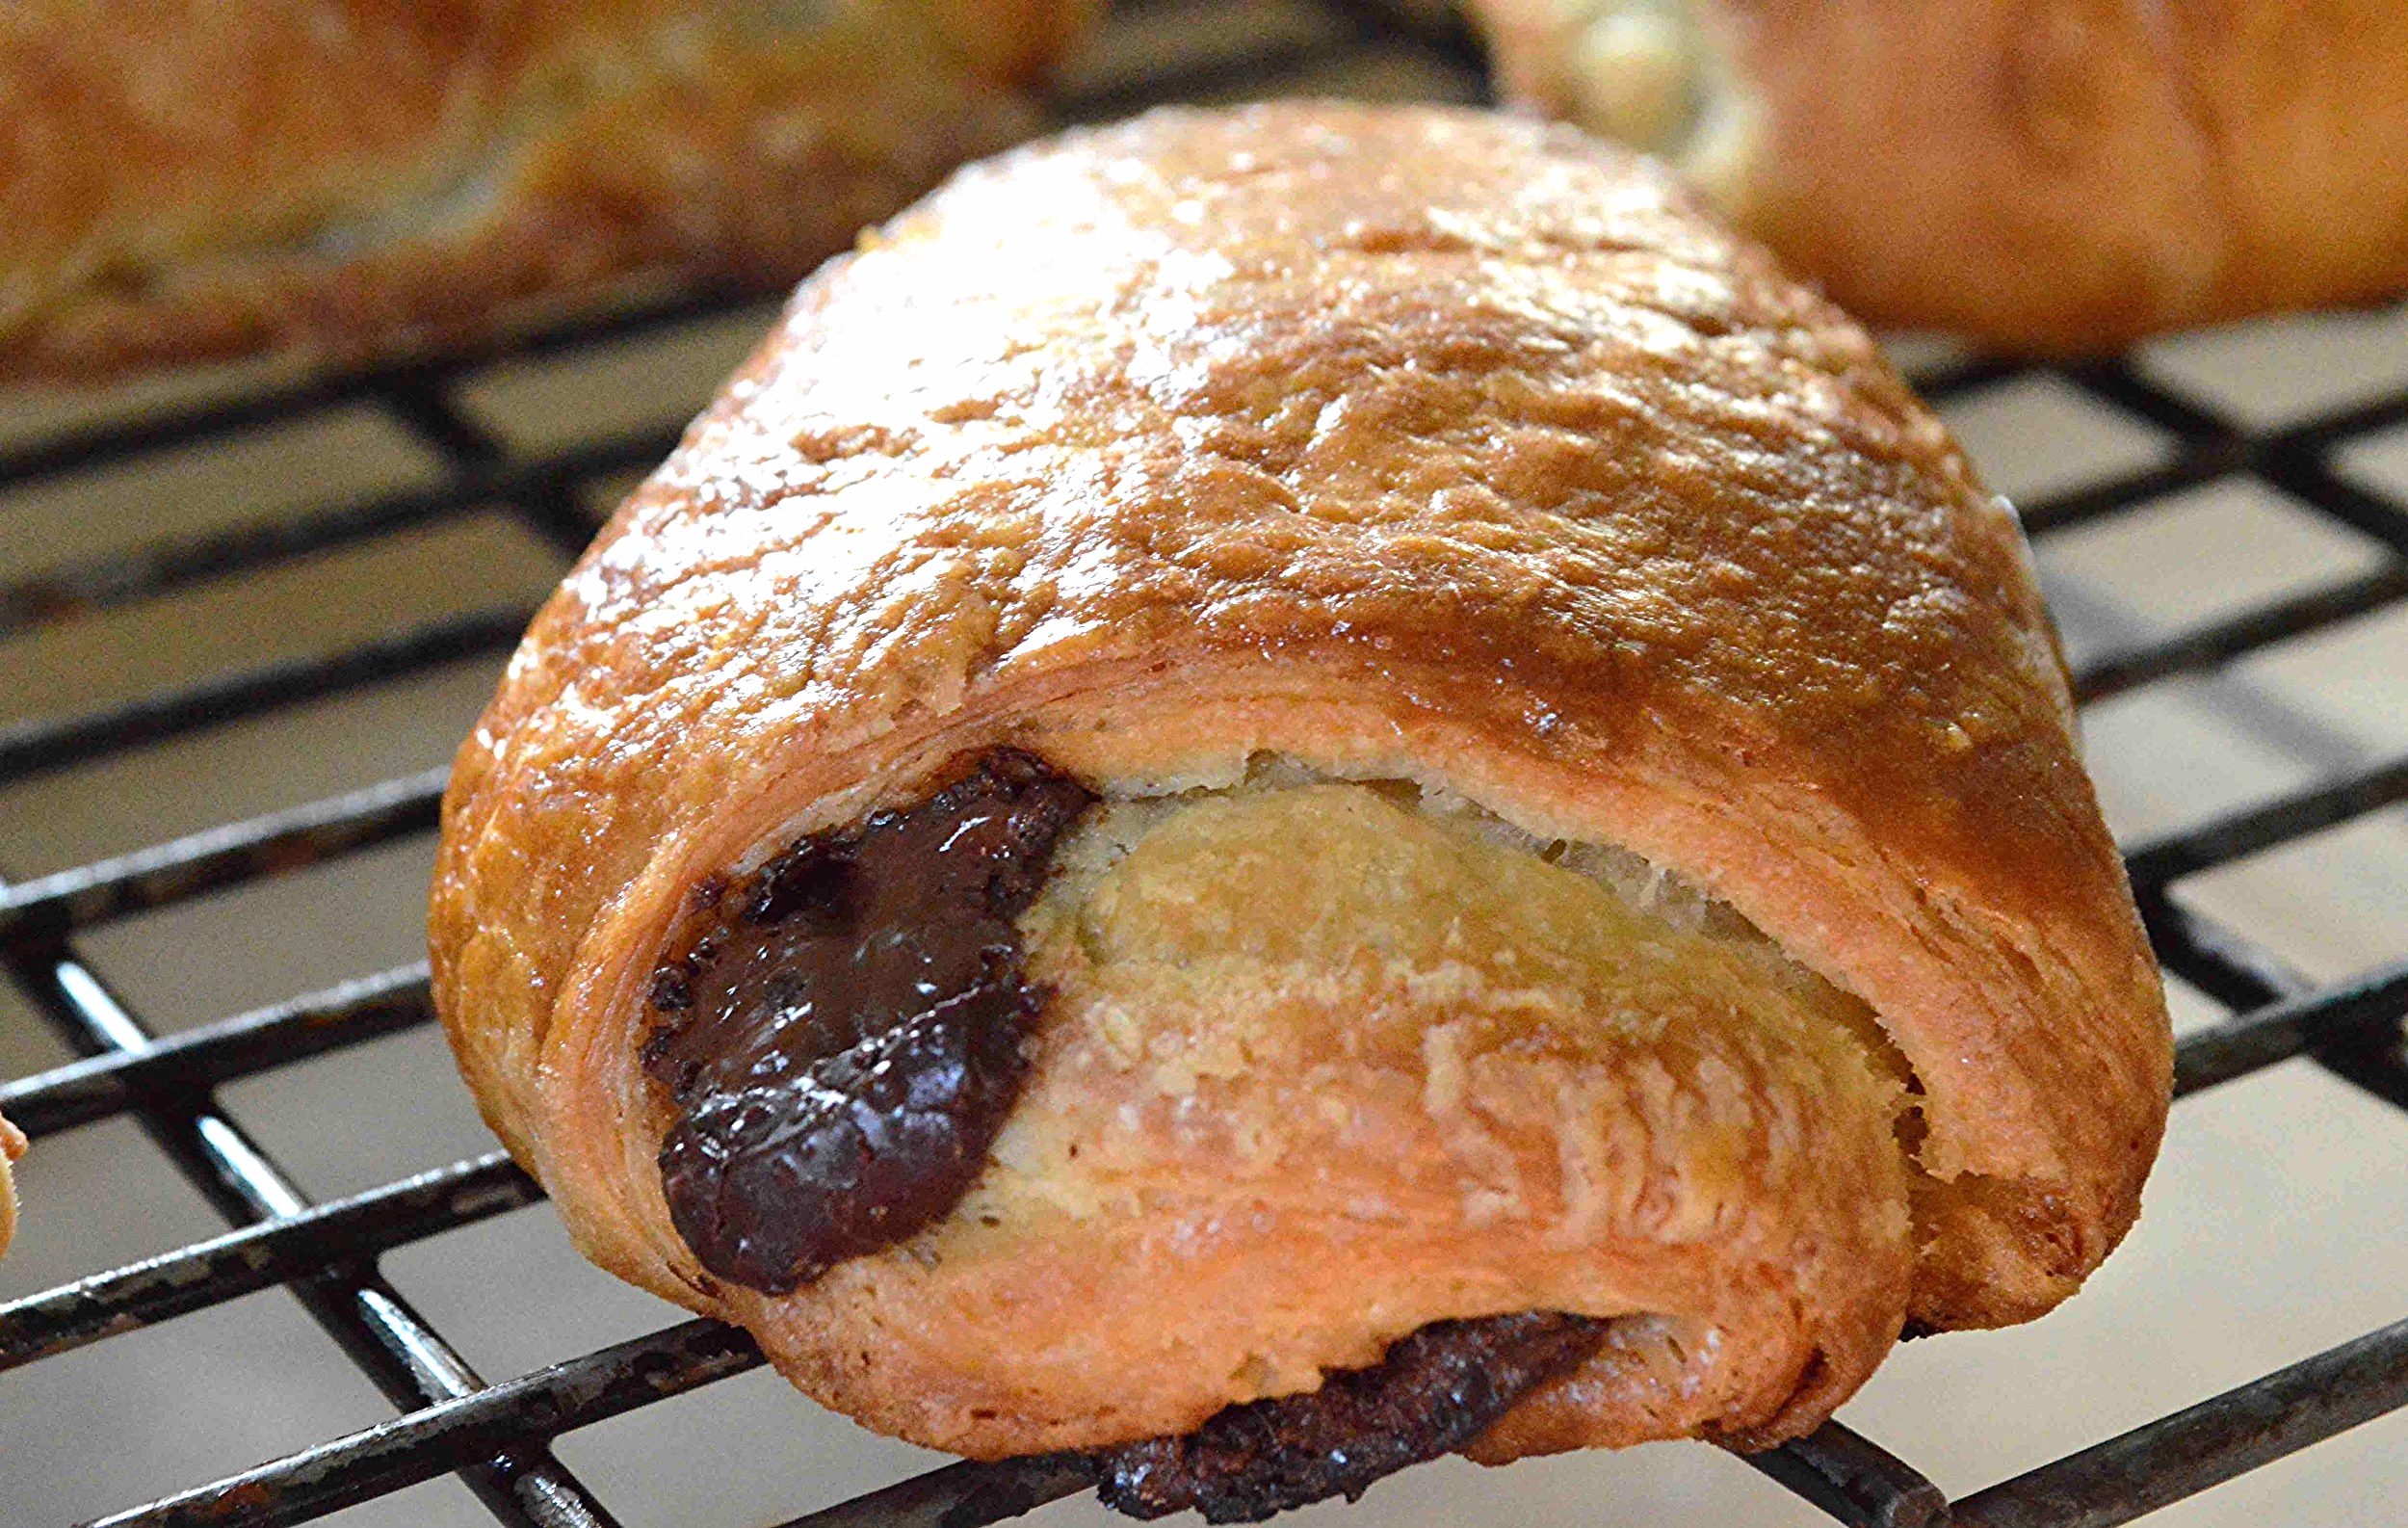
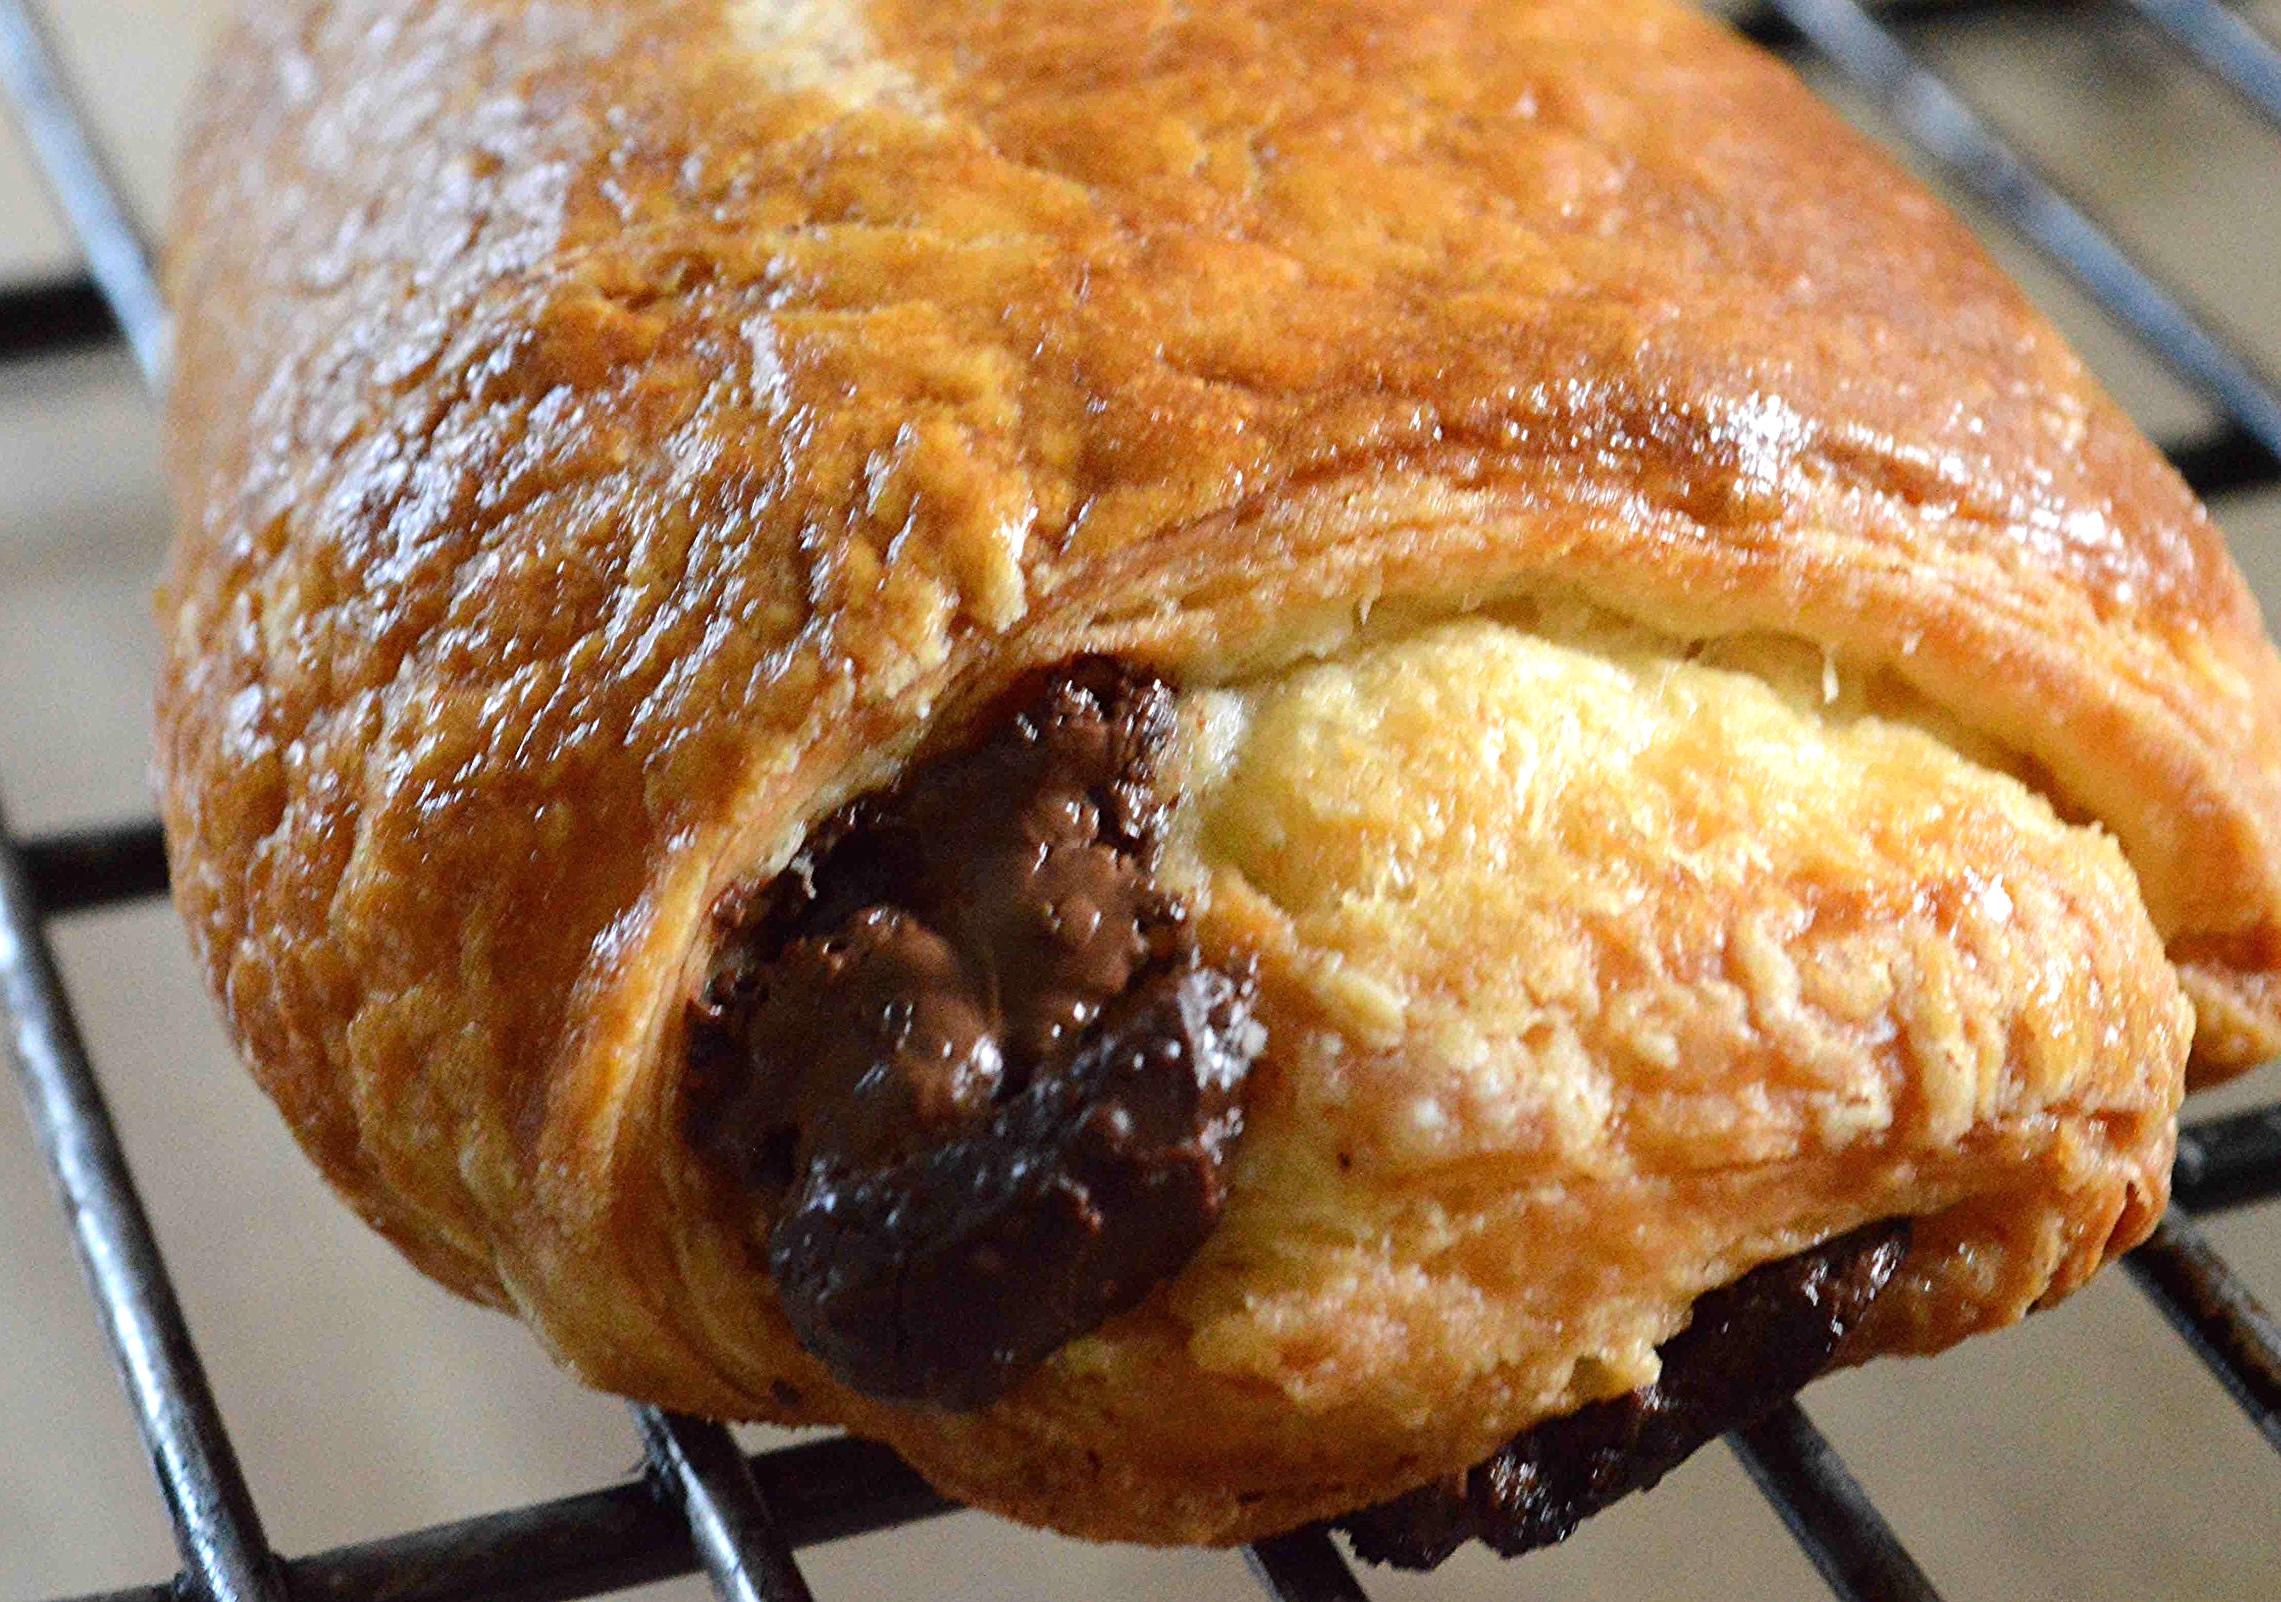
Then you place a strip of chocolate about 1/2 inch up from the bottom of the square and fold the dough up and over it, placing another strip of chocolate on top of that fold and then rolling up the square and pinching it closed--it sounds difficult when you read it but it's much easier to actually do. I've tried to a step by step for you below.


Once you're all done, you place them on a lined baking sheet, cover them loosely with plastic wrap and let them rise in a warm place for about 1 1/2 hours (see what I mean about this being an all-day sort of affair?) But you're getting close to being done. The only thing left to do now is brush them with a little egg wash and bake. And if you're like me, what emerges from the oven will have you doing a little happy dance! Golden brown flaky pastry loaded with warm gooey chocolate--each bite is a little bit of heaven!!
So if you're looking for a fun weekend/vacation project and you like to eat chocolate for breakfast (duh!!) try your hand at the Model Bakery's version and pick up a copy of their amazing cookbook that's filled with lots more terrific recipes--most of them not nearly as time consuming and intricate!! And enjoy this last weekend of January in 2016--onward ho to February!!

The Model Bakery's Pain Au Chocolat-Famous Fridays
Makes 12 croissants
Prep Time: Kind of an all-day affair but with lots of breaks--not something to try when you're pressed for time but great for a weekend project; Bake Time: 20-25 minutes
Ingredients
For the Croissant Dough
- 3 2/3 cups unbleached, all-purpose flour, plus more if needed
- 3/4 cup water
- 1/2 cup whole milk
- 3 tablespoons sugar
- 2 tablespoons European-style or regular unsalted butter at room temperature, thinly sliced
- 1 cup cold unsalted butter, also great to use European-style if possible
- 2 teaspoons instant (quick-rising) yeast
- 1 1/4 teaspoons fine sea salt
For the Pain Au Chocolat
- Three 3 1/2 ounce bittersweet or semisweet chocolate bars
- Flour as needed for rolling out the dough
- 1 large egg yolk
- 1 tablespoon heavy cream
The Recipe
1. To make the croissant dough: At least 6 hours and up to 24 hours before baking, put the flour, water, milk, sugar, 2 tablespoons room temperature butter, yeast and salt into the bowl of an electric mixer and mix on low speed just until the dough comes together. You want the dough to be soft and sort or sticky but if it's too loose, add a bit more flour.
2. Lightly flour a large board or counter and turn the dough out onto it. Pat the dough into a 1-inch thick rectangle and wrap the dough tightly in plastic wrap. Refrigerate the dough for at least 2 hours and up to 4. Don't expect it to rise much.
3. After the 2 hour mark, beat the 1 cup of cold butter using an electric mixer for about 2-3 minutes, until the butter is smooth and pliable, but still cool. You basically want the dough and butter to be about the same temperature. If the butter is too warm, it'll make the croissant dough greasy and heavy.
4. Remove the chilled dough from the refrigerator and place on a lightly floured work surface. Use a rolling pin to pound it into a large rectangle that measures about 12-x-6 inches with a long side facing you. Then flour the top of the dough and roll it into an 18-x-10-inch rectangle. Don't be afraid to really work the dough. It's not delicate. Use a pastry brush to brush off any excess flour.
5. Using your fingertips and starting at the left side of the dough, smear the beaten butter over 2/3 of the dough, leaving one strip unbuttered. Fold the dough, starting with the unbuttered 1/3 over the middle, into a business letter and then fold the buttered side over that. This is considered one turn. Rotate the board so that the long open seam faces you. Roll the dough out again into a 18-x-10 inch rectangle. If the butter oozes out at all and it shouldn't unless your kitchen is really warm, use a bit of flour to seal in the section. Repeat the same process of folding the dough like a business letter, using the pastry brush to brush off any excess flour again. This is the 2nd turn. Place the folded dough onto a baking sheet, cover with plastic wrap and refrigerate for 20-30 minutes.
6. Unwrap the dough and place it back on the lightly floured work surface with the long seam again facing you. Fold the dough again like a business letter, brush off any extra flour, rewrap the dough and refrigerate it for at least 30 minutes or up to 18 hours.
7. To make the Pan Au Chocolat: Place the chocolate bars somewhere that they can warm up for about 10 minutes to allow you to cut them neatly. Cut each bar crosswise into 8 equal strips so that you wind up with 24 in total.
8. Line 2 rimmed baking sheets with parchment paper. Set aside. Place the dough on a lightly floured work surface and lightly flour the top of the dough. Use a rolling pin to roll out the dough into a 20-x-15 inch rectangle. If you find the dough is losing its shape, cover with a towel and let it rest for 5 minutes before rolling it out again.
9. Using a ruler and a sharp knife, cut the dough into twelve 5-inch squares. Starting with one square place a piece of the chocolate about 1/2-inch up from the bottom of the square and fold the dough up from the bottom to enclose the chocolate. Place a second piece of chocolate above the first one and roll up the square. Pinch the long seam closed and place the pastry on the prepared baking sheet. Repeat with the other 11 squares of dough, putting 6 to a tray, about 2 inches apart. Cover each pan loosely with plastic wrap and let stand in a warm place for about 1 1/2 hours until the pastries are puffy.
10. Position the oven racks to the top third and center and preheat oven to 400ºF.
11. In a small bowl, beat the egg yolk and cream together. Using a pastry brush, lightly brush the tops of the pastries with the glaze. Bake for about 20-25 minutes, reversing the pans from front to back and top to bottom once during the process. Pastries should look golden brown. Transfer the baking sheets to cooling racks and let cool for at least 20 minutes. Serve warm or at room temperature. These are best on the day you bake them but still taste pretty good reheated the second and third day.
Enjoy!
Note: Recipe adapted from The Model Bakery Cookbook by Karen Mitchell and Sarah Mitchell Hansen.