Milk and Dark Chocolate Chip Cookies


I’ve been wanting to share these with you guys for a while now, but hemming and hawing over how to justify posting yet another chocolate chip cookie on the site, cause I’ve already got these, these, these, these, these, these, these and these plus a few other ones that have added stuff like peanut butter and granola but still pretty much fall into the chocolate chip cookie camp. See what I mean? But after some long, soulful, sleepless nights, I decided to bite the bullet and go for it anyway. And here’s why—
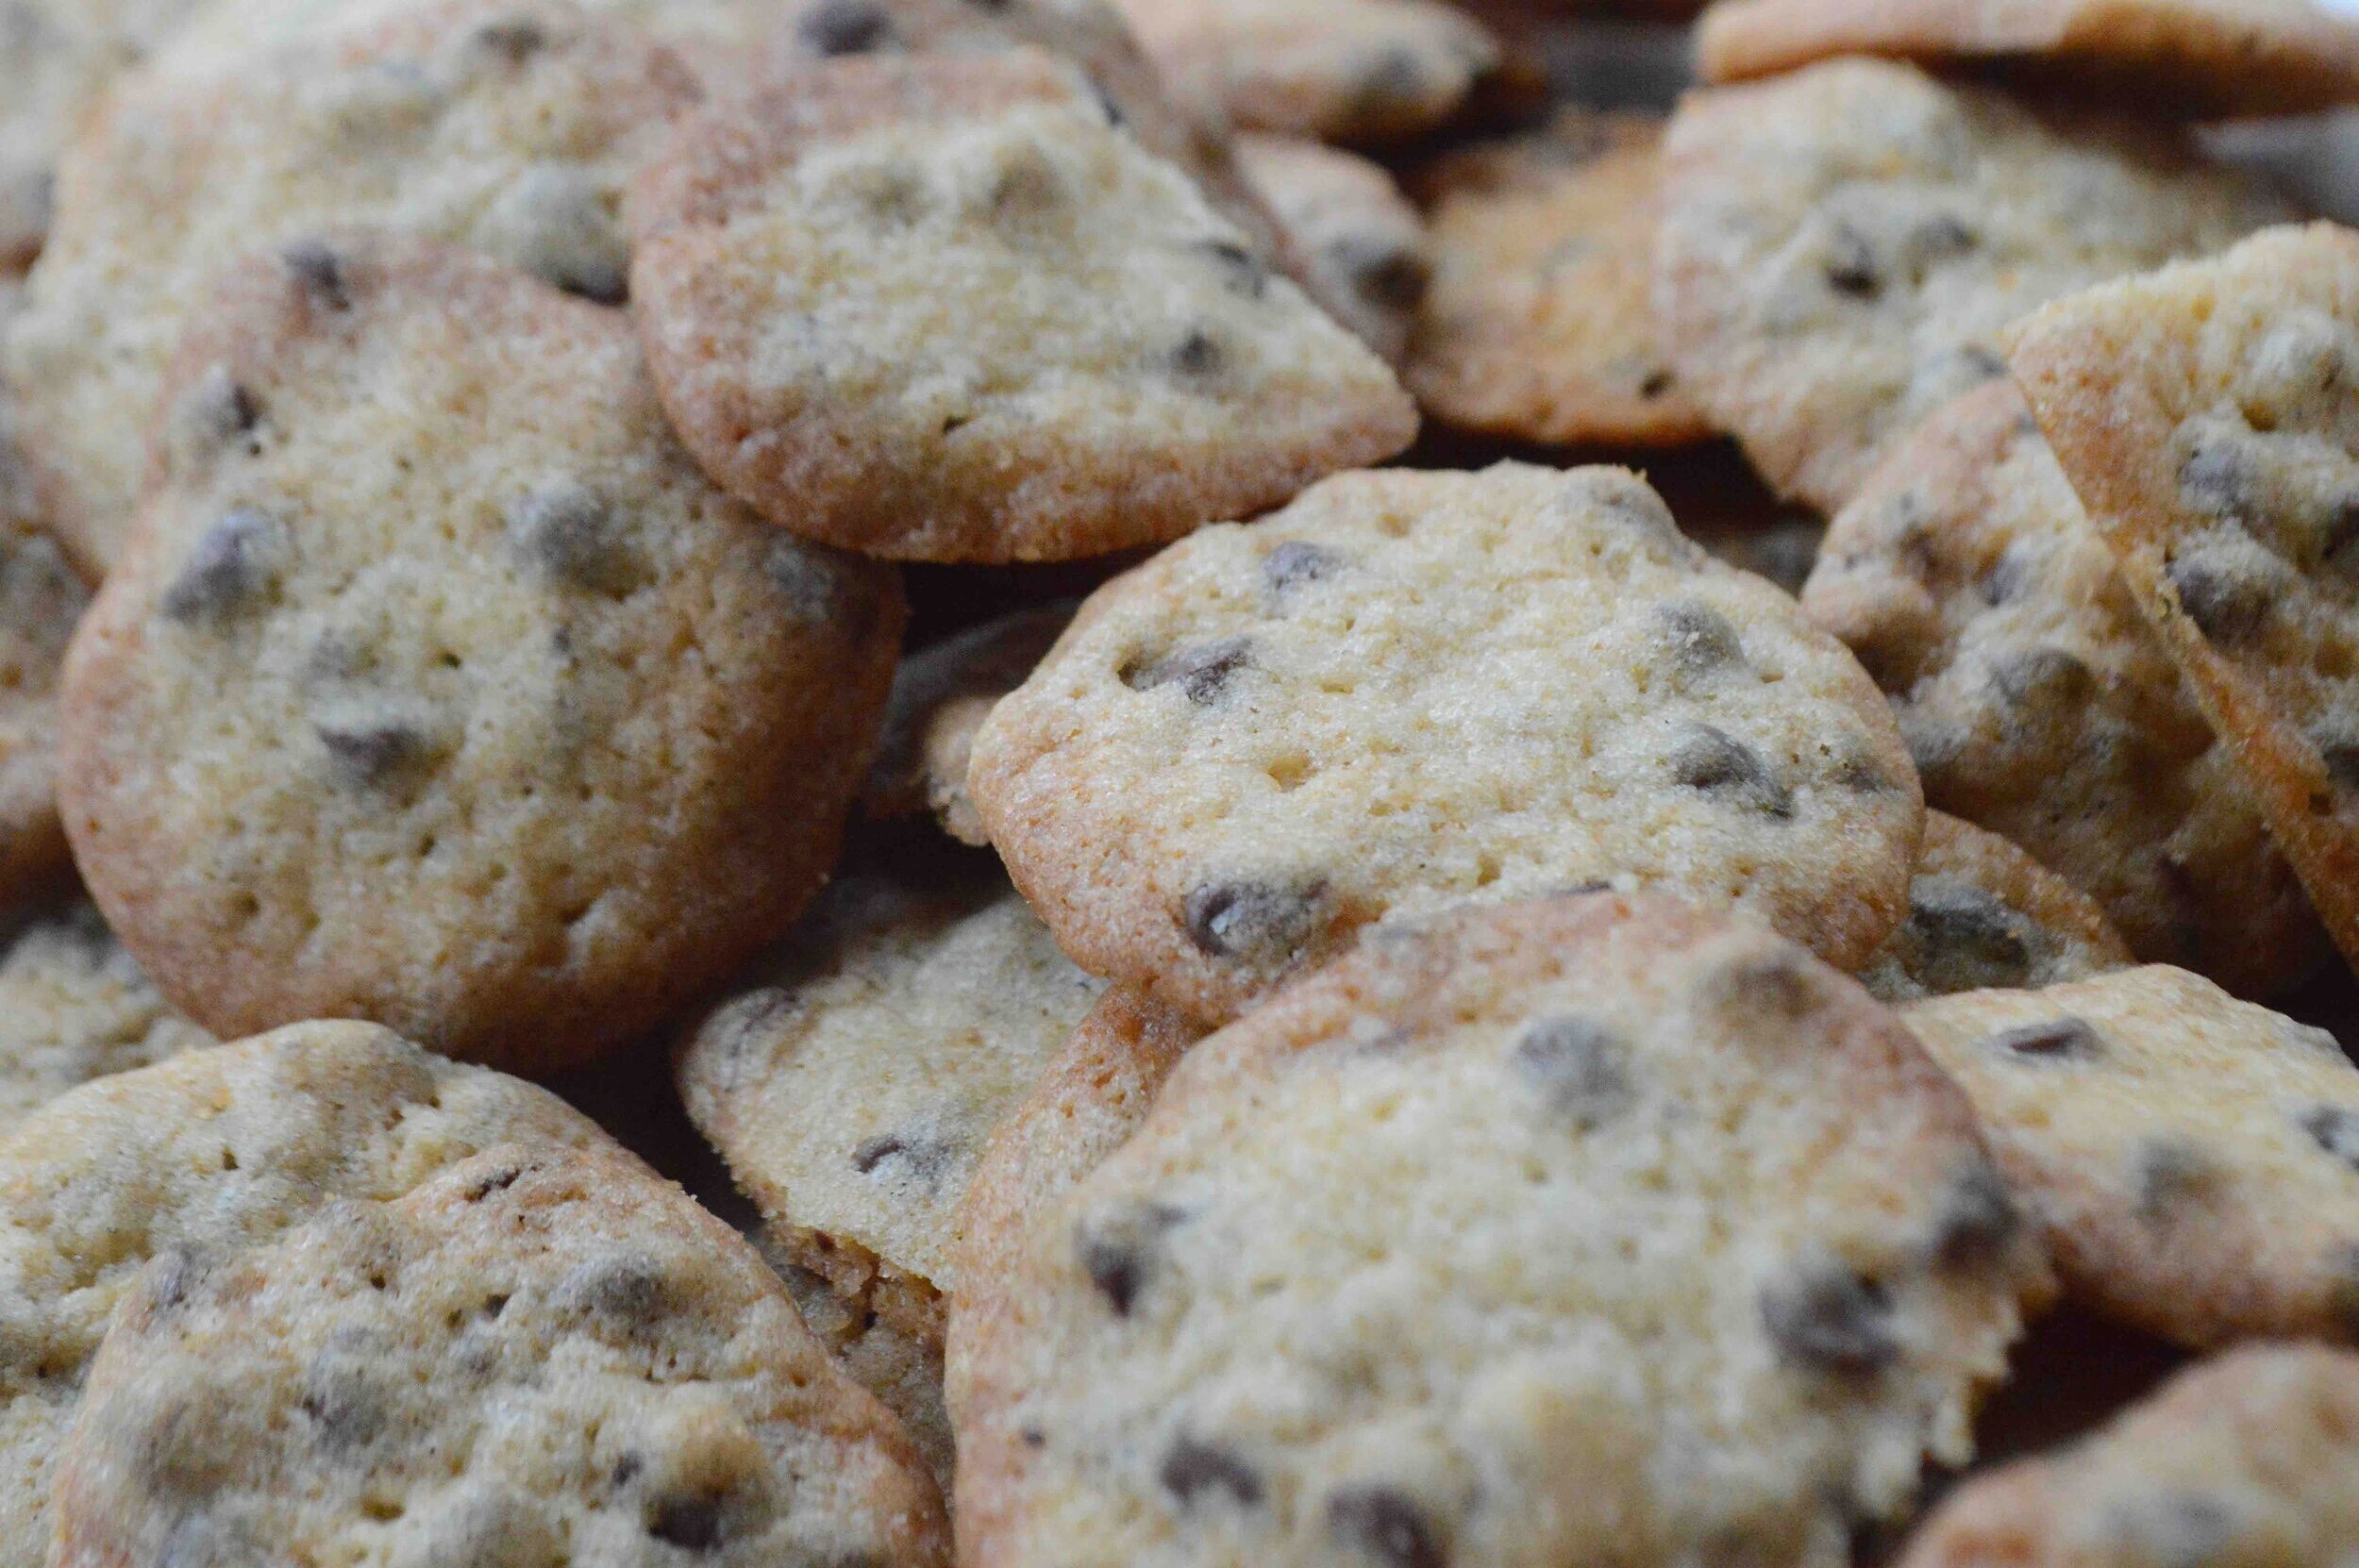
1. These have both dark and milk chocolate in them which you may have gotten from the title already (ha ha!) but I actually don’t have another cookie here that includes both. I’m not usually a huge fan of milk chocolate especially in baked goods, but I am currently chowing down on one of these as I write and I’m not hearing any complaints!

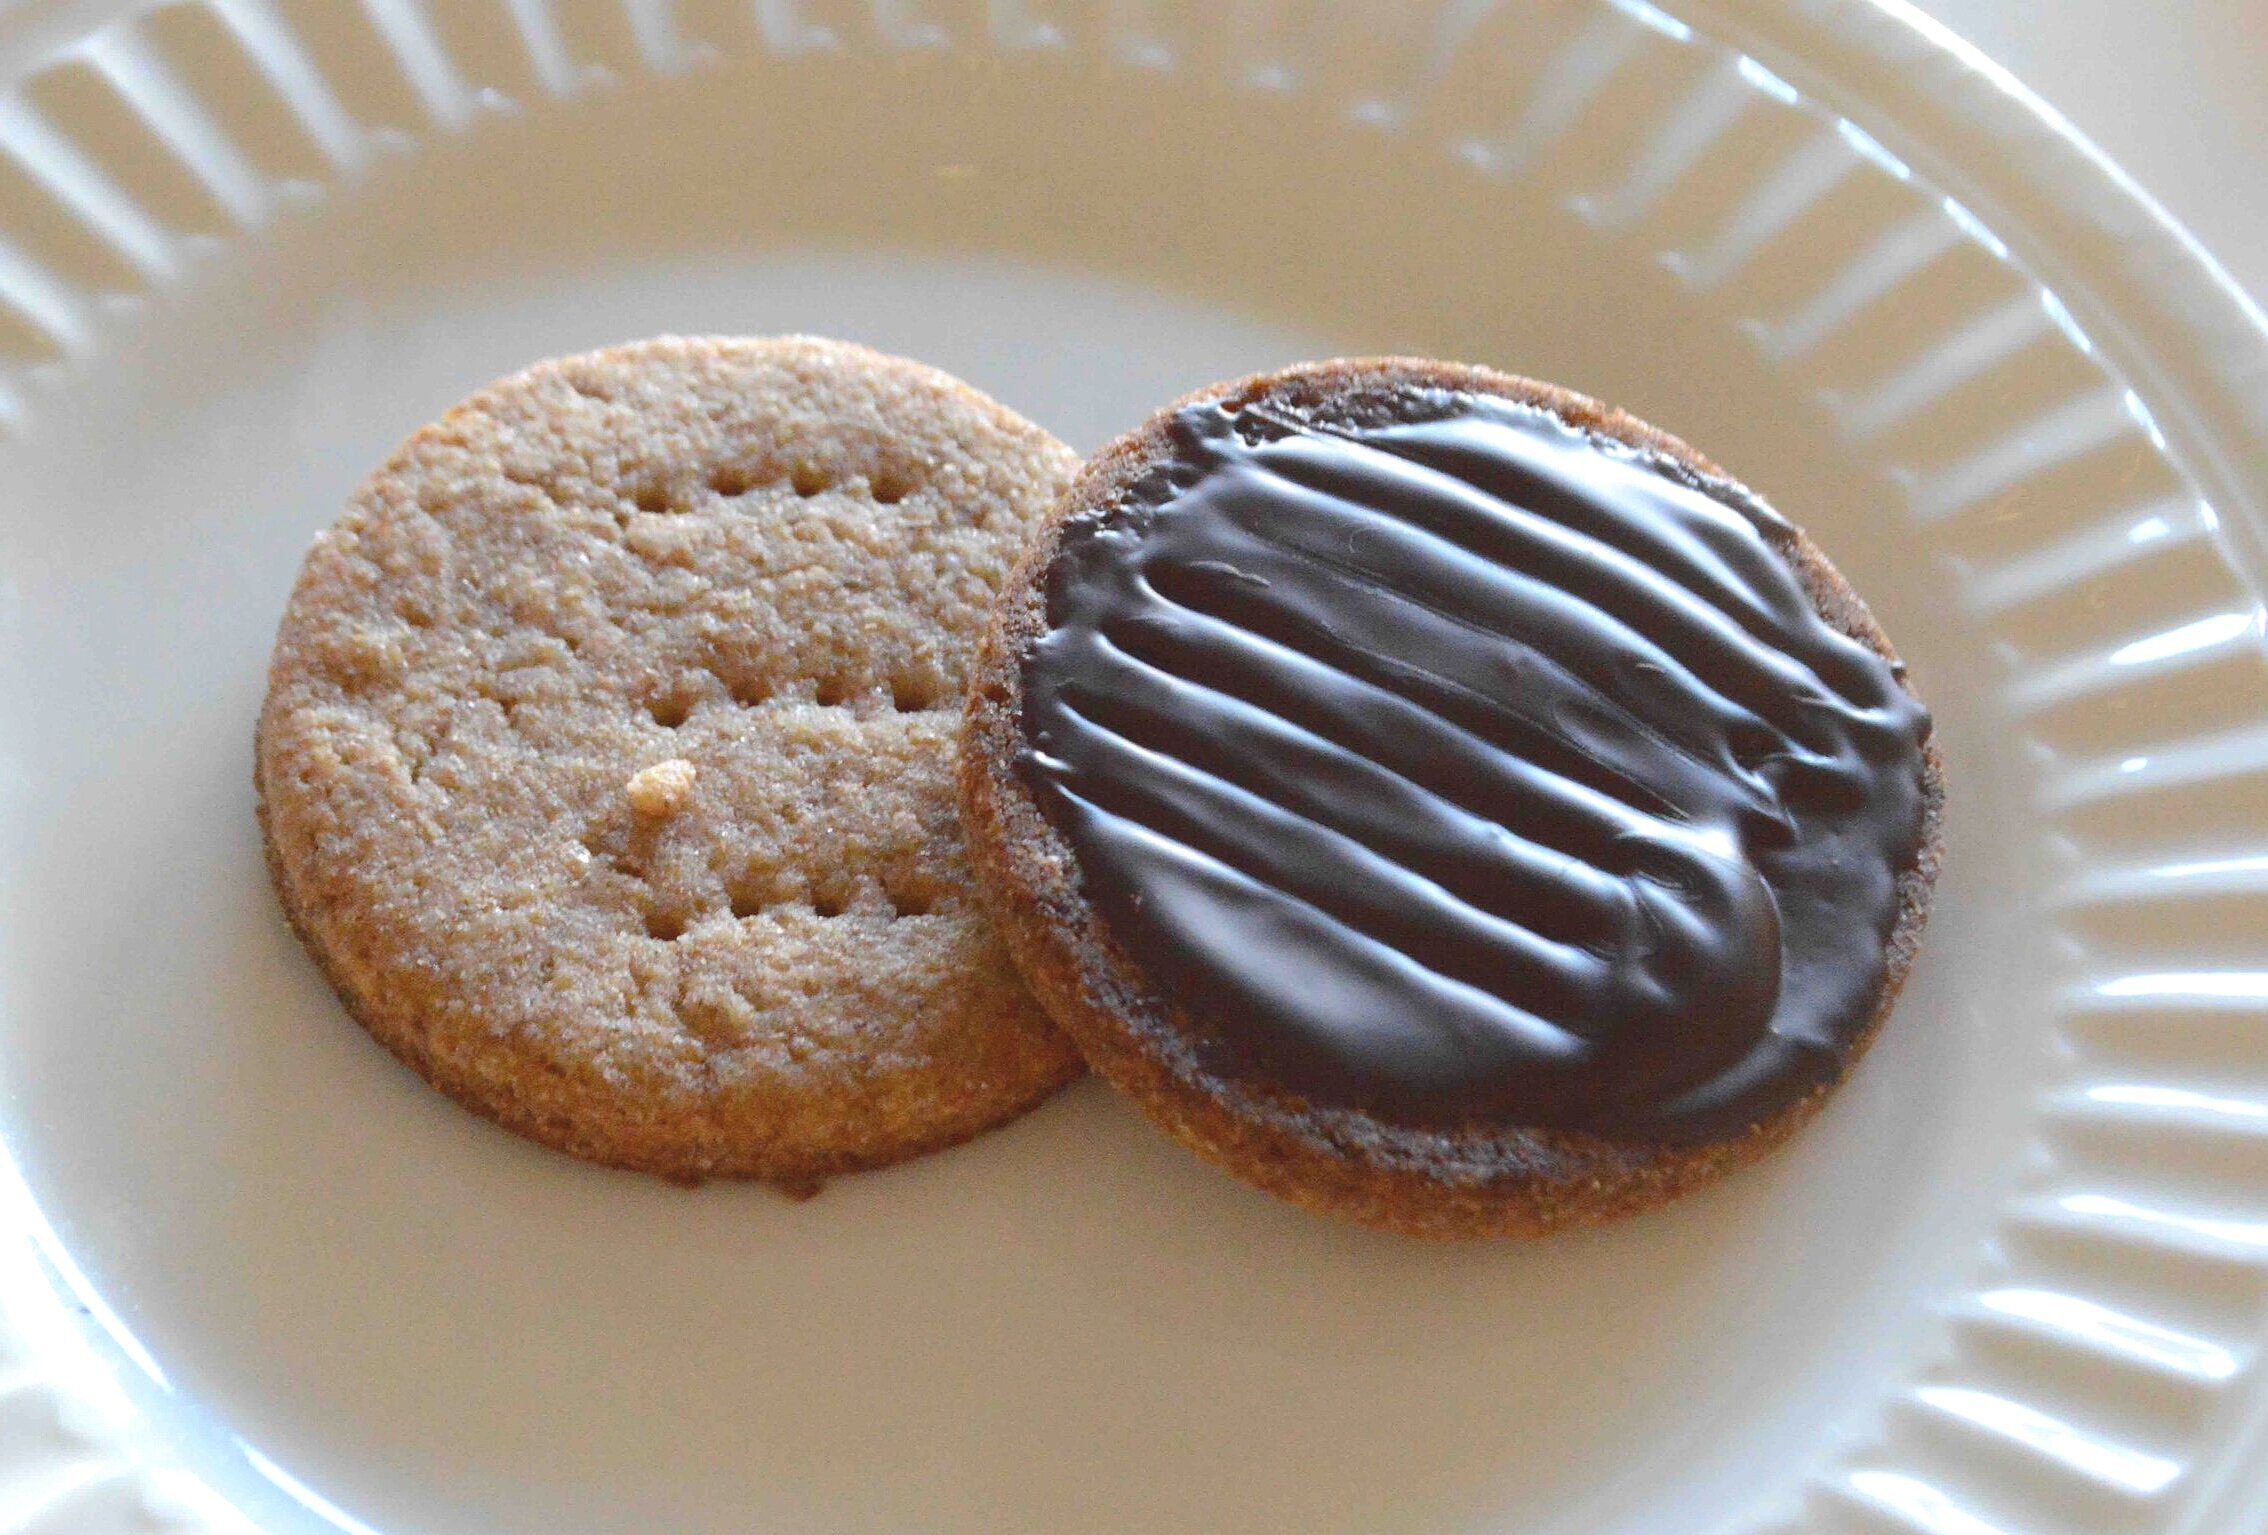
2. These are crunchy. As in you can actually hear a little crack when you break off a piece. And while I have a few crunchy cookies already posted, none of them comes close. Or has such addictively crispy edges. If crunchy chocolate chip cookies are your passion, I think you have just met your new love!
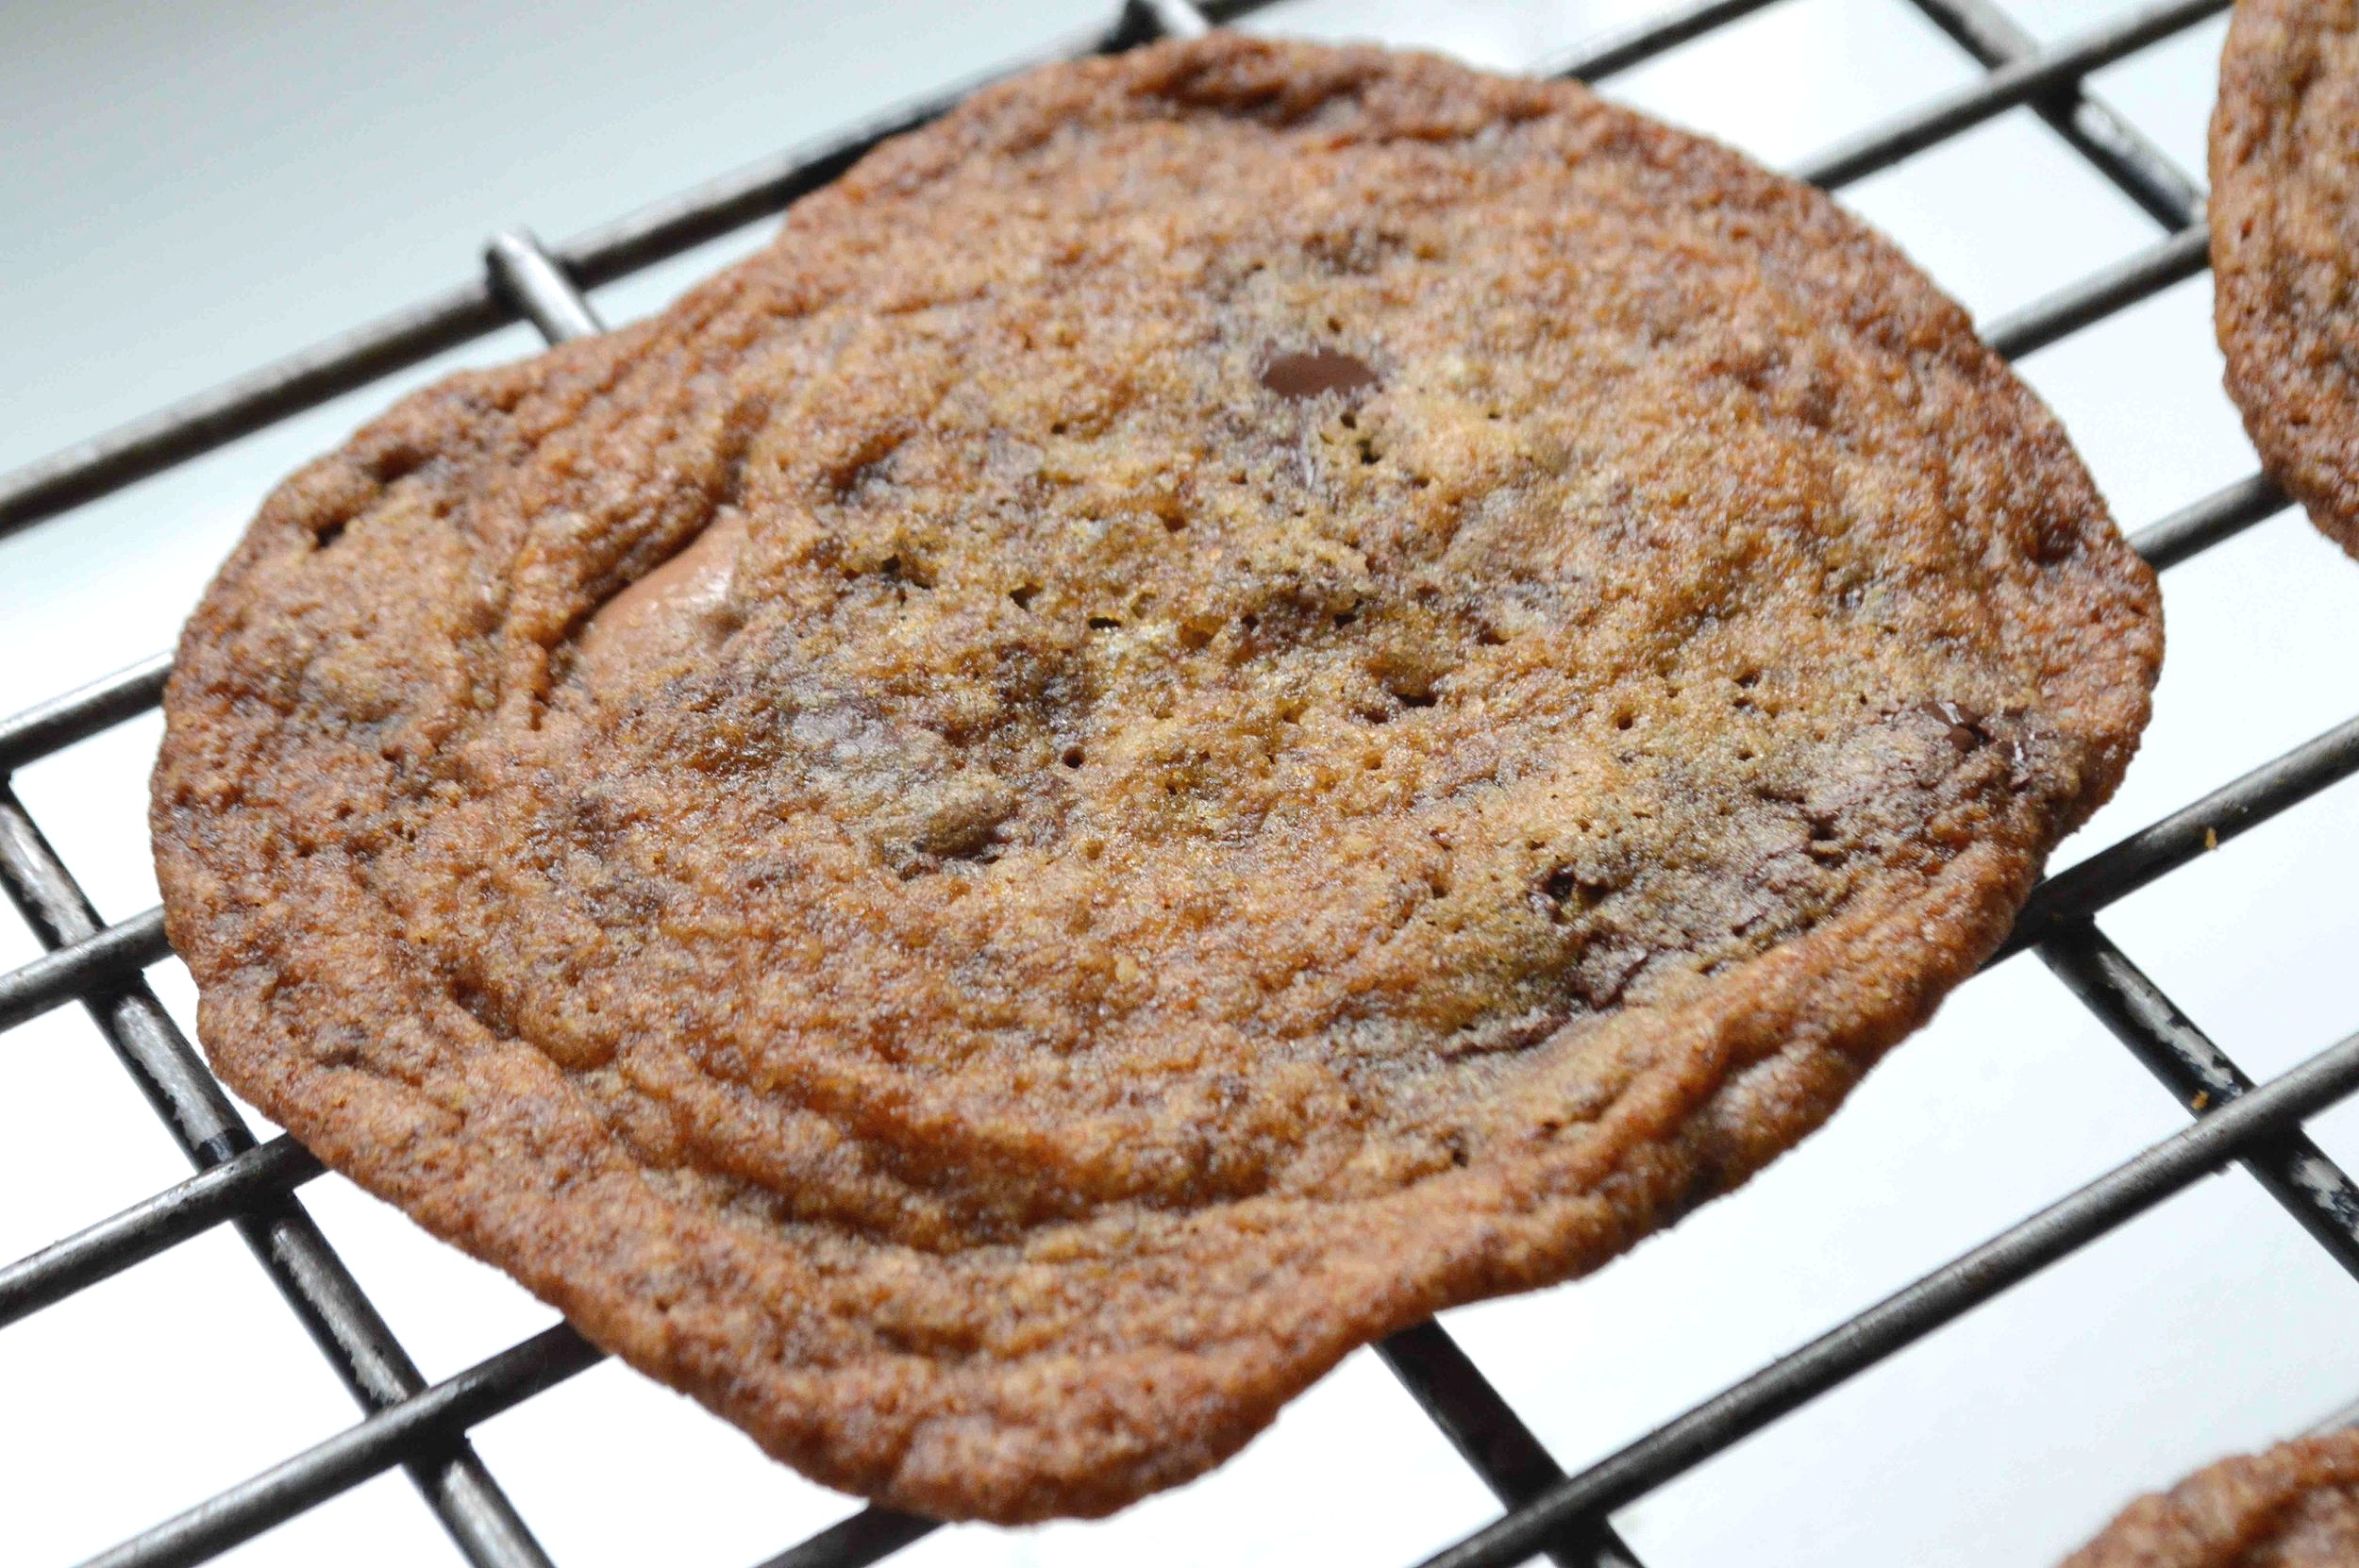
3. They’re darker than your average chocolate chip cookie and that allows the sugars to get caramelized giving them an almost butterscotch-y flavor. Need I say more?

4. There is an equal ratio of white to whole wheat flour which gives these a little more oomph somehow. I’m sure there’s a scientific chemical reason for it, but that’s not what you’ll be thinking about as you devour one…or two.
5. These are flat and large and who does not need a big cookie in their life?
6. You can make these and bake the whole batch at once or portion them out and bake just a few at a time so that you can revel in the happiness of a freshly baked cookie for days in a row as the dough balls hang out in the fridge.

7. It’s back-to-school time and what with all the brown bag lunches, bake sales and PTA meetings, an amazing chocolate chip cookie is absolutely necessary.
8. ❤️
9. ❤️❤️
10. C’mon, do we really need to justify the joy of adding yet another chocolate chip cookie to our arsenal? As you crunch into one of these and lick the melted milk and dark chocolate from your fingers, are you really going to be thinking, “ho-hum, another chocolate chip cookie?!”

Milk and Dark Chocolate Chip Cookies
Makes about 3 dozen cookies
Prep Time: 15 minutes, plus at least 30 minutes of chilling time and up to 3 days; Bake Time: 15-17 minutes
Ingredients
1 cup unbleached, all-purpose flour
1 cup whole wheat flour (not white whole wheat)
1 teaspoon baking soda
3/4 teaspoon kosher salt
1/2 pound (2 sticks) unsalted butter, room temperature
3/4 cup granulated sugar
3/4 cup dark brown sugar, packed
1 tablespoon milk
1 teaspoon vanilla extract
2 large eggs, beaten
6 ounces good milk chocolate, chopped
7 ounces dark chocolate, chopped
The Recipe
1. Line a rimmed baking sheet with parchment paper and set aside.
2. Whisk the flours, baking soda and salt together in a bowl and set aside.
3. Use an electric mixer to beat together the butter and granulated sugar on medium-high speed for about 1 minute. Scrape down the bowl with a rubber spatula. Add in the brown sugar and beat just until creamy, another minute or so. Lower the speed to medium and add in the milk, vanilla and eggs, beating just until incorporated, scraping down the bowl as needed. Remove the bowl from the mixer and fold in the flour mixture and then the milk and dark chocolates.
4. Use a small ice cream scooper or a generously rounded tablespoon to drop balls of dough onto the prepared cookie sheet any which way—doesn’t matter how close you put them because you are going to chill them first and then transfer them to bake them. Place the tray in the fridge for at least 30 minutes.
5. Now you have a decision to make. If you want to bake the whole batch at once, you can leave them uncovered in the fridge for 2-3 hours and then proceed to Step 6. If you only want to bake a few at a time, set aside the amount of cookies you want to bake and place the rest in an resealable bag and return to the fridge for up to 3 days (honestly, you can probably leave them for a week too—I haven’t tried freezing them uncooked yet, but I know it would work too).
6. When you are ready to bake, preheat oven to 350ºF and line cookie sheets with parchment paper. Place 6 cookies, at least 4 inches apart on the sheets—these really spread— and bake 1 sheet at a time for 10 minutes. Rotate the sheet and continue to bake for another 5 minutes or so, and cookies look dark golden brown. You don’t want these to be underdone because they are supposed to be crisp but check often because original recipe calls for 20 minutes of baking but mine would have been burned if I did that—all ovens differ. If they look too light cook for another minute or so. Remove from oven and let cool on baking sheet on wire rack. Cookies will crisp up as they cool.
7. Store cookies in an airtight container at room temperature for up to 1 week.
Enjoy!
Note: Recipe adapted from Mastering My Mistakes in the Kitchen by Dana Cowin. I cut the Maldon sea salt topping and slightly changed the chilling and baking process.