Pie Squared's Easy-As-Pie Apple Slab Pie-Famous Fridays
Next Thursday is Pi Day-you know, the one that celebrates the uniqueness of the number 3.14 but that we bloggers use as an excuse to share new pie recipes? So it’s kind of “infinitely” perfect that for Famous Fridays today, I get to tell you all about one of my favorite new cookbook finds, Pie Squared : Irresistibly Easy Sweet & Savory Slab Pies by Cathy Barrow and this terrific twist on traditional apple pie. Honestly, after getting to know this book, you won’t think about baking pies the same way ever again!
Do you know about slab pies? If perfect, flaky homemade pie crust is something you dream about but haven’t quite perfected yet or have maybe found too intimidating to even attempt, a slab pie is your answer. Not only do you get more crust per bite than you would with a traditional round pie, but making a slab pie is so much less fussy and labor intensive. Basically a slab pie is just what it sounds like—a slab of pie, in other words, a pie baked in a sheet pan rather than in a pie plate. No need to roll out a perfectly round crust and crimp it just so, which takes a lot of the pressure off. I’ve been baking pies for years and years now with varying degrees of crust success and I have to say that with these slab pies, I’ve had 100% stress-free dough experiences.
That’s because Cathy gives you foolproof recipes with very specific and user friendly techniques which seem labor intensive and persnickety but which once you get the hang of, are actually fairly routine and easy and are what will allow you to turn out perfect pie after perfect pie. More on that below.
And there are all sorts of crust variations in the book, like cream cheese, olive oil, hash brown, and chocolate— even recipes for super simple press-in kinds. No matter what kind of crust experience you’re looking for, I guarantee you that it’s in here. The book is also filled with gorgeous, mouth-watering photos and loads of recipes for both sweet and savory slab pies. Some are more traditional, like this apple one I’m sharing today and others more off the beaten path like Sour Cream Peach Melba Slab Pie, Good Morning Cream Cheese Danish Slab Pie with Jam, Spinach, Gorgonzola and Walnut Slab Pie, Loaded Baked Potato Pie with a Caramelized Onion Crust and Pan-Roasted Mushroom and Kale Slab Pie (will share this one next week—it’s pretty stellar) to name a few. if pie baking is something you love to do or want to learn how to do, I can’t recommend this book highly enough!

But before I go on and on and get you even more excited, there’s one essential item you need (and a couple more that will make this whole experience a lot easier.) Pretty much all of the recipes in the book call for a quarter sheet pan. If you already have one, great! I didn’t, so I ordered this one from Amazon (you can see it in the picture above, nesting in the larger half-sheet). It costs less than $15 and had worked out very well.
It’s also really useful to have a metal bench scraper. I’ve had mine for years but you can buy one for under $10 and it’s one of those kitchen gadgets that doesn’t take up a lot of space and that you’ll really use, especially if you get majorly into pie baking, which you just might after getting your hands on this book! It’s also great to have a baking stone, though you could totally use an upside-down rimmed baking sheet.
Last 2 items: a food processor and painter’s or masking tape. Whew!

And now finally, onto this wonderful apple slab pie. We’re going to go through it step by step, which I do in the recipe below, but I thought it’d be handy to kind of see it in action too. If you don’t want (need) the tutorial, you can just skip down to the actual recipe below—no hard feelings, I promise!
First off, you’re going to freeze your cubed butter for 20 minutes. Don’t skip this step because keeping the dough cold is what will eventually allow the pastry to be light and flaky. When that butter’s nice and frosty, you mix up the dough ingredients in the food processor. You can do it by hand (and I’ve included instructions for that in the recipe too) but it is so much easier to do it this way, so beg, borrow or steal one if you have to!! Ha ha!
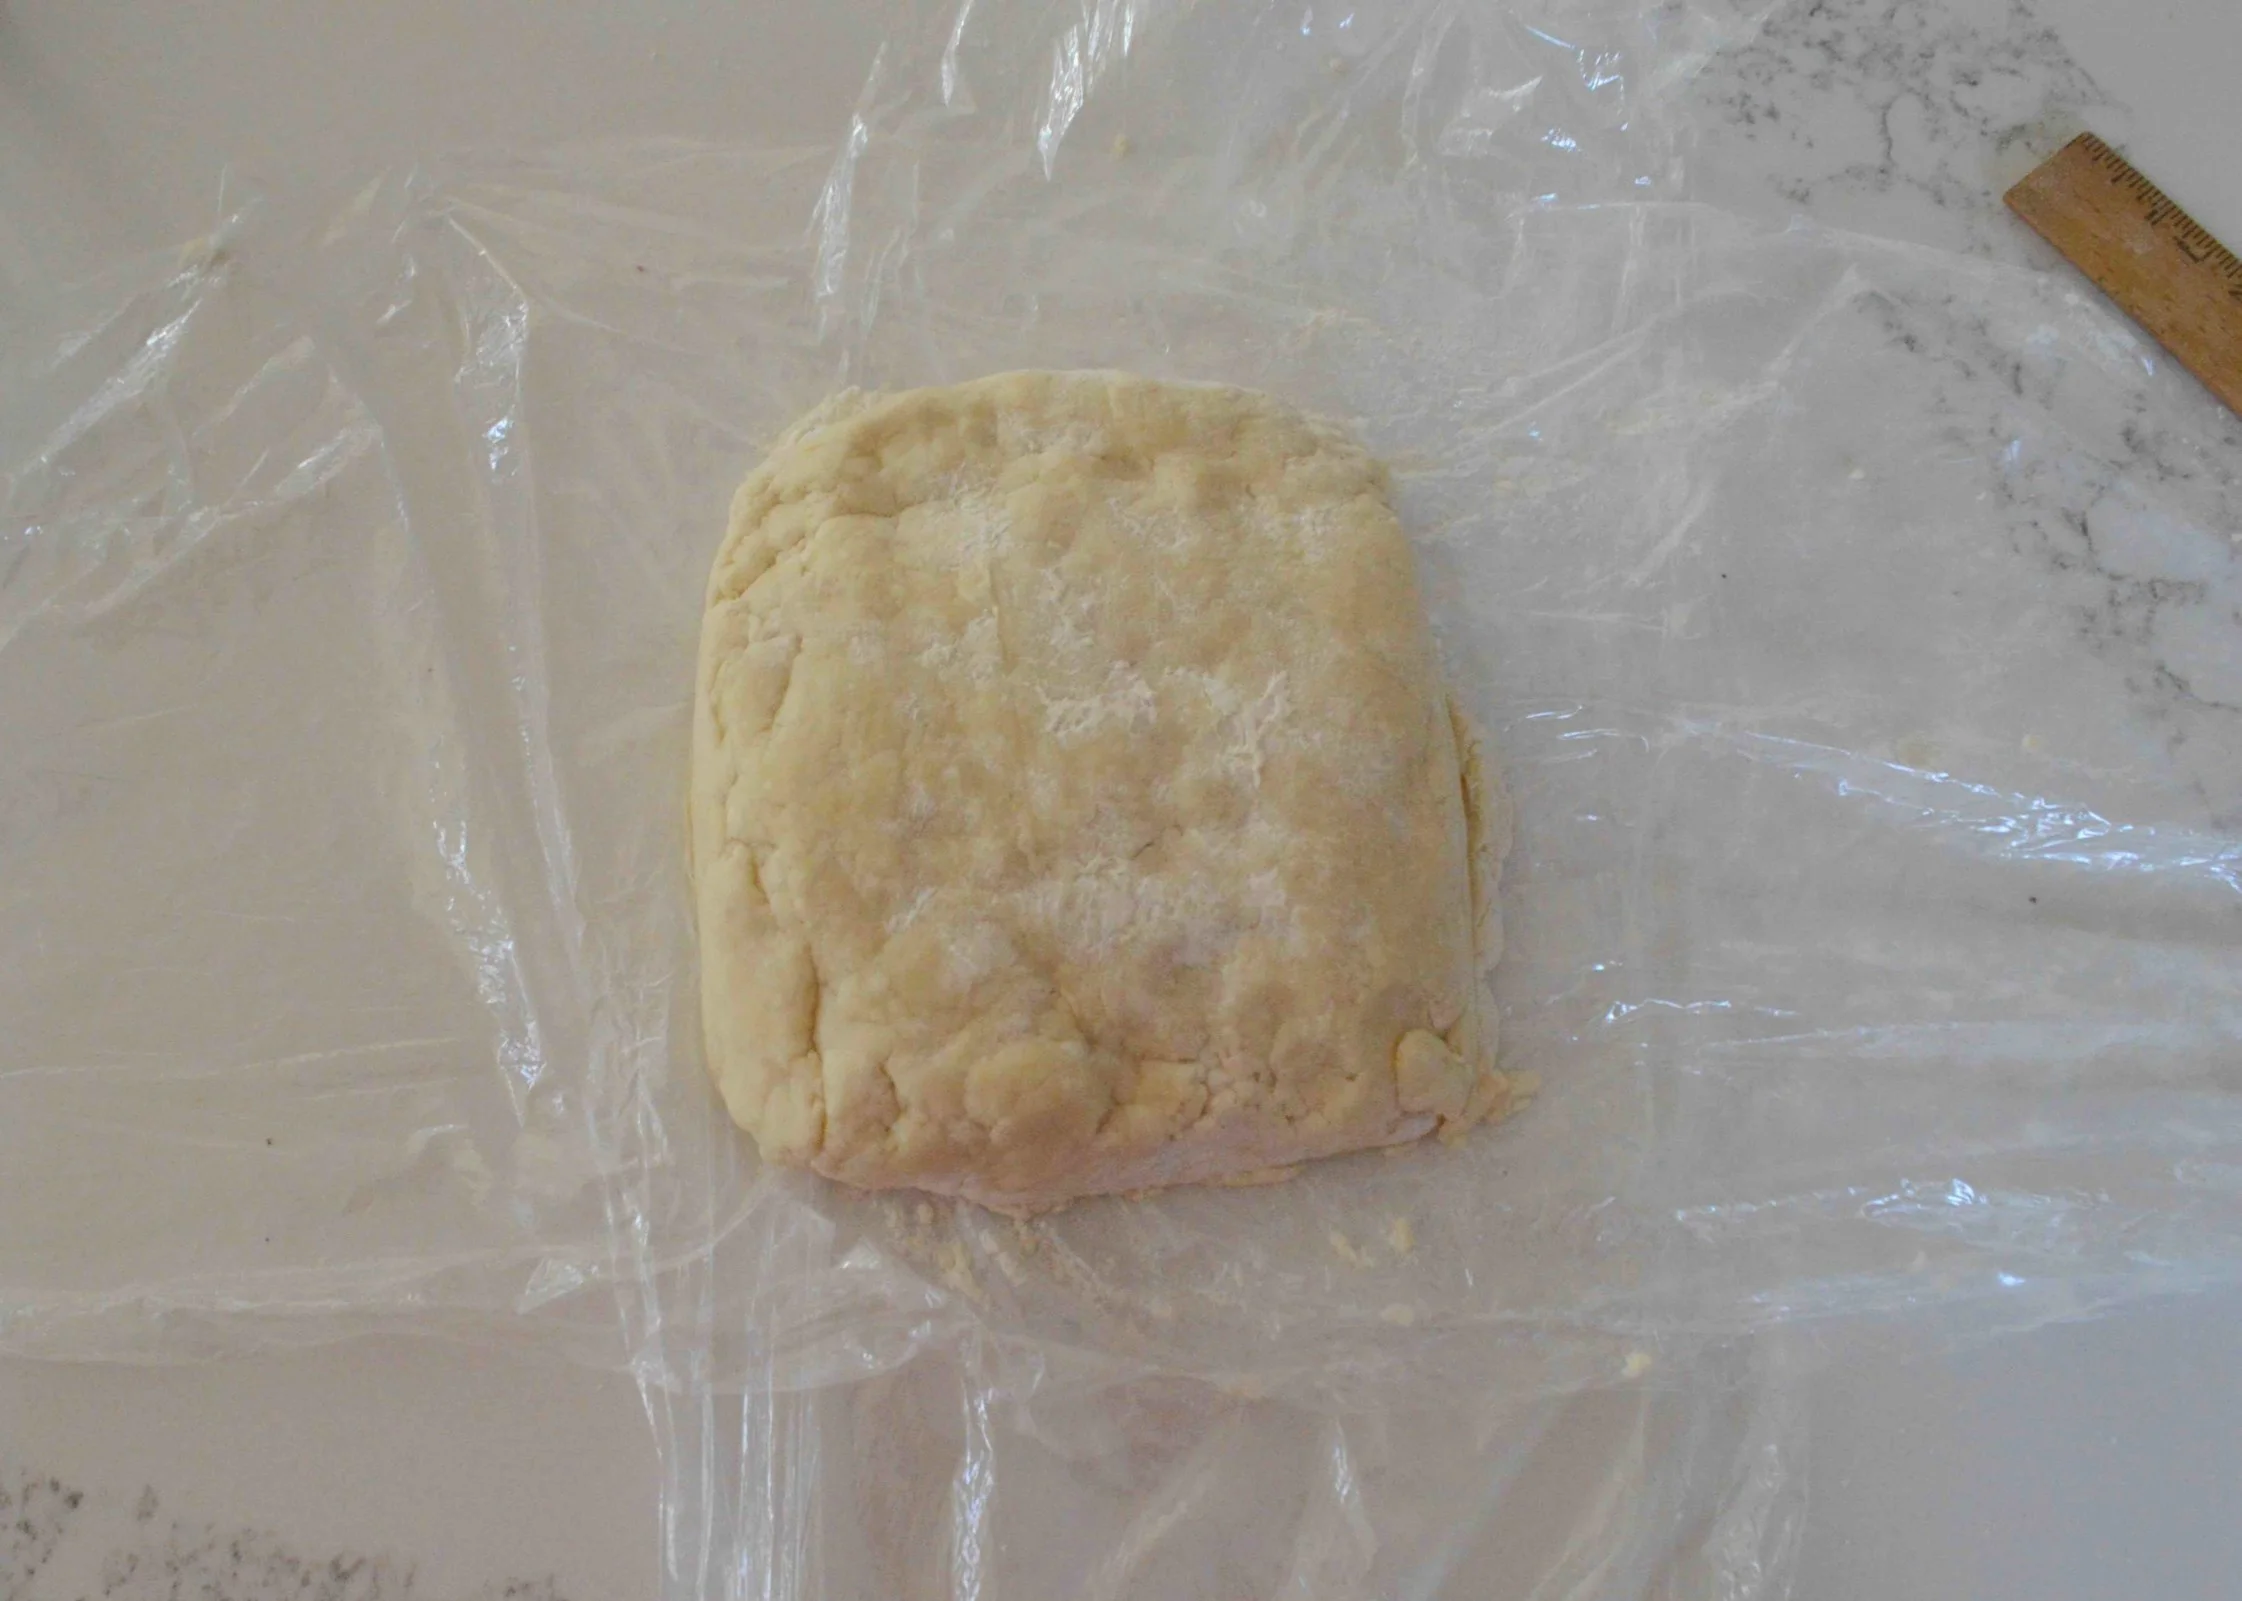
Again, I want to emphasize not to handle the dough with your hands too much or overprocess it. You want it to almost form a ball but still be a little shaggy looking with some crumbs that don’t totally adhere to the ball. When the dough looks ready, you are going to turn it out onto two pieces of crisscrossed, floured plastic wrap and fold up the wrap over it. Then you’re going to use that bench scraper to push the dough (through the plastic) into a 6x4-inch block, pounding it 3-4 times per side with the rolling pin in the process on both sides to remove any bubbles and make it more compact. Now, you let that dough block rest in the fridge for at least 4 hours and better yet, overnight.

Before you’re ready to begin the rolling out process, you are going to set up your board, using the painter’s (or masking) tape to make an 11 x 15-inch rectangle. I know this may seem like an annoying extra step but it makes it so easy to roll the dough out to the correct size and will actually wind up saving you time in the long run.

Once the dough has warmed up for about 10 minutes, you cut it into two slightly unequal pieces and…you’re ready to roll, literally.
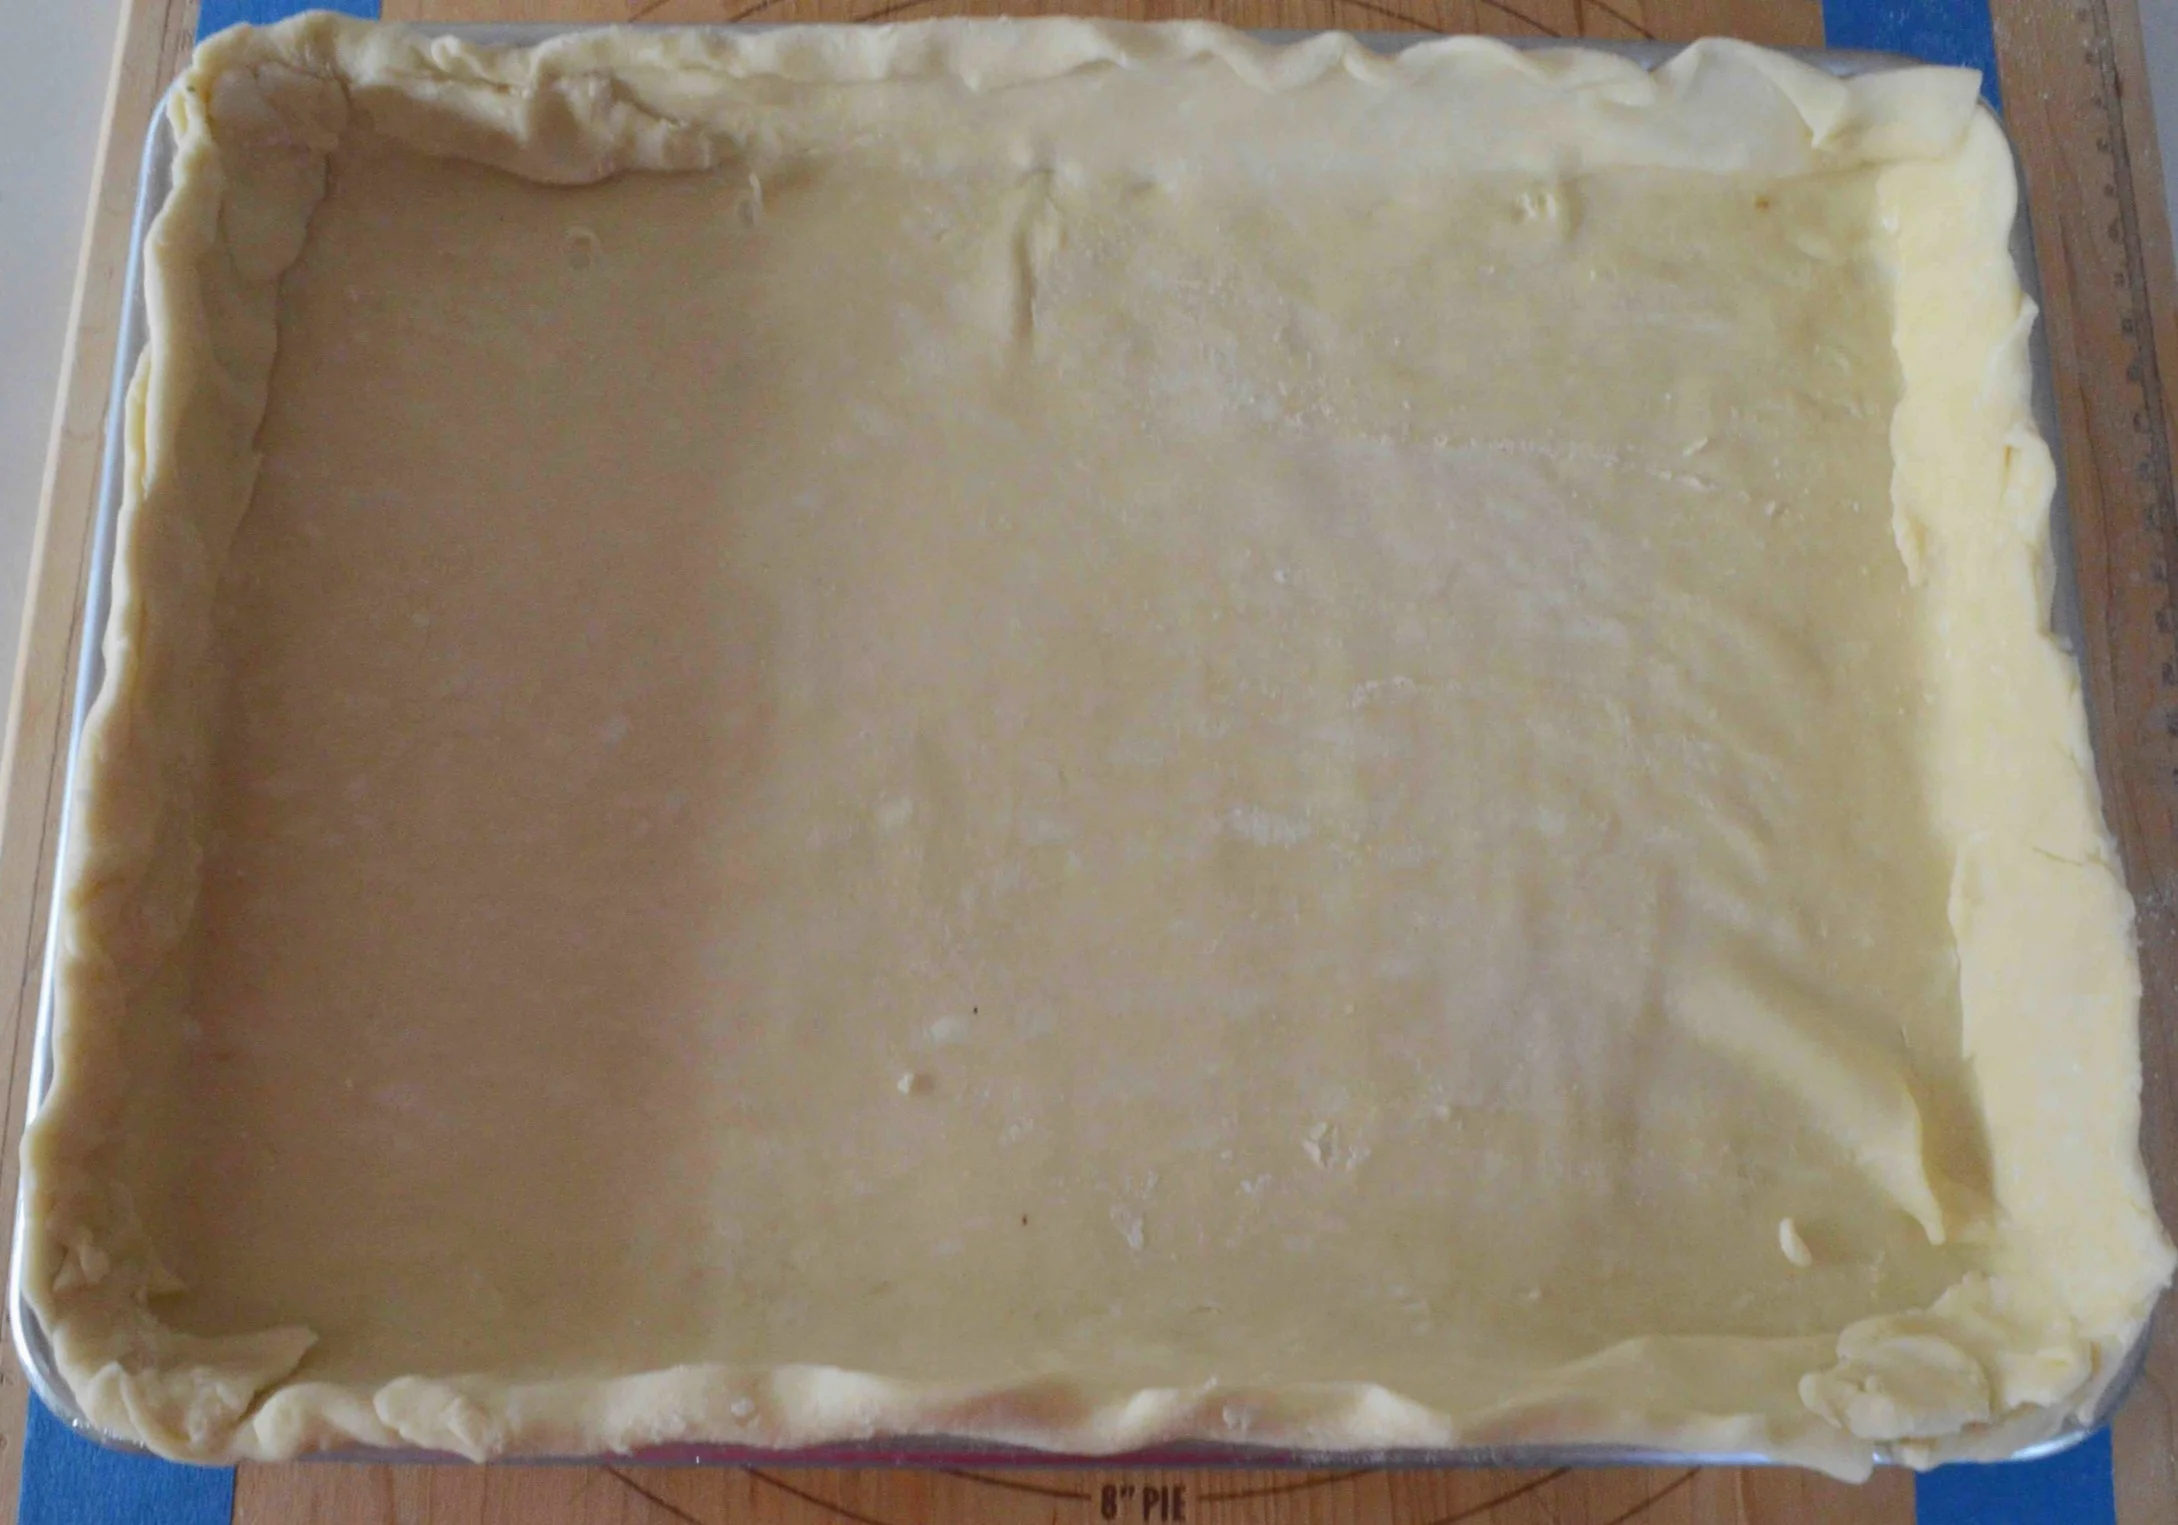
Once the dough is rolled out, you simply transfer it to the 1/4 sheet pan and gently press it in. Then you repeat the process for the top crust, place it on a floured baking sheet and let both doughs chill while you make the filling.
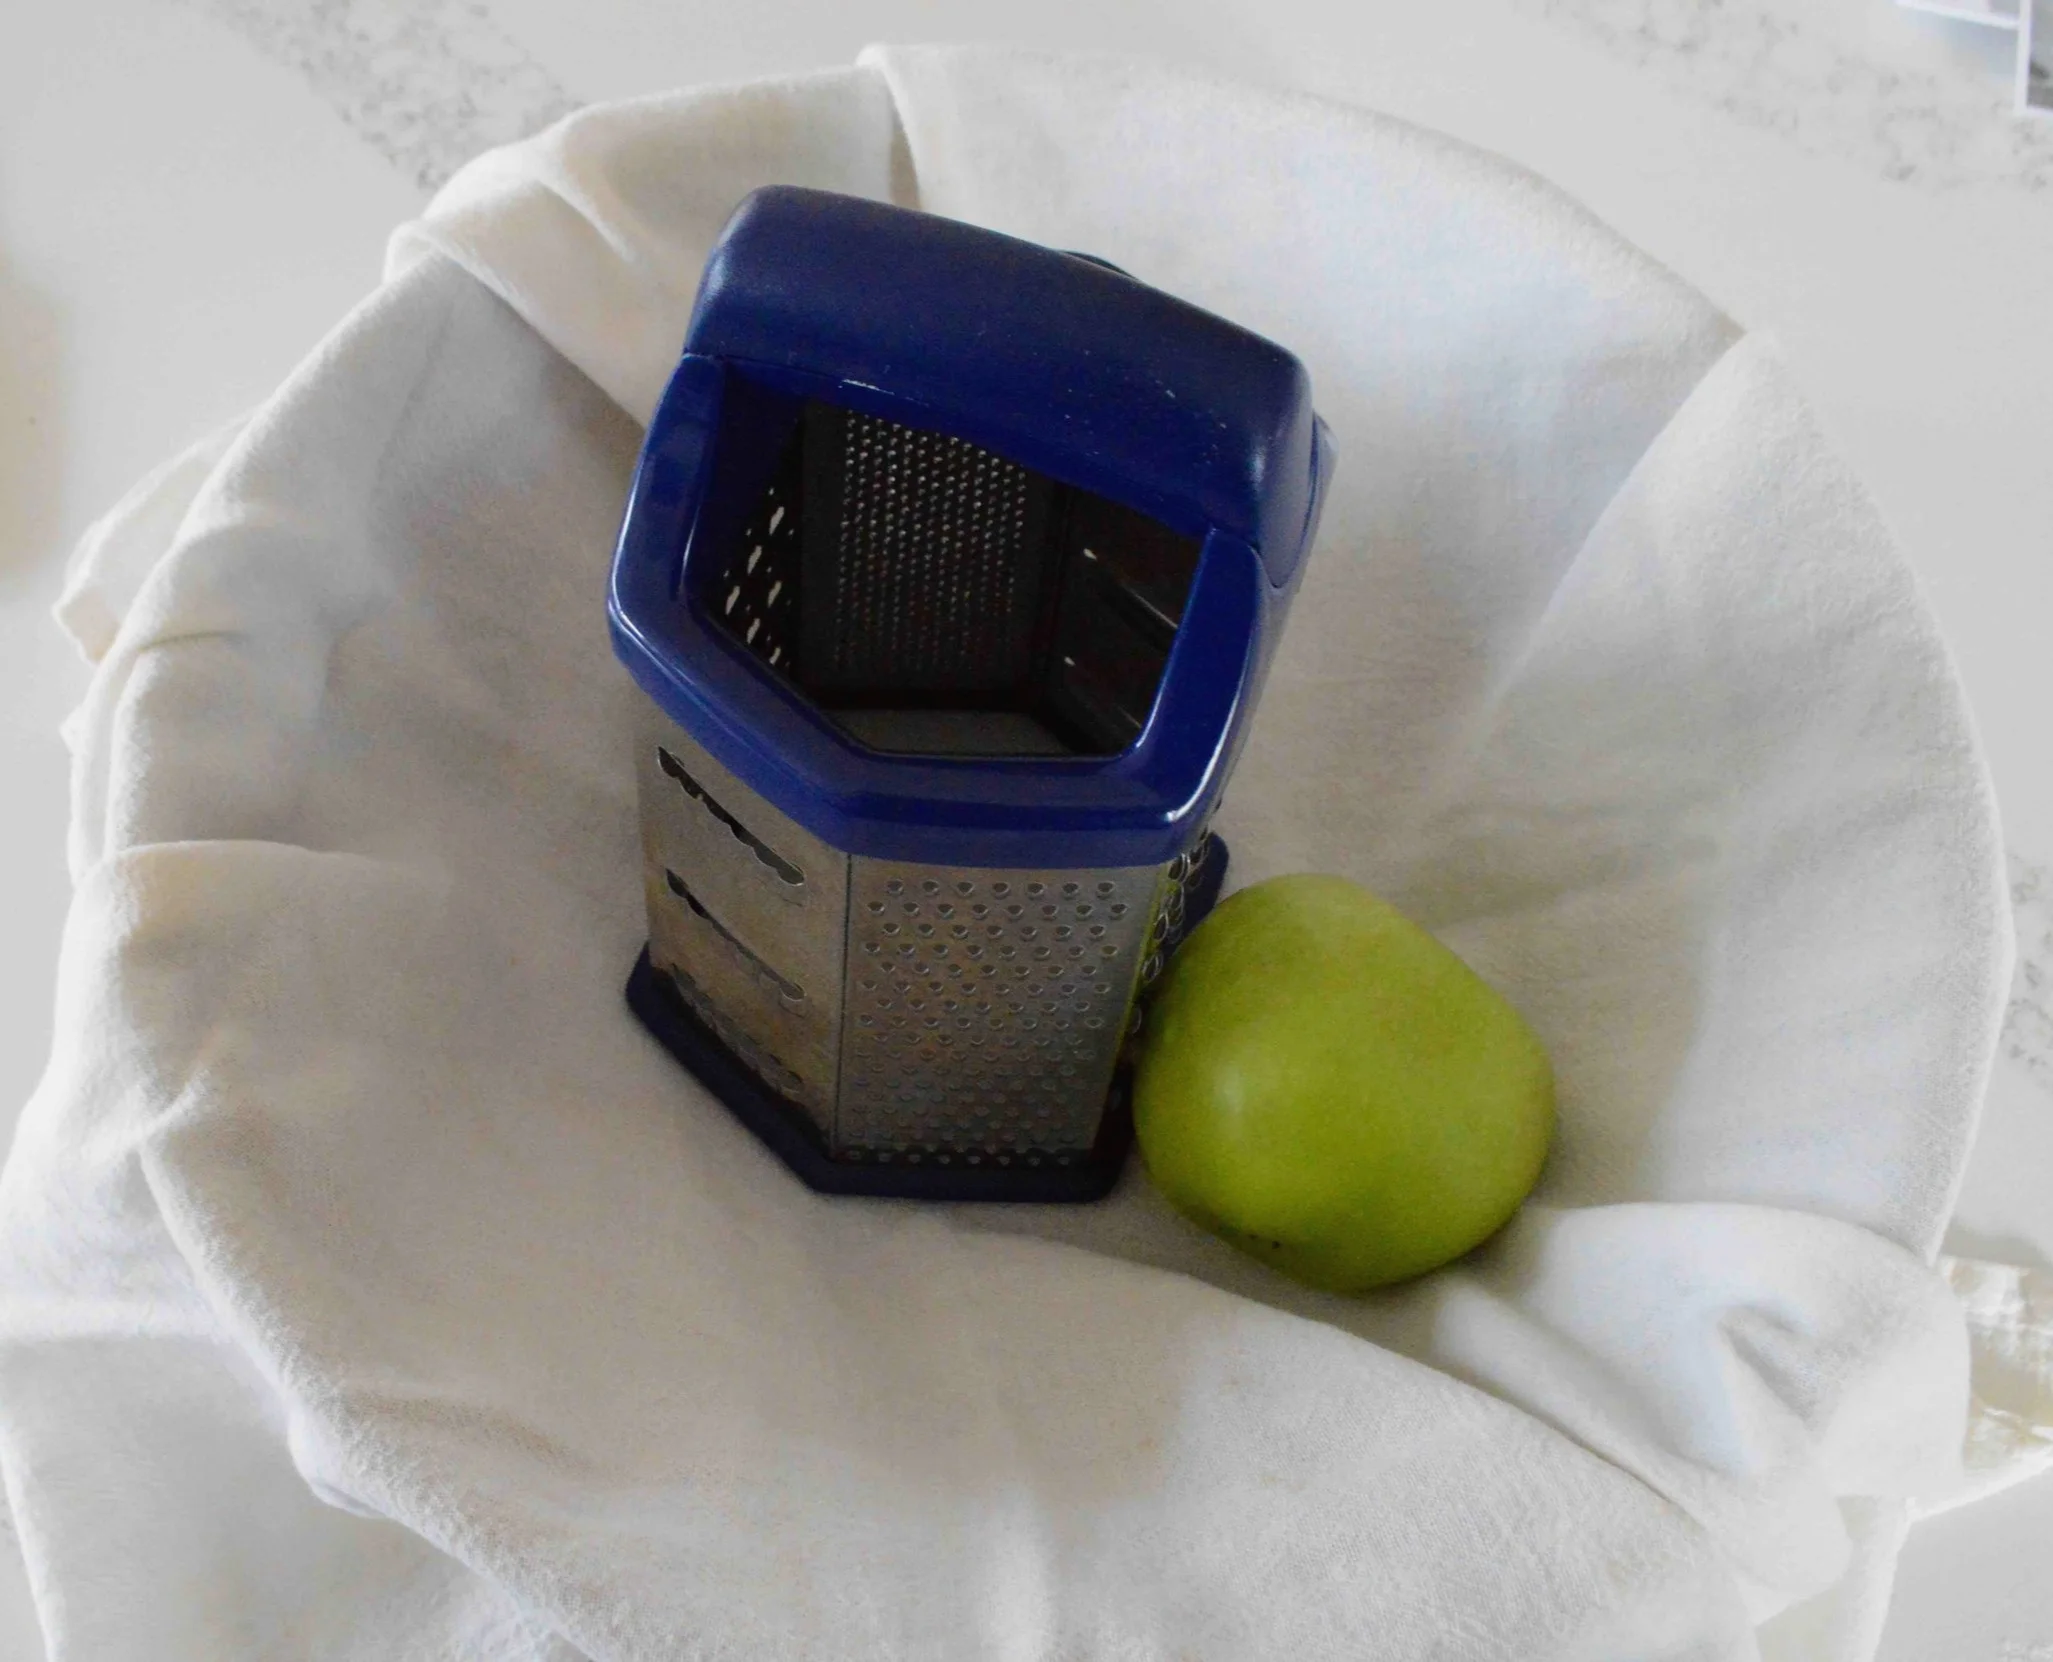

Into a large bowl, you place a thin cotton towel and a box grater and grate the apples directly into the towel. Then, you use the towel to wring out as much liquid from the apples as possible. This helps to keep the pie crust from getting soggy.

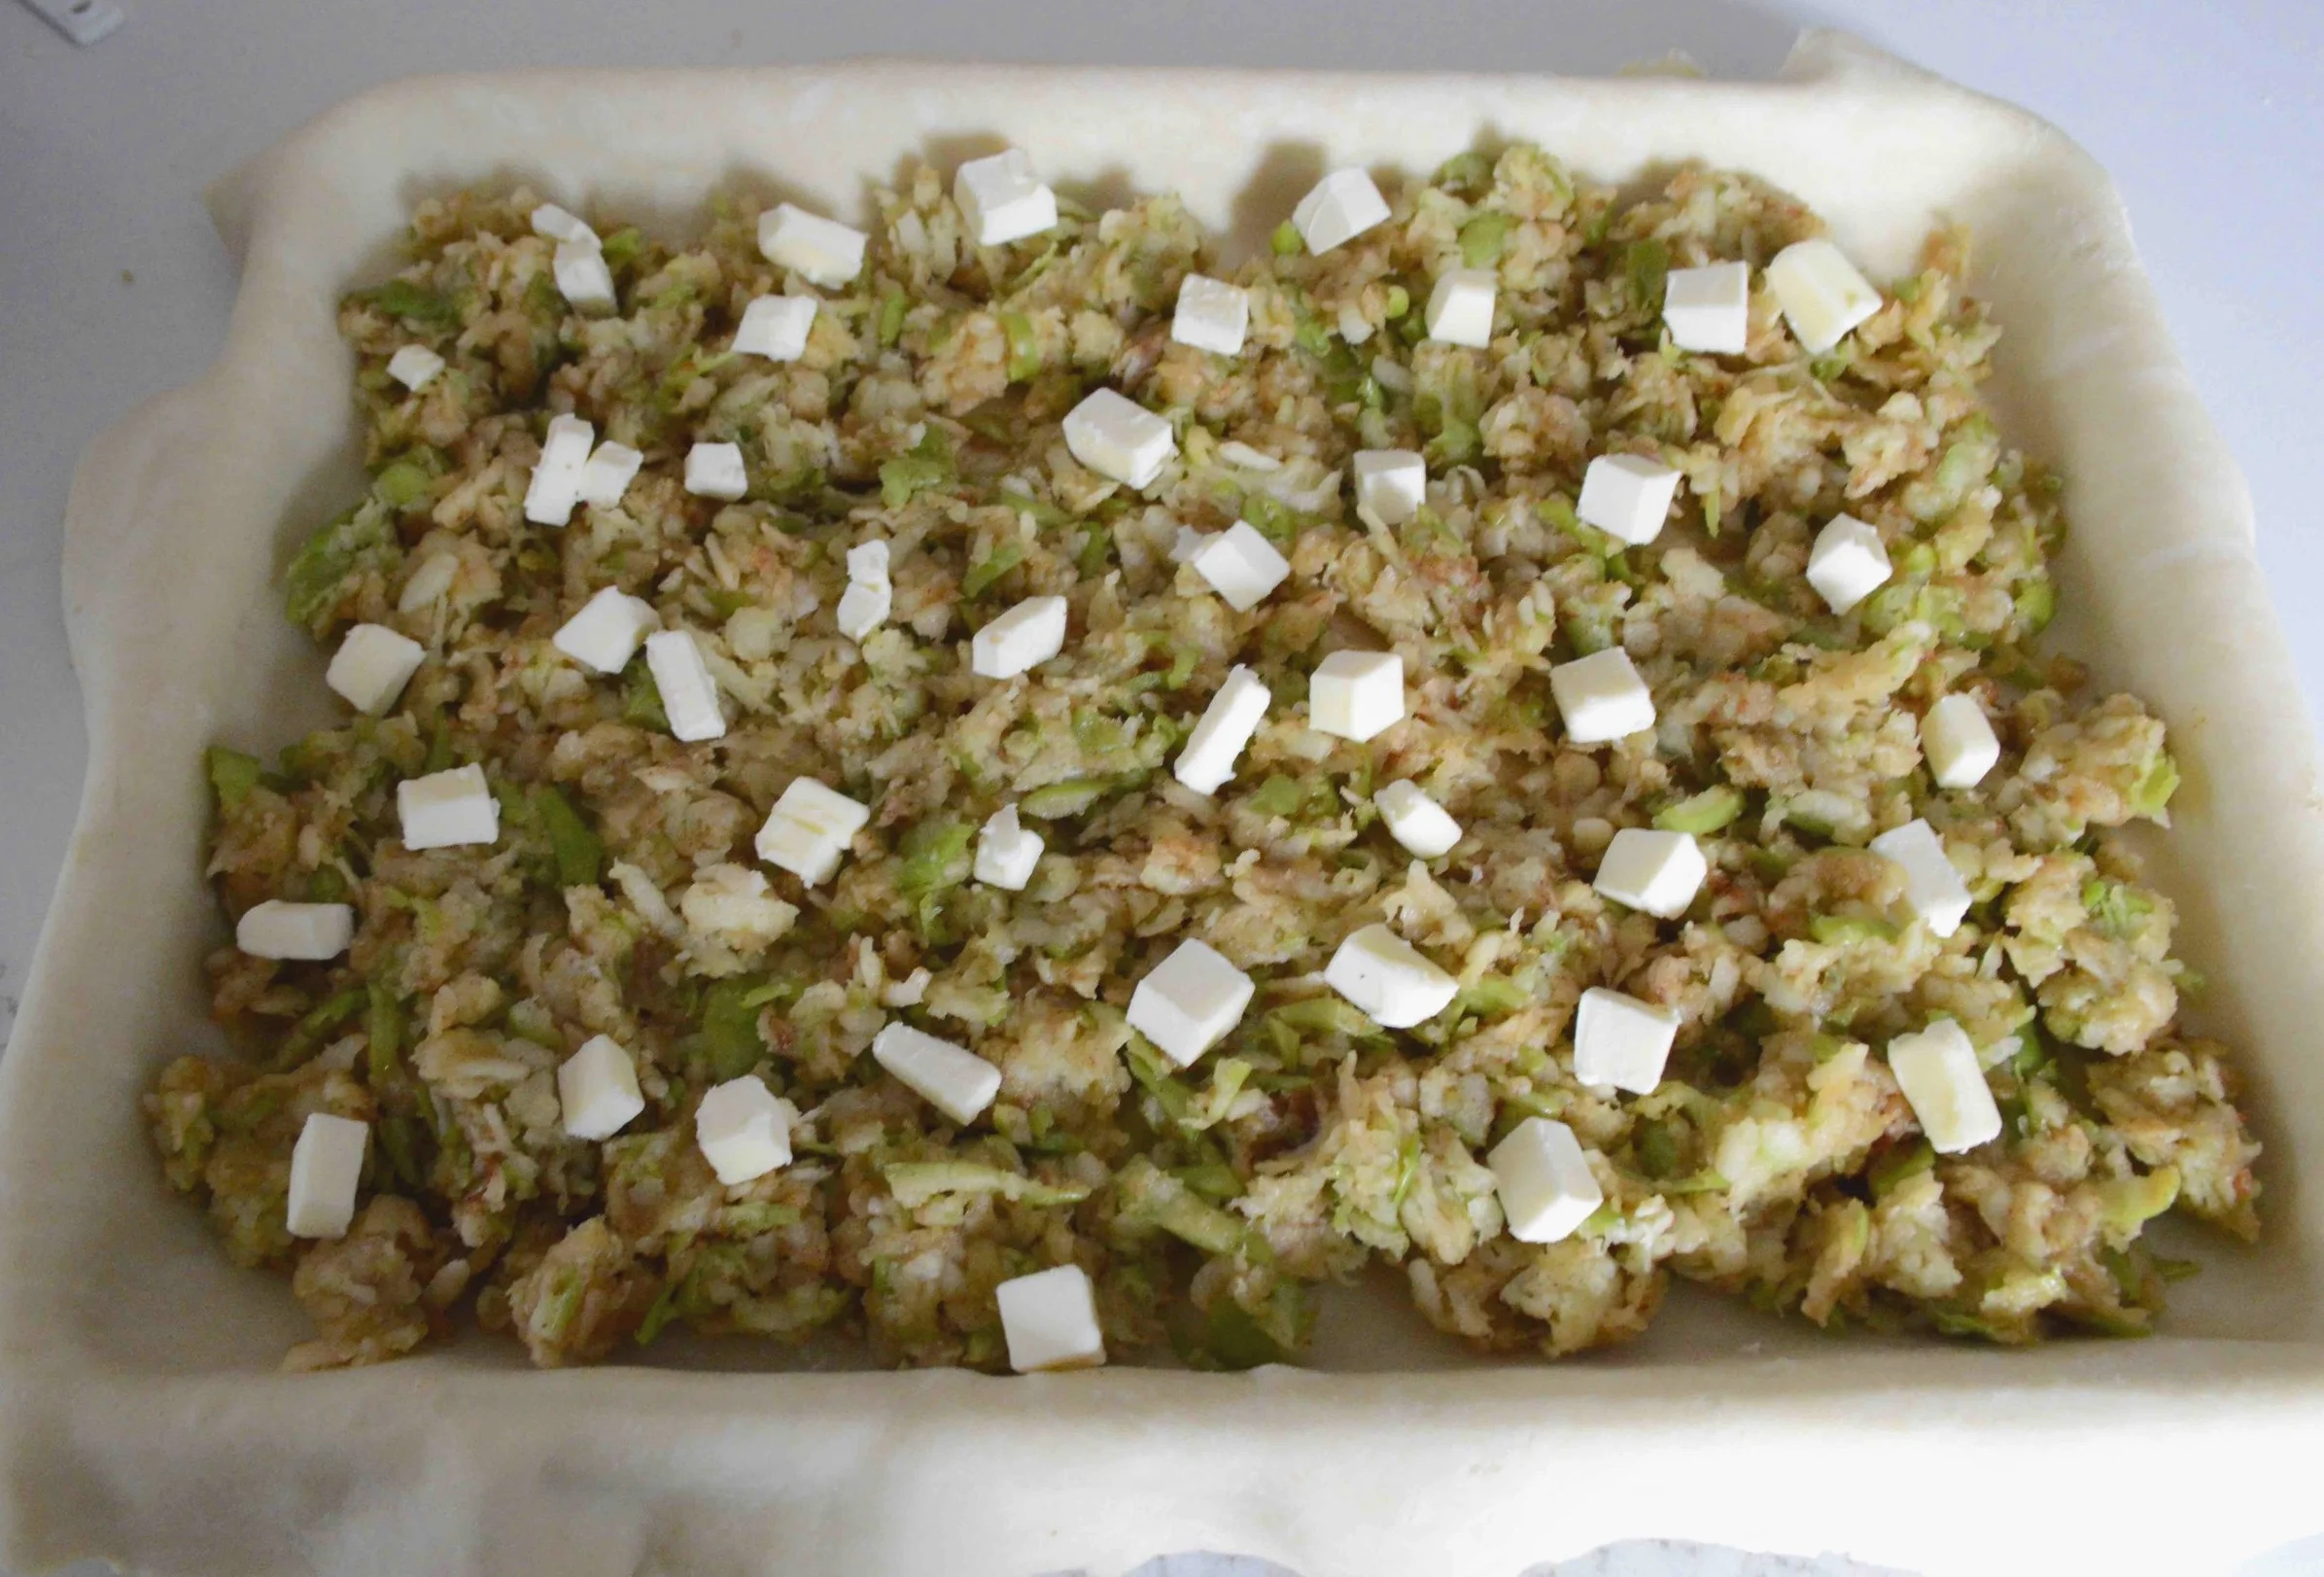
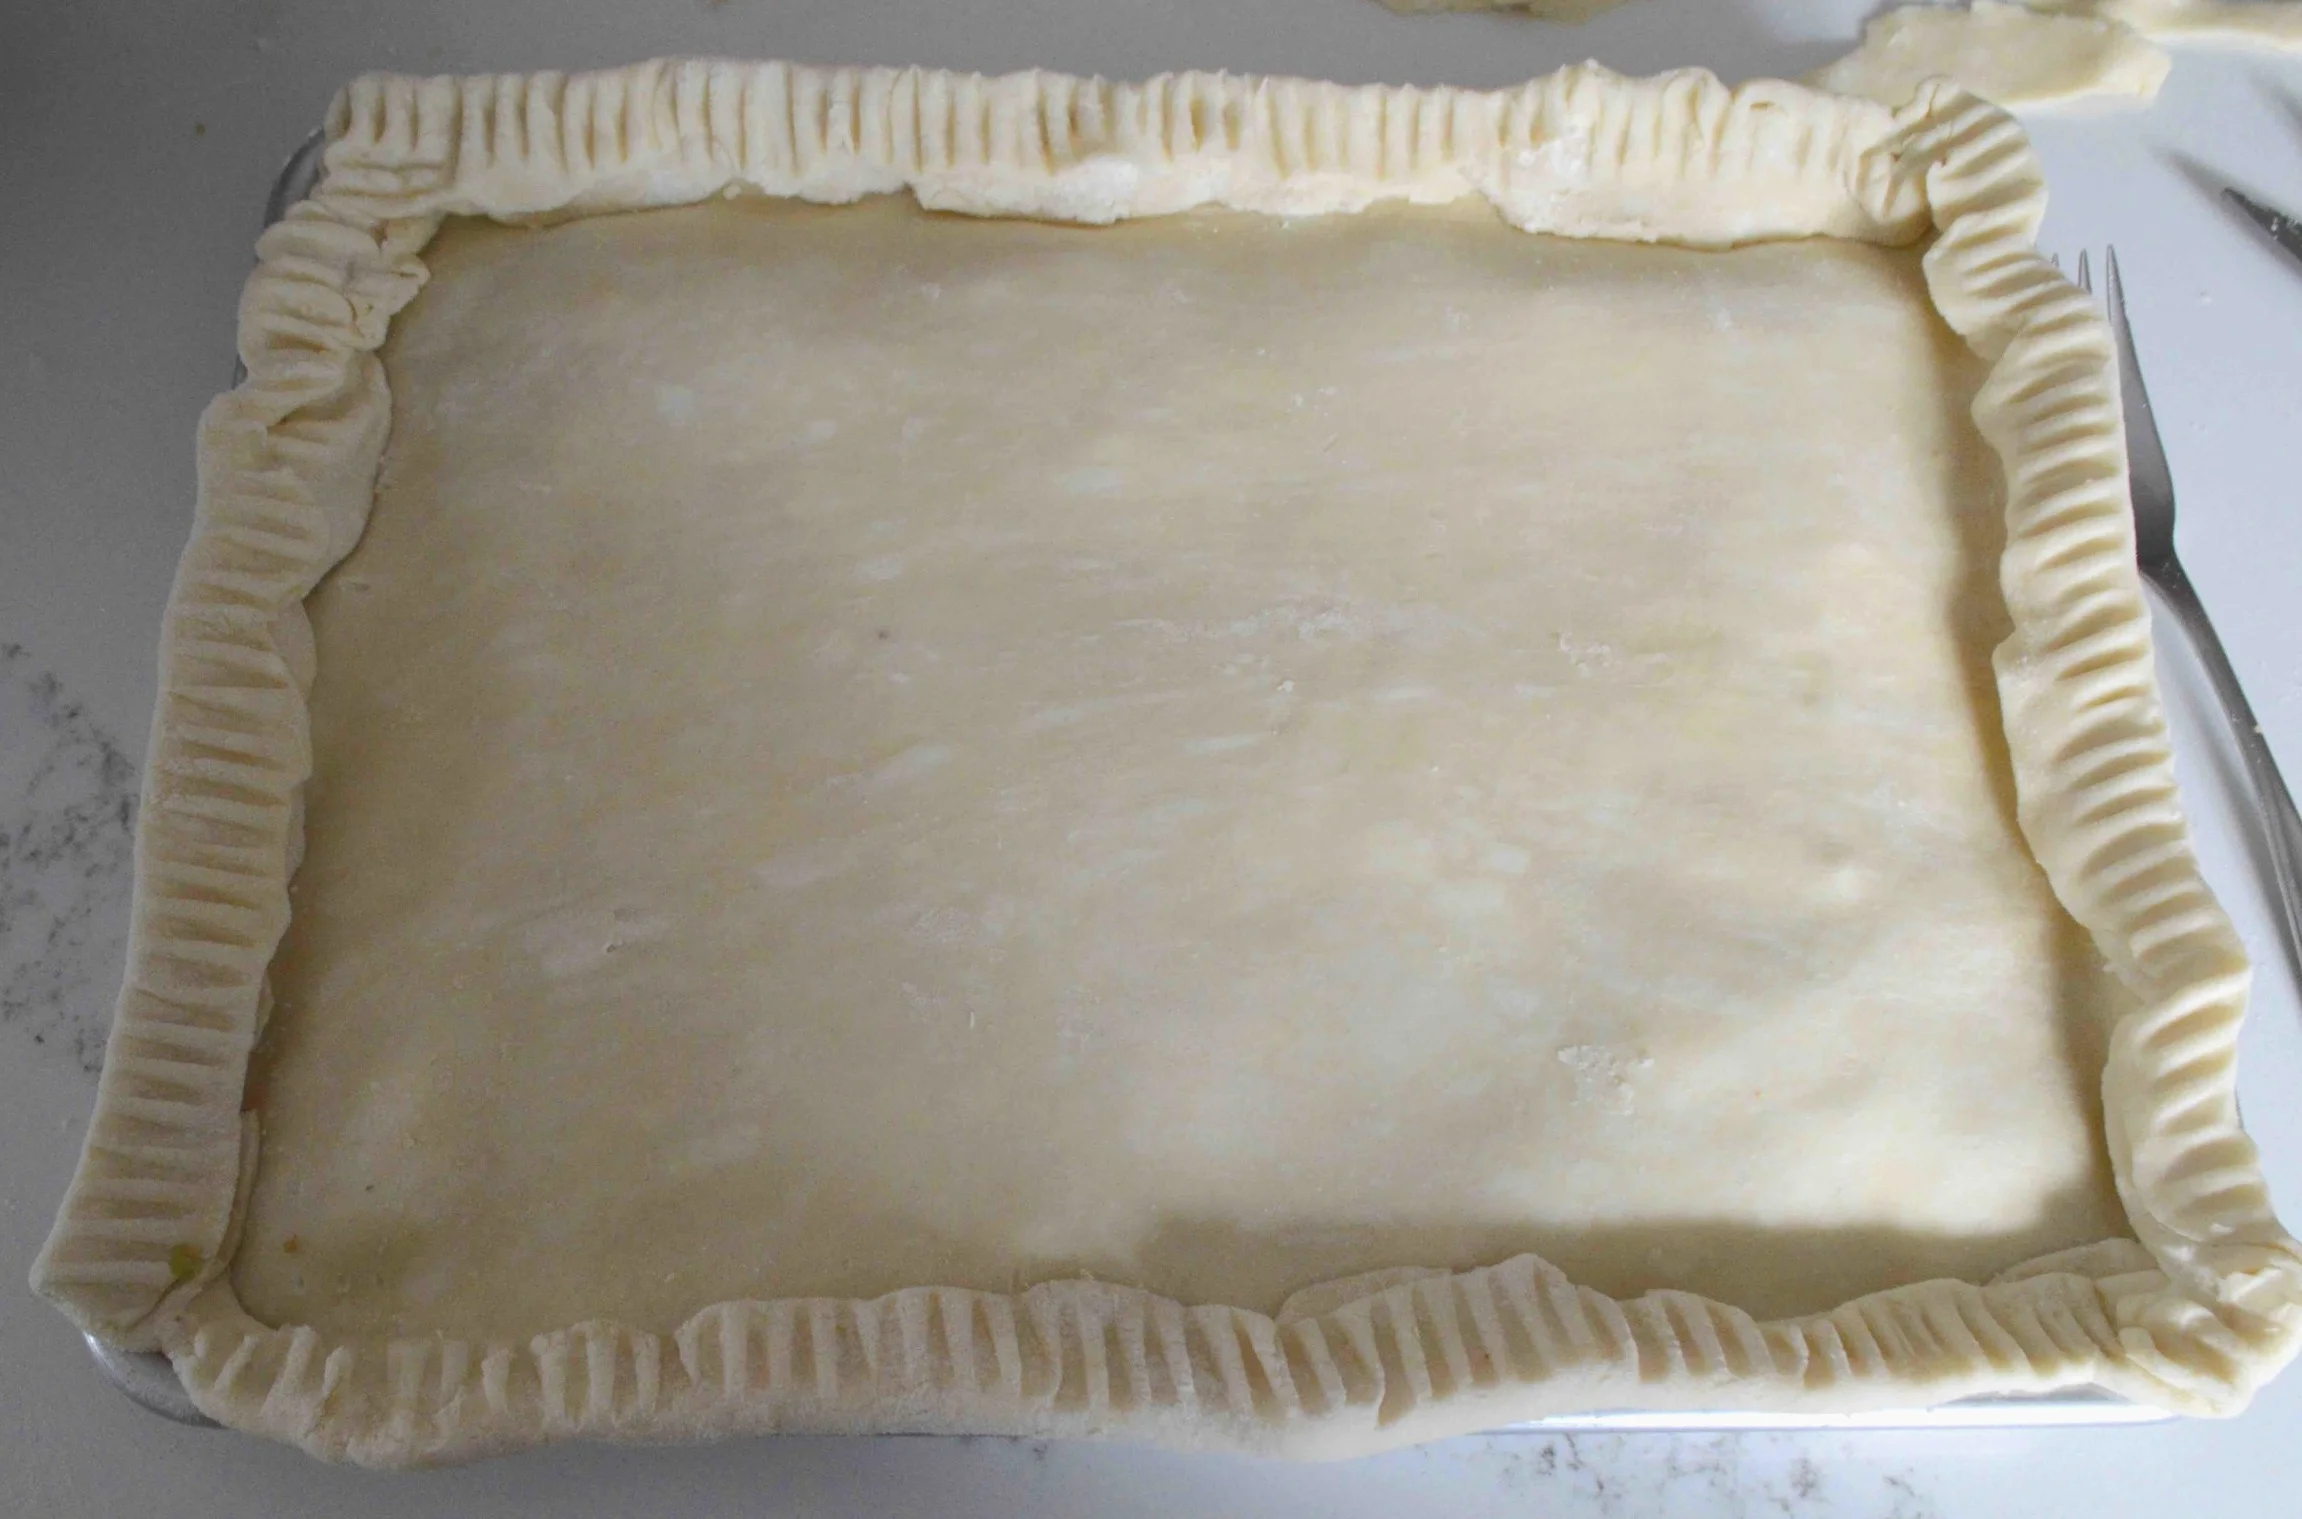
After you’ve put together the rest of the filling, you transfer it to the bottom crust in the pan, use a scissor to cut off some of the dough overhang and dot the filling all over with some cold cubed butter.
Now you position the top crust on the filling, tuck the bottom crust up and over the edges and use a fork to decoratively crimp the edges.
We’re in the home stretch now! One more short chilling stint, some heavy cream brushed across the surface of the pie, a few sprinkles of sugar and steam-venting slashes and…
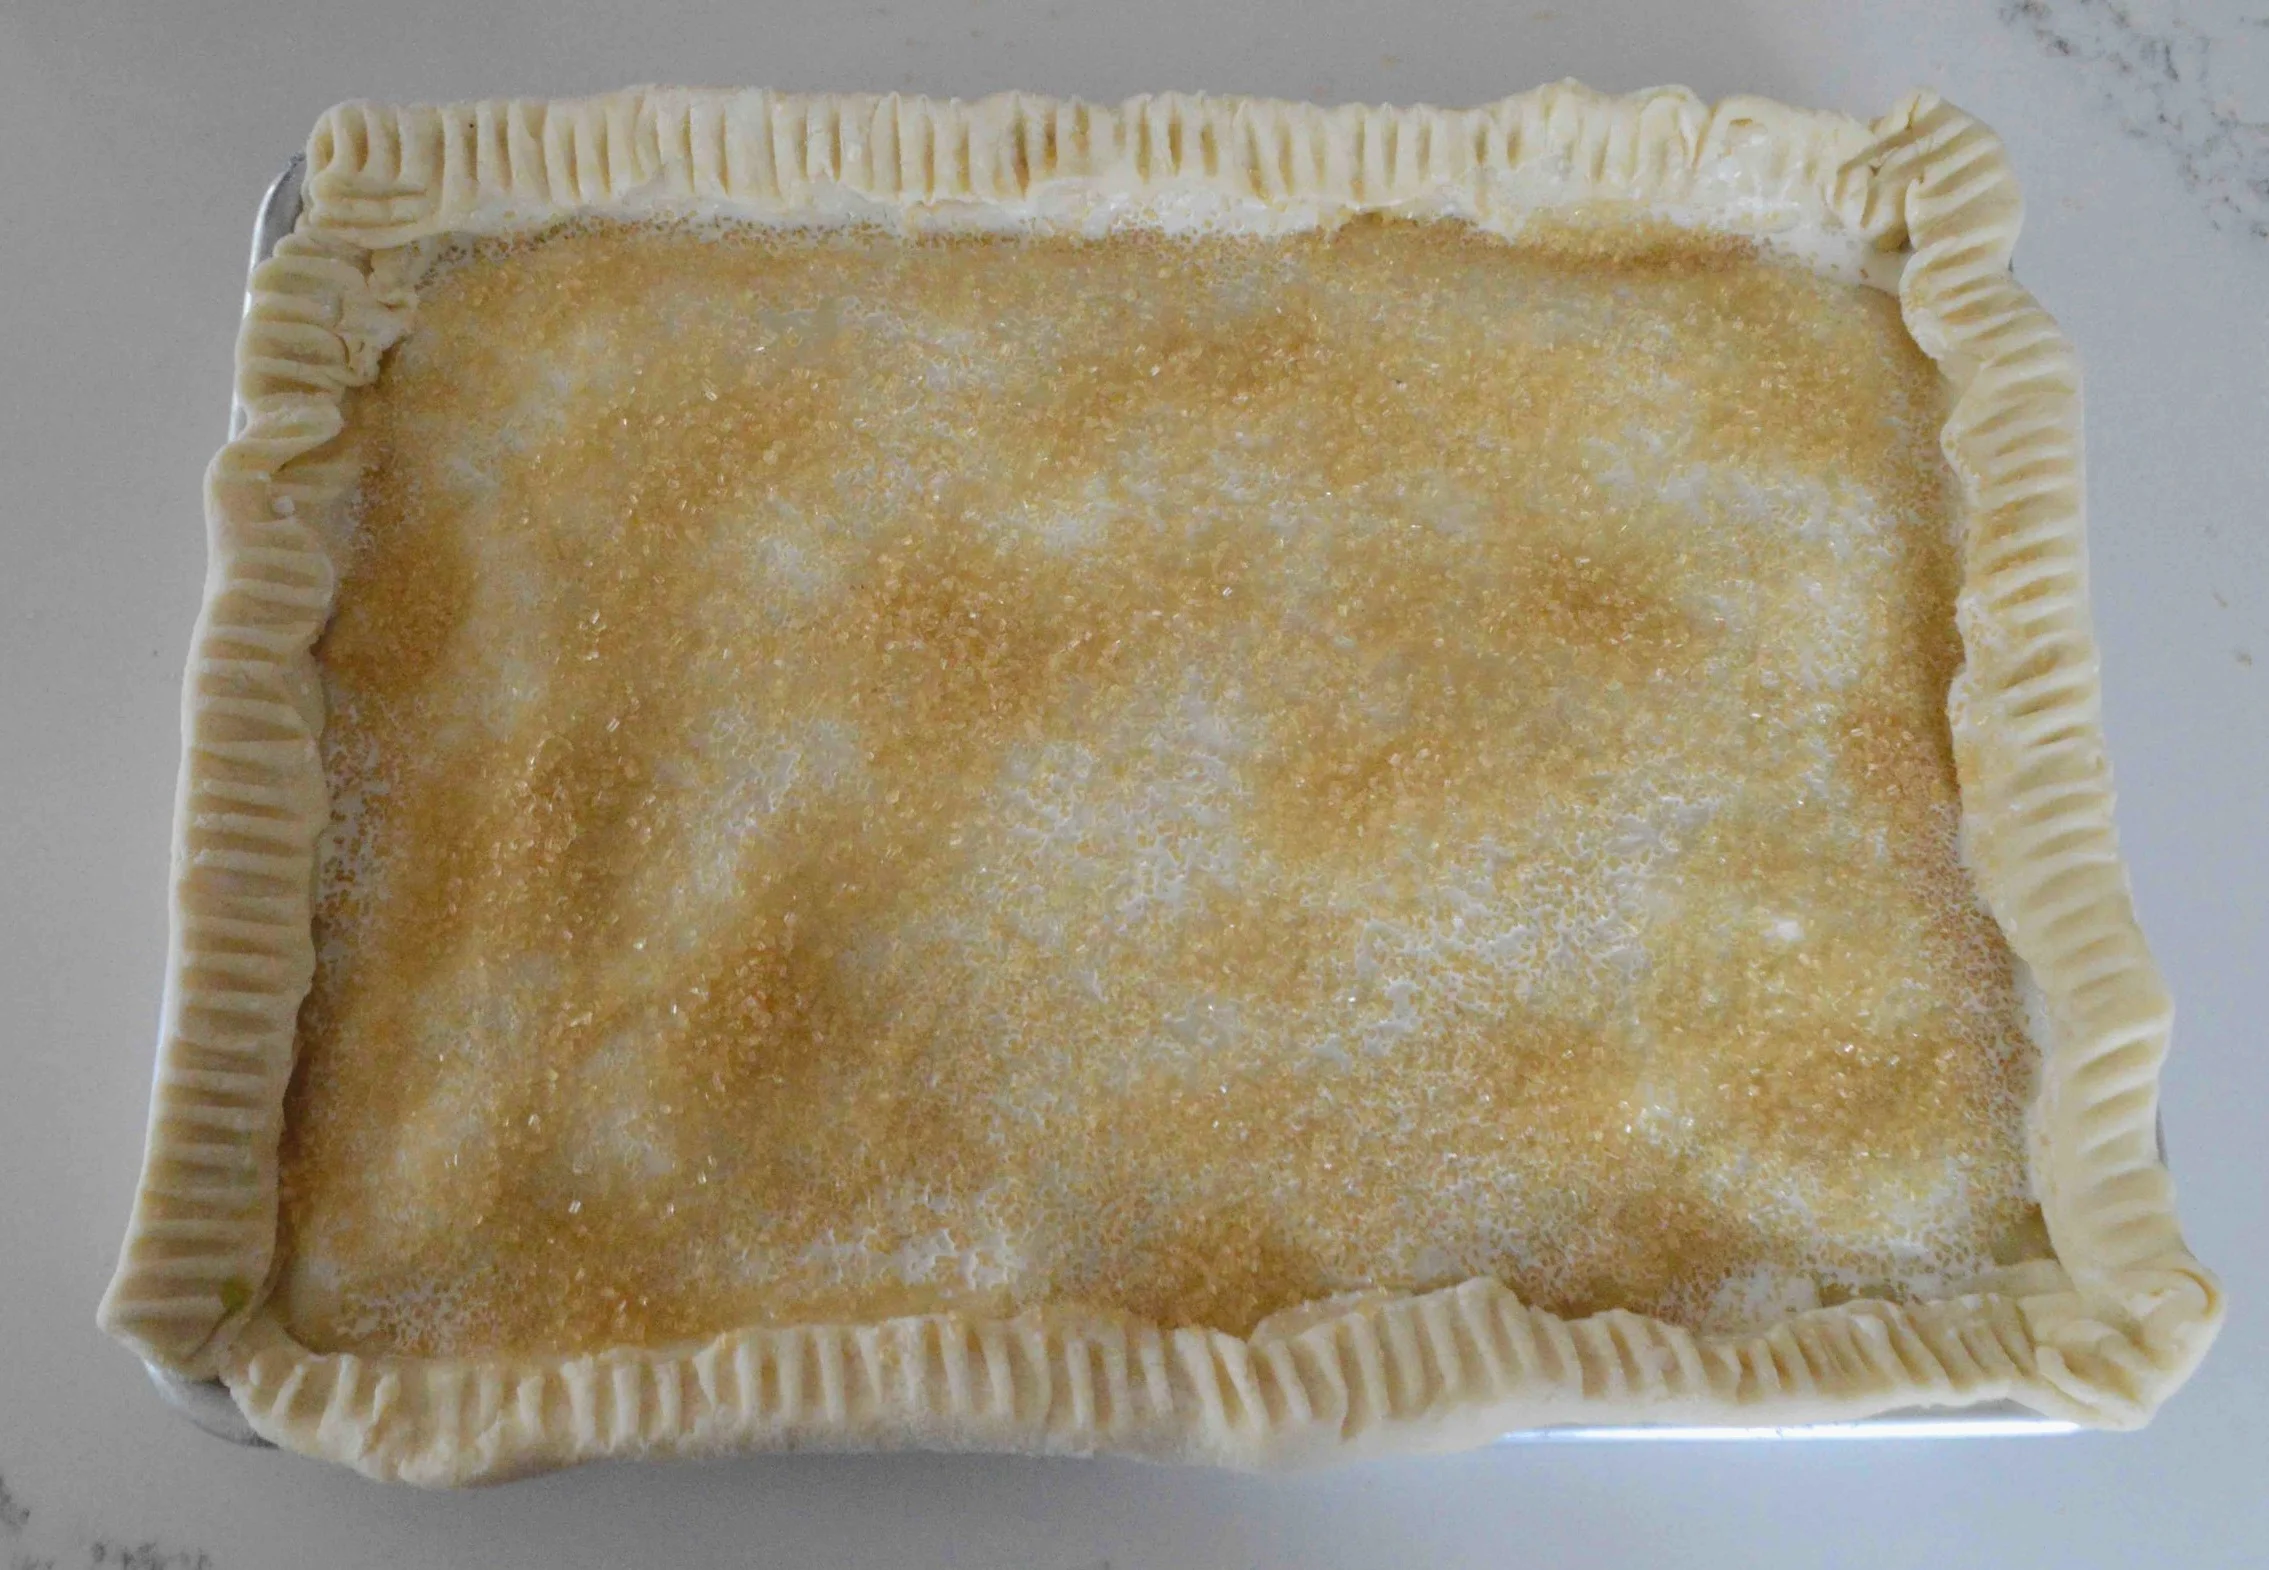
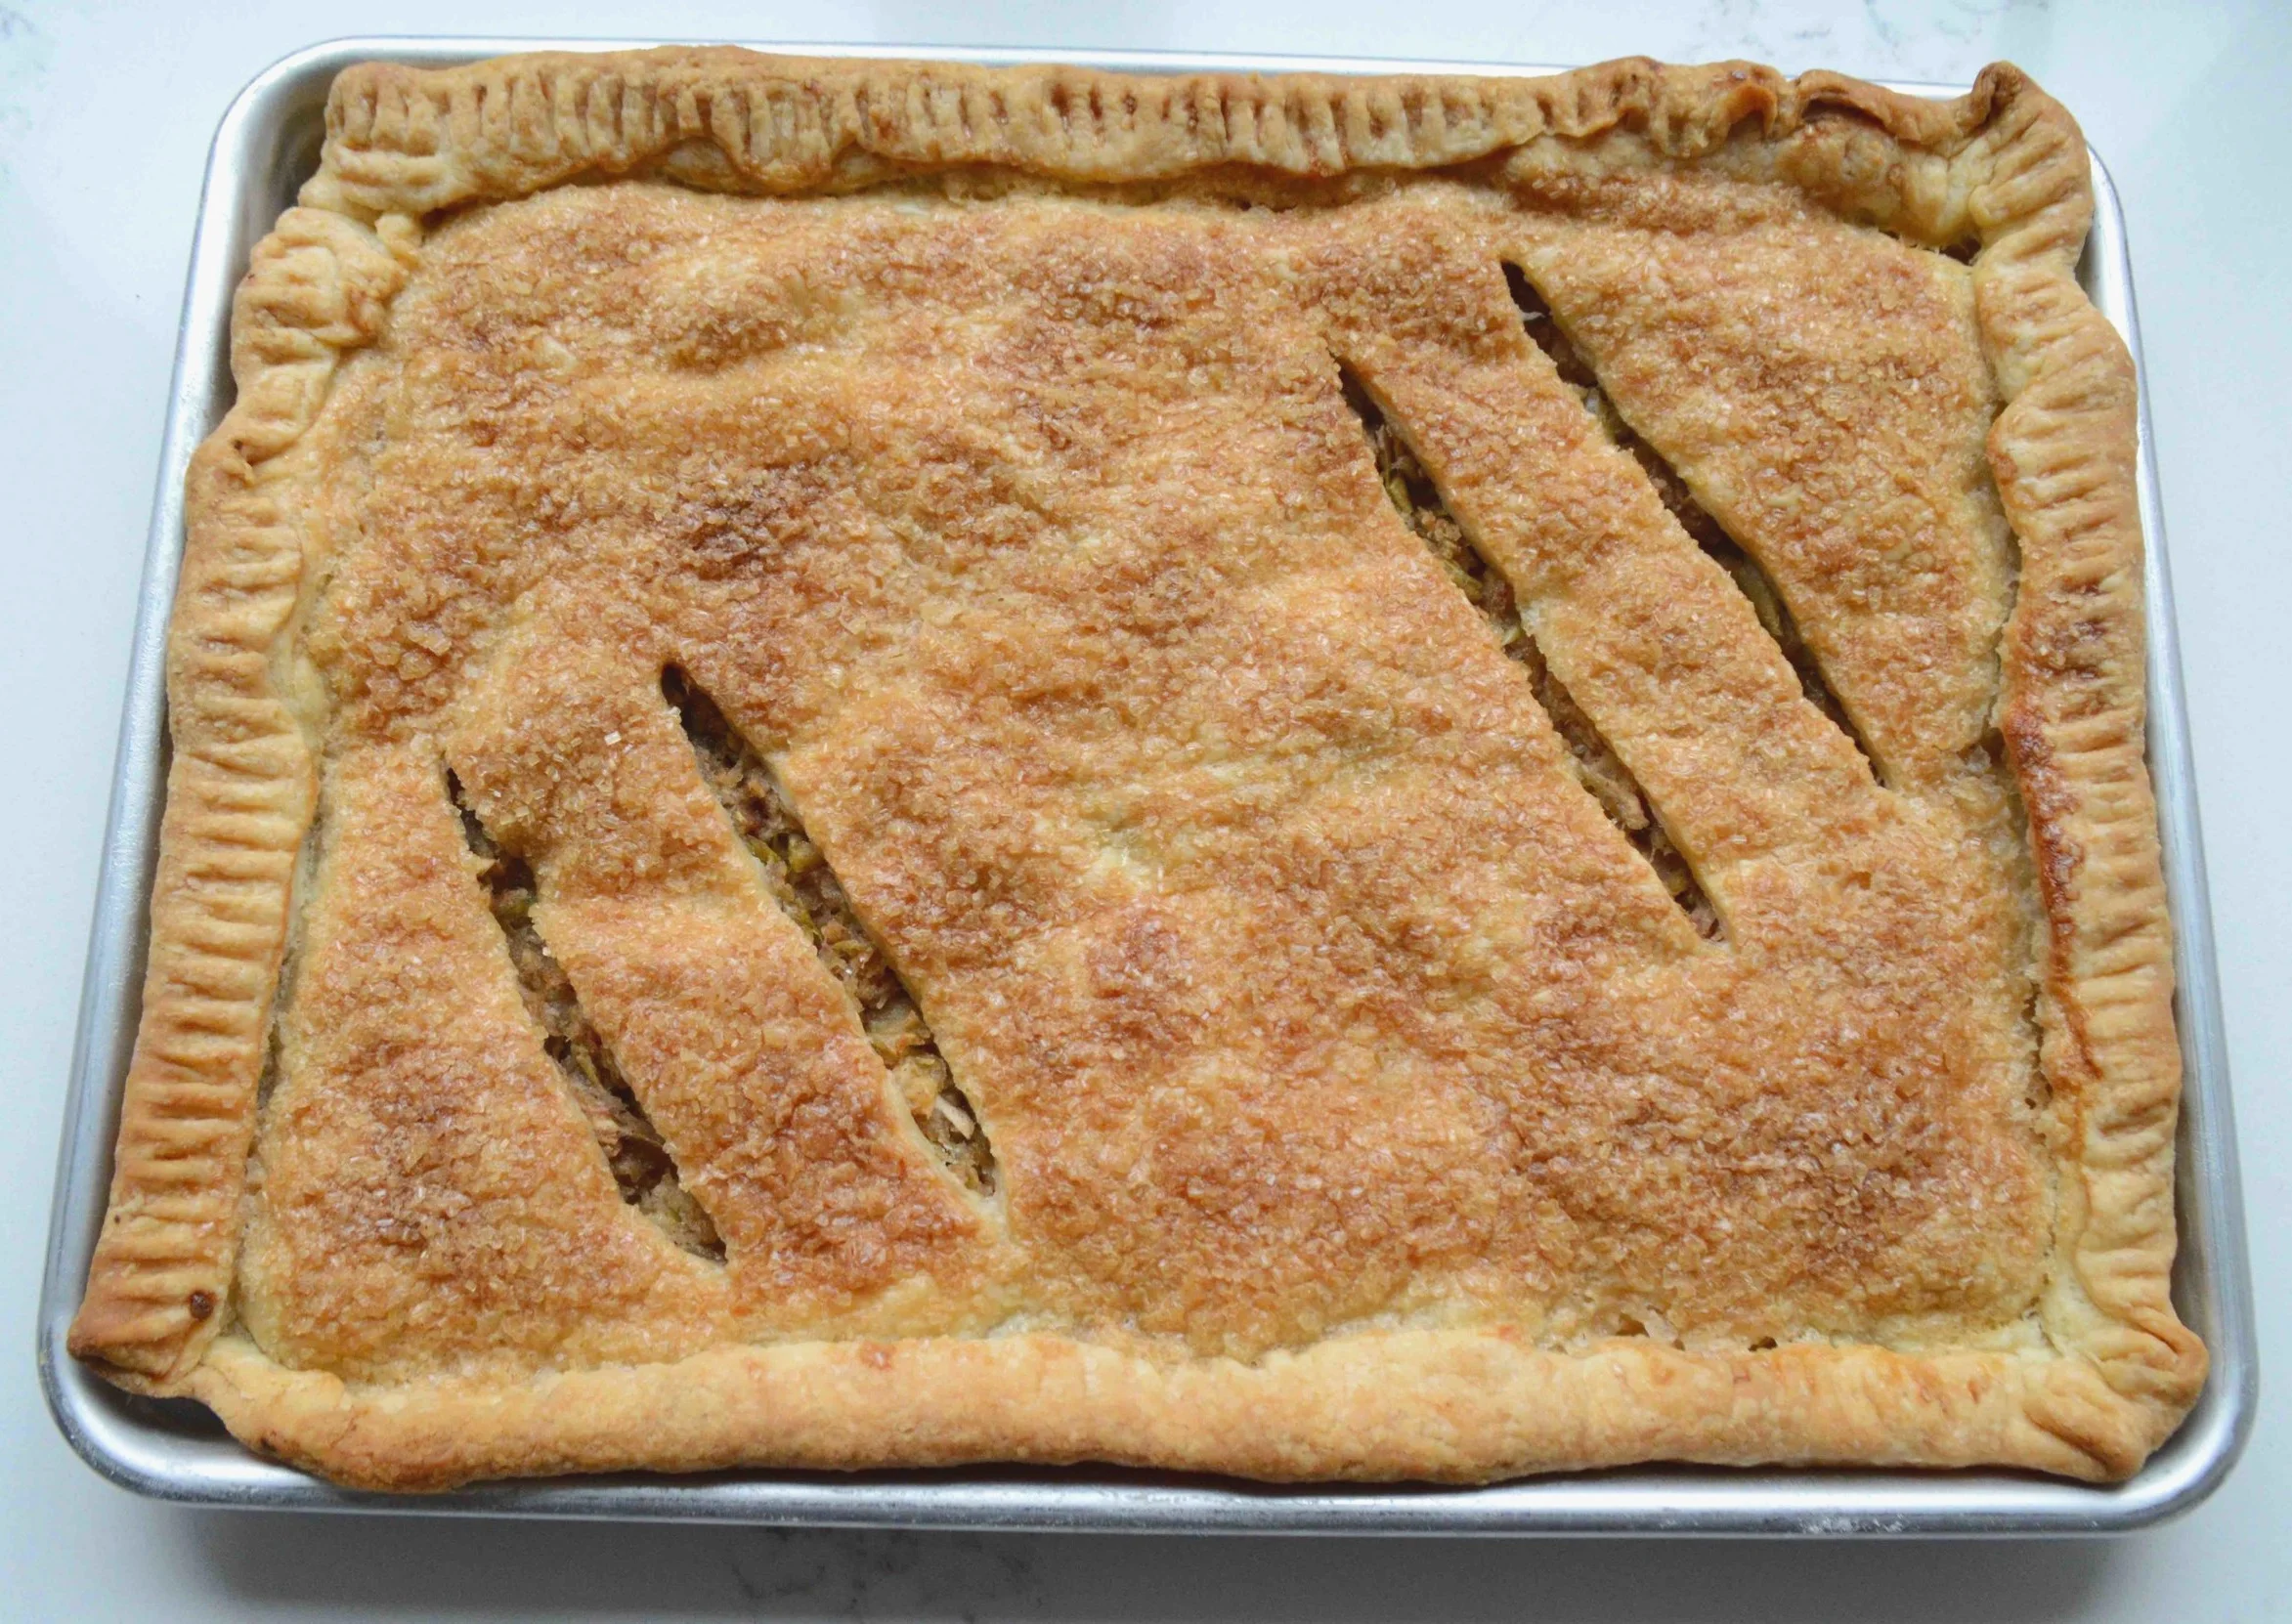
You are ready to bake!! Yippee!
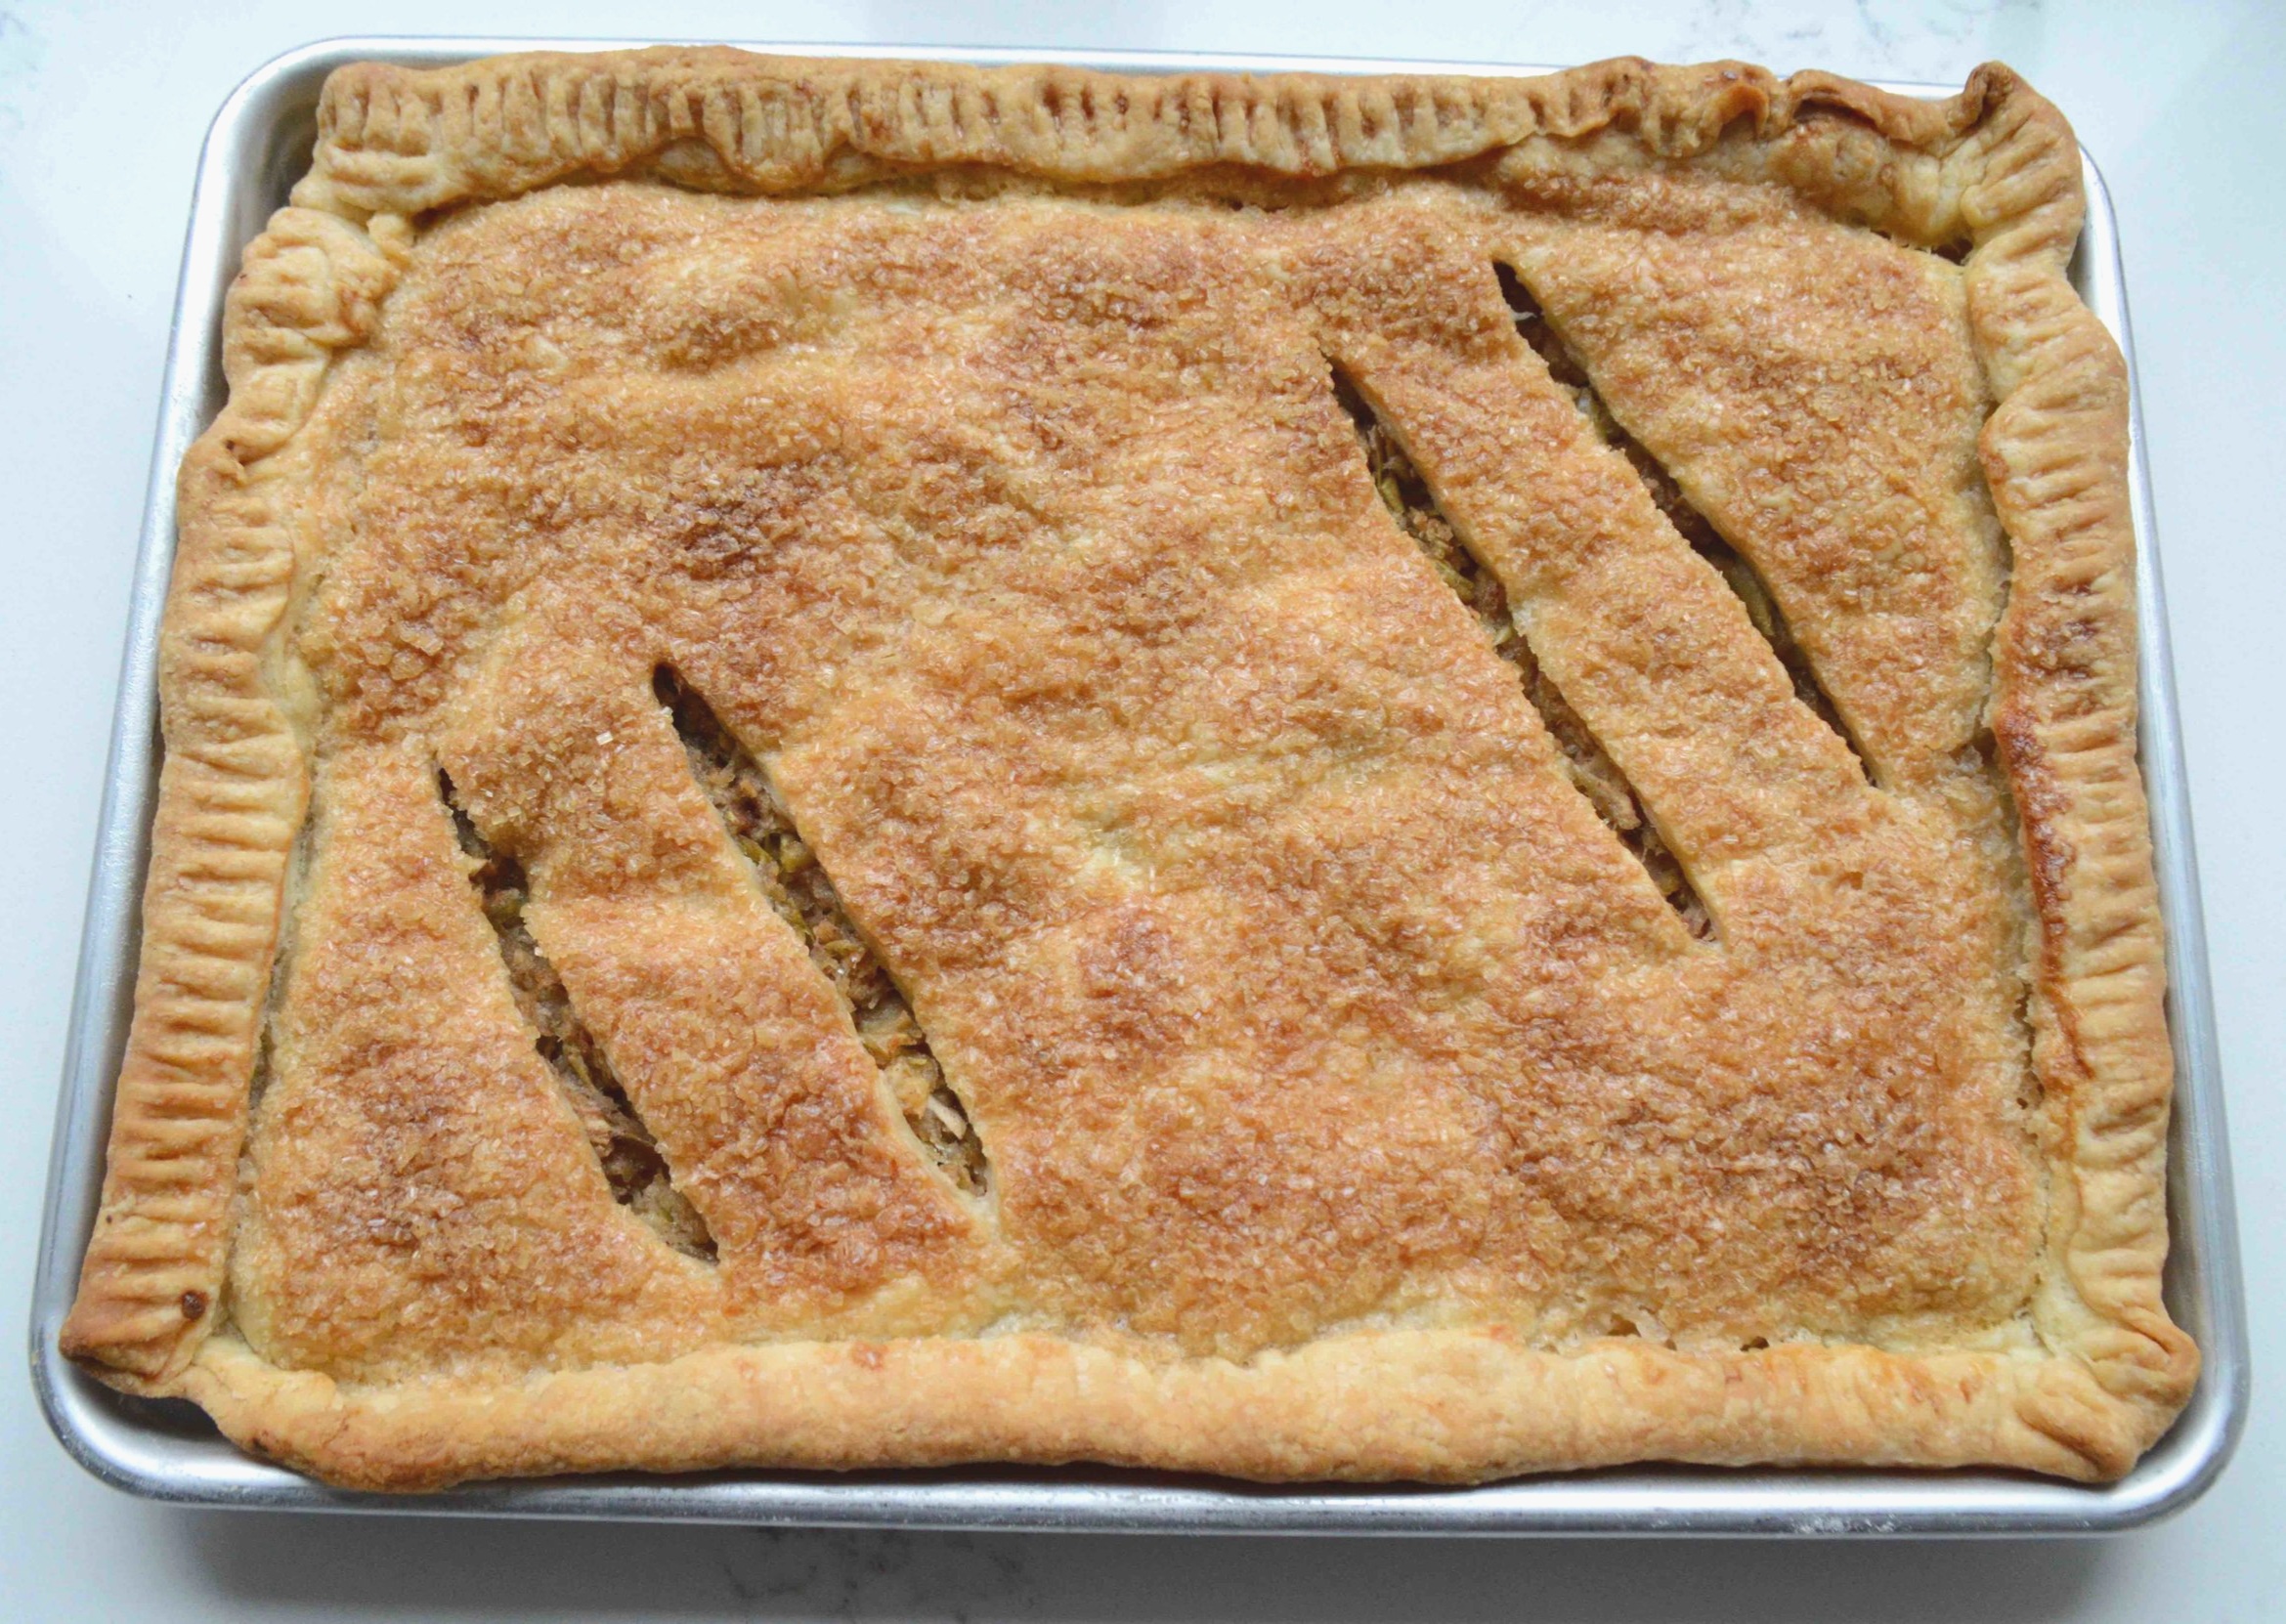
Your kitchen is going to smell fantastic! And what emerges from the oven is going to make you feel fantastic and taste even more fantastic!
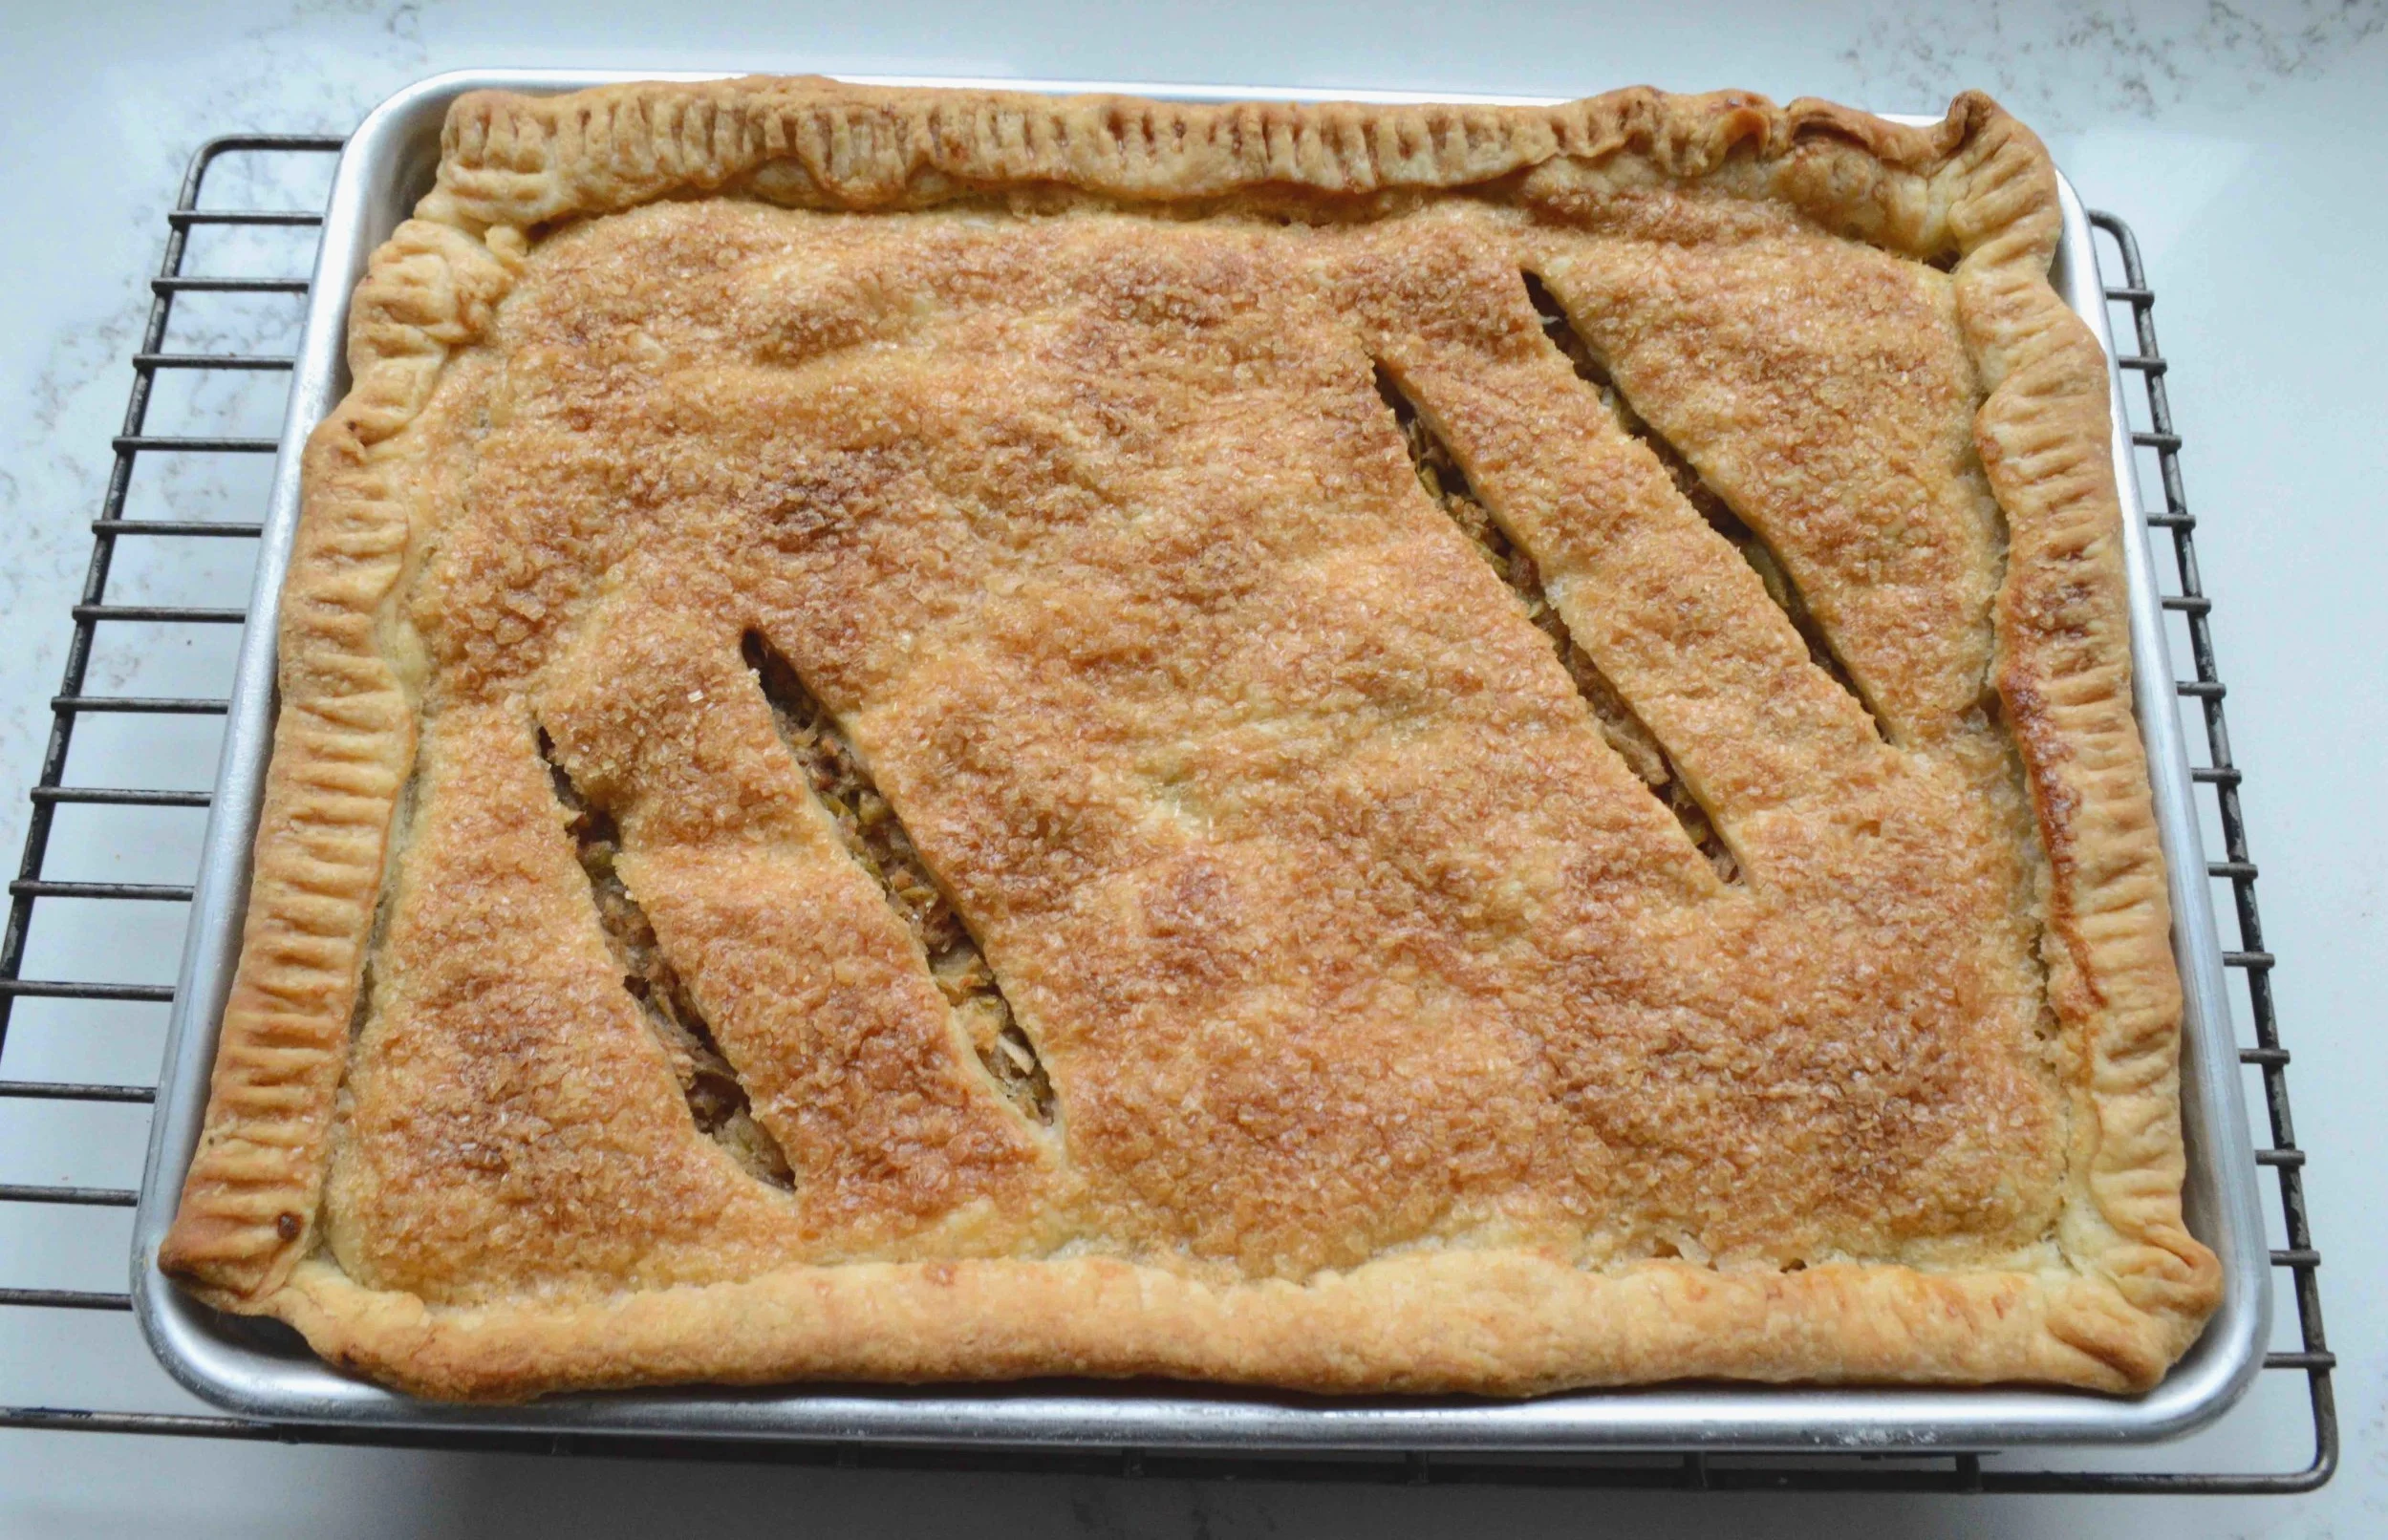
Light, flaky, buttery pastry dough with the sweet crunch of sugar and a thin layer of, cinnamon-apple filling that cuts like a dream. Neat, perfect, squares that will feed a crowd, definitely more than the 8 that a traditional pie does and so much easier to transport too.

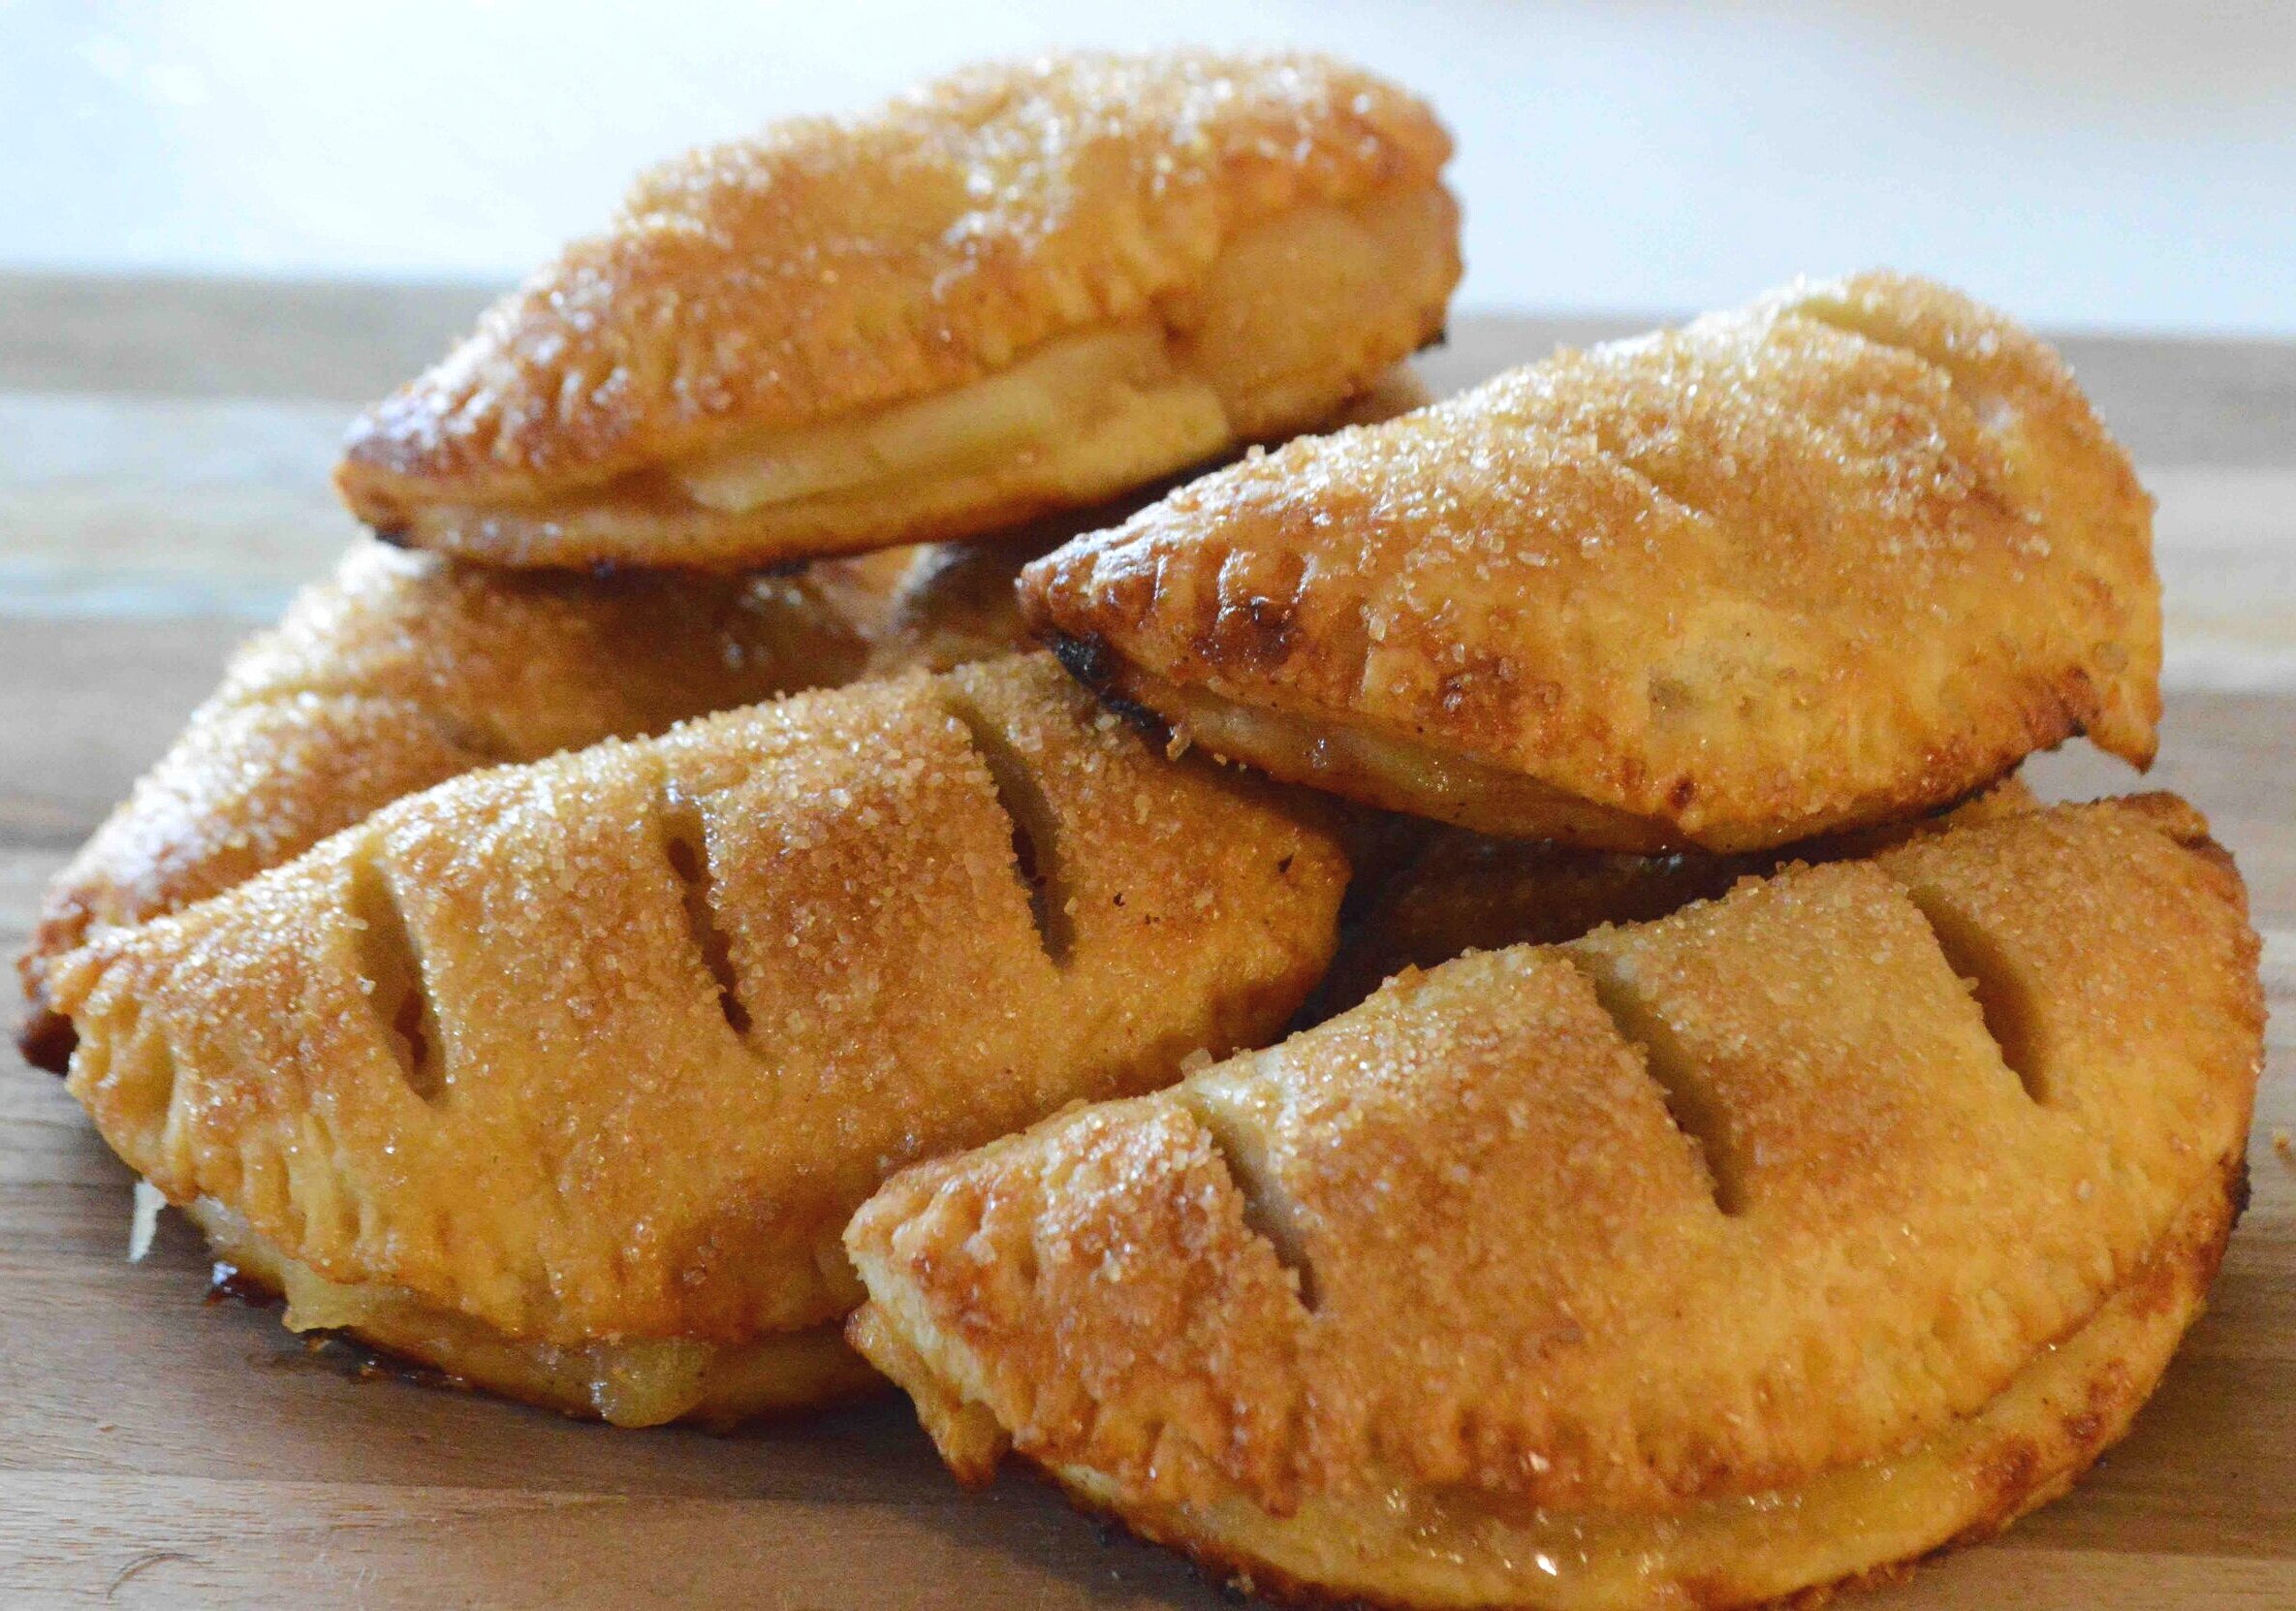
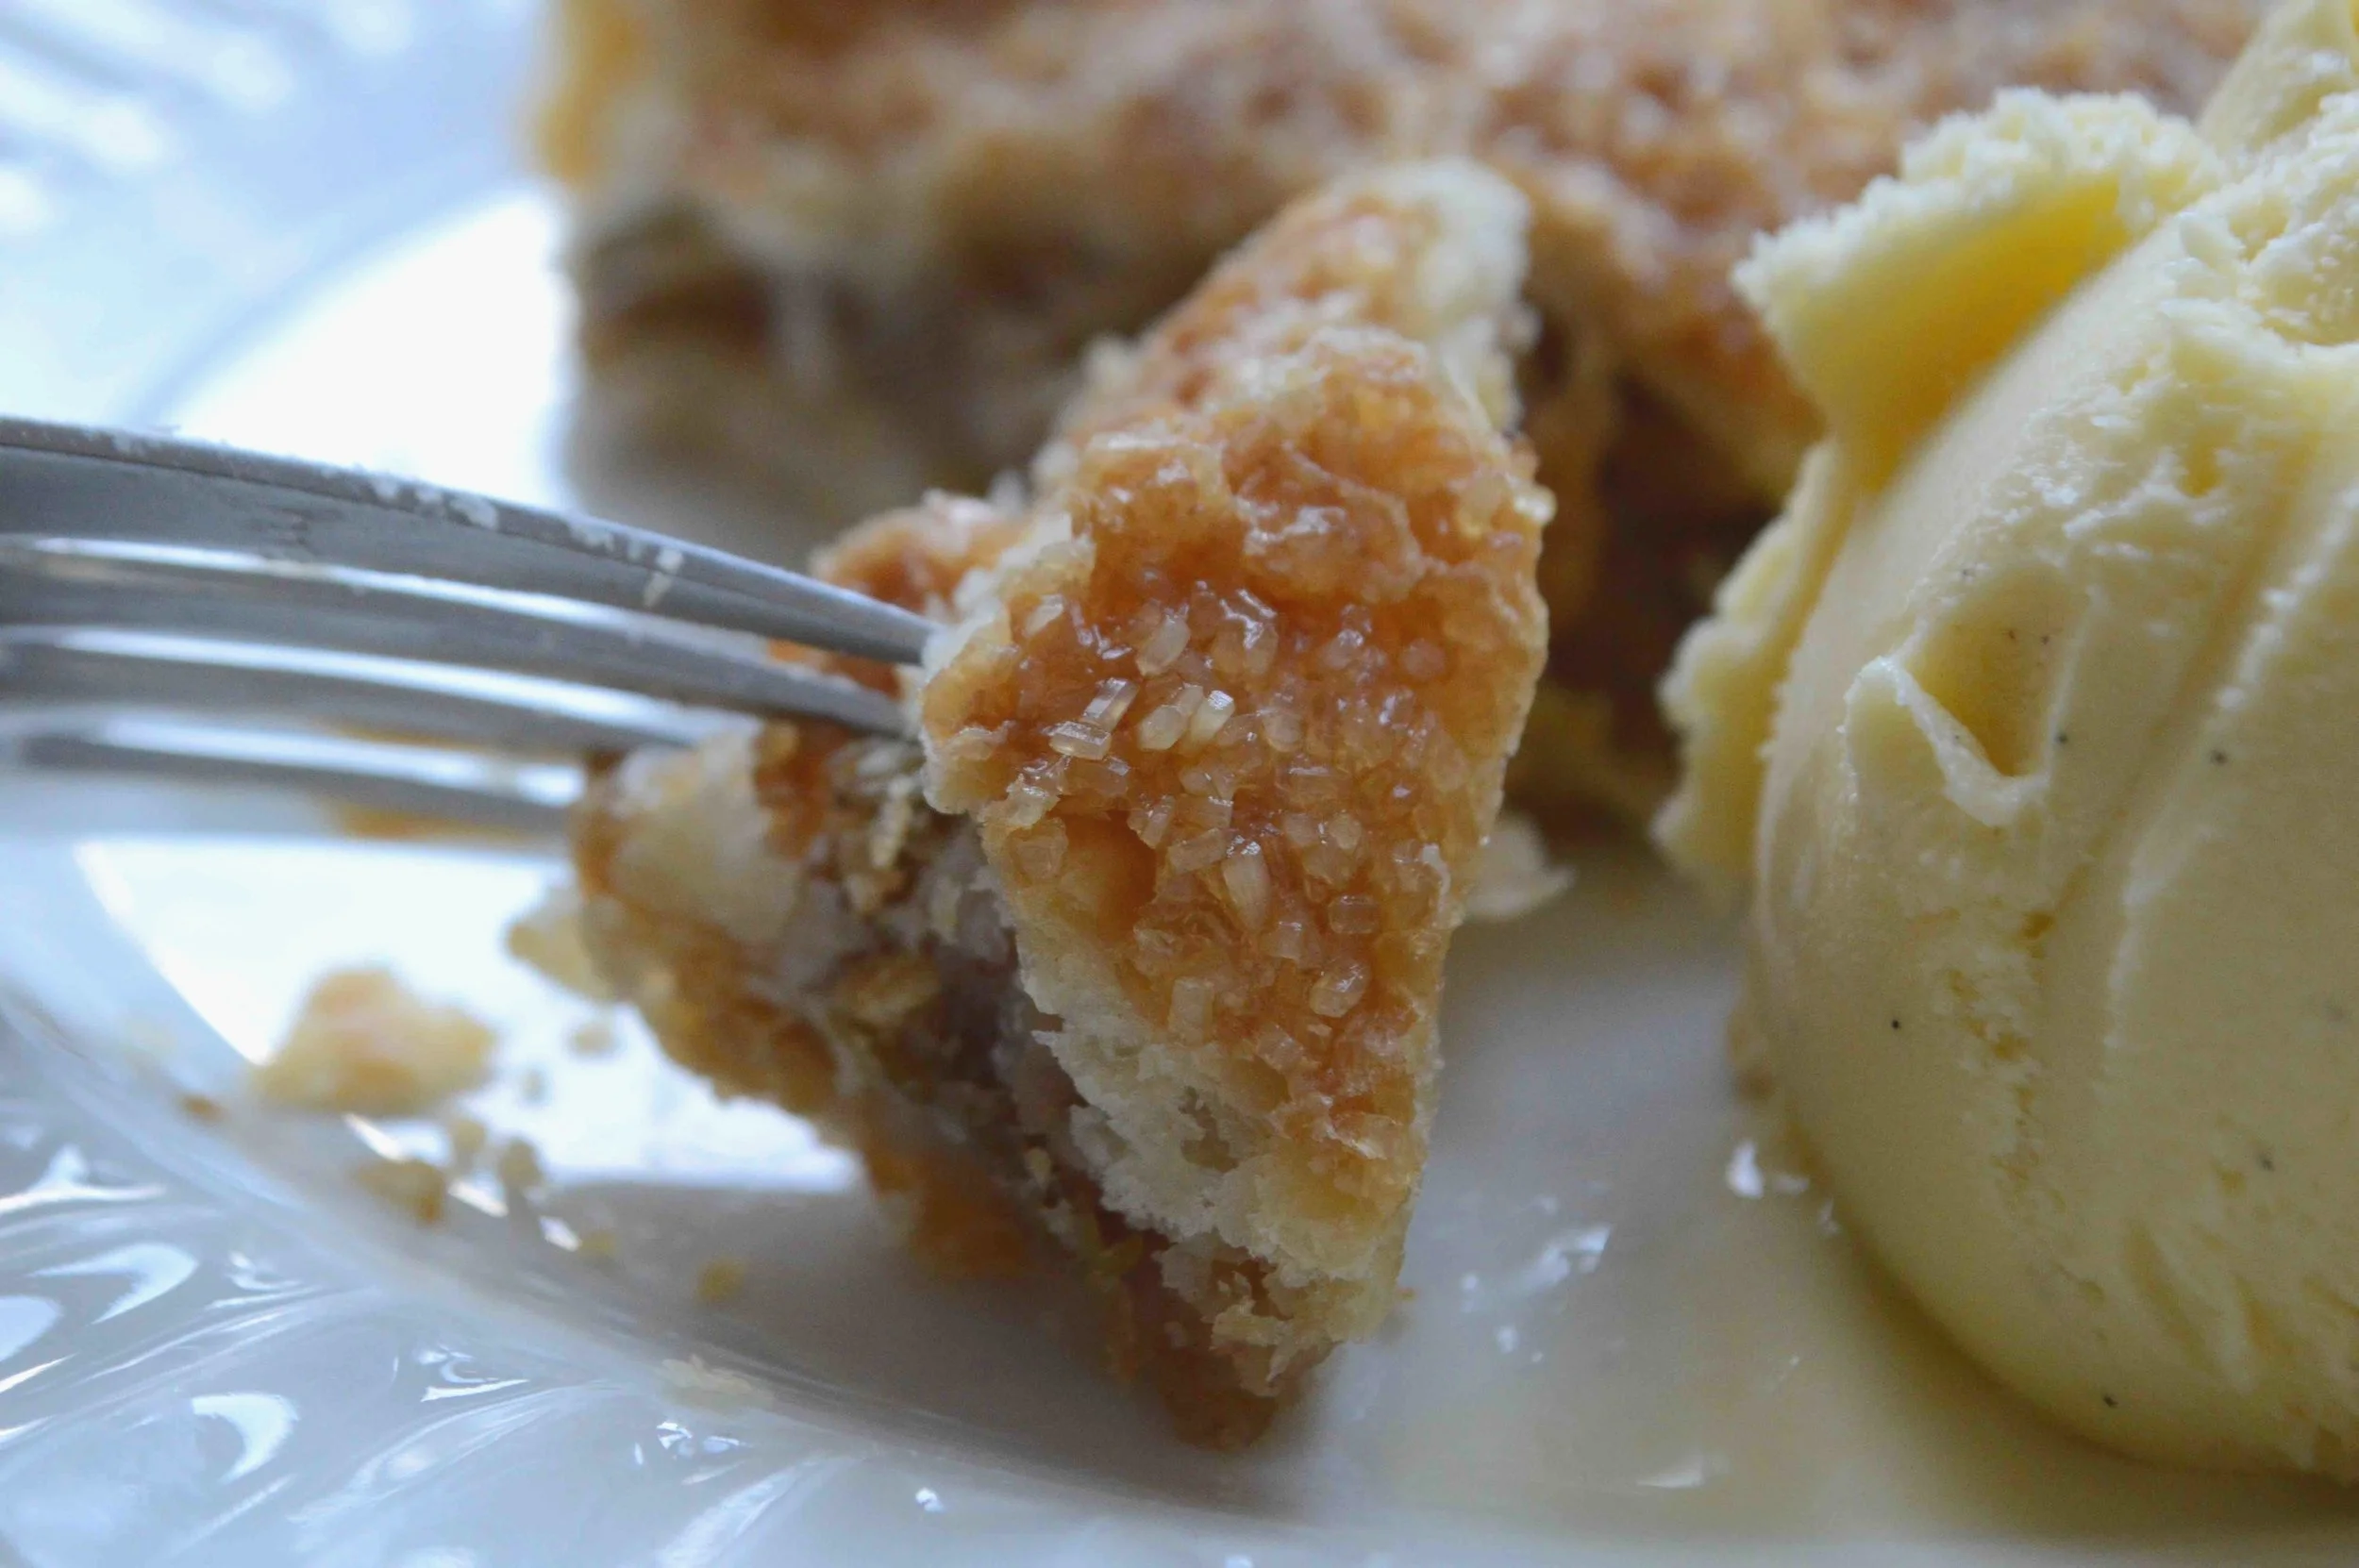
It’s terrific as is—kind of reminds me of the best pop tart you can imagine. Of course, I wouldn’t say no to square with a scoop of vanilla ice cream either! YUM!

Okey dokey, guys, long, long post—you must be exhausted reading! Hopefully not too much to attempt this lovely pie—it would make a fun weekend project. So on that note, I’m wrapping things up here. Treat yourself to a copy of Pie Squared, bake up a slab pie and have a yummy, safe and warm weekend.
Pie Squared’s Easy-As-Pie Apple Slab Pie- Famous Fridays
Makes 12-16 servings
It is helpful to have a food processor for this. It is also helpful to have a bench scraper and a baking stone but not absolutely necessary.
Prep Time for Crust: 10 minutes, plus 20 minutes pre-freezing for butter and at least 4 hours chilling time for dough; Prep Time for Filling: 20 minutes; Assembly Time: 15 minutes, plus 20 minutes chilling time; Bake Time: About 45 minutes
Ingredients
For the Crust
2 1/2 cups plus 2 tablespoons unbleached, all-purpose flour (325 grams), plus extra for shaping and rolling out dough
16 tablespoons (225 grams) unsalted butter, cubed and frozen for 20 minutes
1/4 teaspoon kosher salt
1/2 cup (120ml) ice water
For the Filling
2 pounds apples, (I used 5 large Granny Smith), peeled
1/3 cup packed (75 grams) light brown sugar
2 tablespoons unbleached, all-purpose flour
1 tablespoon freshly squeezed lemon juice
3/4 teaspoon cinnamon
1/4 teaspoon kosher salt
2 tablespoons cold unsalted butter, cut into little cubes
1 tablespoon heavy cream or whole milk
At least 2 tablespoons sanding or coarse sugar (you could also use regular sugar as well)
The Recipe
1. To make the crust: place the flour, butter and salt in the bowl of a food processor fitted with the metal steel blade and pulse for 15 times until the butter is in small, pea-like pieces and coated with the flour. Pour in all of the ice water and pulse until the mixture almost forms a ball. You still want it to be a bit shaggy. If you over mix it, it’ll be tough. If you don’t have a food processor, you can mix the dough by hand. If so, freeze the sticks of butter and then grate them using the largest holds on the box grater right into the flour mixture. Working quickly, use your hands to combine the ingredients until the grated butter pieces are coated in flour. Pour in the water and and use your hands to sort of toss and fold the dough together into a shaggy cohesive ball.
2. Take 2 large pieces of plastic wrap and lay them criss-crossed on the counter so that they form a large “X”. Take a little bit of flour and scatter it in the center. Turn the dough out right into the center of the X, scraping the food processor clean and fold the plastic wrap over the shaggy ball and any stray crumbs. You want to avoid touching the dough with your hands as that warms the fats and cuts down on the pastry’s flakiness. Use a bench scraper or a firm spatula to push the dough into a 6 by 4-inch block that will look like a compact piece of dough not a crumbly block but you will still see pieces of butter throughout. (It helps if you use a ruler to measure—will make the rolling out later a snap). Now use a rolling pin to gently press across the surface of the dough to remove any bubbles. Flip the dough over and repeat on the other side. Place in the fridge to rest for at least 4 hours and preferably overnight.
3. Before you are ready to roll out the dough, set up your rolling surface—it can be a board or your clean counter as long as it’s cold. Use painter’s or masking tape to make an 11x15-inch rectangle. Remove the dough for about 10 minutes before you roll out—you don’t want it to get too warm. Generously dust the rolling surface with flour. Remove the plastic wrap and cut the dough into 2 pieces, one a little larger than the other—this will be the top crust.
4. Working quickly, smack the dough 3 times with the rolling pin. Now flip it over and do the same to the other side. This helps to compress the fats. Now flour your rolling pin and roll out the dough from the center outward, angling to the sides, working to fill the shaped space. Every so often slide the bench scraper underneath the dough to keep it from sticking to the board and turning the dough to get it to fill the space evenly. If it shrinks back when you roll it, don’t pull it—just be patient and keep rolling—it will fill the space eventually. Once it’s rolled to size, gently fold it over in half and carefully place it in the 1/4 sheet pan. Gently press the dough into the corners using the sides of your hand, not your fingers which might poke holes. Place the pan into the fridge while you roll out the top crust.
5. Roll out the top crust using the same technique, but only to about 10x14-inches. Place a piece of parchment paper on a baking sheet and sprinkle with flour. Transfer the dough to the sheet and refrigerate as well.
6. If you have one, place a baking stone on the center rack of the oven. If not, use an inverted rimmed baking sheet. Turn the oven to 400ºF and let preheat with the baking stone. Meanwhile make the filling.
7. To make the filling: Line a large bowl with a thin clean, cotton kitchen towel or a double layer of cheesecloth. Place a box grater in the bowl and grate the apples, down to the core, right into the towel lined bowl. Discard the cores. Gather up the ends of the towels and twist, wringing as much juice as you can out of the grated apples. This will keep the pie from being soggy. Pour the juice into a glass and set aside. Dry the bowl out with paper towels and return the apples to the bowl. Add in the brown sugar, flour, lemon juice, cinnamon and salt and mix well.
8. Remove the bottom crust from the fridge and turn the filling into it, spreading it evenly across the surface. Dot the filling with the cold cubed butter evenly. Use a scissor to trim the dough to about 1/2-inch over the edge of the pan. Remove the top crust from the fridge, place it on top of the filling and tuck the bottom crust edge over the top crust. Use the tines of a fork to crimp the edges decoratively. Place the pie in the fridge for 20 minutes.
9. Remove from the fridge and brush the surface of the pie with the heavy cream. Sprinkle all over with the sugar. Make one or two slashes in the pie crust to allow the steam to vent and place the pie on the baking stone. Let cook for about 45 minutes, until the crust is deeply golden brown and the filling is bubbly. Let sit for about 10 minutes to make for neater slices. Serve as is or with a scoop of ice cream.
Enjoy!
Note: Recipe adapted from Pie Squared by Cathy Barrow. The original recipe calls for 1/2 teaspoon each of ground ginger and nutmeg in the filling—I omitted these and upped the cinnamon a bit instead. Also, the recipe tells you to grate the apples, peel and all which I did but I think I would peel the apples next time before grating them.