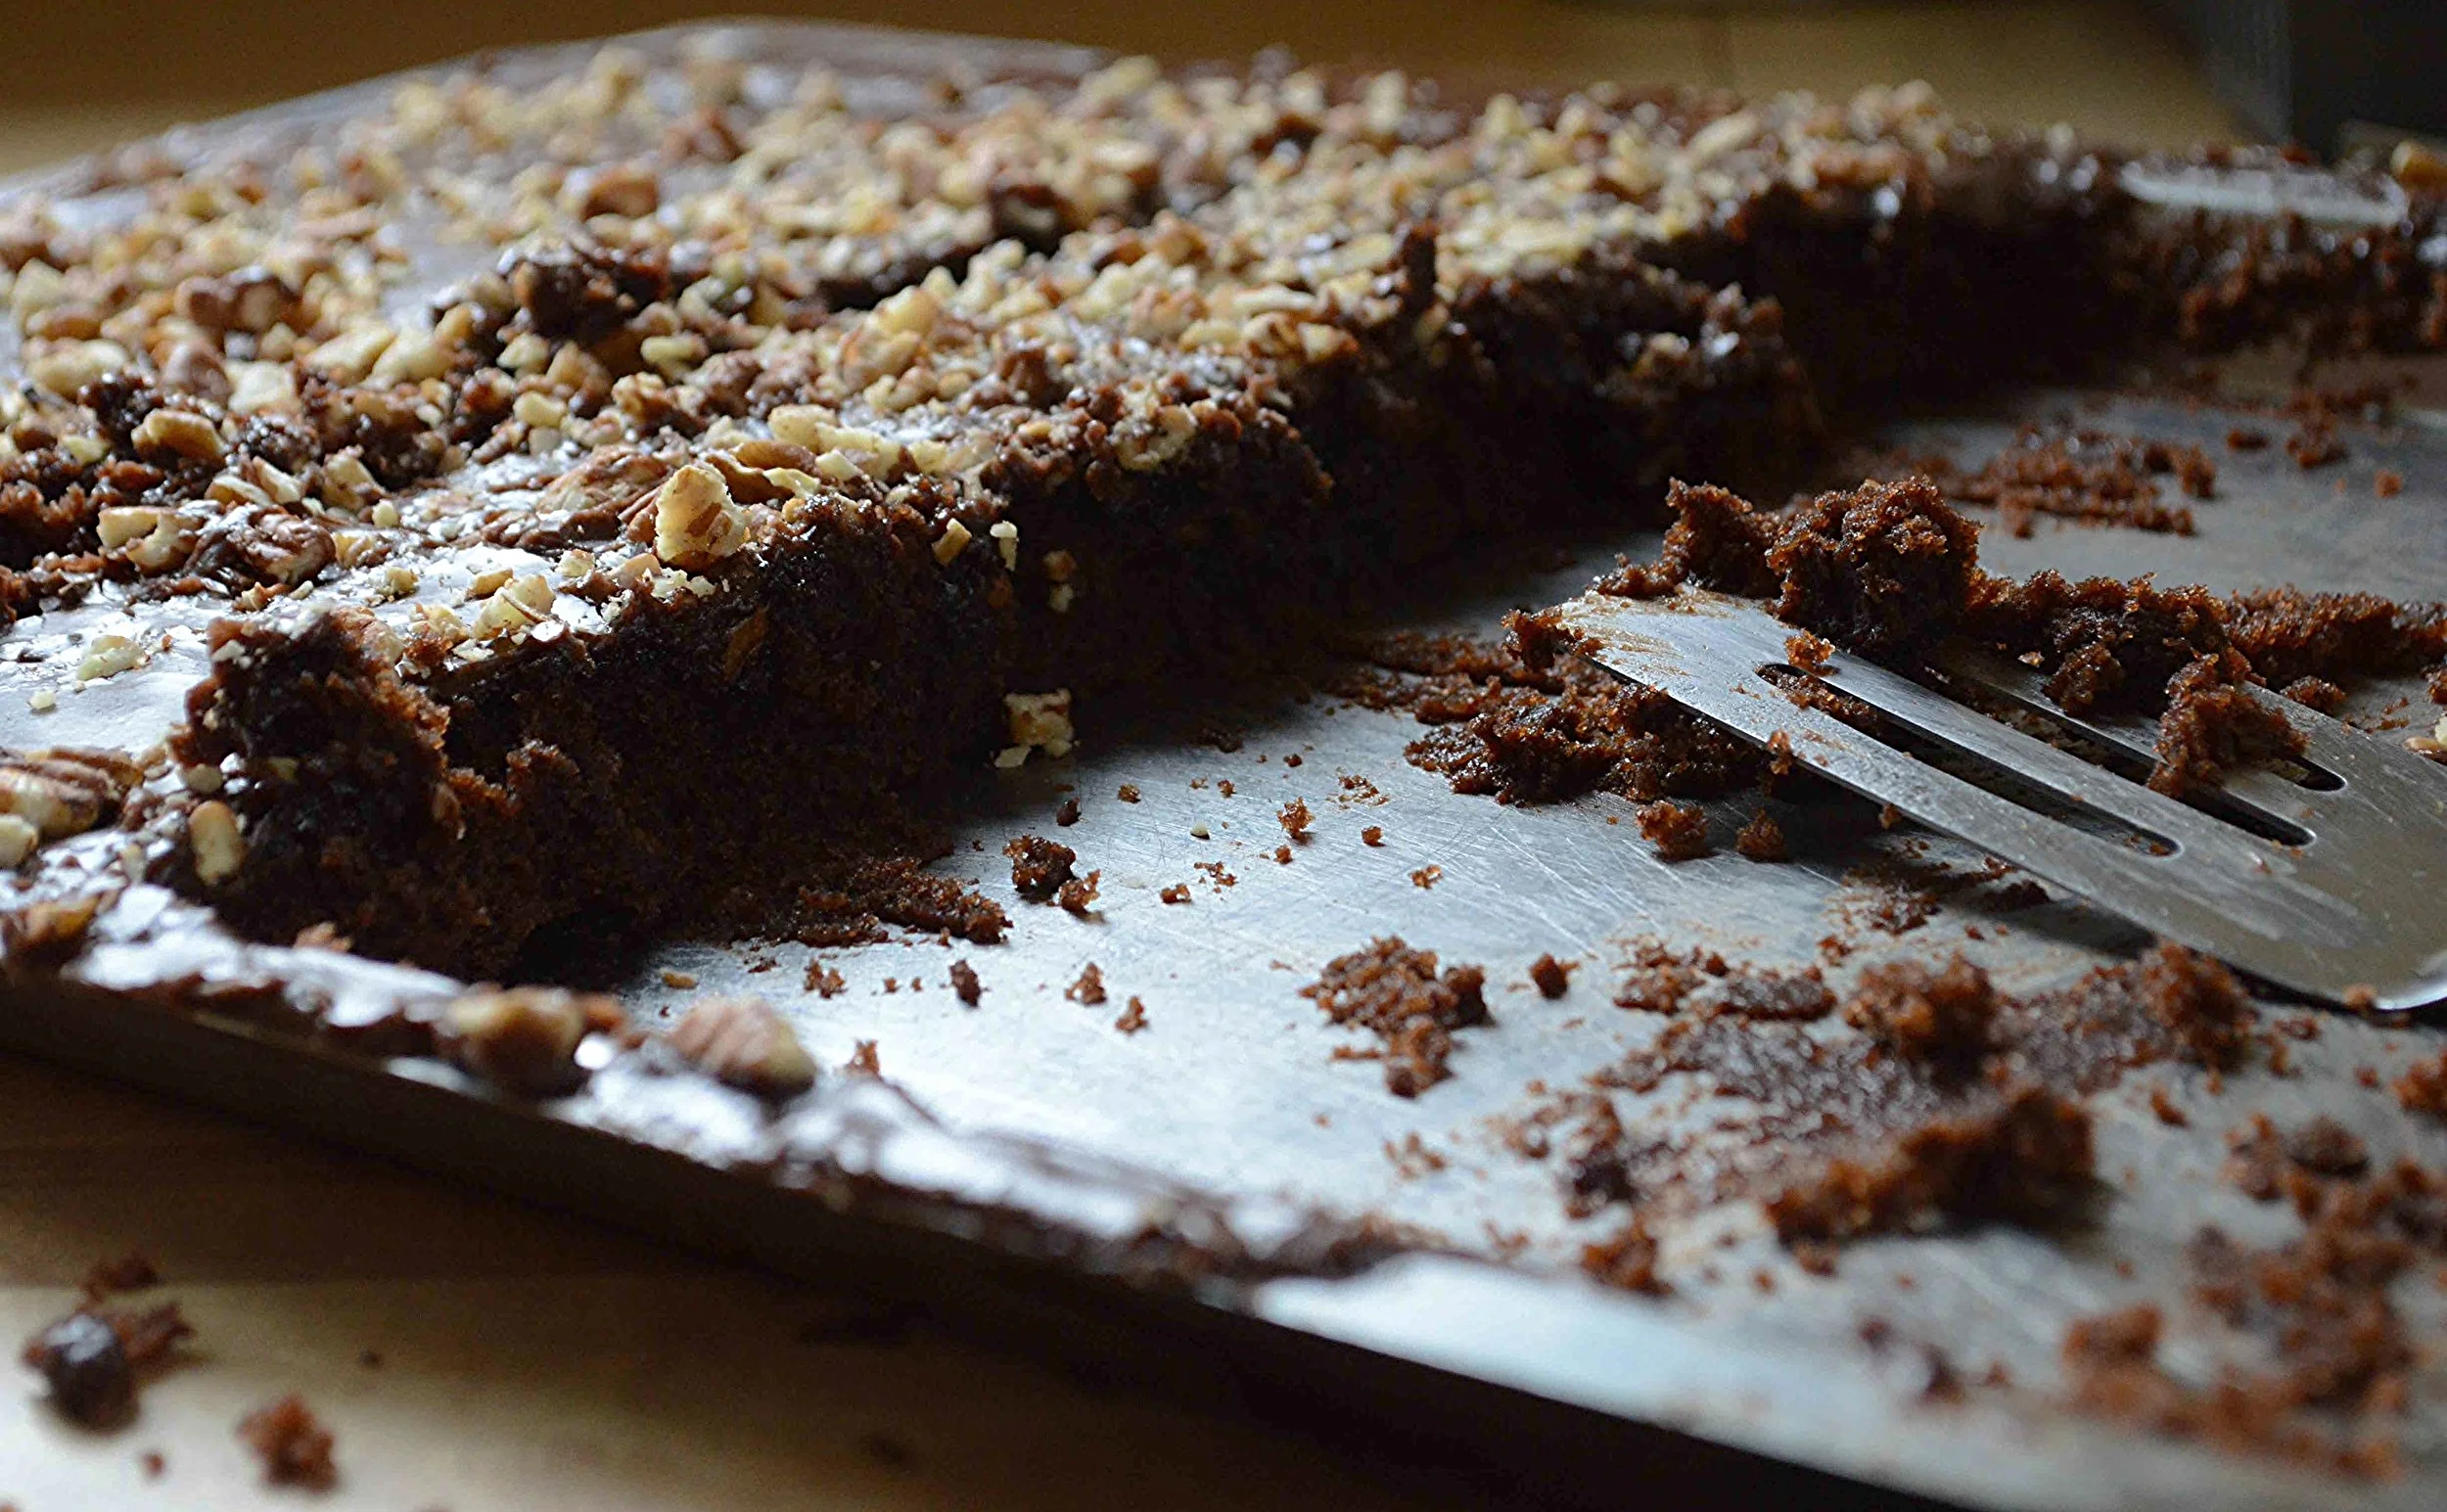
Chocolate Espresso Cake


Hiya! Welcome back! Hope your holiday weekend was fun and delish! Don’t want to stress you out any more than necessary, but do you have any idea what you’re going to do for New Year’s? It’s always an issue, right? And this year, more than ever, as we can’t/shouldn’t party or eat in restaurants or go to the movies or...arghh!!!!! Stay with me and take a deep breath cause I think I’ve found a solution. And boy, is it a delicious one! Let’s make cake. Not just any old cake though, no sir! It’s got to be something stand out, amazing tasting and time-consuming enough to fill up the hours until we ring in the new year. So taking into account all that criteria, let me present this show stopping, knock-your-socks-off, worth every sinful bite, Chocolate Espresso Cake.
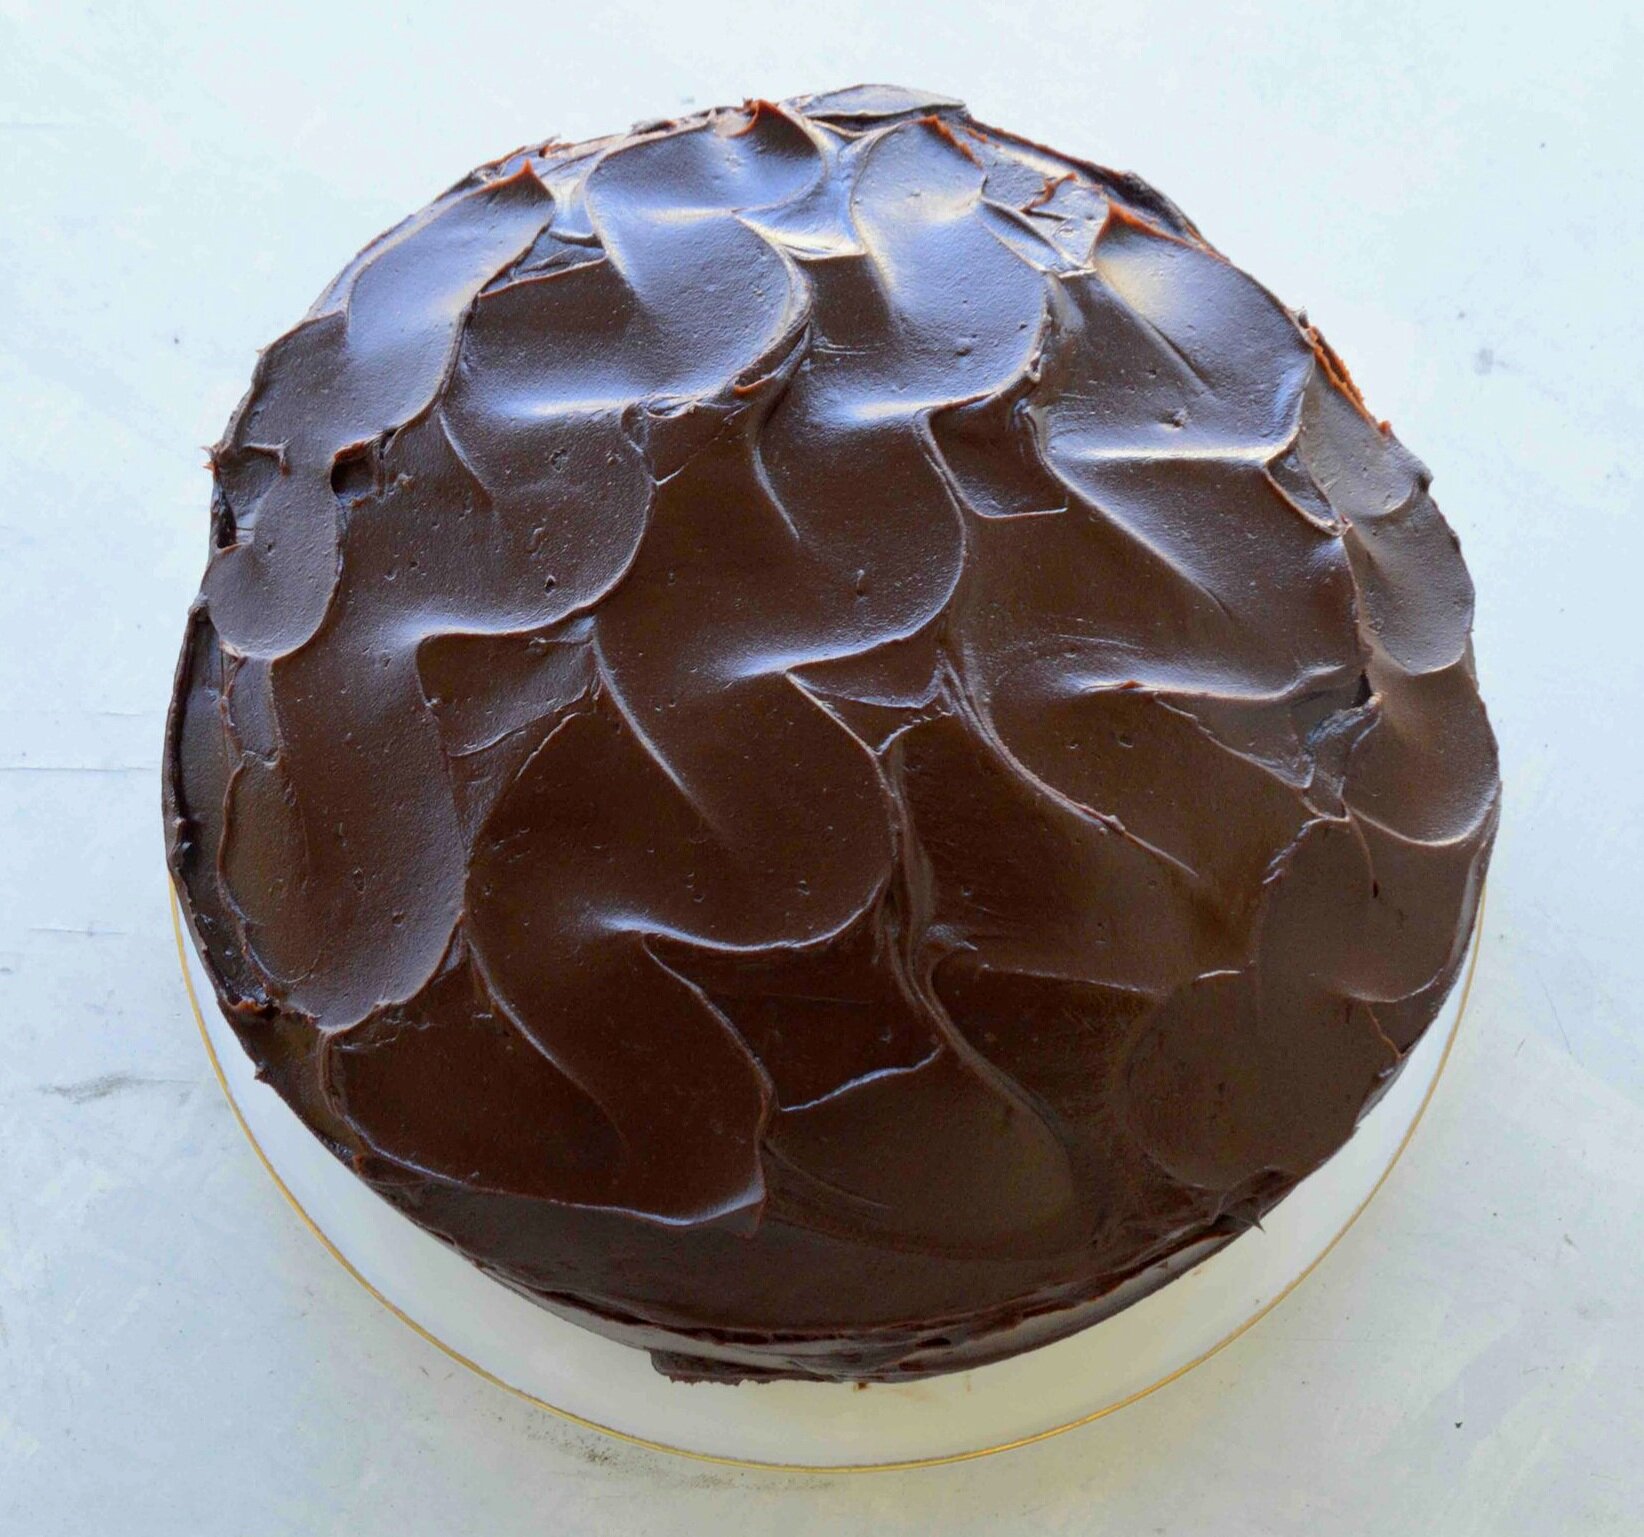
Three tender, deeply chocolate, not-too-sweet layers of cake, covered with a velvety coffee buttercream which itself gets topped with a rich, smooth chocolate ganache, plus chocolate covered espresso beans and chocolate sprinkles—Take that 2020!!!

To tell the truth, my daughter and I first made this amazing treat back in August for her birthday and it was a huge hit! Honestly, it might be my most favorite celebration cake ever and that’s saying a lot cause I am not a coffee drinker. But somehow the whole combo just works amazingly well here and the actual chocolate cake is quite possibly the best I’ve ever tasted!! I held off posting because with all the smaller gatherings, big fancy cakes didn’t exactly seem appropriate, but now having too much cake around is the least of our worries!!
Before I get to showing you how to put this masterpiece together, I just want to mention that the recipe calls for coffee extract, which can be tricky to find. You can definitely get it on Amazon and maybe even in some specialty shops, but if you can’t, no worries. An easy sub is to get mix instant espresso with hot water and let it cool to room temperature. Easy-peasy and done!

And now, onto the cake: there are three layers which you could easily make the day before and have all ready to frost and build with on new years eve or you can totally make them the same day—in any case you want them to be entirely cool before you start to frost them with the silky coffee buttercream:


Once all three layers have been assembled, you cover the outsides of the cake with a thin coating of the frosting, aka the crumb coat. This helps to make sure that any loose crumbs adhere to the the cake, creating a base that will allow you to spread the frosting smoothly and evenly. It also helps to seal in the cake’s moisture.

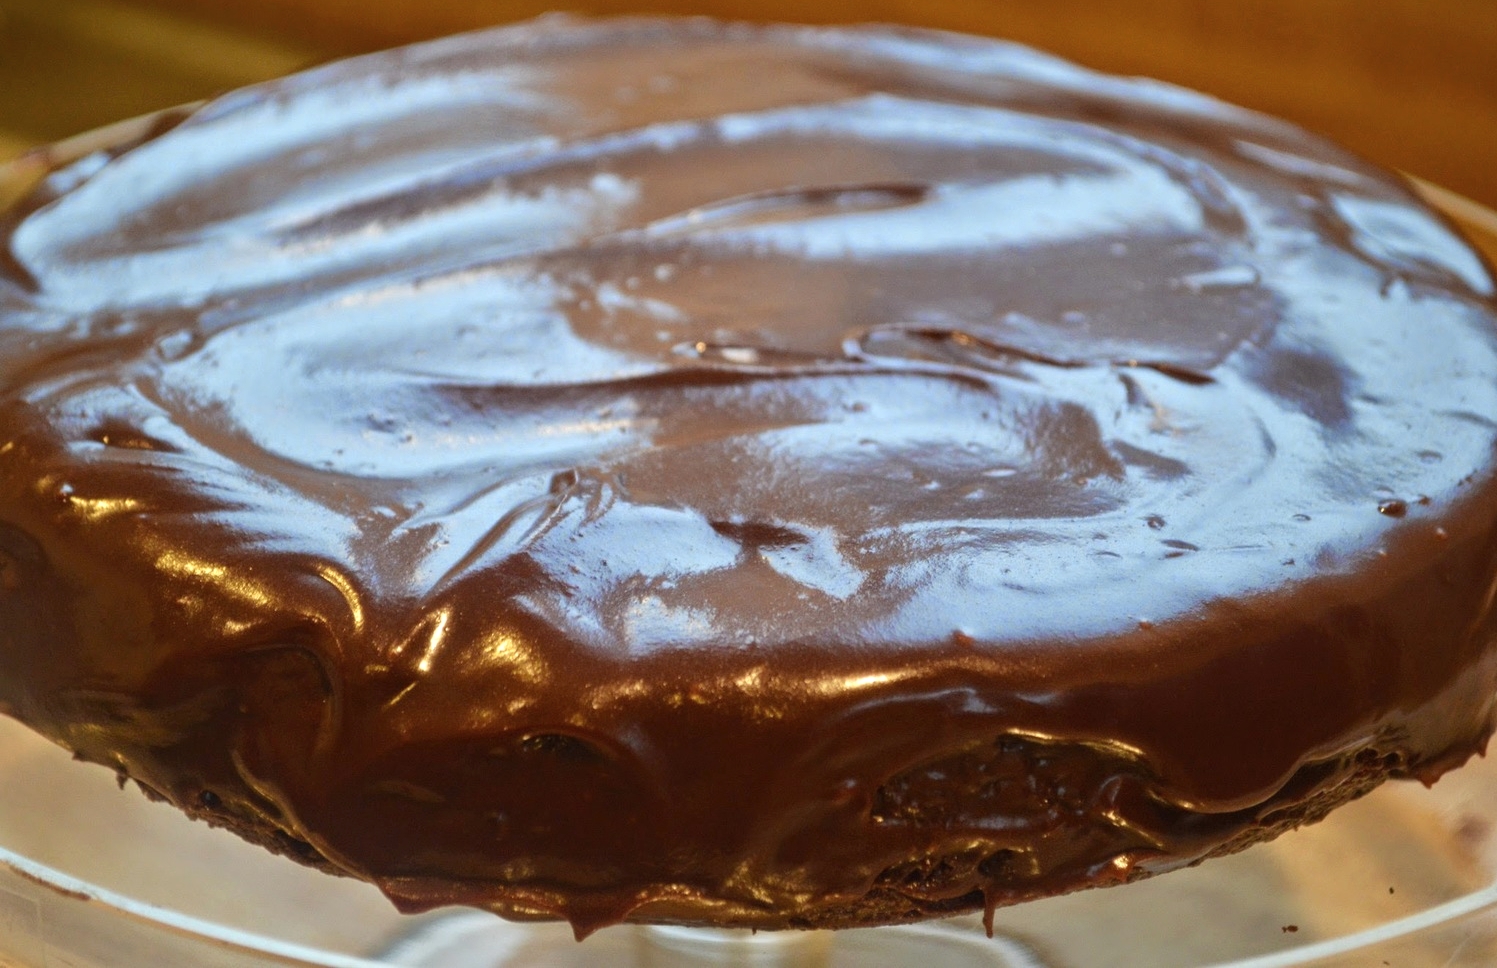
After a short stint in the fridge to firm everything up, we’re ready to slather on the rest of the frosting and pour on the luscious chocolate ganache—

Which we’re gonna help to drip down the sides—

So we get that drizzle effect—

It’s a bit messy but hang tight because the end result is pretty spectacular!

Once all that gorgeous chocolate has dripped down the sides and set, it’s time to decorate with crunchy chocolate expresso beans and sprinkles. Tada!! Cake perfection!!

Look at all those gorgeous layers! It would be almost impossible not to have a happy new years with a slice of this at your beck and call!

There’s happiness in every chocolate-y-coffee-ish bite!

Happy birthday 2021, boy do we need you more than ever!!!

Chocolate Espresso Cake
Serves 12-16 people
Prep Time for cake: 20 minutes: Bake Time for cake: 35-40 minutes; Prep Time for Coffee Buttercream: 25-30 minutes; Prep Time for glaze: 10 minutes; Assembly Time: About 1 hour (much of this is hands-free—the frosted cake has to chill twice and then again for glazing
Ingredients
For the cake
¾ cup good quality dark unsweetened cocoa powder (I used Valrhona)
⅔ cup sour cream
1 ¼ cups hot water
2 ⅔ cups unbleached, all-purpose flour
2 teaspoons baking powder
1 teaspoon baking soda
1/2 teaspoon salt
12 tablespoons unsalted butter (¾ cup), softened to room temp and cut into cubes
1/2 cup vegetable shortening (I used Crisco sticks)
1 ½ cups sugar
1 cup dark brown sugar, packed
3 large eggs, room temperature
1 tablespoon vanilla extract
For the coffee buttercream
1 ½ cups sugar
1/3 cup unbleached, all-purpose flour
1 ½ cups whole milk
⅓ cup heavy cream
1 ½ cups (3 sticks) unsalted butter, soft but cool, cut into small pieces
1 teaspoon vanilla extract
3 tablespoons coffee extract (if you can’t find this, use 3 tablespoons of instant espresso mixed with 6 teaspoons of hot water and let cool to room temperature)
For the chocolate glaze
8 ounces good quality bittersweet chocolate, coarsely chopped (I used Lindt 70%)
12 tablespoons (1 ½ sticks) unsalted butter, softened and cut into cubes
1 tablespoon light corn syrup
Chocolate-covered espresso beans and chocolate sprinkles for decorating (optional)
The Recipe
1. To make the cake: Preheat oven to 325 F. Butter three 8 or 9 inch round cake pans, line the bottoms with a round of parchment paper and butter the parchment. Dust the pans with flour and knock out the excess. Set aside.
2. In a medium bowl, stir together the cocoa, sour cream and hot water and set aside to cool.
3. Meanwhile, sift the flour, baking soda, baking powder and salt together in a bowl and set aside.
4. Use an electric mixer to beat the butter and shortening together on medium speed until light and fluffy, about 5 minutes. When you lift the beaters, the mixture should sort of ribbon. If you’re using a handheld mixer, you may need to tack on a few more minutes. Add both sugars and beat on medium speed again for about 5 minutes, scraping the bowl as needed with a rubber spatula, until the mixture is light and fluffy. One at a time, add the eggs, beating for 10-15 seconds after each addition, until the egg is incorporated. Then add the vanilla and mix in on low speed. Scrape down the sides of the bowl and mix for another 30 seconds.
5. On low speed, alternate the dry ingredients with the cocoa mixture, beginning and ending with the dry ingredients, scraping down the bowl between the additions as needed.
6. Divide the batter evenly between the prepared pans, smoothing the tops. Bake the cakes for about 35 minutes all on the same rack, rotating the pans halfway through the baking time, until a tester inserted into the center of the cakes, comes out clean. (If you can’t fit all three pans in the oven on the same rack at once, bake two at a time and then bake the third one separately. You don’t want to bake these cakes in the bottom of the oven—they might get too dark). Transfer the cakes to wire racks to cool for at least 45 minutes, then invert onto the racks, remove and discard the parchment and let cakes cool completely. You can definitely make these a day ahead and wrap well in plastic wrap at room temperature.
7. To make the coffee buttercream: Add the sugar and flour to a medium, heavyweight saucepan and whisk together. Add the milk and cream and cook over medium heat, whisking every now and then until the mixture comes to a boil and has thickened, about 10-15 minutes.
8. Transfer the mixture to the bowl of a standing mixer fitted with the paddle attachment (or just use a large bowl and a handheld mixer) and beat at high speed for about 7-9 minutes until the mixture is cool. On low speed, add the butter and mix in well. Then increase speed to medium-high and beat for another minute or two, until frosting is light and fluffy.
9. Add in the vanilla and coffee extracts and mix until well combined. If you feel the frosting is too soft, place the bowl in the fridge for a few minutes and then beat again until the right consistency. Alternately, if the frosting seems too thick to spread, place the bowl over a pot of simmering water and beat with a wooden spoon until it’s the right consistency.
10. To assemble the cake: cut 4 strips of parchment or wax paper and place them on top of a cake plate in a square. Place one of the cake layers centered on the square. This will help you keep the plate neat. If you need to, trim the cake so that it has a flat surface (I didn’t need to). Evenly spread about 1 ¼ cups frosting on top of the layer. Add the next cake layer and trim and frost it. Top with the final layer and spread a very thin layer of frosting all over the top and sides of the cake (a crumb coat that will help keep any loose crumbs from making the final frosting messy). Place the cake uncovered in the fridge for 15 minutes to allow it to set. Use the remaining frosting to cover the top and sides of the cake and return cake to fridge for another 15 minutes.
11. To make the chocolate glaze: place the chocolate, butter and corn syrup in the top of a double boiler set over an inch or two of simmering water and use a heatproof spoon or rubber spatula to stir the mixture until it’s completely melted and smooth. Remove the pan from the heat and stir the glaze for a few minutes to release some of the heat.
12. Starting in the center of the cake, slowly pour about ¾ cup of the glaze over the cake, using a small offset spatula or butter knife to smooth it out to the edges. Place the cake back in the fridge for another 5-10 minutes to allow it to set. Now, pour the remaining glaze over the top of the cake, letting it drip down the sides any which way. Return to the fridge for about 5 minutes to set—it’ll be easier to clean up any drips on the plate. Remove the paper strips and discard. Use a damp paper towel to clean up any smudges on the cake plate. If using, press the chocolate sprinkles into the cake along the bottom and decorate the top with the espresso beans. Return the cake to the fridge for another 20-30 minutes and serve or carefully cover and store at room temp for up to 1 day. Chill any leftovers in an airtight container in the fridge.
Enjoy!
Note: Recipe adapted from Baked Explorations by Matt Lewis and Renato Poliafito. I stuck pretty close to the recipe buy changed a few of the techniques.