Japanese Milk Bread

Hi! Another Monday. Let me distract you for a few minutes with this wonderful fluffy and totally comforting recipe for Japanese Milk Bread. I can’t think of a more worthy way to use your flour right now!
If you’ve never tasted Japanese milk bread you are in for a real treat! It’s addictive! So soft, airy and buttery—like a cross between brioche, challah and the most perfect white bread you’ve ever had.

It makes amazing toast, french toast, sandwiches—you name it!

I promise you’re going to love it!

So..how do you make it? First off, you cook up a very simple starter (in Japanese it’s called a tanzhong) which is made up of flour and you guessed it, milk. it makes a thick paste which almost seems like more of a roux than what you’d traditionally think of as a starter but it’s what gives the bread its airy, springy texture. And unlike sourdough starters, it comes together in just minutes and you can use it as soon as it cools to room temperature.

The dough is easily mixed in stand mixer with a dough hook and once you’ve prepared it and let it rise, it looks something like this.

You’re then going to punch it down, and divide it into four pieces (I’m only showing you two here)

And shape into balls.

Now comes the fun—you roll each ball into a rough oval

Fold over the top and bottom

And then roll the whole thing up into a nice tight little log.


Each log now gets nestled in the opposite ends of a loaf pan to rise again.

Right before you’re ready to bake, you brush the loaves with a little milk and pop the pans in the oven.

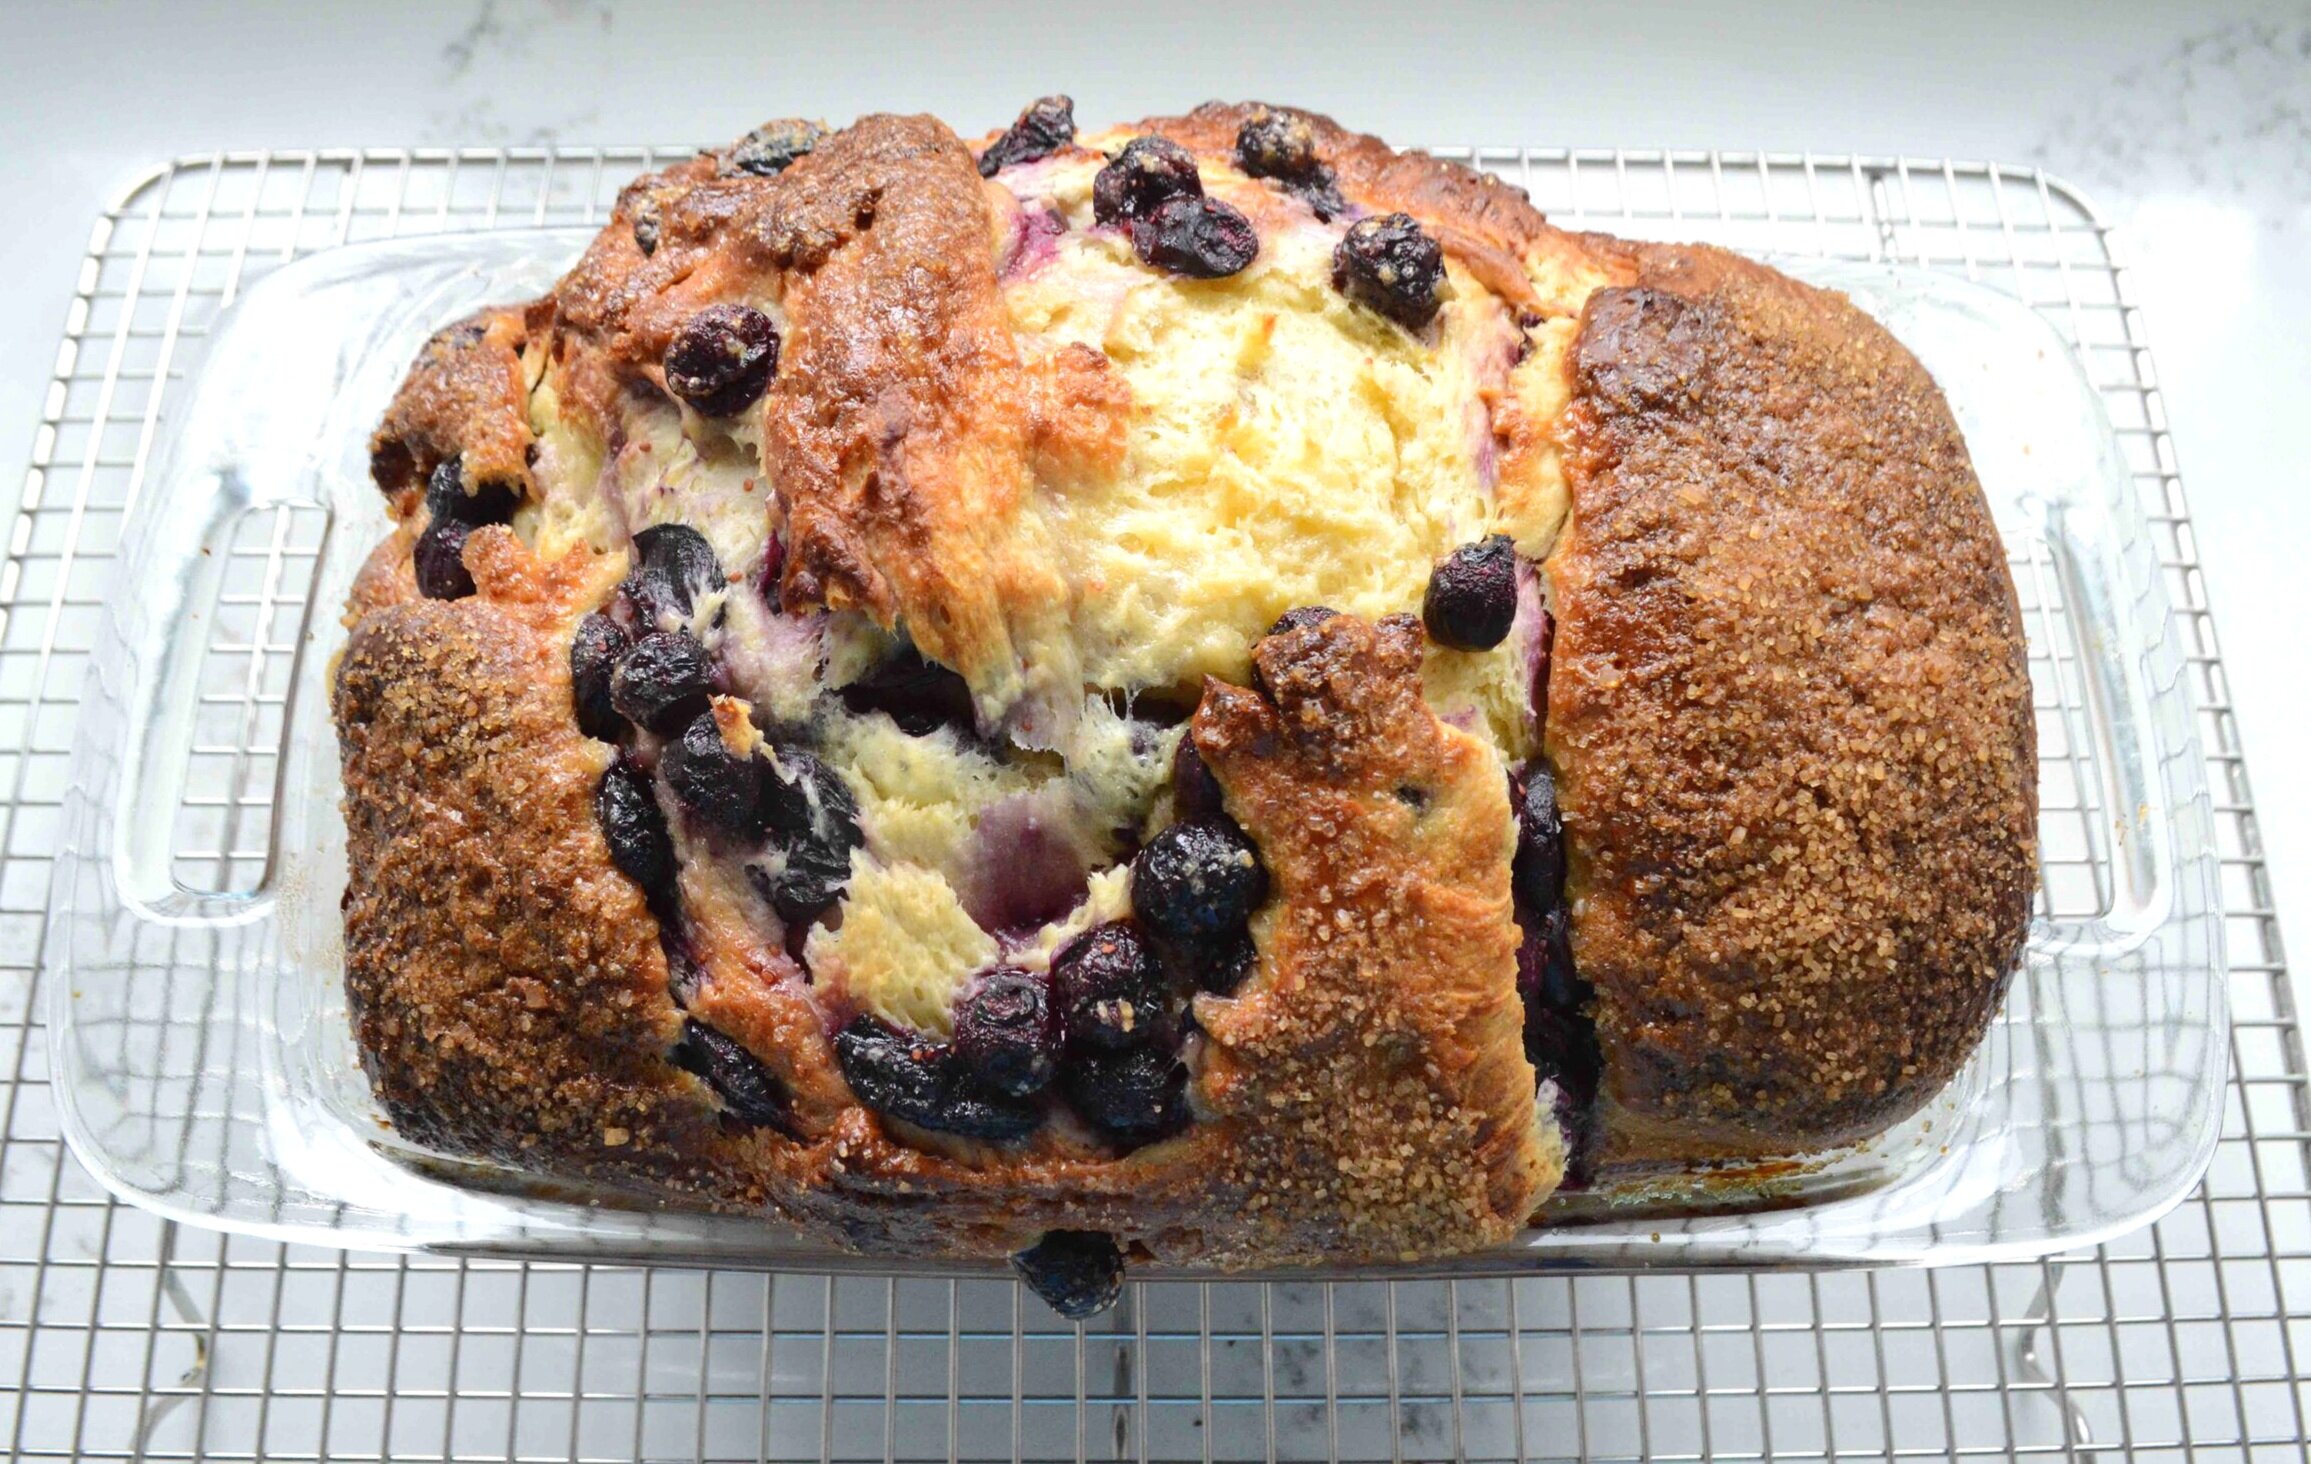
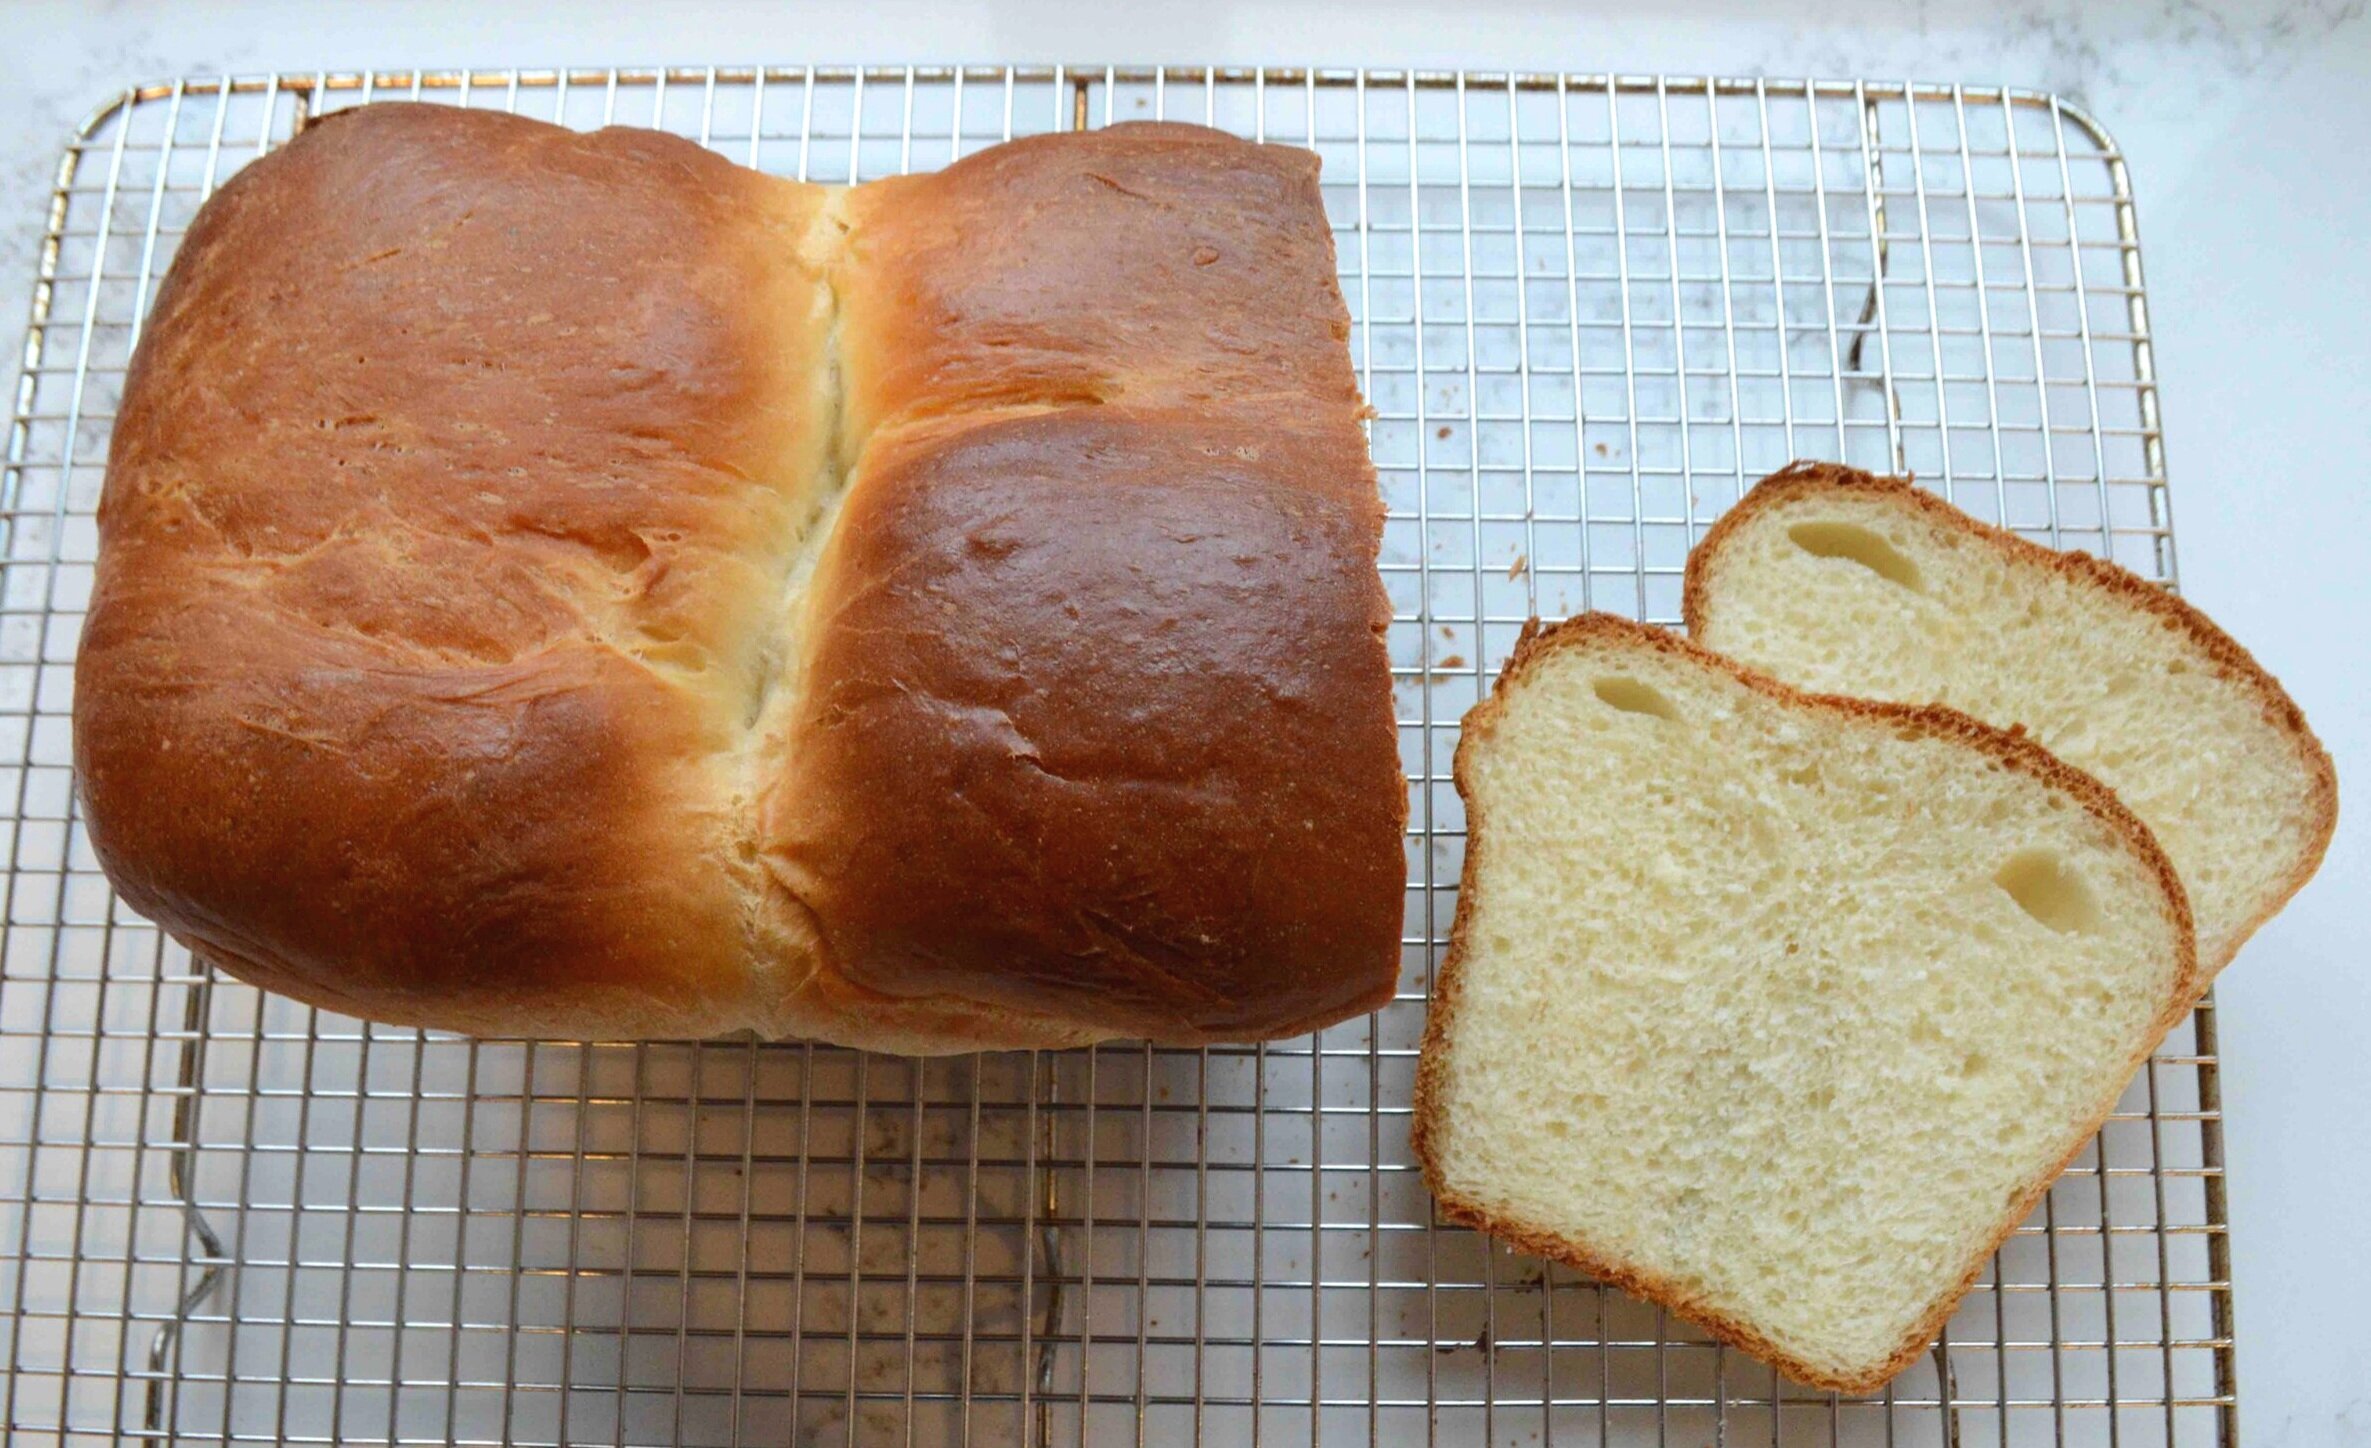
What emerges is nothing short of carb heaven: 2 shiny, golden brown, bulbous and loveable loaves that are guaranteed to please.

Now focus on that light and airy crumb and hang in there!

Japanese Milk Bread
Makes 2 loaves
It really helps to have a stand mixer with a dough hook for this—you can do it by hand but it will take a lot longer.
Prep Time: 45 minutes; plus a few hours of rising; Bake Time: 35-40 minutes
Ingredients
For the starter
1/3 cup bread flour (90 grams)*
1/2 cup whole milk (240 ml)
1 cup water
For the Dough
5 cups bread flour (750 grams)*
½ cup sugar (120 grams)
4 teaspoons active dry yeast (14 grams)
2 teaspoons salt (8 grams)
2 large eggs
1 cup warm whole milk (240 ml) plus a little extra for brushing on loaves
8 tablespoons unsalted butter (120 grams) room temperature, cut into small pieces, plus a little extra softened butter for greasing the bowl and pans
The Recipe
1. To make the starter: Place the bread flour, milk and water in a medium heavyweight pot and whisk together until smooth. Bring to a simmer over medium-low heat and cook, stirring often, until mixture is thickened, but still thin enough to pour—this takes about 8-10 minutes. If you scrape the spoon along the bottom of the pot, it will leave tracks. Remove the pot from the heat. Scrape the mixture into a small bowl and loosely cover with plastic wrap. Let cool to room temperature—takes about 30 minutes.
2. To make the dough: Fit your electric mixer with the dough hook and combine the flour, sugar, yeast and salt in the large bowl of the mixer. Add the eggs, milk and cooled starter and on low speed, knead the mixture for about 5 minutes.
3. Add all of the butter at once and knead the dough for another 10-12 minutes, until the butter is entirely incorporated and the dough and smooth, springy and just slightly tacky.
4. Lightly butter the inside of a large bowl with softened butter. Use your hands to scoop the dough out of the mixing bowl and form into a ball. Place into the buttered bowl and cover with a kitchen towel. Let rise in a warm place until doubled in bulk, anywhere from 45-60 minutes, depending on the temperature in your house.
5. Place a board on the counter or use a clean counter. Punch the dough down in the bowl and then transfer to the board (or counter). Using a bench scraper or sharp knife, cut the dough in half and then cut each half in half again, so that you have 4 equal pieces. Lightly form each one into a ball, cover with the towel and let rise 15 minutes.
6. Make sure one of the racks is in the bottom third of the oven and preheat to 350ºF. Butter two 9x5-inch loaf pans. Set aside.
7. Use a lightly floured rolling pin to gently roll out one of the dough balls into a thick oval about 12 inches long and 6 inches wide. Try to roll away from yourself first and then pull the pin in—makes it easier to get an oval shape but don’t stress too much about this.
8. Fold the top 3 inches of the oval down and then the bottom 3 inches up, making a rough square. Now, starting from the right, roll up the dough into a short, fat log. Pick it up, smooth the top with your hands and place it into the prepared pan, seam side down and crosswise at one end. Repeat the entire procedure with the second piece of dough and place it in the other end of the pan. Then do the same thing for the remaining 2 pieces.
9. Cover the pans with the towel again and let rise until the dough is coming over the edge of the pan and the logs are meeting in the center, anywhere from 30-45 minutes. Brush the tops of the dough with a little milk and bake on the bottom shelf until golden brown and puffed, about 35-40 minutes. Let cool in the pans for 10 minutes and then turn out onto wire racks to finish cooling completely. If you cut these too soon, the bread will sink.
Enjoy!
Note: Recipe adapted from The New York Times via Julia Moskin. I doubled the recipe cause you might as well make two if you doing it anyway.
*You can totally sub in regular all-purpose flour for the bread flour if you don’t have any on hand. I promise it will still be delicious.