Rustic Cranberry Walnut Bread
Calling all my bread bakers—I think this Rustic Cranberry Walnut Bread is one you are definitely going to want to add to your repertoire!
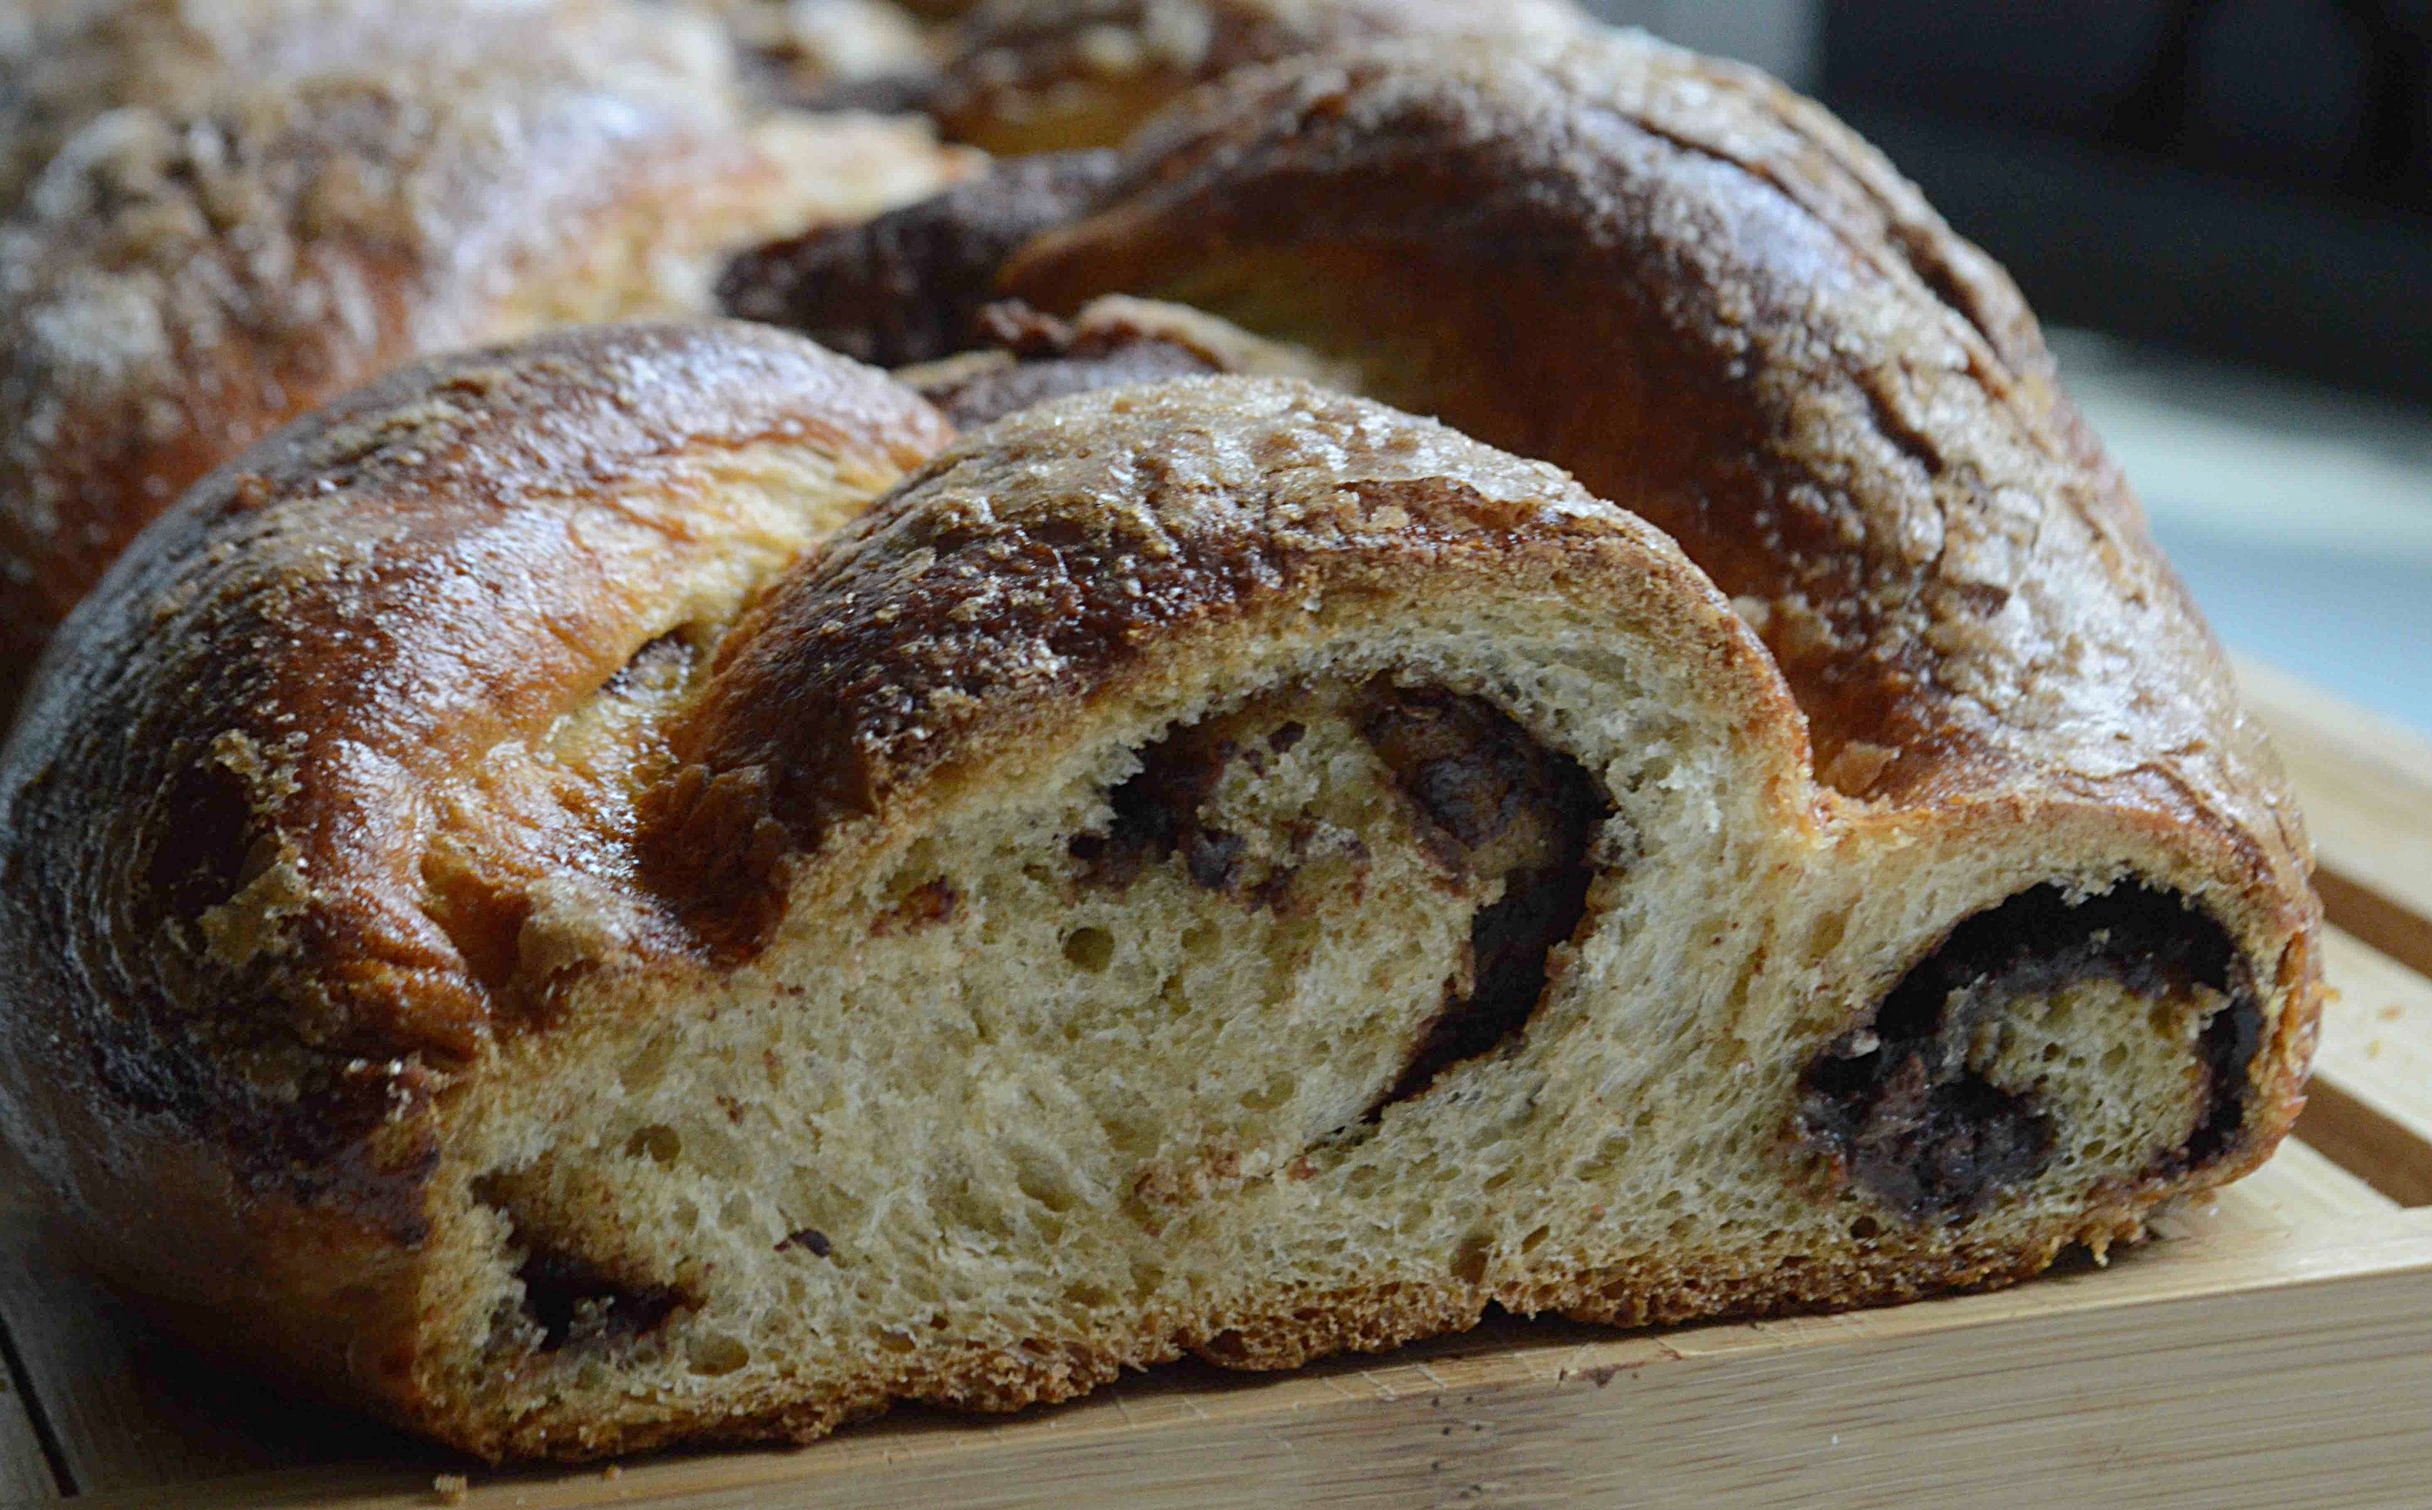
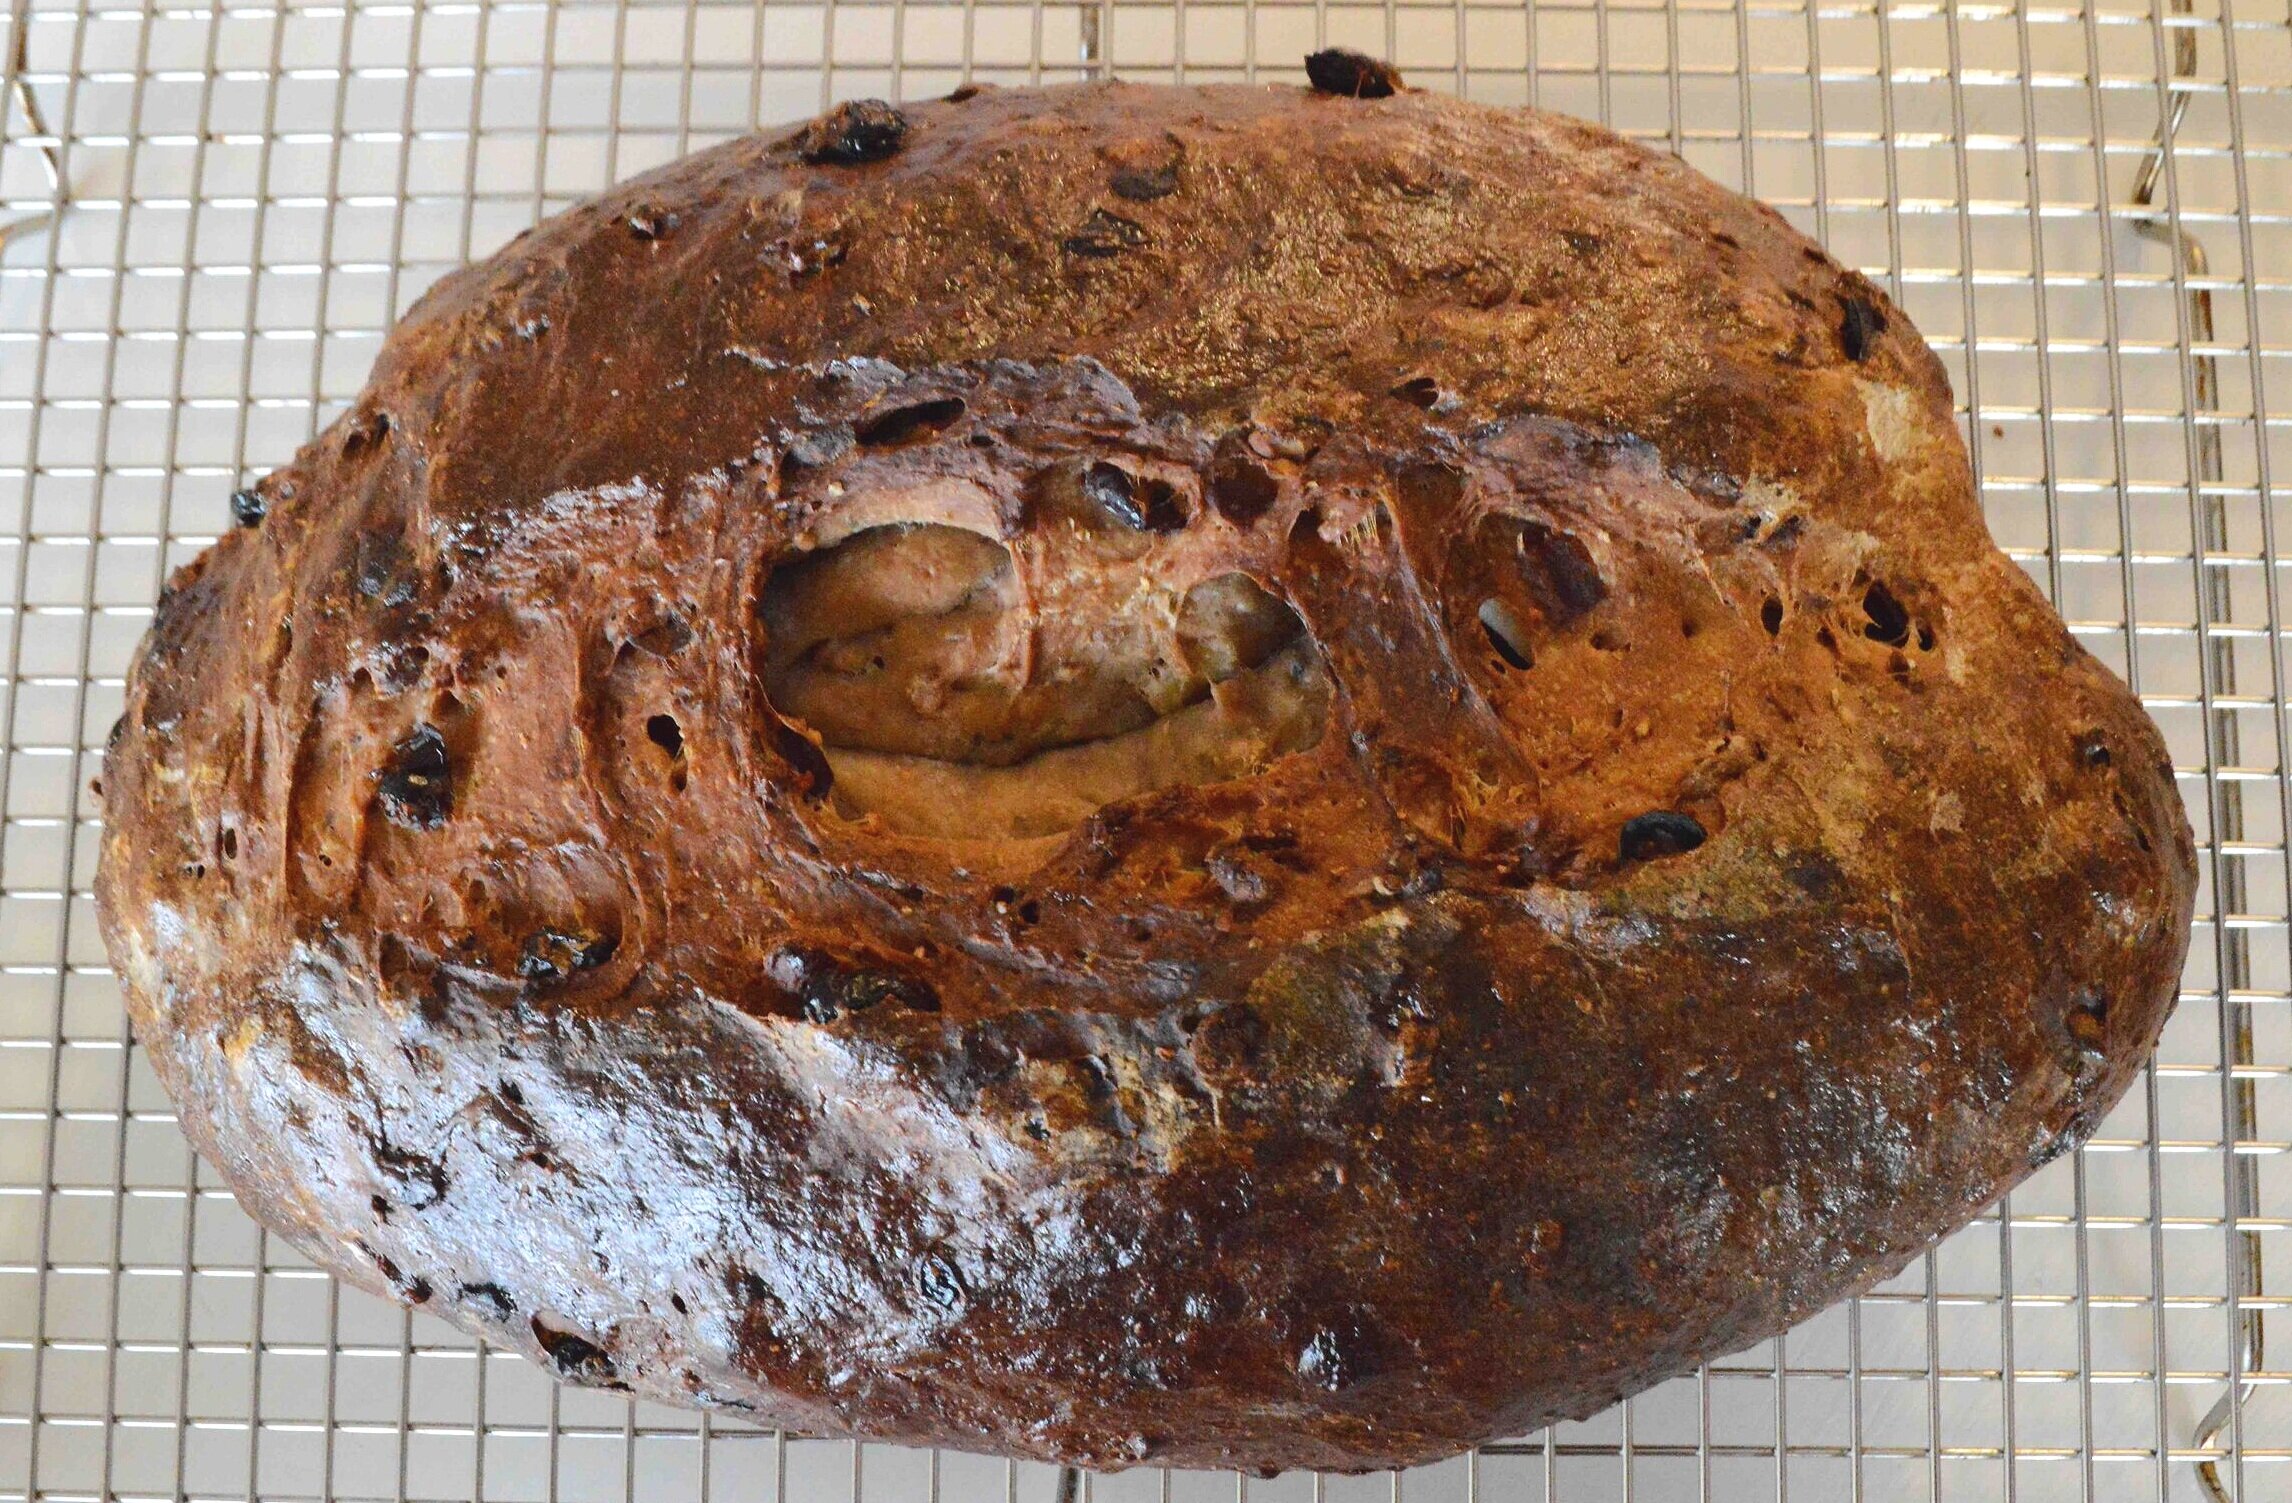
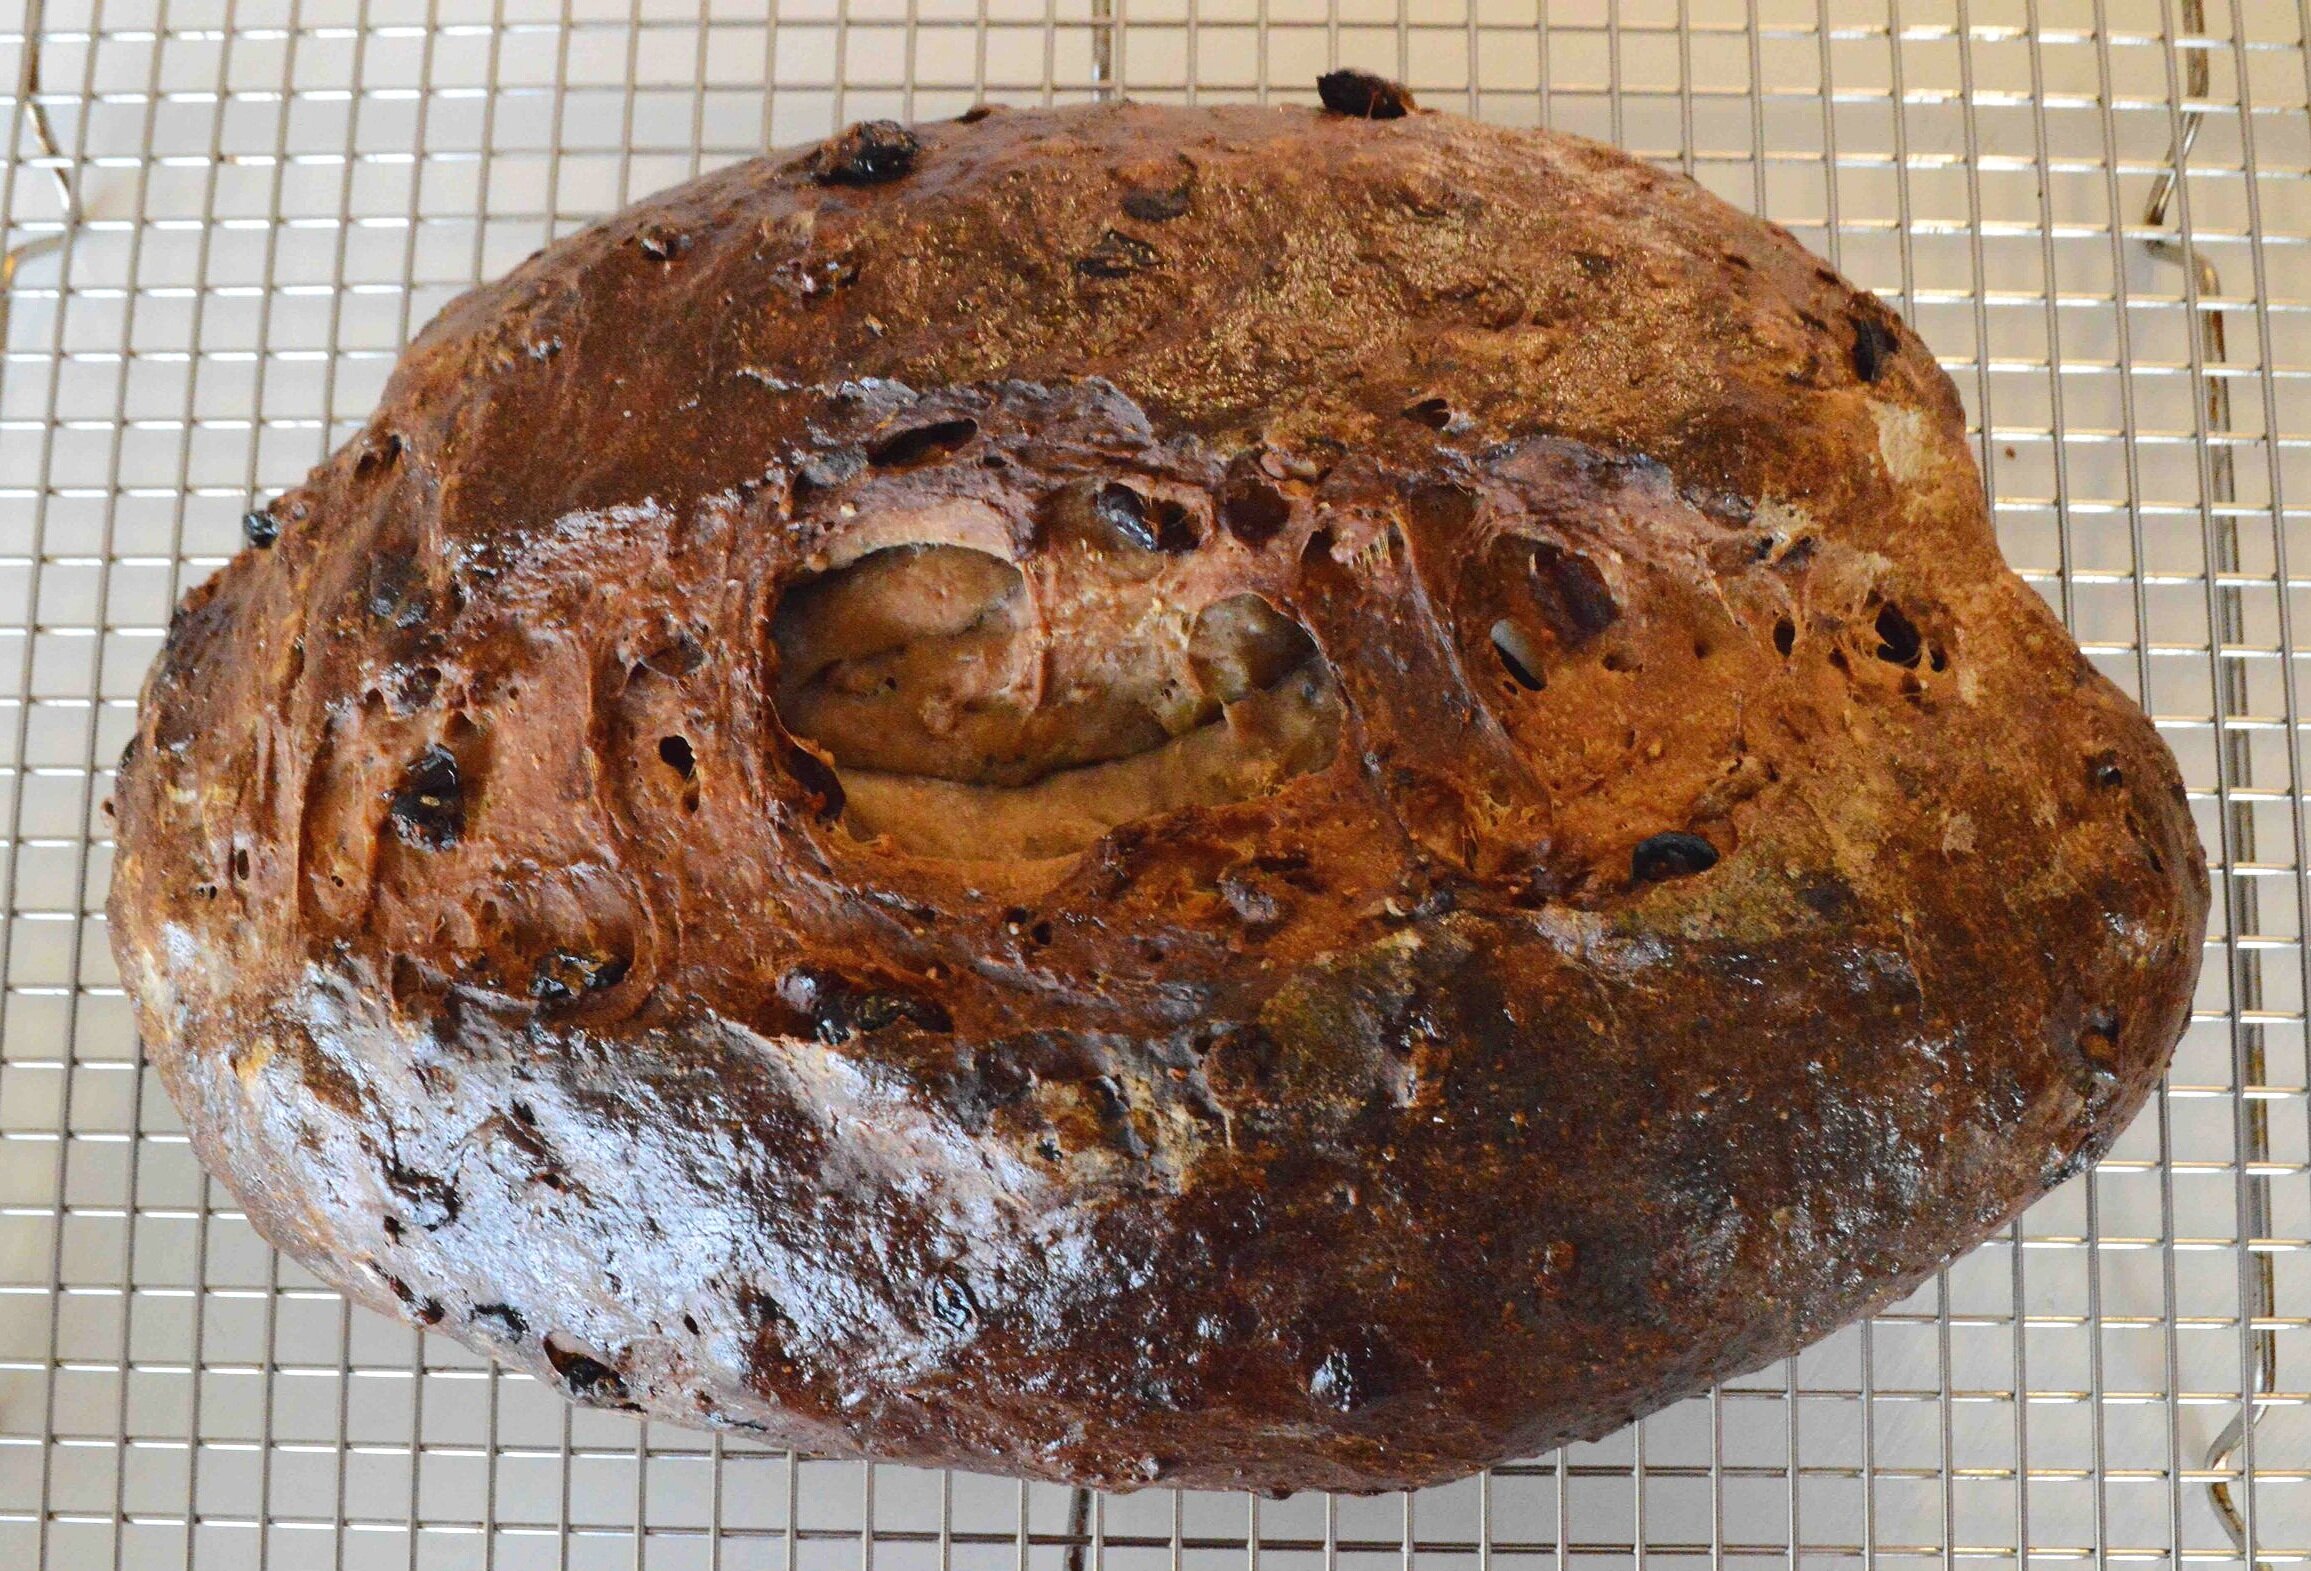
Not only is it rustically gorgeous—just look at that crust—I swear, you will swoon with pride when you pull this baby out of the oven, but it’s absolutely delicious and just perfect for the upcoming holidays!
Lovely toasted and buttered for breakfast
Or…
Imagine a slice of this chewy, crusty loaf that’s loaded with dried cranberries and toasted walnuts as the base for a post-Thanksgiving turkey sandwich! Heaven!

So let’s get started. If you have a stand mixer with a dough hook, now’s the time to pull it out, because it makes the mixing up of this bread dough a breeze. Once everything has come together, you transfer the dough to a greased bowl and let it rise for a couple of hours (aka the time to toss in laundry, get some work done, spend a little time on the elliptical—you catch my drift).

Once that’s done, you deflate the dough and shape it into a rough square.

And now, we’re folding. First the top two corners in on the diagonal—

And then that whole piece gets stretched out and folded over itself.

Now, we stretch and fold the bottom half up to meet it and form a torpedo-shaped loaf which gets to hang out and rise for another hour (and you know what that means for you!)

Right before you’re ready to bake, you make a slash down the center of the dough—

And then brush with a simple egg wash—

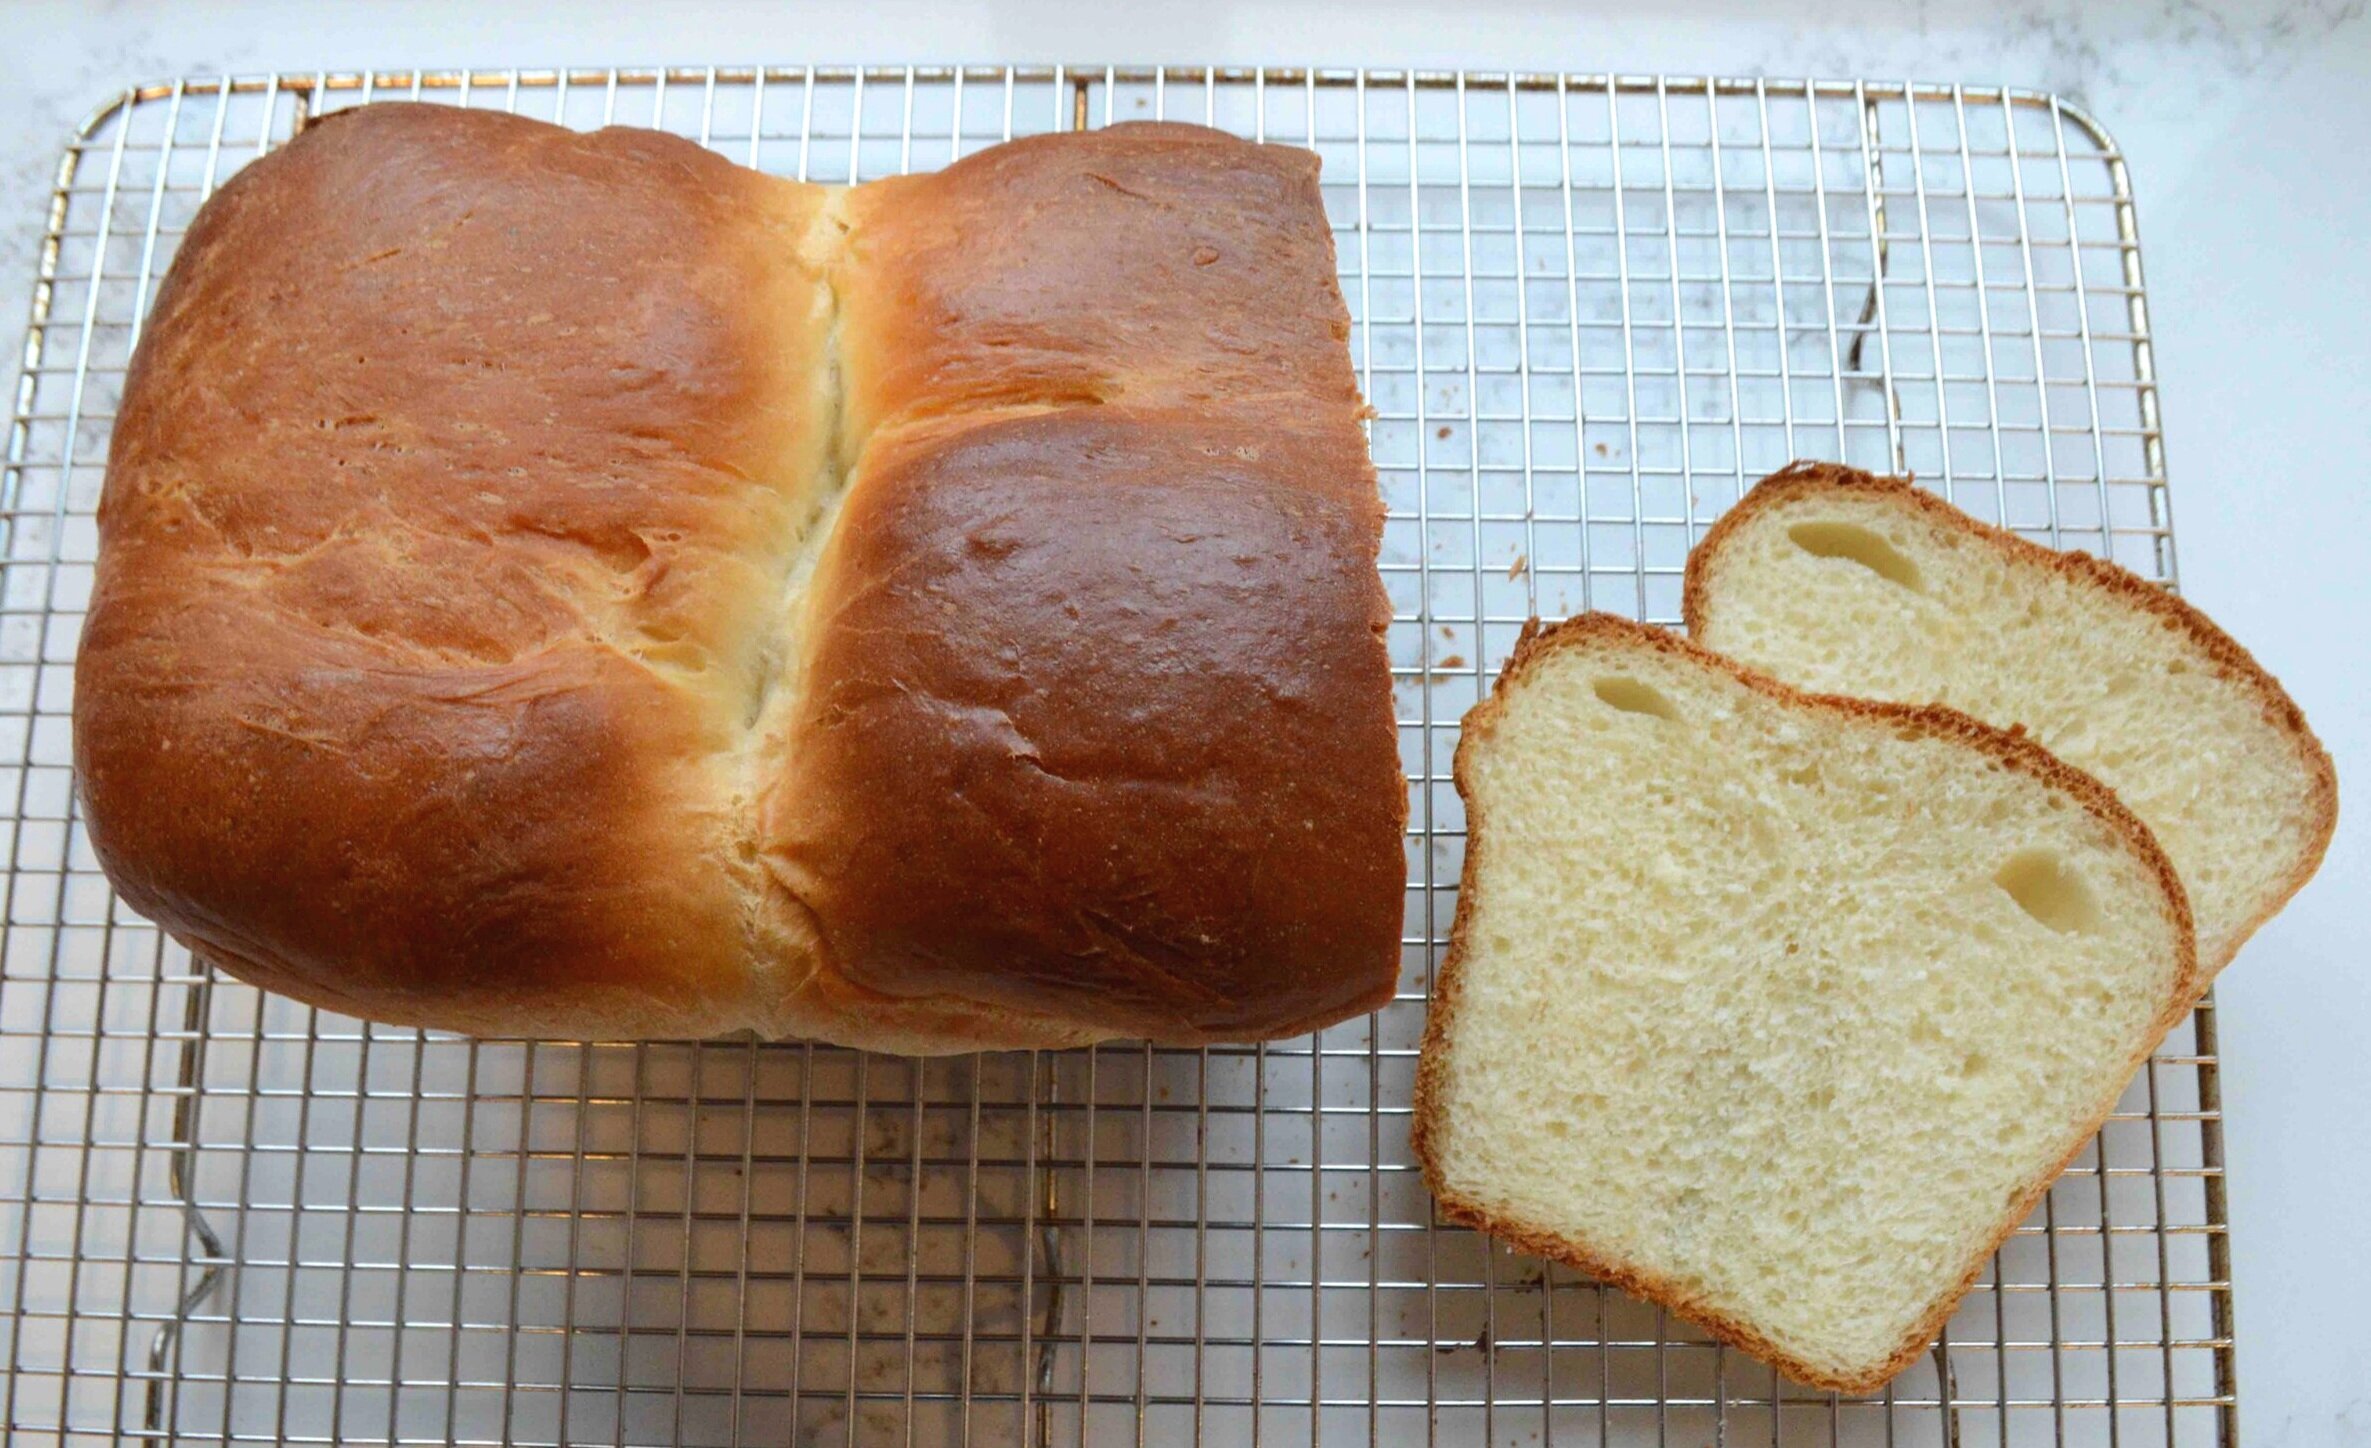
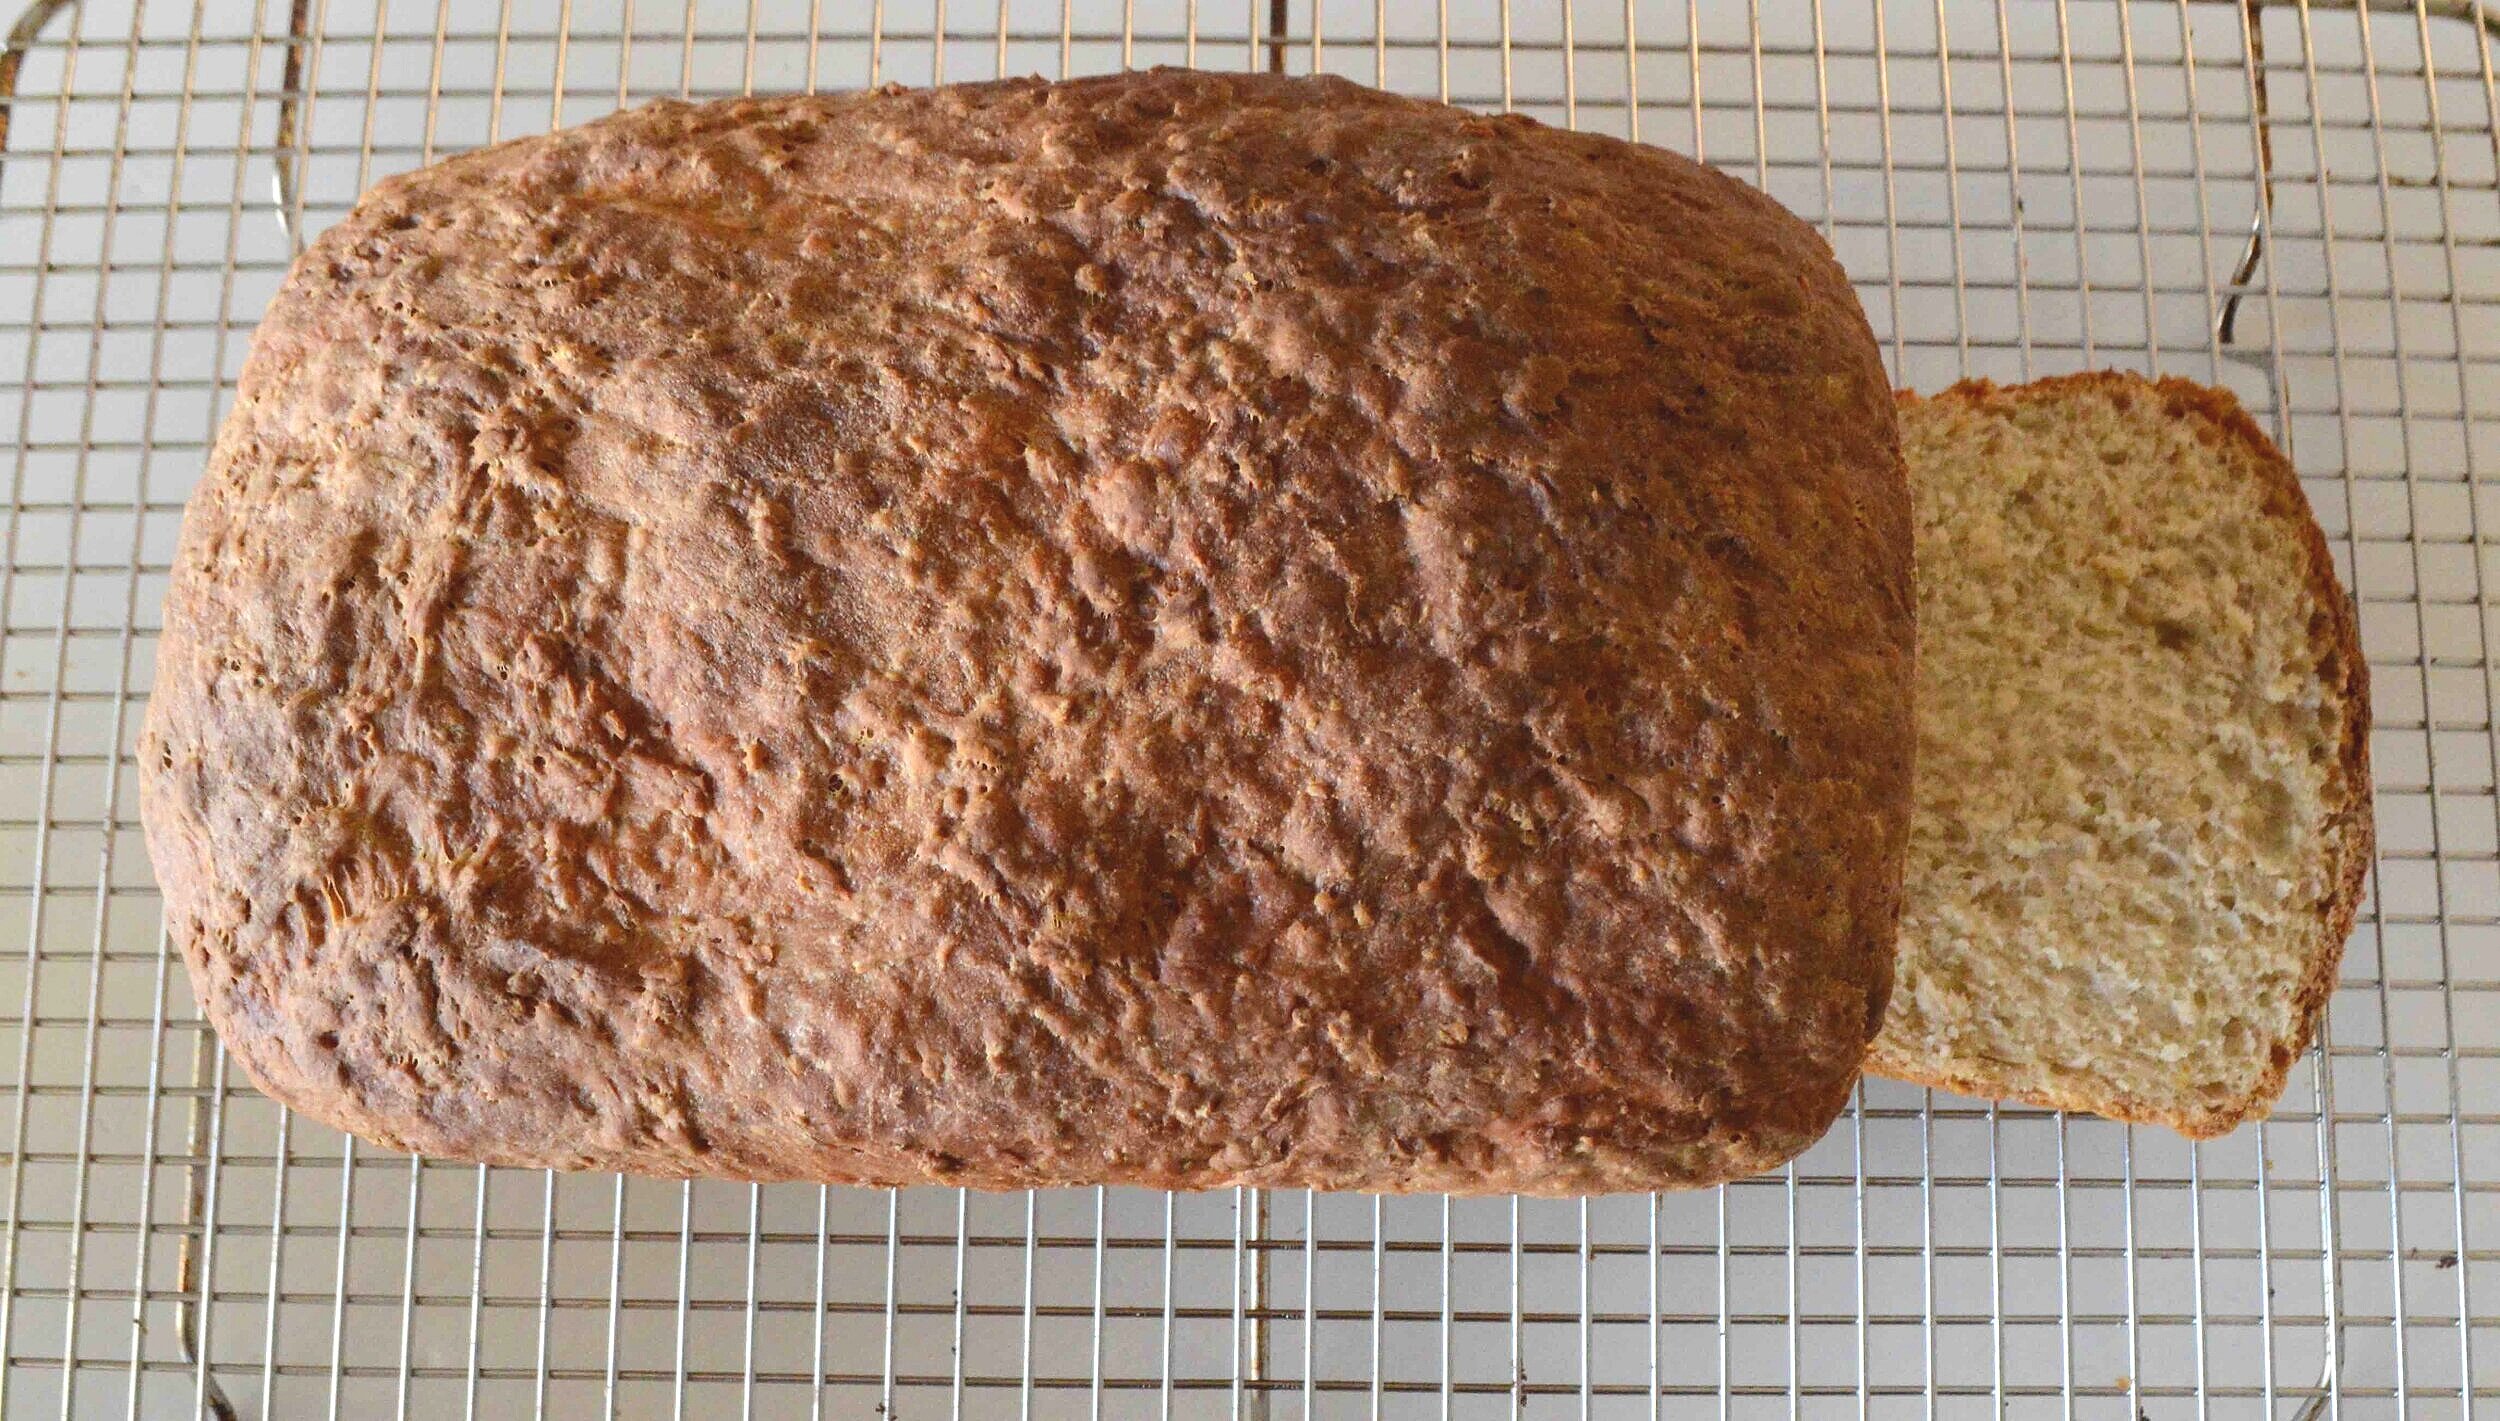
So that everything bakes up browned and all shiny and nubby looking!

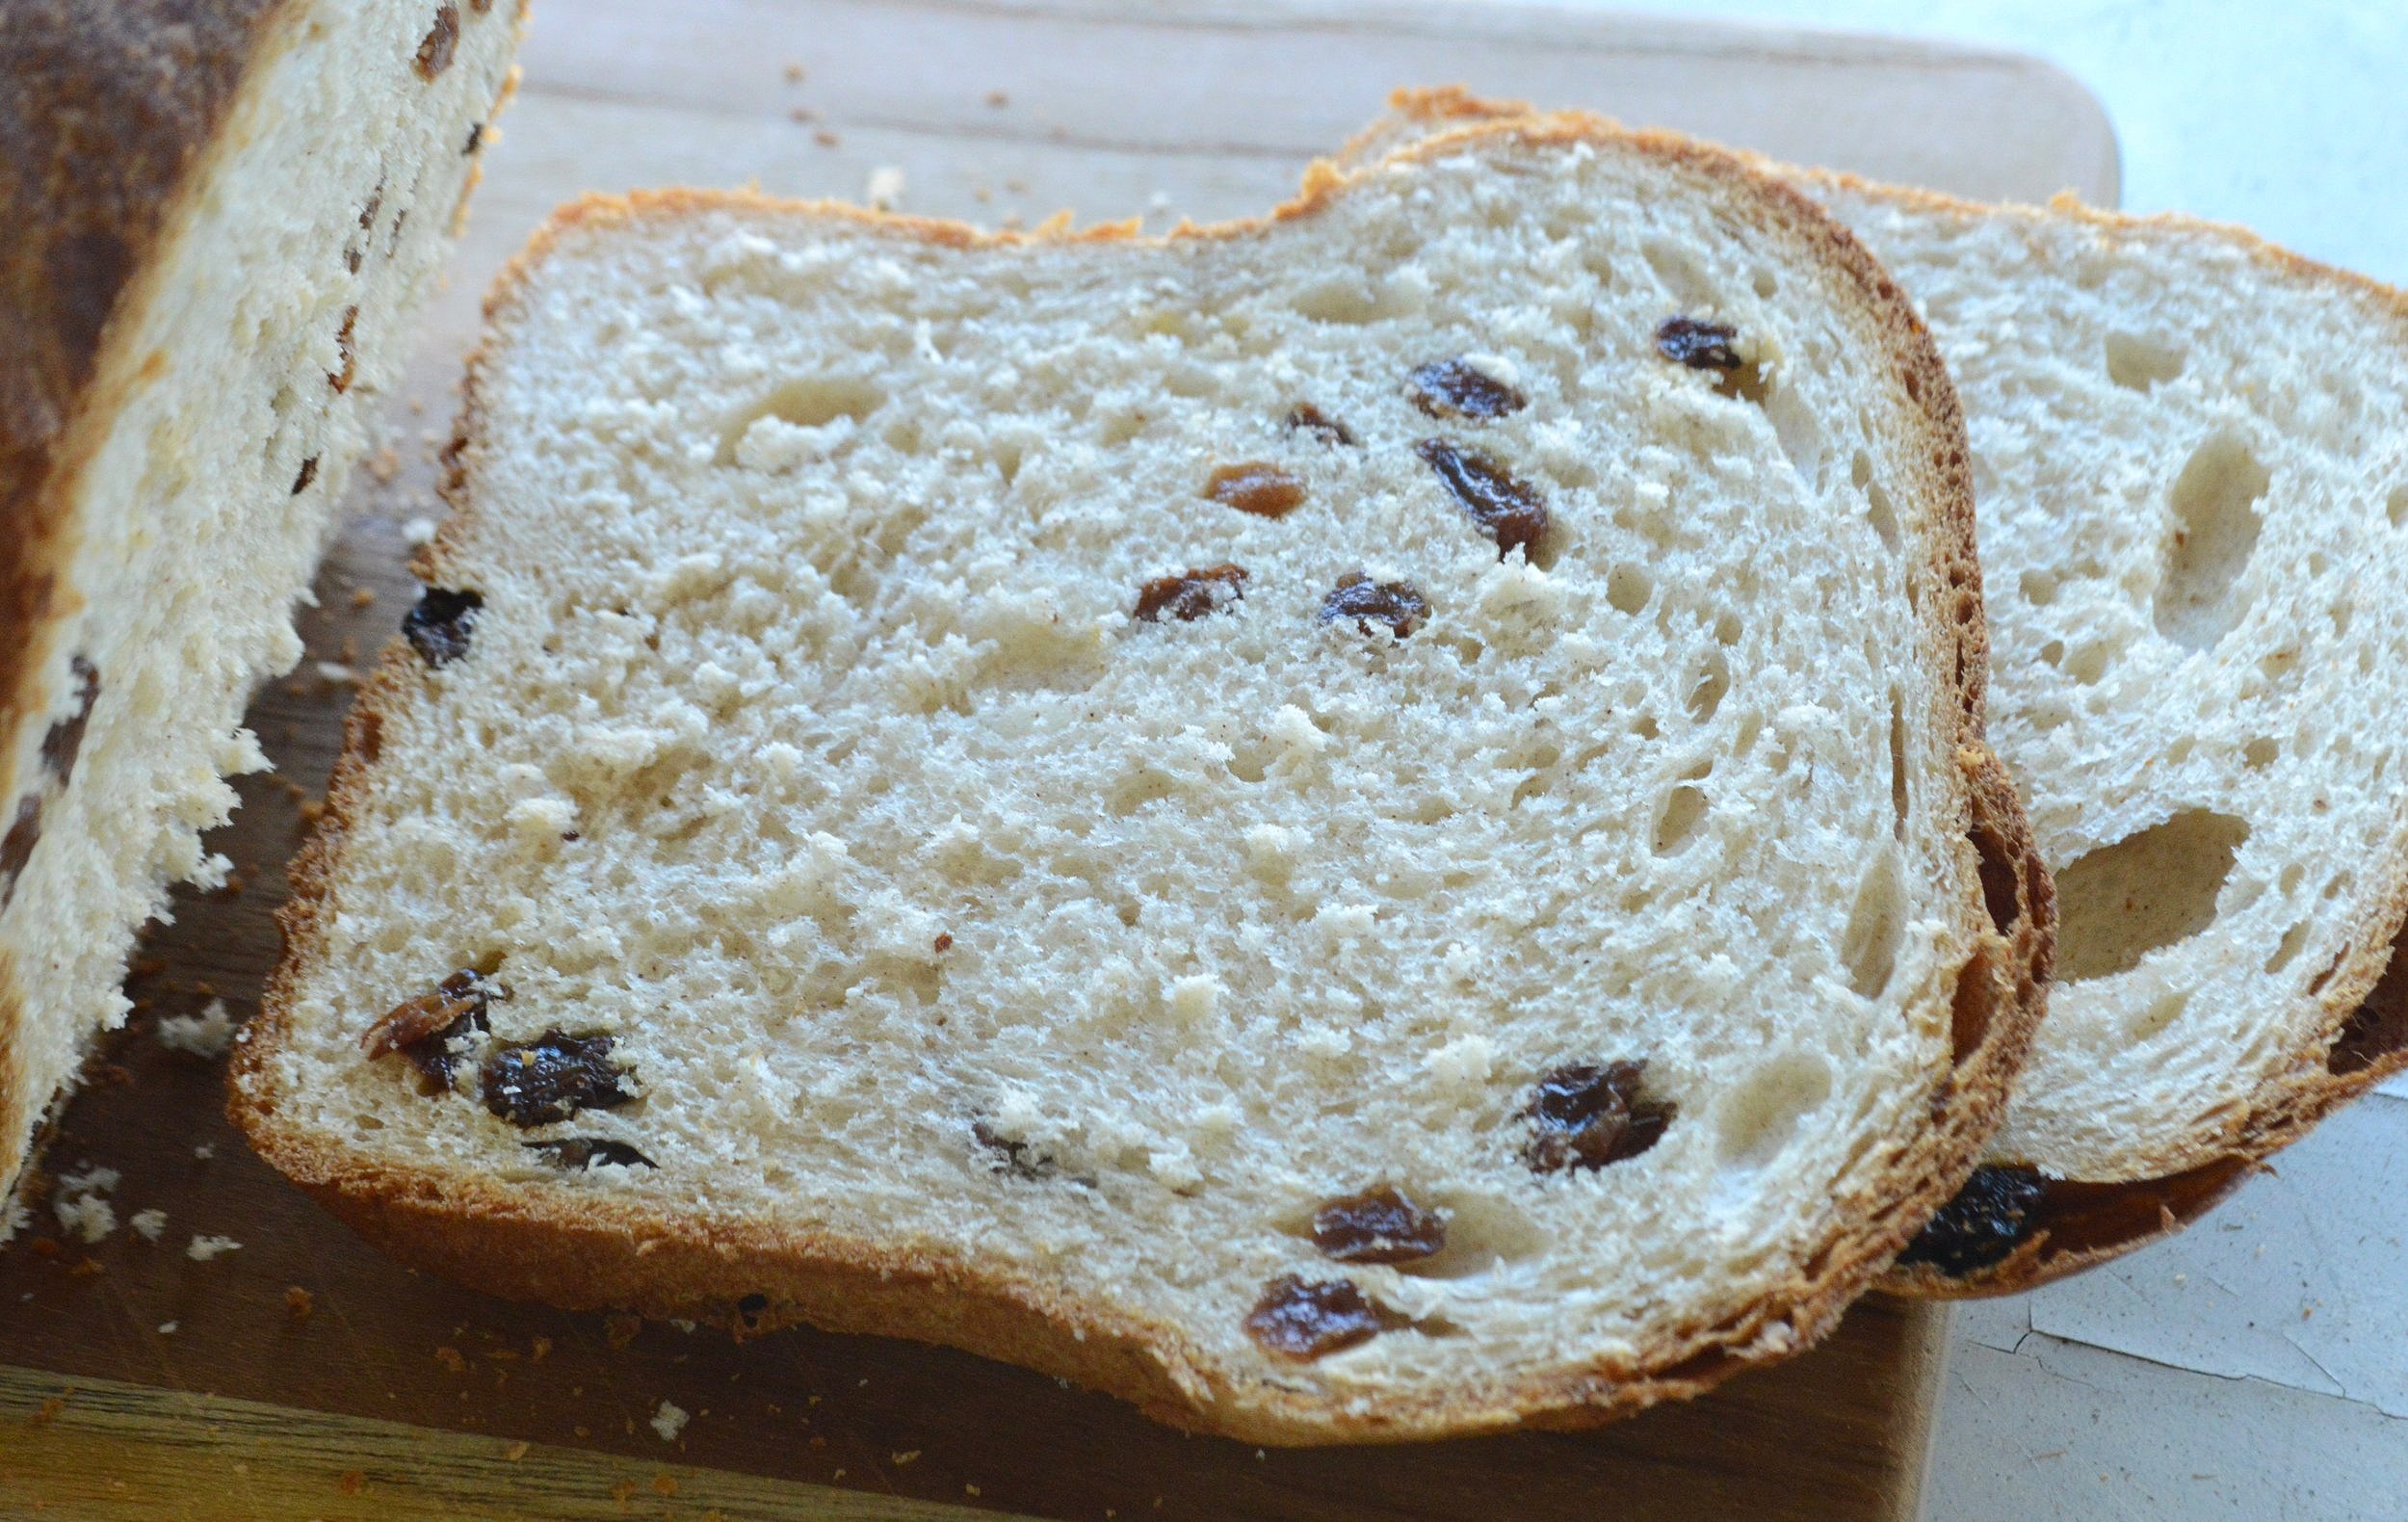
Guys, this has such an amazing texture—the interior is soft yet sturdy with the added crunch of walnuts, while the exterior has that irresistible chewy factor going on.
And the flavor—it’s perfection! Slightly sweet but balanced out by the heartiness of the whole wheat and the tartness of the dried cranberries.
Worth every carby bite!

Have a great and safe Halloween weekend—here in the Northeast it’s supposed to get extremely cold (maybe even snow a bit, yikes!) so I’m thinking that staying in and baking up a batch of this yummy bread is sounding extremely good right now! See you next week as we head into November together!!xoxo
Rustic Cranberry Walnut Bread
Makes one loaf
It really helps to have a stand mixer with a dough hook. You can definitely make this by hand, but it will take a lot longer. (Scroll down to the bottom to see how to do this by hand)
Prep Time: 20 minutes, plus several hours rising and shaping; Bake Time: 45-50 minutes
Ingredients
2 ¼ cups bread flour, plus a little extra for kneading and shaping
10 tablespoons whole-wheat flour
¾ cup dried cranberries
¾ cup walnuts, toasted and chopped (just toast walnuts in a 350ºF oven for about 8-10 minutes, then let cool and chop)
2 teaspoons instant yeast
2 teaspoons salt
1 ¼ cups room temperature water
2 tablespoons light brown sugar, packed
1 tablespoon canola oil, plus extra for greasing the bowl and plastic wrap
1 large egg beaten with 1 tablespoon water and a pinch of salt
The Recipe
1. In the large bowl of a stand mixer, whisk together both flours, the cranberries, walnuts, yeast and salt. In a separate bowl or large measuring cup, whisk together the water, sugar and oil, until the sugar has dissolved.
2. Attach the dough hook and on low speed, add the water mixture to the flour mixture until the dough comes together, scraping down the sides of the bowl as needed with a rubber spatula. When you can see no more dry flour streaks, increase the speed to medium-low and knead the dough until it is smooth, elastic and comes away from the sides of the bowl. This can take anywhere from 8-10 minutes and if the dough still seems sticky, you can add a tablespoon or two of flour and knead until it reaches the desired consistency.
3. Lightly flour a board or clean counter and knead by hand for a few minutes until dough is smooth. Lightly grease a large bowl with a bit of oil and transfer the dough into the bowl. Cover tightly with plastic wrap and let rise in a warm area until the dough has doubled in size, 1 ½ -2 hours.
4. Stack 2 rimmed baking sheets and line the top with aluminum foil. Set aside. Remove the plastic wrap and press down on the risen dough to deflate it. Turn it out onto a lightly floured board so that the oiled side of the dough is now facing up. Press and stretch the dough into a rough 6-inch square.
5. Fold the top corners of the dough diagonally into the center of the square and press gently to seal. Stretch the upper third of the dough away from you and then fold it into the center, pressing down on the seam to gently seal it.
6. Now stretch and fold the dough in half toward you to roughly form an 8x4-inch loaf and pinch the seam closed. Roll the dough over so that the seam is on the bottom and carefully transfer the loaf to the prepared pans. If it looses it shape a bit during the transfer, nudge it back into place—you’re going for a torpedo shape. Cover loosely with a lightly greased piece of plastic and let the dough rise for about another hour until it has increased its size by half and doesn’t spring back much when you poke it gently with your knuckle.
7. Make sure rack is centered in the oven and preheat to 450ºF. Use a sharp paring knife to make one ½-inch deep slash down the center of the loaf, stopping about ½-inch from the ends. Don’t saw back and forth—just make one decisive slash. Gently brush the loaf all over with the egg wash and bake it for 15 minutes.
8. Lower the temperature to 375ºF and bake for 15 more minutes, then turn the pan around and continue to bake for another 15 minutes or so, until the loaf is dark brown on top and an oven thermometer registers between 205-210 when you insert it into the center of the loaf. Transfer the loaf to a wire rack and let cool completely, anywhere from 3-4 hours if you can stand it! Slice with a serrated bread knife and serve.
Enjoy!
Note: Recipe adapted from Bread Illustrated by America’s Test Kitchen. I tried to simplify the directions a bit. The recipes in this book are great but I find the directions often confusing and overcomplicated.
***If you’re doing this by hand, instead of using the mixer, mix the dry and wet ingredients together with a wooden spoon until no traces of flour can be seen. Than, flour your hands and turn out onto a floured board. Knead the dough by hand until no longer sticky—you may have to add a little more flour along the way and this will probably take you at least 10-12 minutes but will give you great arm muscles!! Then just proceed with the recipe starting in Step 2, placing the dough into a lightly greased bowl and allowing it to rise.