Spaghetti Squash and Parmesan Quiche

I generally try to share recipes, especially the non-dessert kind, that don’t involve too much effort or time because let’s face it, who really has the luxury or desire to spend hours on dinner? But every so often, a dish comes along that requires a bunch of steps and quite a bit of effort, but is so rewarding in the end that the extra effort is entirely worth it. So it is in that spirit that I present to you this truly wonderful, but kinda time consuming, Spaghetti Squash and Parmesan Quiche. If you’re up for it, you and everyone lucky enough to taste it, is going to love it!!
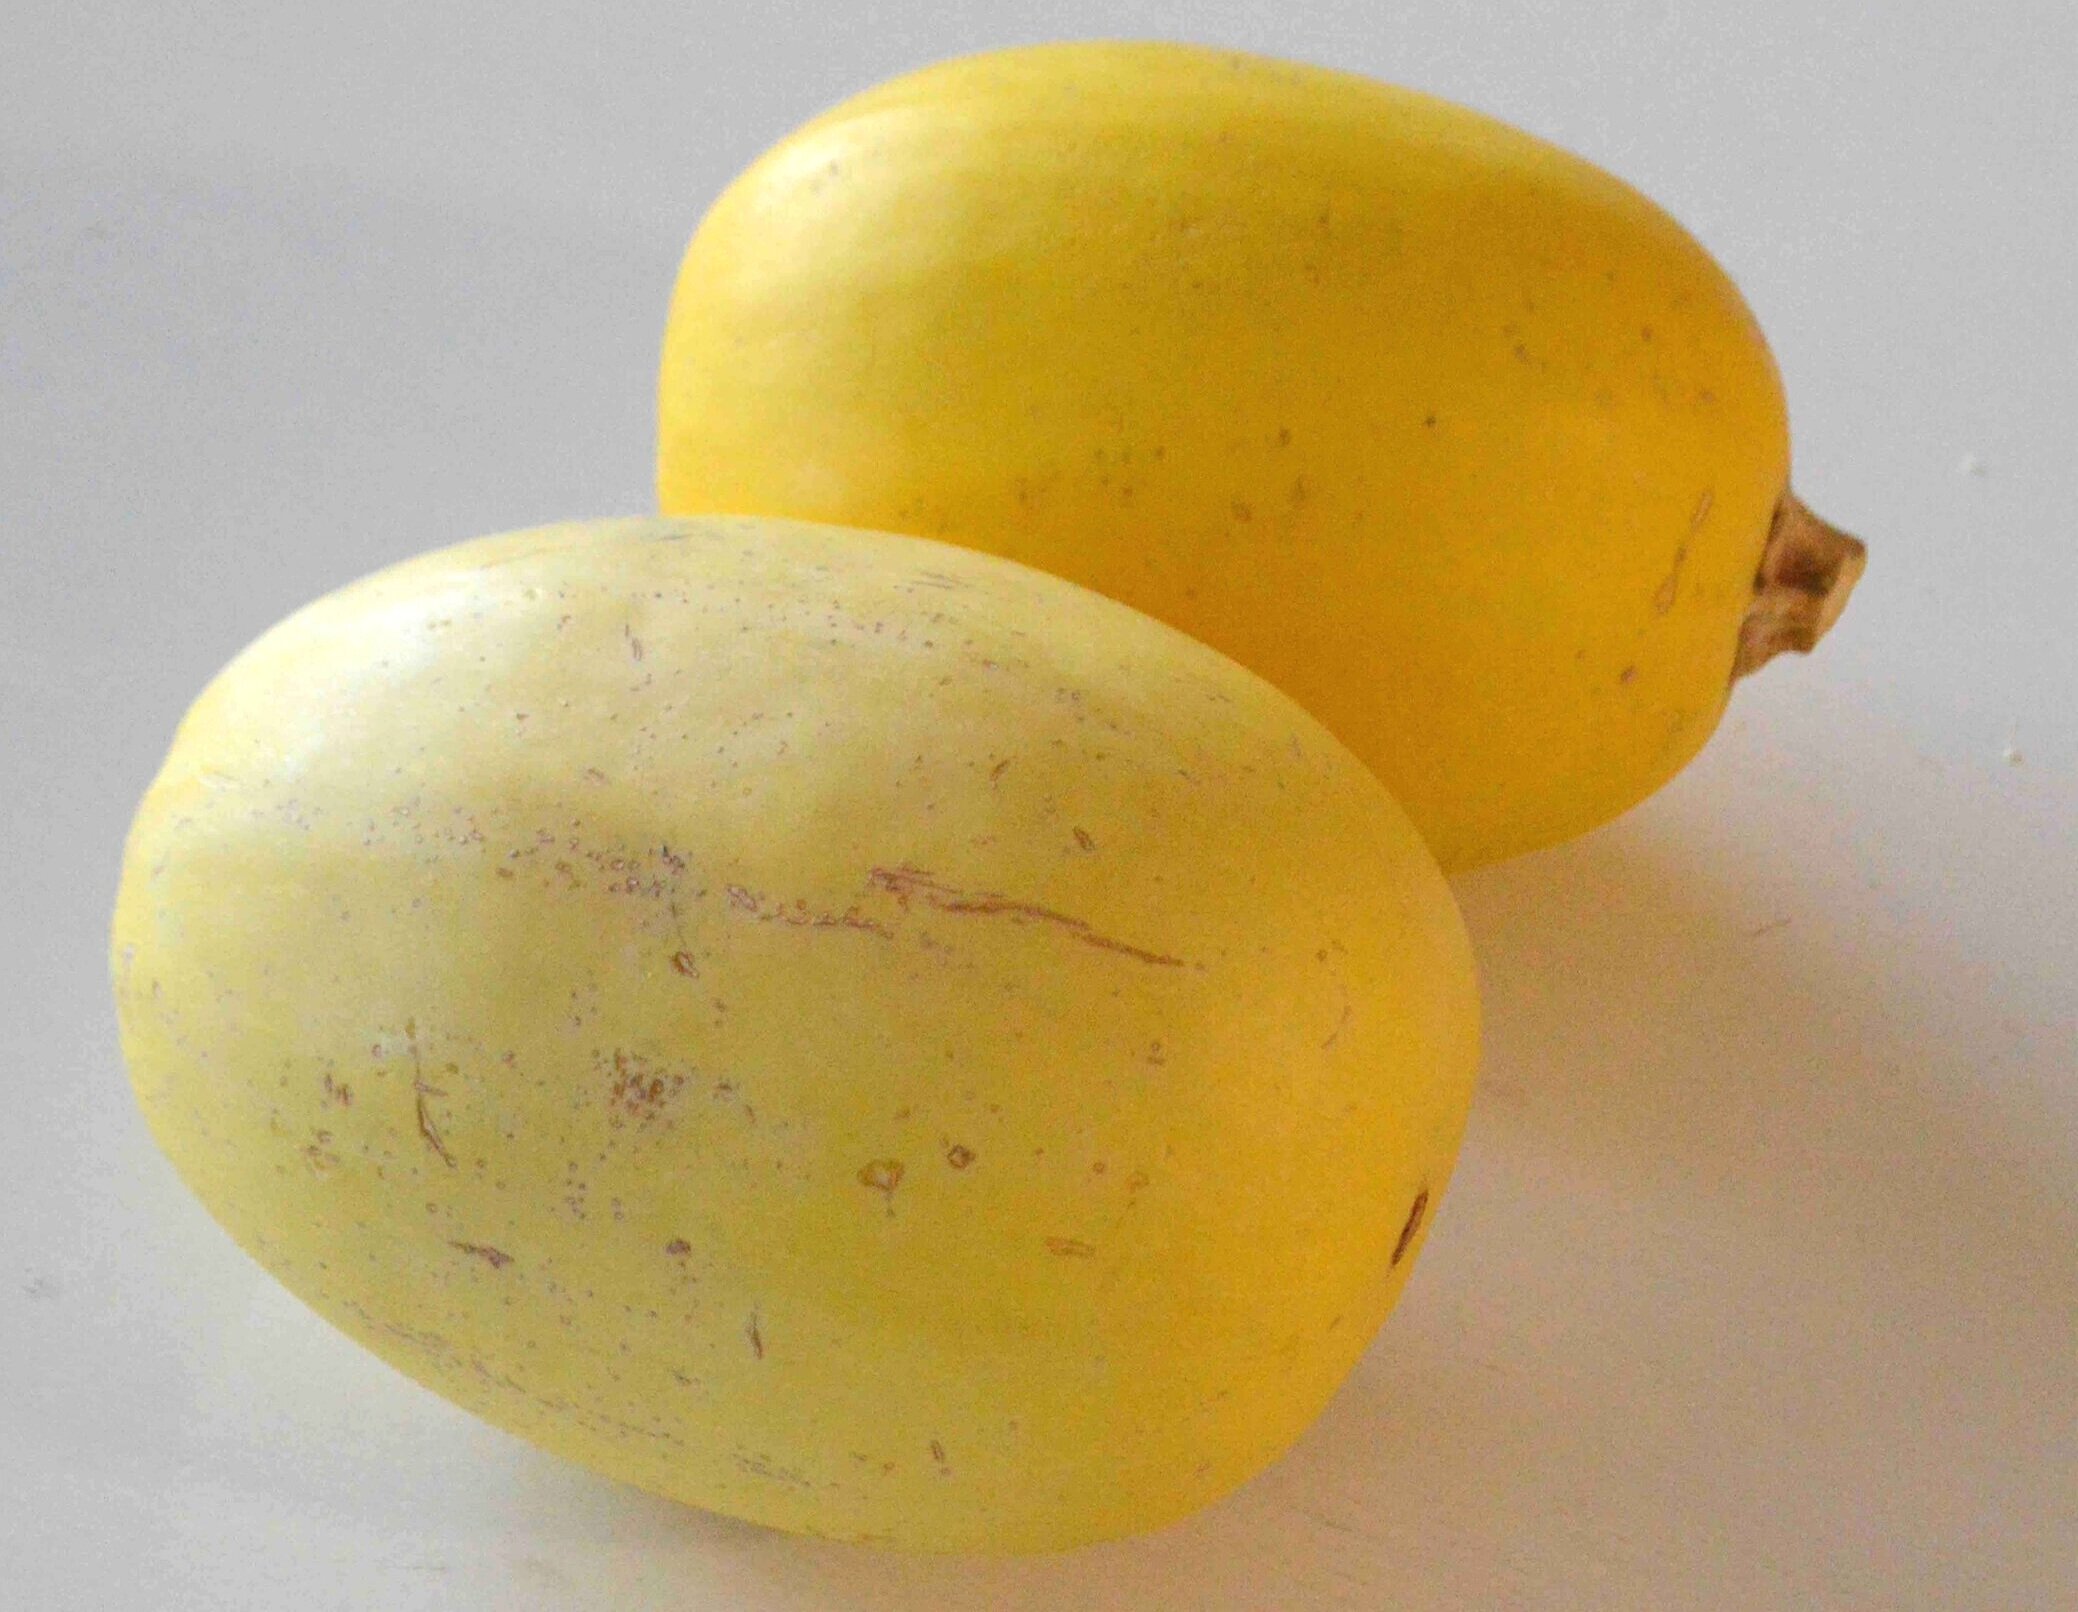
But before we get to the steps, let’s have a chat about spaghetti squash, shall we? It’s totally in season now and so good! And I would never have thought to put it into a quiche, but it works really well. Adds so much flavor and texture!

Now, back to what you have to do to put this gorgeous vegetarian masterpiece together!
You’re going to be making a homemade all-butter pie crust. And yes, you could buy it readymade but I promise you it’l never taste as good and since you’re already putting in the extra time for this, why not whip up your own? It only takes a few minutes to come together in the food processor, a few hours to chill and then get rolled out into a tart pan with a removable bottom and pre-baked.


Okey-dokey, step 1 down. Now we move onto the squash which does have to be cut, seeded and baked, but while it’s baking, you are left with about 45 minutes of hands-free happiness!

Gotta love those “spaghetti” strands!!

And now we’re on to the filling. See that wasn’t so bad! And what a tasty mix it is! There are sautéed onions and mushrooms, along with the spaghetti squash and a generous amount of freshly grated Parmesan. Yum!

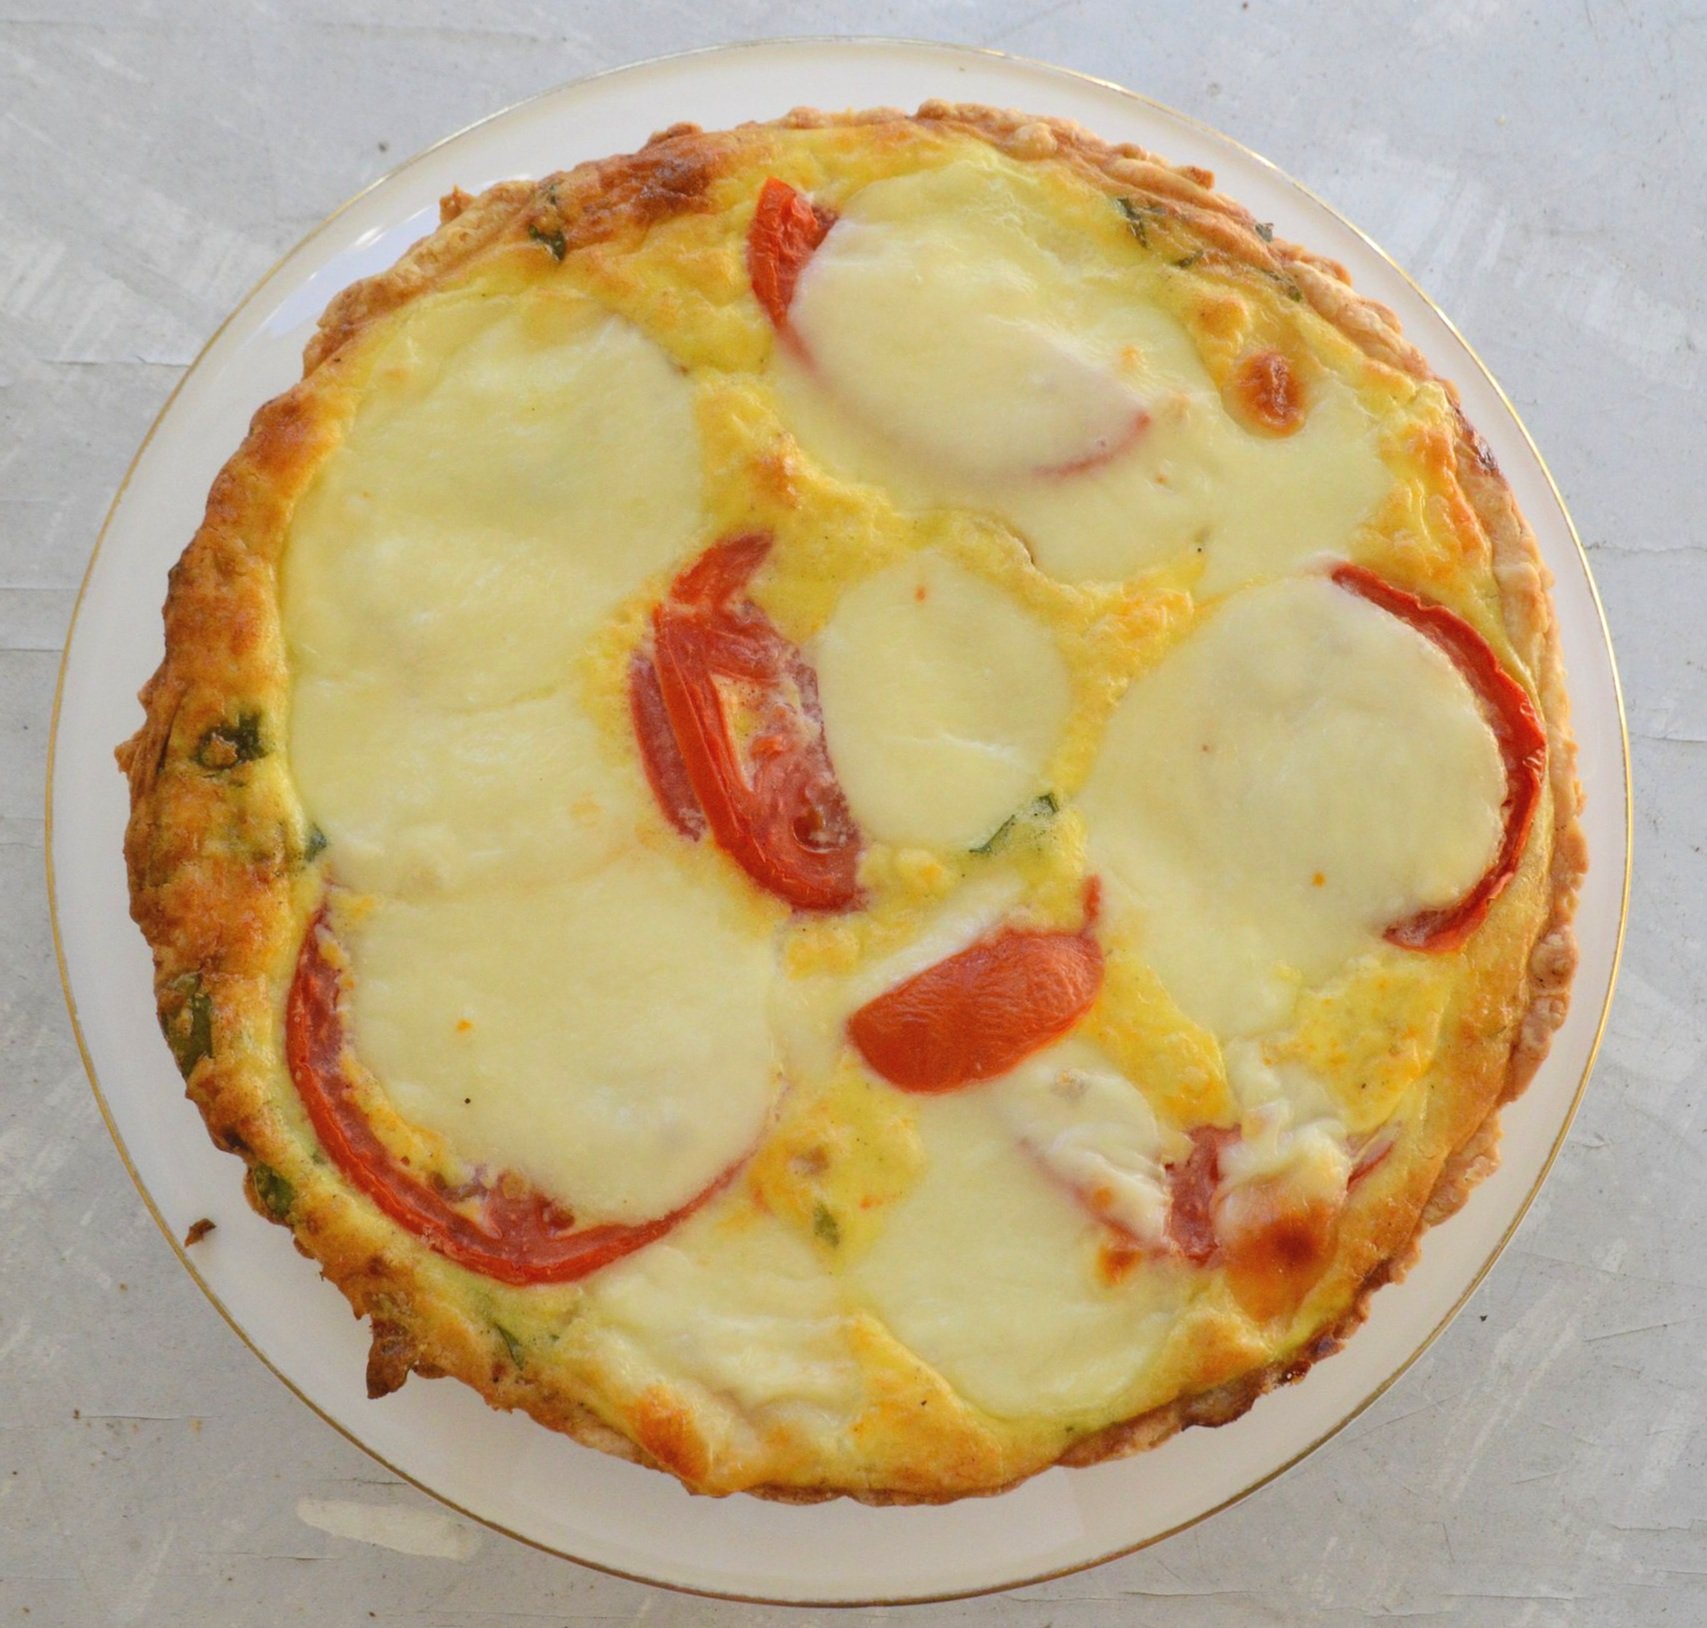
And just like that we’re ready to put it all together. After you fill the shell with the veggies, you pour on the eggy custard mixture, top with grated Cheddar—


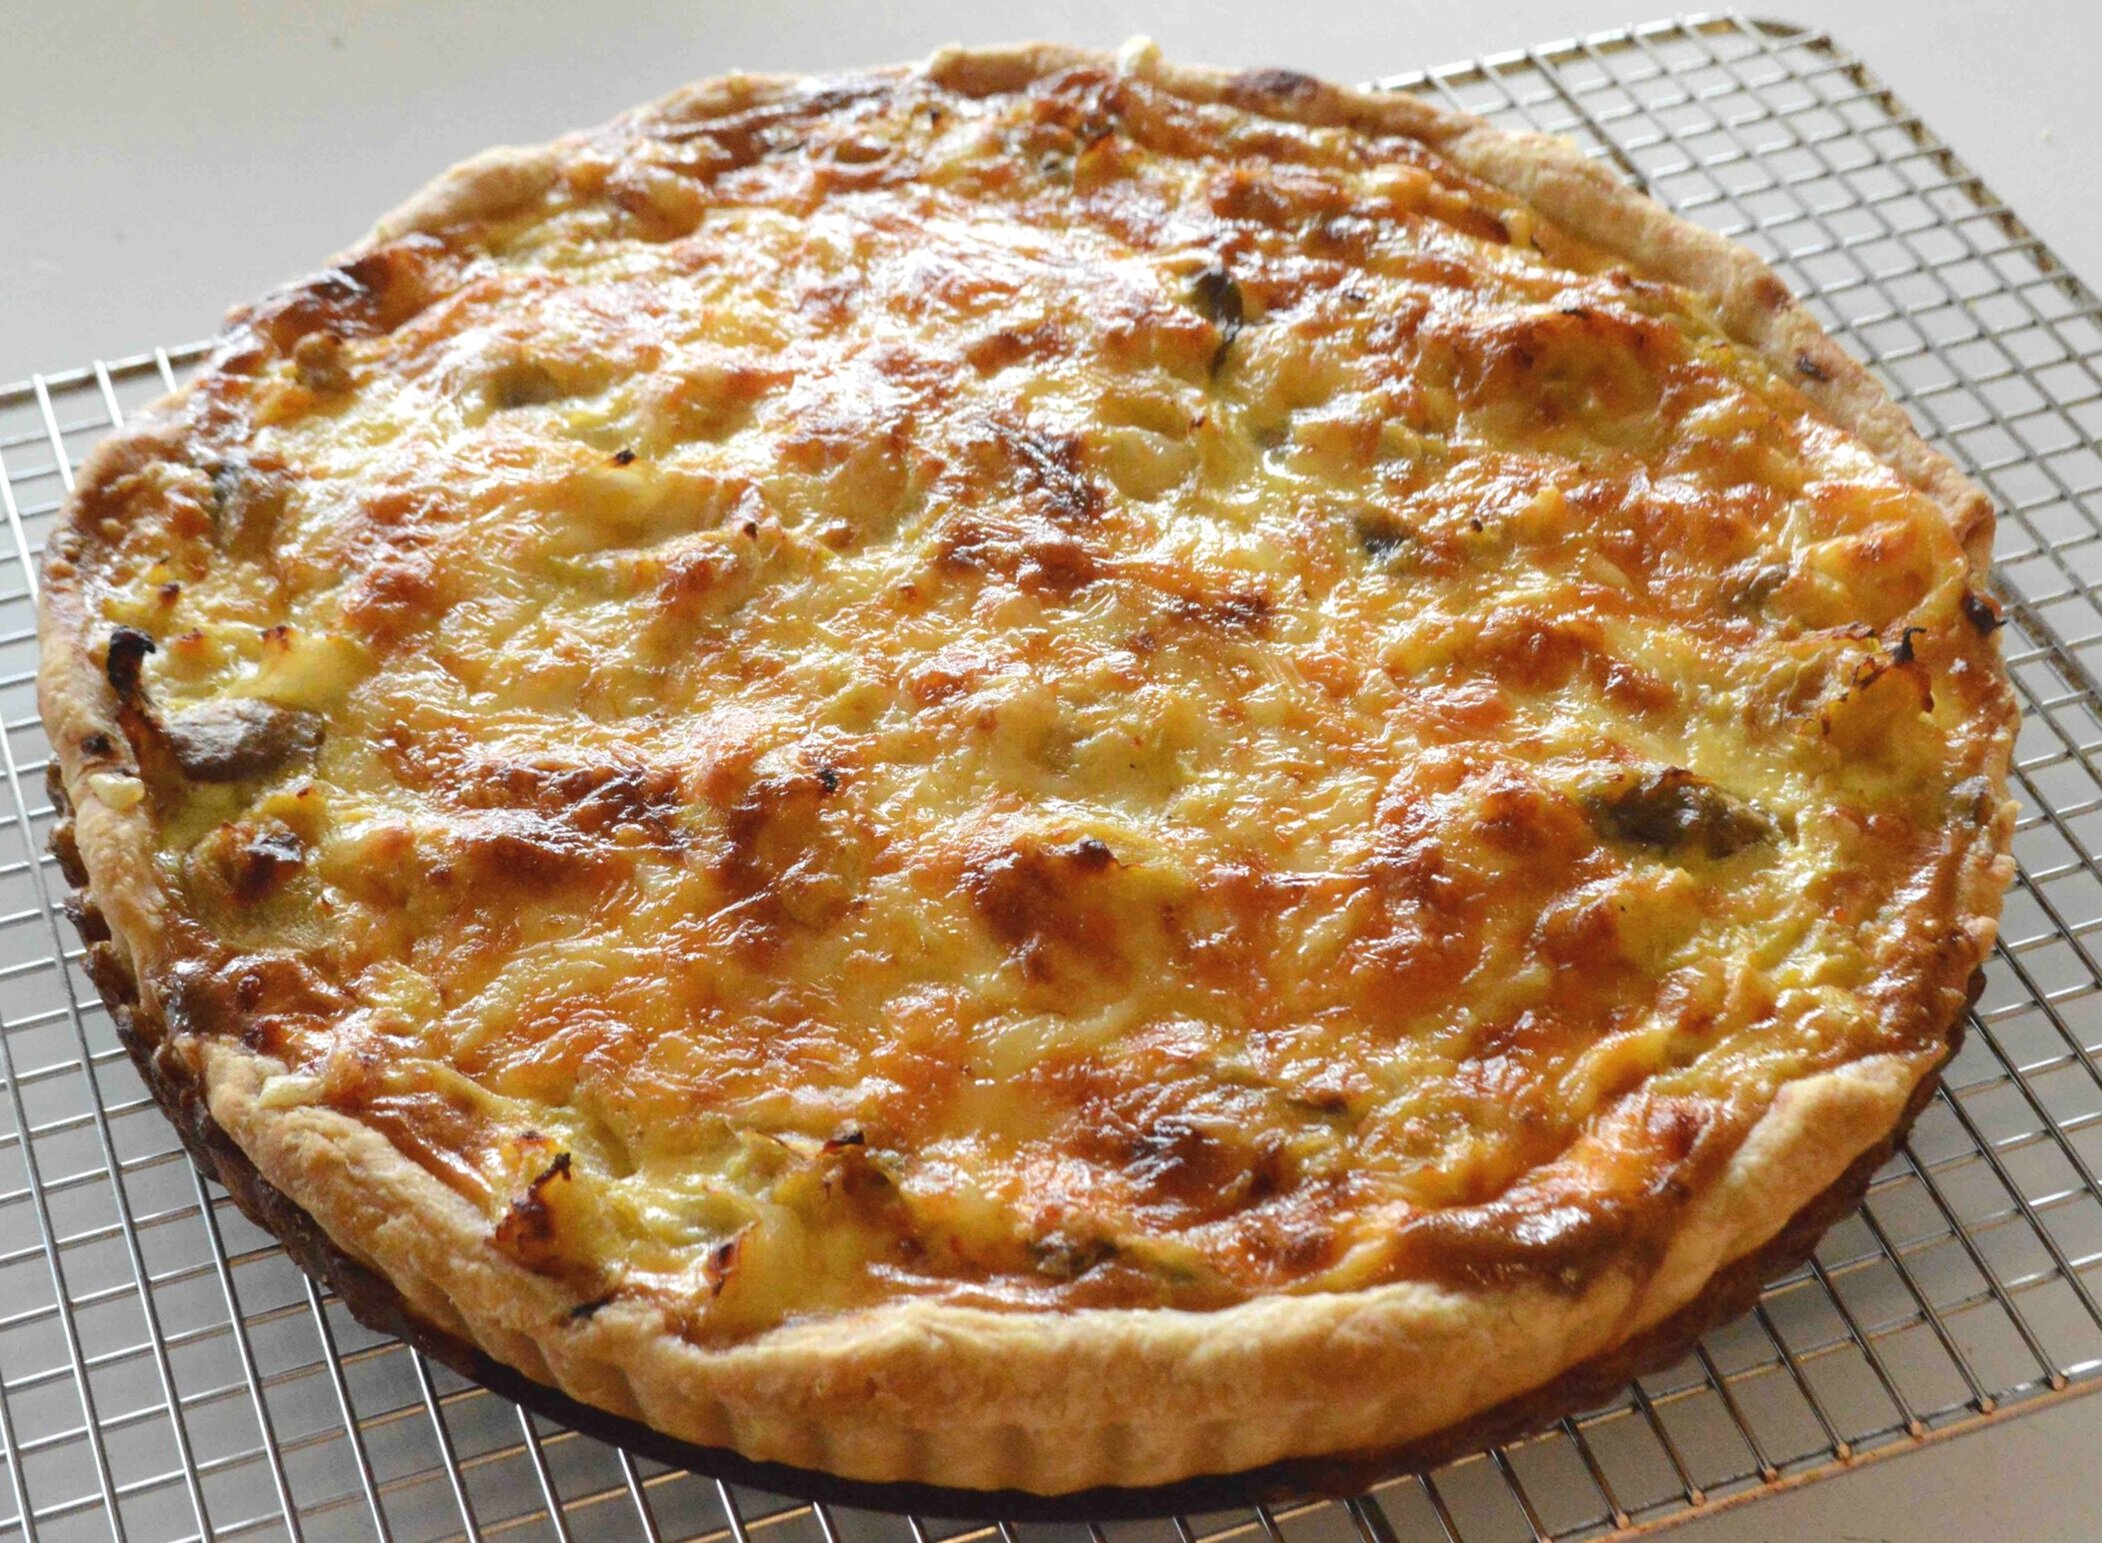
And bake until everything is golden and gooey and delish!

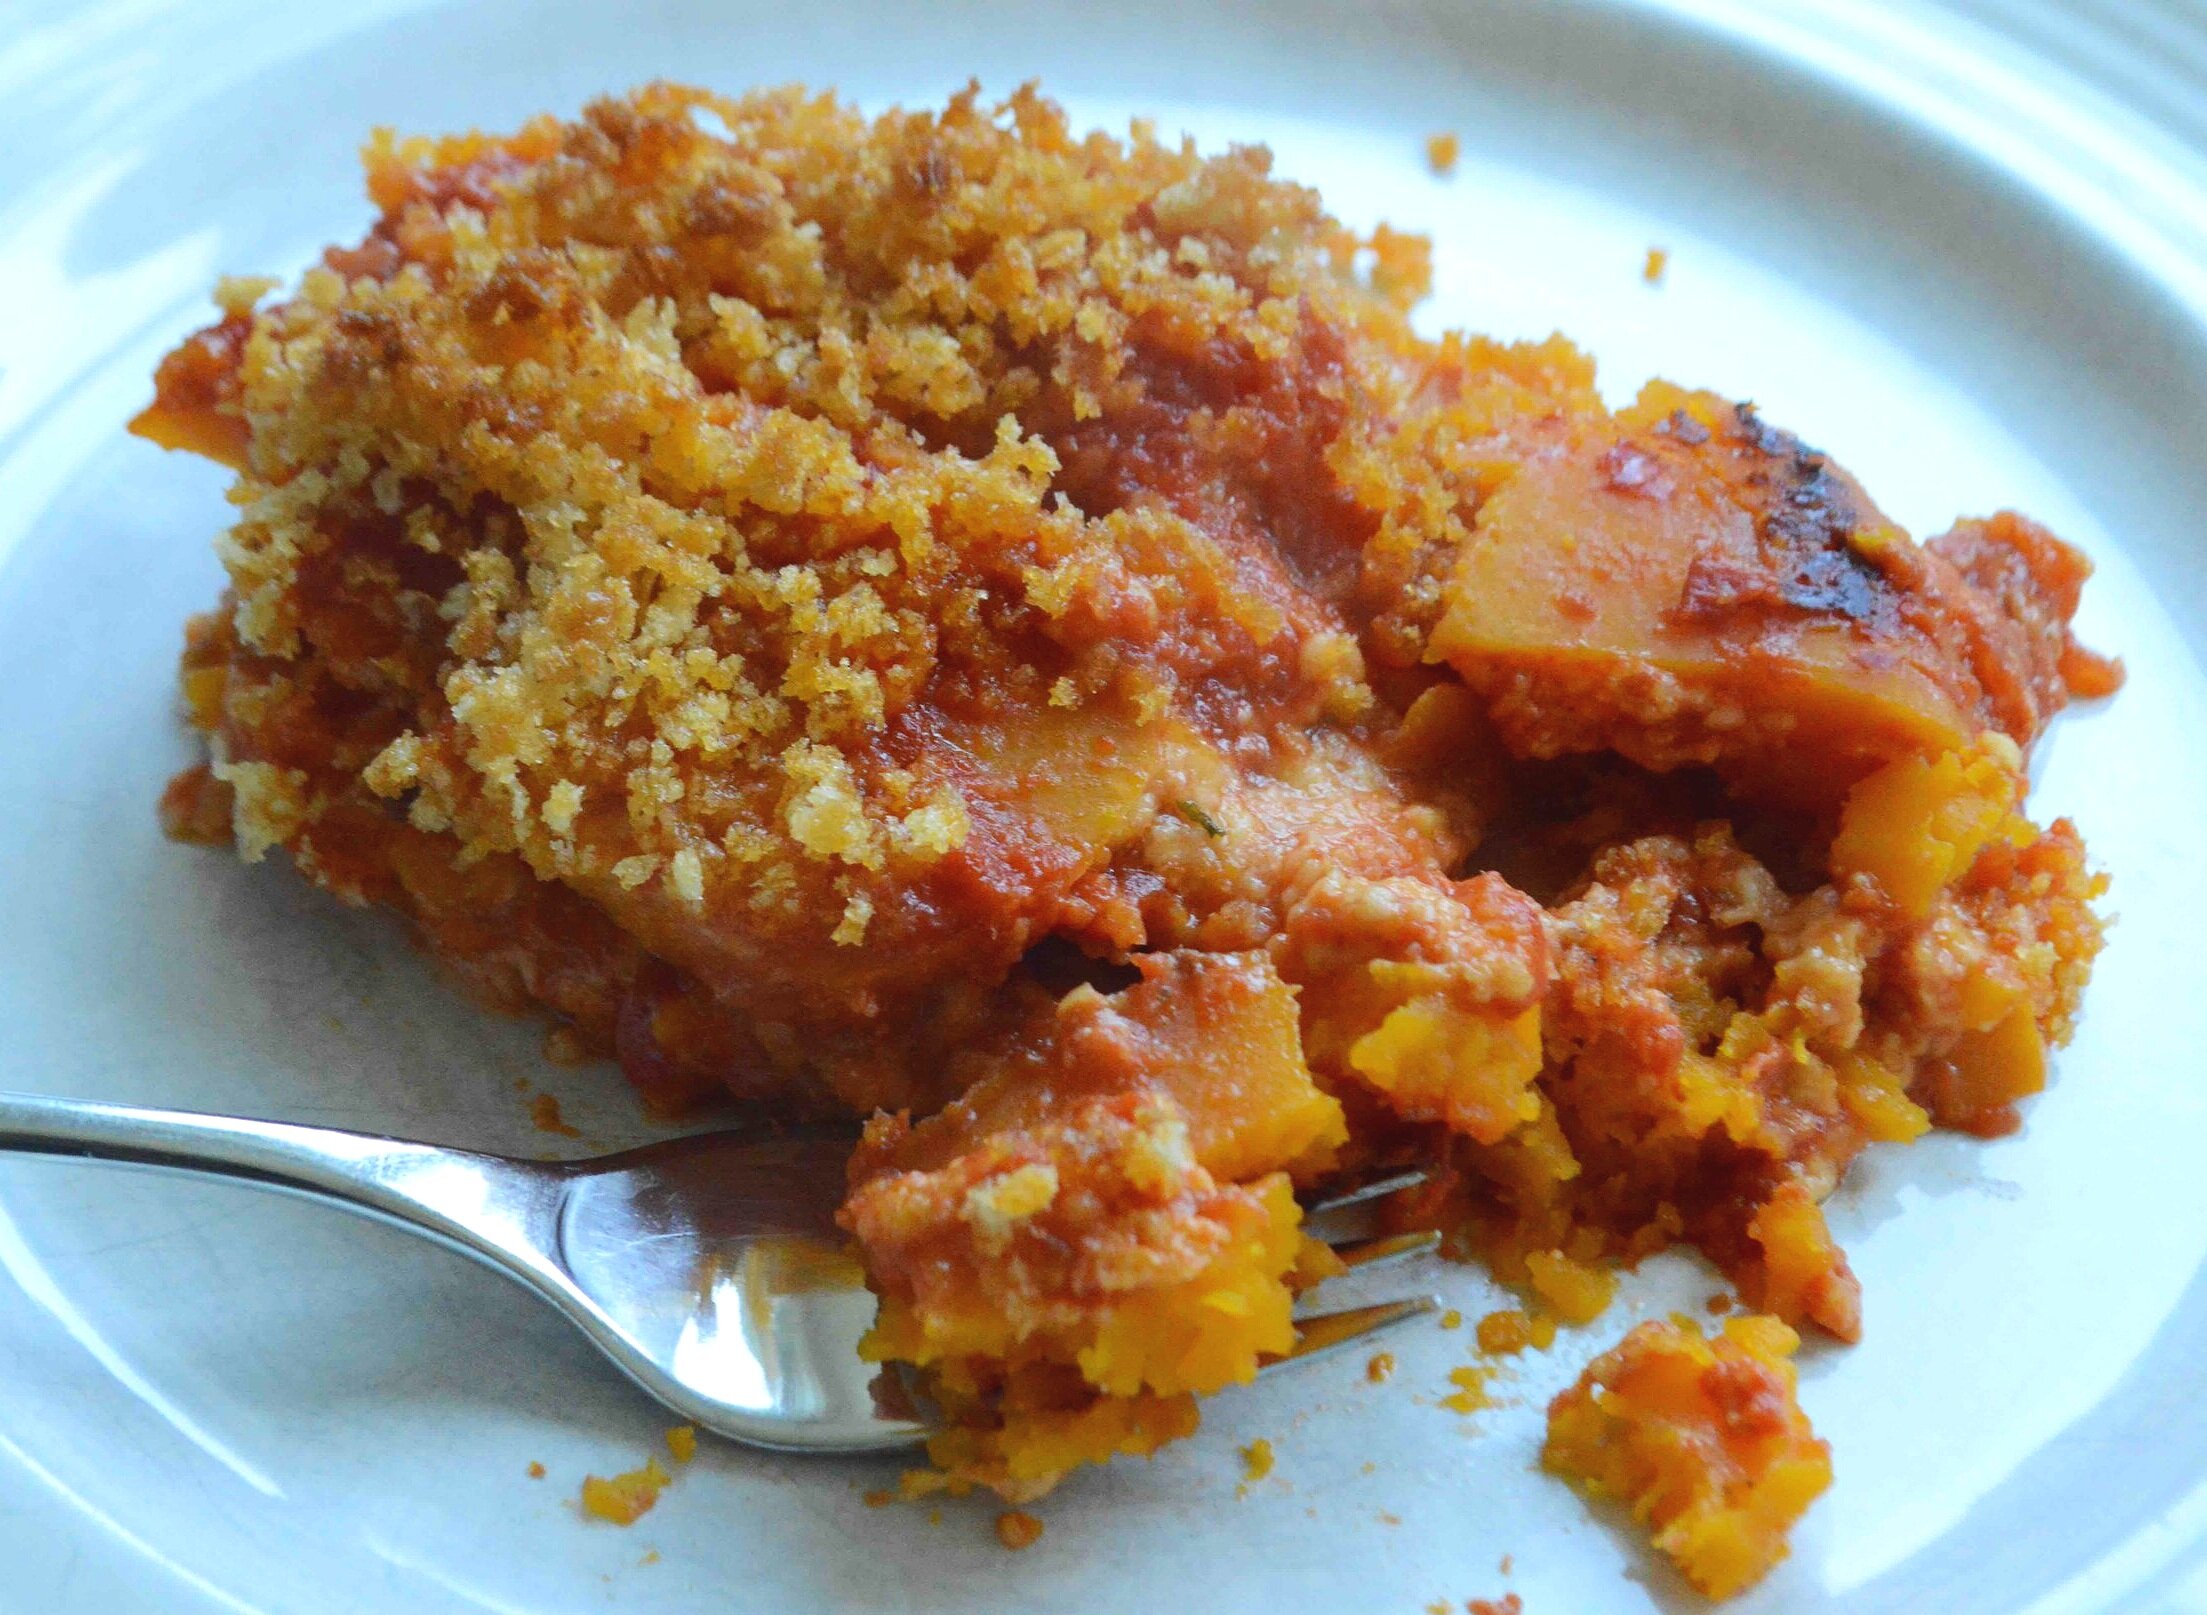
Every bite is full of flaky pastry, savory veggies and that eggy/cheesiness that makes quiches so special!

On second thought maybe this wasn’t as hard as I thought. Pick a time when you can fit this into your schedule and splurge! I guarantee you won’t regret it!! And tomorrow night, bring in a pizza!😘

Spaghetti Squash and Parmesan Quiche
Makes one 9 or 10-inch quiche
Prep Time for dough: 10 minutes, plus several hours of chilling and ideally, overnight. Assembly: 15 minutes; Bake Time: 20-30 minutes; Prep Time for squash: About 1 hour, plus another 20-30 minutes to drain squash (you can do this the day before); Prep Time for filling: 15 minutes; Bake Time for quiche: 45 minutes-1 hour
Ingredients
For the crust
1 ½ cups unbleached, all-purpose flour, plus extra for rolling out
1 ½ teaspoons sugar
½ teaspoon salt
8 tablespoons (½ cup) unsalted butter, cut into small cubes and chilled
⅓ cup cold water
1 teaspoon cider vinegar
Ice Cubes
For the squash
1 spaghetti squash, cut lengthwise, seeds scooped out
Olive oil
For the filling
3 tablespoons unsalted butter
1 yellow onion, diced
1 pound mushrooms, cleaned and thinly sliced
2 garlic cloves, minced
2 ½ cups baked spaghetti squash
⅔ cup freshly grated Parmesan cheese
Salt and black pepper
3 large eggs
1 cup whole milk
⅓ cup heavy cream
1 tablespoon unbleached, all-purpose flour
1 teaspoon Dijon mustard
⅔ cup freshly grated Cheddar or any cheese you prefer
The Recipe
1. To make the crust: add the flour, sugar and salt to the bowl of a food processor and pulse a few times to blend. Add in the chilled butter and pulse a few times until the butter has become the size of small peas.
2. Into the ⅓ cup cold water, add the vinegar and stir. Then add enough ice cubes to raise the level to ½ cup. Add 2 tablespoons of the mixture to the flour mixture and pulse a few times to incorporate it. It will look very crumbly. Then add 1 more tablespoon and pulse again a few times. You should see the mixture start to come together in a shaggy way with lots of crumbly bits. If you absolutely think you need to, add one more tablespoon of water. I never need to—it’s better for your dough to be too dry than too wet.
3. Turn the crumbly dough out onto a very lightly floured surface and gather it all into a ball. Make sure to scrape out the bowl of the processor—sometimes some of the wet parts of the dough get a little stuck and form the whole thing into a ball. Then flatten into a disk, wrap well in plastic wrap and chill for several hours and even better, overnight.
4. When you are ready to roll out the dough, flour a board or counter with a little flour and flour your rolling pin too. If the dough is very stiff (mine usually is) let it sit out on the counter for about 20 minutes till it seems pliable. Roll out the dough, rolling from the center out and to a corner, then lifting the dough off the surface of the board and giving it a little ¼ turn and rolling again, repeating the process until you’re rolled the dough out into a circle that’s a couple of inches wider in diameter than the tart pan.
5. Fold the dough in half and transfer to a 9 or 10-inch tart pan with a removable bottom, unrolling it and then carefully easing it down onto the bottom and sides. Fold the overhang over and press it against the sides to renenforce them and help increase their height.
6. Place the tart pan in the freezer for 30 minutes.
7. Meanwhile preheat your oven to 350ºF. When the 30 minutes are up, line the shell with a piece of aluminum foil and either pie weights or beans. If any of the edges stick out, cut little pieces of foil to fit over them. Bake about 20 minutes and then remove the foil and weights. Bake for another 6-8 minutes. Transfer to a wire rack to cool.
8. To make the squash: Preheat oven to 375ºF and place the cut halves cut side up on a rimmed baking sheet. Brush the insides and top of the squash with a little olive oil and roast for about 1 hour or until a fork can easily go through the squash. Place a colander in the sink. Leave the oven on
9. Remove the squash from the oven and when it’s cool enough to handle, use a fork to scoop out all of the “spaghetti” strands and transfer them to the colander. Let drain a little. This will help to keep the quiche from getting soggy. Also, you can definitely make the squash early in the day and have it all ready to go or even the day before and keep in an airtight container in the fridge. If you do make it ahead, just take it out about an hour before you’re ready to use it.
10. To make the filling: add the 3 tablespoons butter to a large skillet and heat over medium heat. When it’s sizzling add in the onions and sauté for about 5 minutes, until they are somewhat softened. Lower the heat and add the garlic and mushrooms. Give it a big stir and cover the pan. Let cook for a couple of minutes. Now use a couple of forks to add in the cooked spaghetti squash, breaking it up as you go so the strands separate. Let cook a minute or two and then remove from the heat and let cool for 5 minutes. Stir in the Parmesan and a pinch or two of salt and pepper.
11. While the squash mixture is cooling, whisk the eggs well in a large bowl. Then whisk in the milk, cream, flour and mustard.
12. Spread the slightly cooled squash mixture evenly across the bottom of the cooled pie shell but don’t press it down too hard. Slowly pour the egg mixture over the squash, moving the squash around a little if needed so that the egg mixture settles all around it. Sprinkle the grated cheddar evenly across the top.
13. Place the pie plate on a large rimmed baking sheet (to catch any drips) and bake for about 45 minutes until the quiche looks slightly puffy, golden brown and wobbles a little when you shake the pan. Transfer to a cooling rack and let cool slightly before cutting to allow for neater slices. Alternatively you can bring the whole thing to room temperature and serve it that way. It’s pretty wonderful either way!
Enjoy!
Note: Crust recipe adapted from Baker’s Royale by Naomi Robinson. Quiche recipe adapted The Harvest Baker by Ken Haedrich. I tinkered with spices and proportions and tried to simplify some of the techniques too.