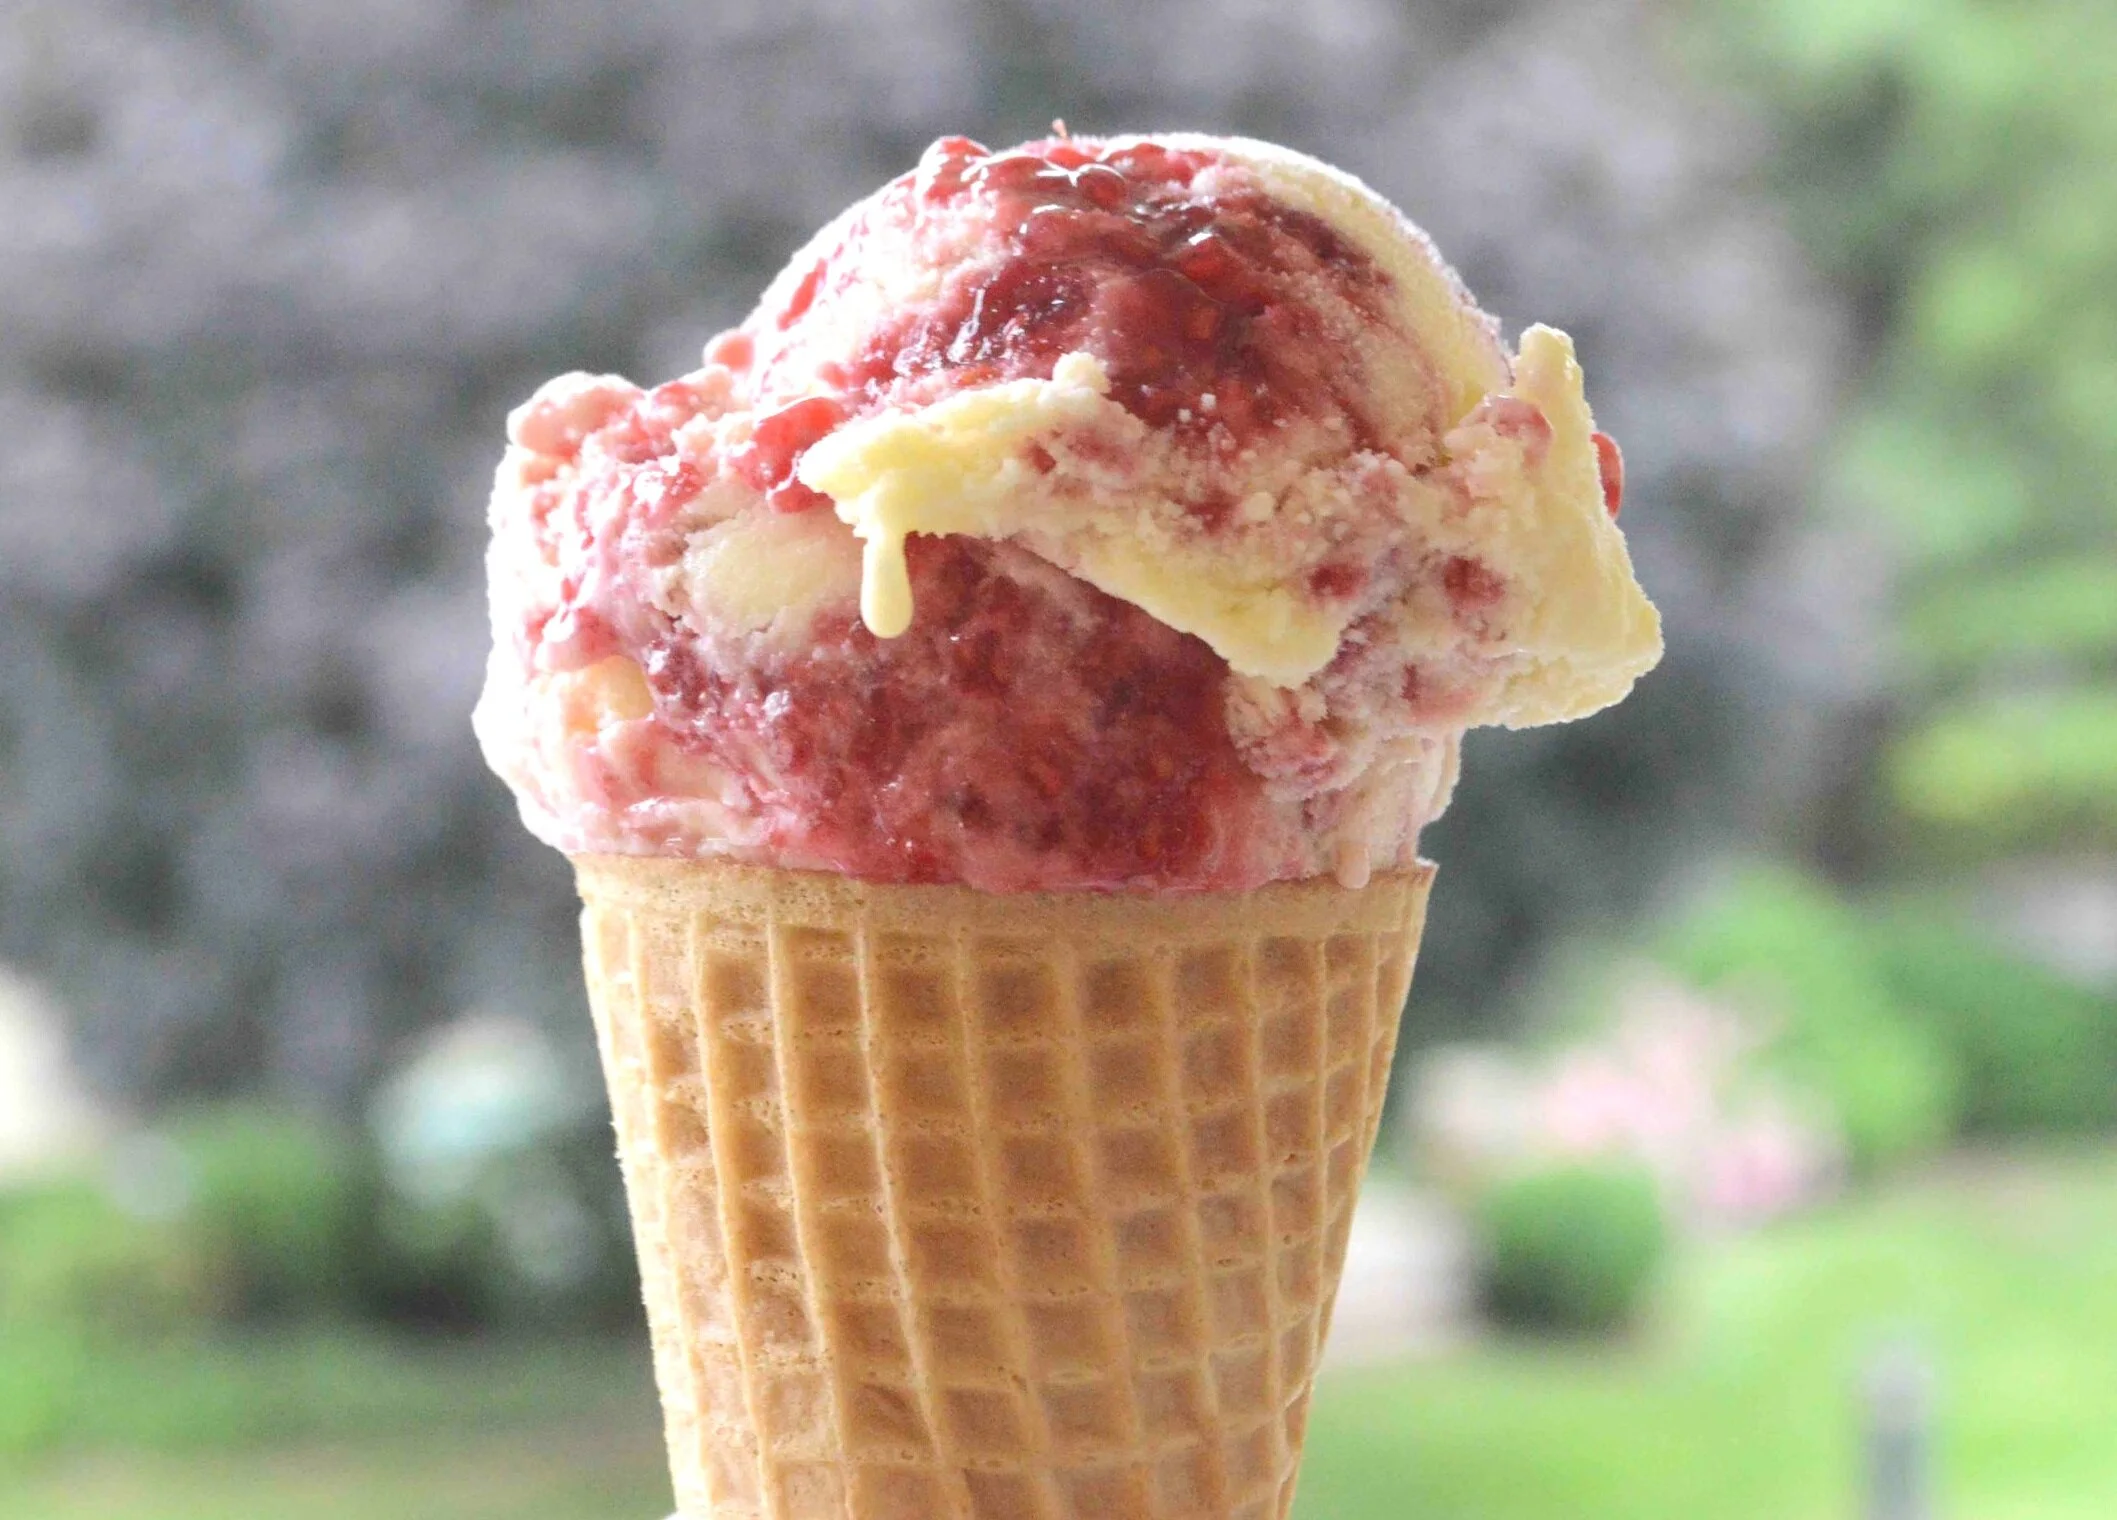
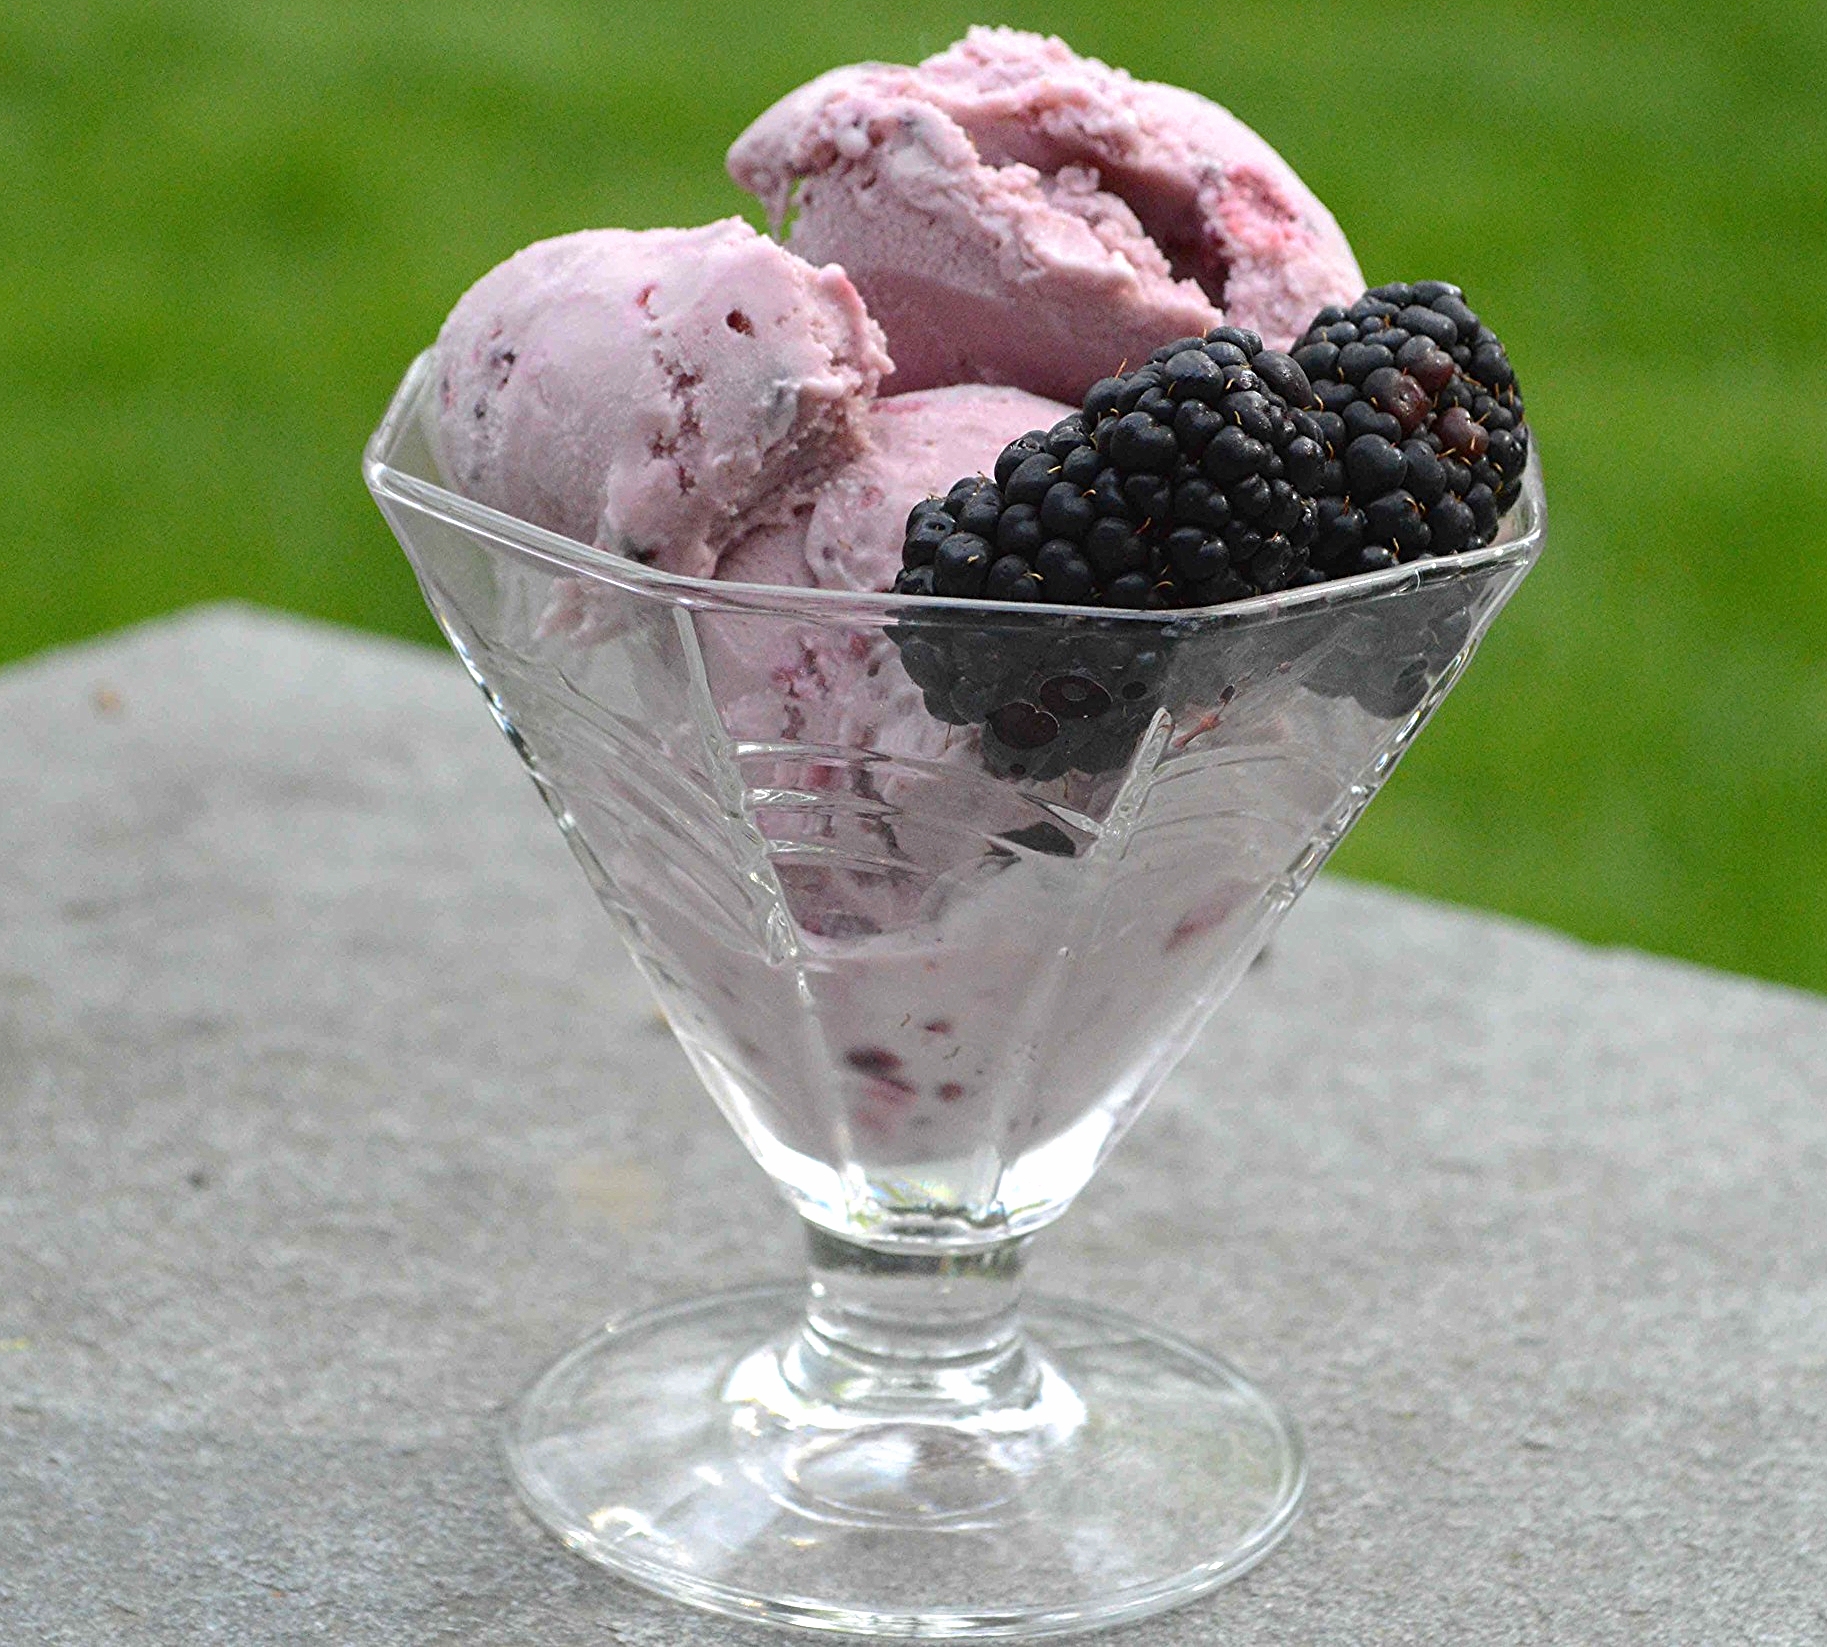
Raspberry Ripple Gelato

It’s time to start screaming again! Not about the state of the world, but by all means, do so if you think it’ll make you feel better. No, today we’re screaming for something much happier and less controversial. Guys, it’s National Ice Cream Day this coming Sunday so let’s all lift up our voices for that and this incredibly gorgeous looking and tasting Raspberry Ripple Gelato (a much less stressful use of those vocal chords!!)
I love, love, love the clean natural flavor of homemade ice cream—there’s just no store-bought brand that comes close and it’s super easy to make too. For years, I’ve coaxed you to purchase an electric machine that enables you to churn your creations at home and I really hope that those of you who’ve been around here a while have listened to my rant and taken the plunge (if you’re new, read this). If you have, then I urge you to whip up a batch of this delightful fruity concoction asap! If you haven’t, nag that I am, go out and get one RIGHT NOW!!!!
Especially while raspberries are so lovely! I promise you, you won’t regret the years of frozen confection happiness!!
The vanilla gelato we’re using as the base here strikes just the right balance between creaminess and iciness, serving as the perfect backdrop to all the sweet/tart jammy-like raspberry ripple! Yum!
It’s summer in every spoonful!
Have a wonderful ice screaming weekend!!
Raspberry Ripple Gelato
Makes about 1 quart
You will need an electric ice cream maker for this.
Prep Time for Gelato: 15 minutes, plus chilling time and churning time: Prep Time for Raspberry Sauce: 15-20 minutes
Ingredients
For the gelato
2 cups whole milk
¾ cup sugar, divided
4 large egg yolks
1 cup heavy cream
½ teaspoon vanilla extract
For the raspberry sauce
8 ounces fresh raspberries, washed and dried
2 tablespoons freshly squeezed lemon juice
¾ cup plus 2 tablespoons sugar
¼ teaspoon kosher salt
The Recipe
1. For the gelato: Place the milk and ½ cup of the sugar in a medium, heavyweight saucepan and stir well to combine. Heat over medium heat and cook, stirring every now and then, until the milk is warm, about 170ºF when you test it with a candy thermometer.
2. Meanwhile, whisk the eggs in a medium bowl with the remaining ¼ cup sugar until thickened and pale yellow. Pour the heavy cream into a larger bowl. Fill and even larger bowl with a little water and ice and place the bowl with the heavy cream into it, so that it floats (you are making an ice bath). Set a fine-mesh strainer over that.
3. When the milk mixture is ready, slowly whisk about ½ of it into the egg mixture, whisking constantly, then scrape the whole egg mixture back into the hot milk and return to the stove to cook over medium-low heat, stirring with a heatproof rubber spoon or spatula constantly, until the mixture thickens enough to coat the back of the spoon and reaches about 185ºF. Do not let it boil.
4. Pour the mixture through the sieve into the heavy cream and stir in the vanilla. Let the mixture cool and when it reaches room temperature, cover and chill the bowl or transfer to an airtight container and let the mixture chill for about 8 hours or overnight.
5. When ready to churn, pour the chilled custard into the bowl of the ice cream maker and process according to the manufacturer’s directions.
6. To make the raspberry sauce: Place the berries, lemon juice, sugar and salt in a large medium heavyweight saucepan and mash up the fruit with a potato masher or fork until the berries start releasing all their juices. Place the pan over medium heat and bring the mixture to a boil, stirring and scraping the bottom of the pan constantly with a heat-resistant spoon or spatula. Once the mixture boils, continue to cook until it starts to thicken up and reduces to about ½-¾ cup of liquid (you no longer have to stir constantly, just every so often but watch it carefully so it doesn’t scorch). This takes anywhere from 6-10 minutes. Remove the pan from the heat and scrape the mixture into a heat proof container. Bring to room temperature and chill in the fridge until the ice cream has been churned. You can definitely make this ahead of time if you like and store it in the fridge.
7. Once the gelato is done churning, layer it with the raspberry sauce in a freezer safe container and place in the freezer for a few hours to firm up. Scoop and serve!!
Enjoy!
Note: Gelato recipe adapted from here. Raspberry sauce adapted from Serious Eats.


