Homemade Oreos

When my middle guy was little, Oreos, particularly Double-Stuffed, were his favorite--literally he could eat a dozen at a time, so much so that at one point he asked me to stop buying them, because even he knew that it had gone overboard! But when I saw this recipe for Homemade Oreos, I just knew I had to make them and believe me, they did not disappoint...nor did they last long either!!

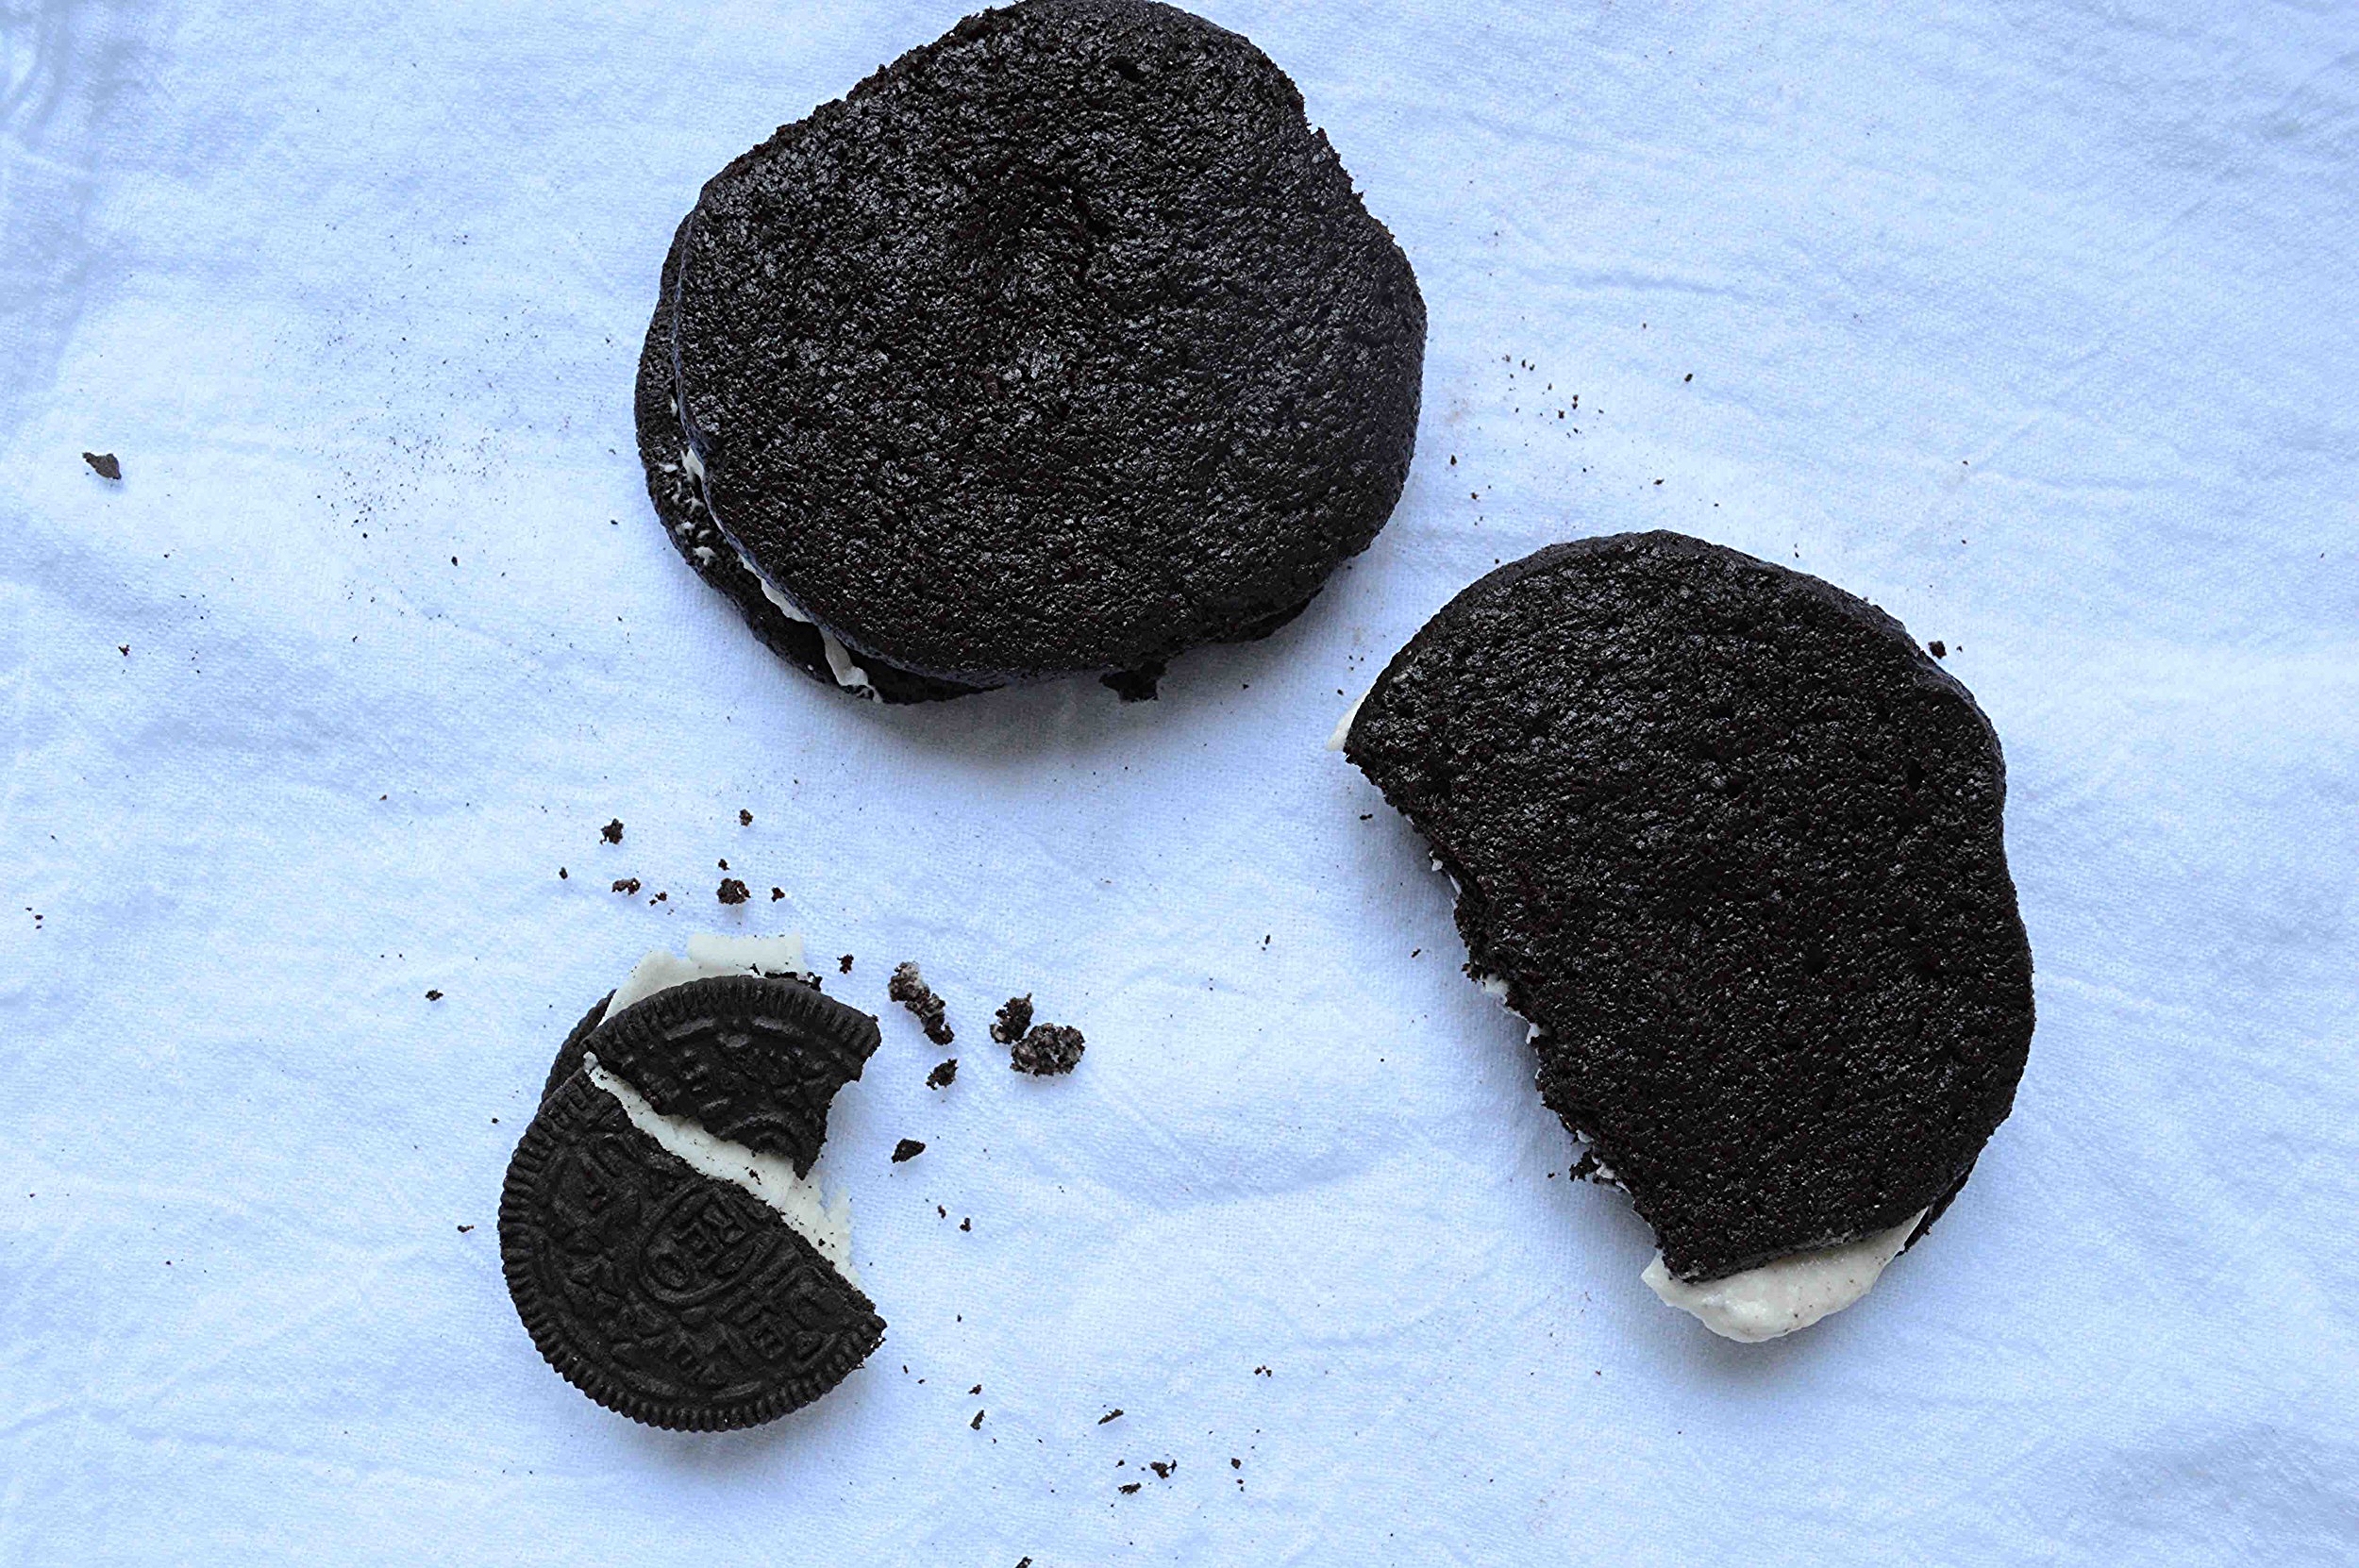
How do you eat your Oreos? Do you pull them apart and lick the cream filling off, then gobble the dark black disks down? Do you dunk them in milk? Or do you just bite into them, enjoying that singular combination of crunchy mildly chocolate cookie and sugary cream filling? Nowadays, you can get so many different kinds of Oreos--golden, chocolate cream filled, fudge covered, mint flavored, even lemon-filled--but in this house, we're partial to the classic.

These are richer and more intensely chocolate than the originals and the filling has a buttery, vanilla, not-overly-sweet flavor. These are not difficult to make, but you need time and I find it a lot easier to make the dough one day, chill it overnight and then bake and fill them the next day or even up to a week later.
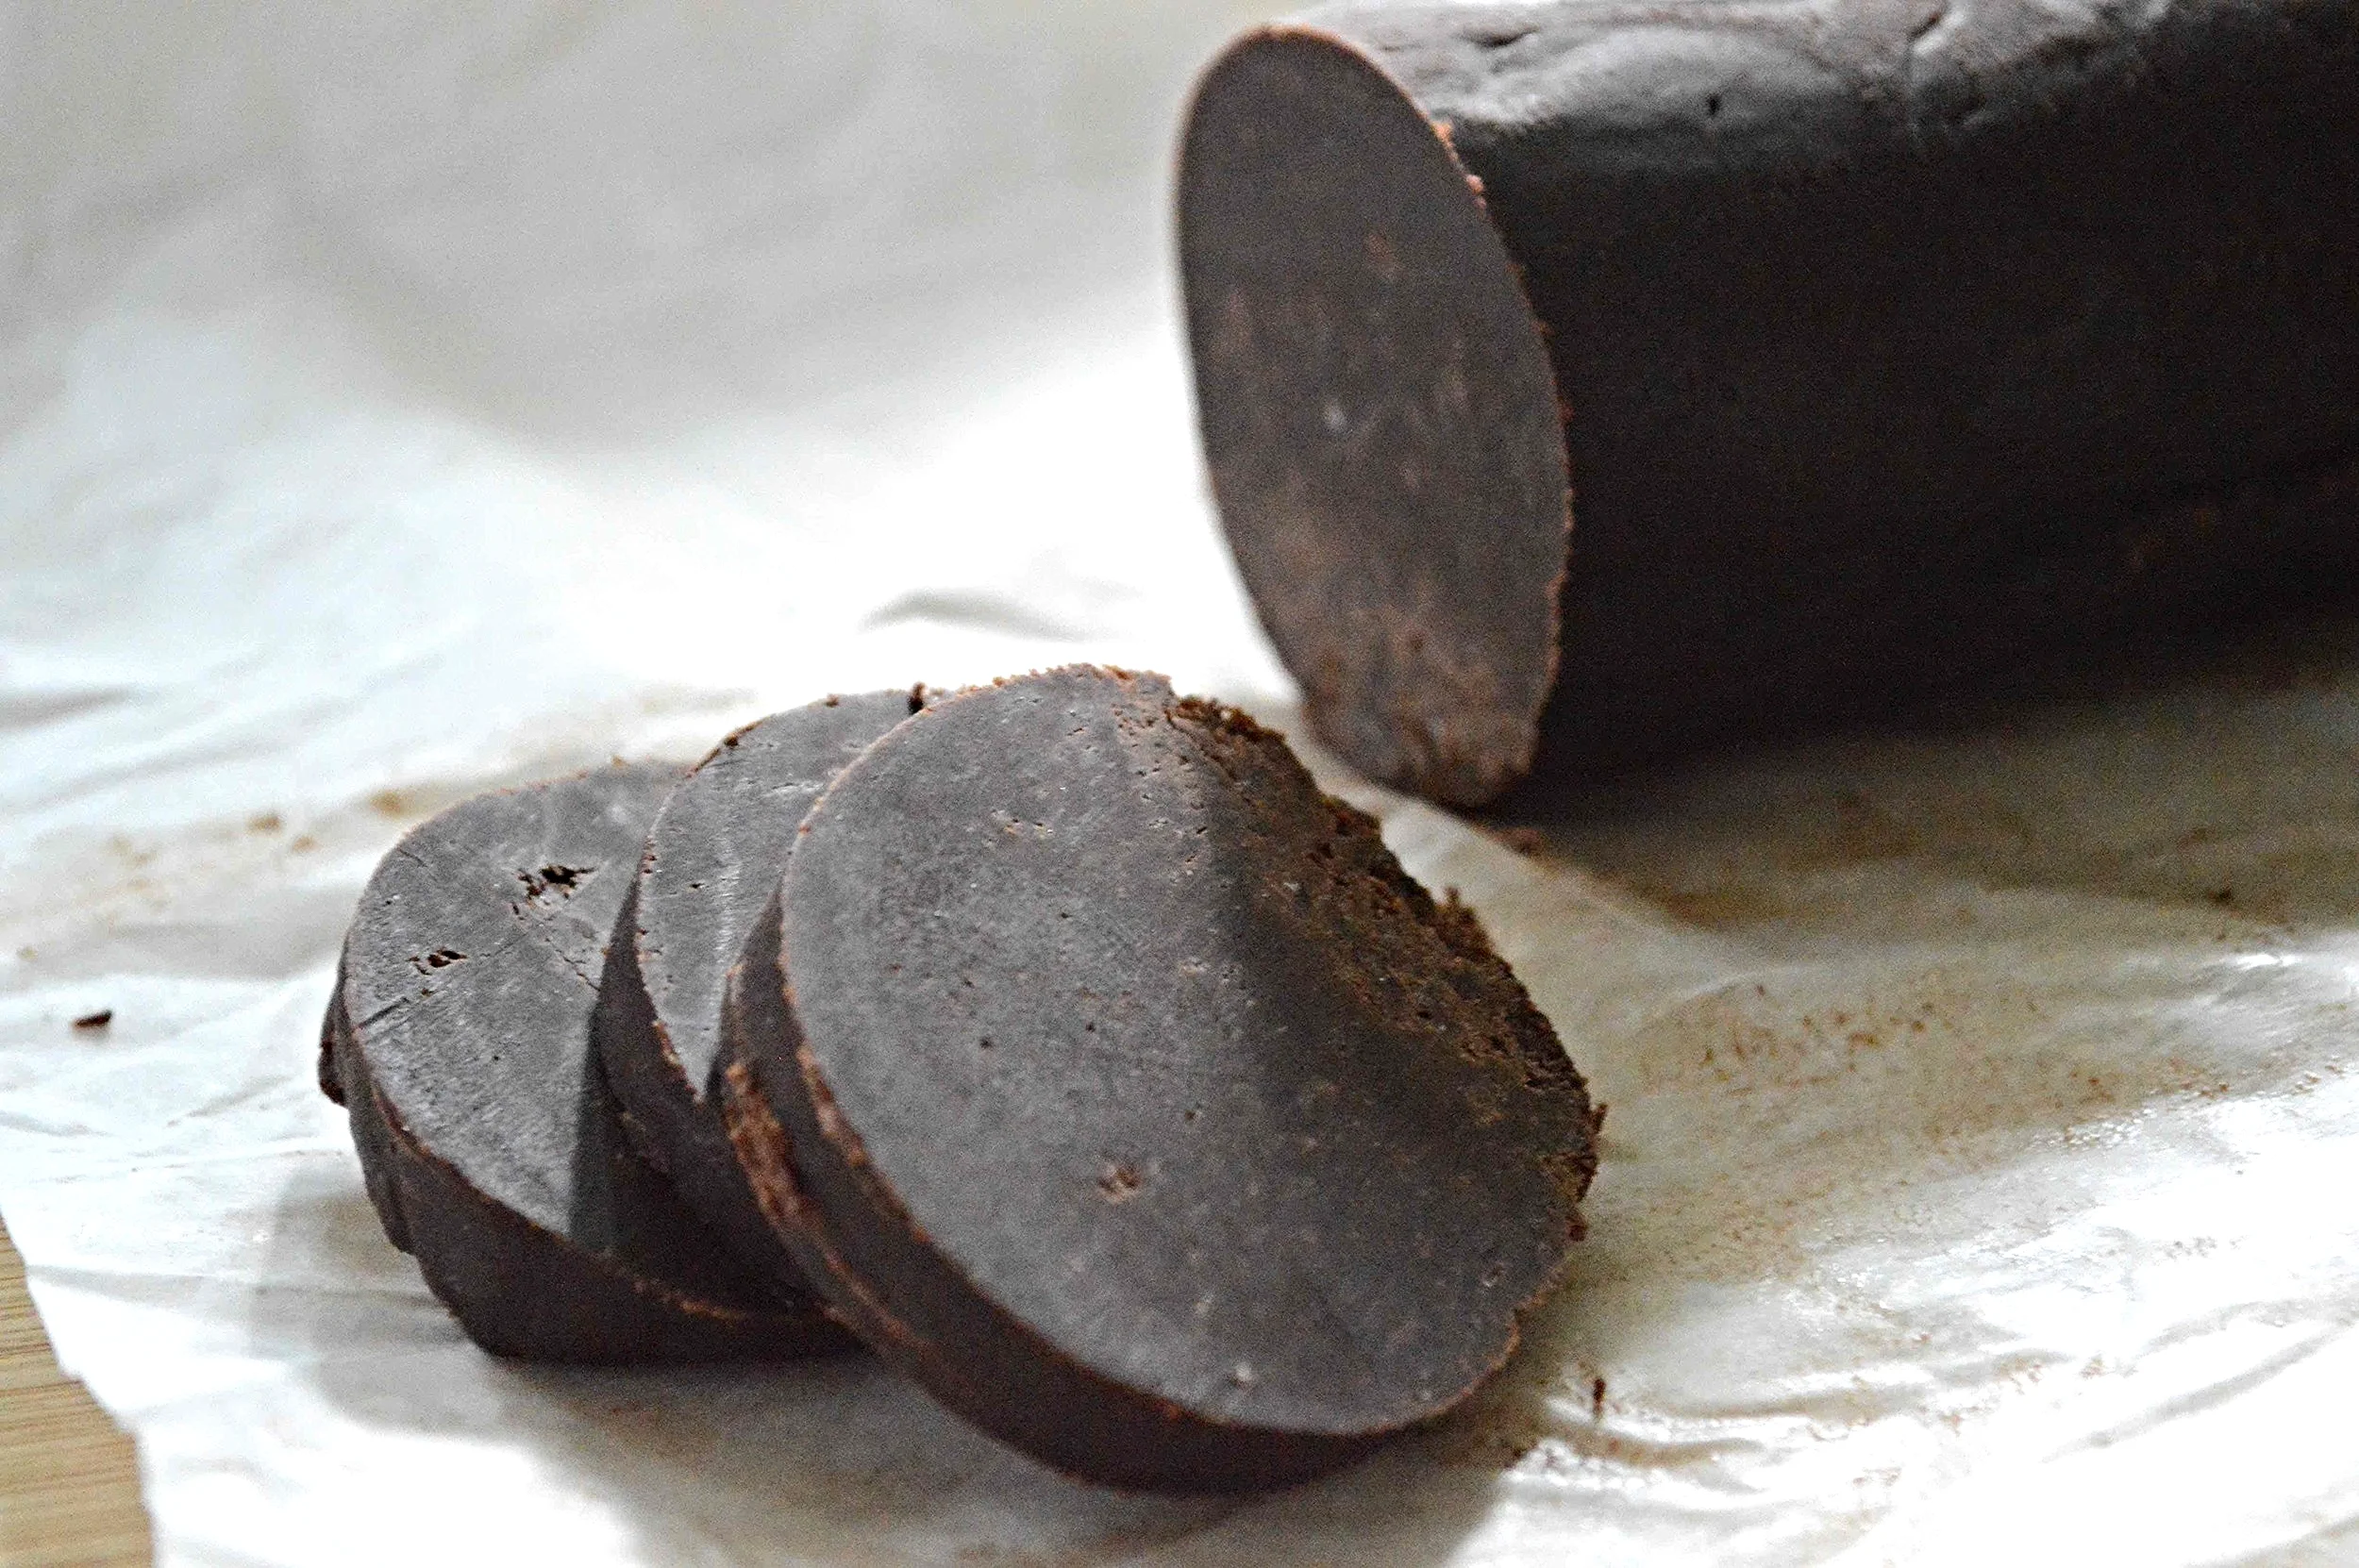
You start by making a chocolate dough, forming it into a log, and allowing it to chill for several hours or overnight. Once the dough is ready, you cut slices from the log and bake the "oreo" cookie outsides.

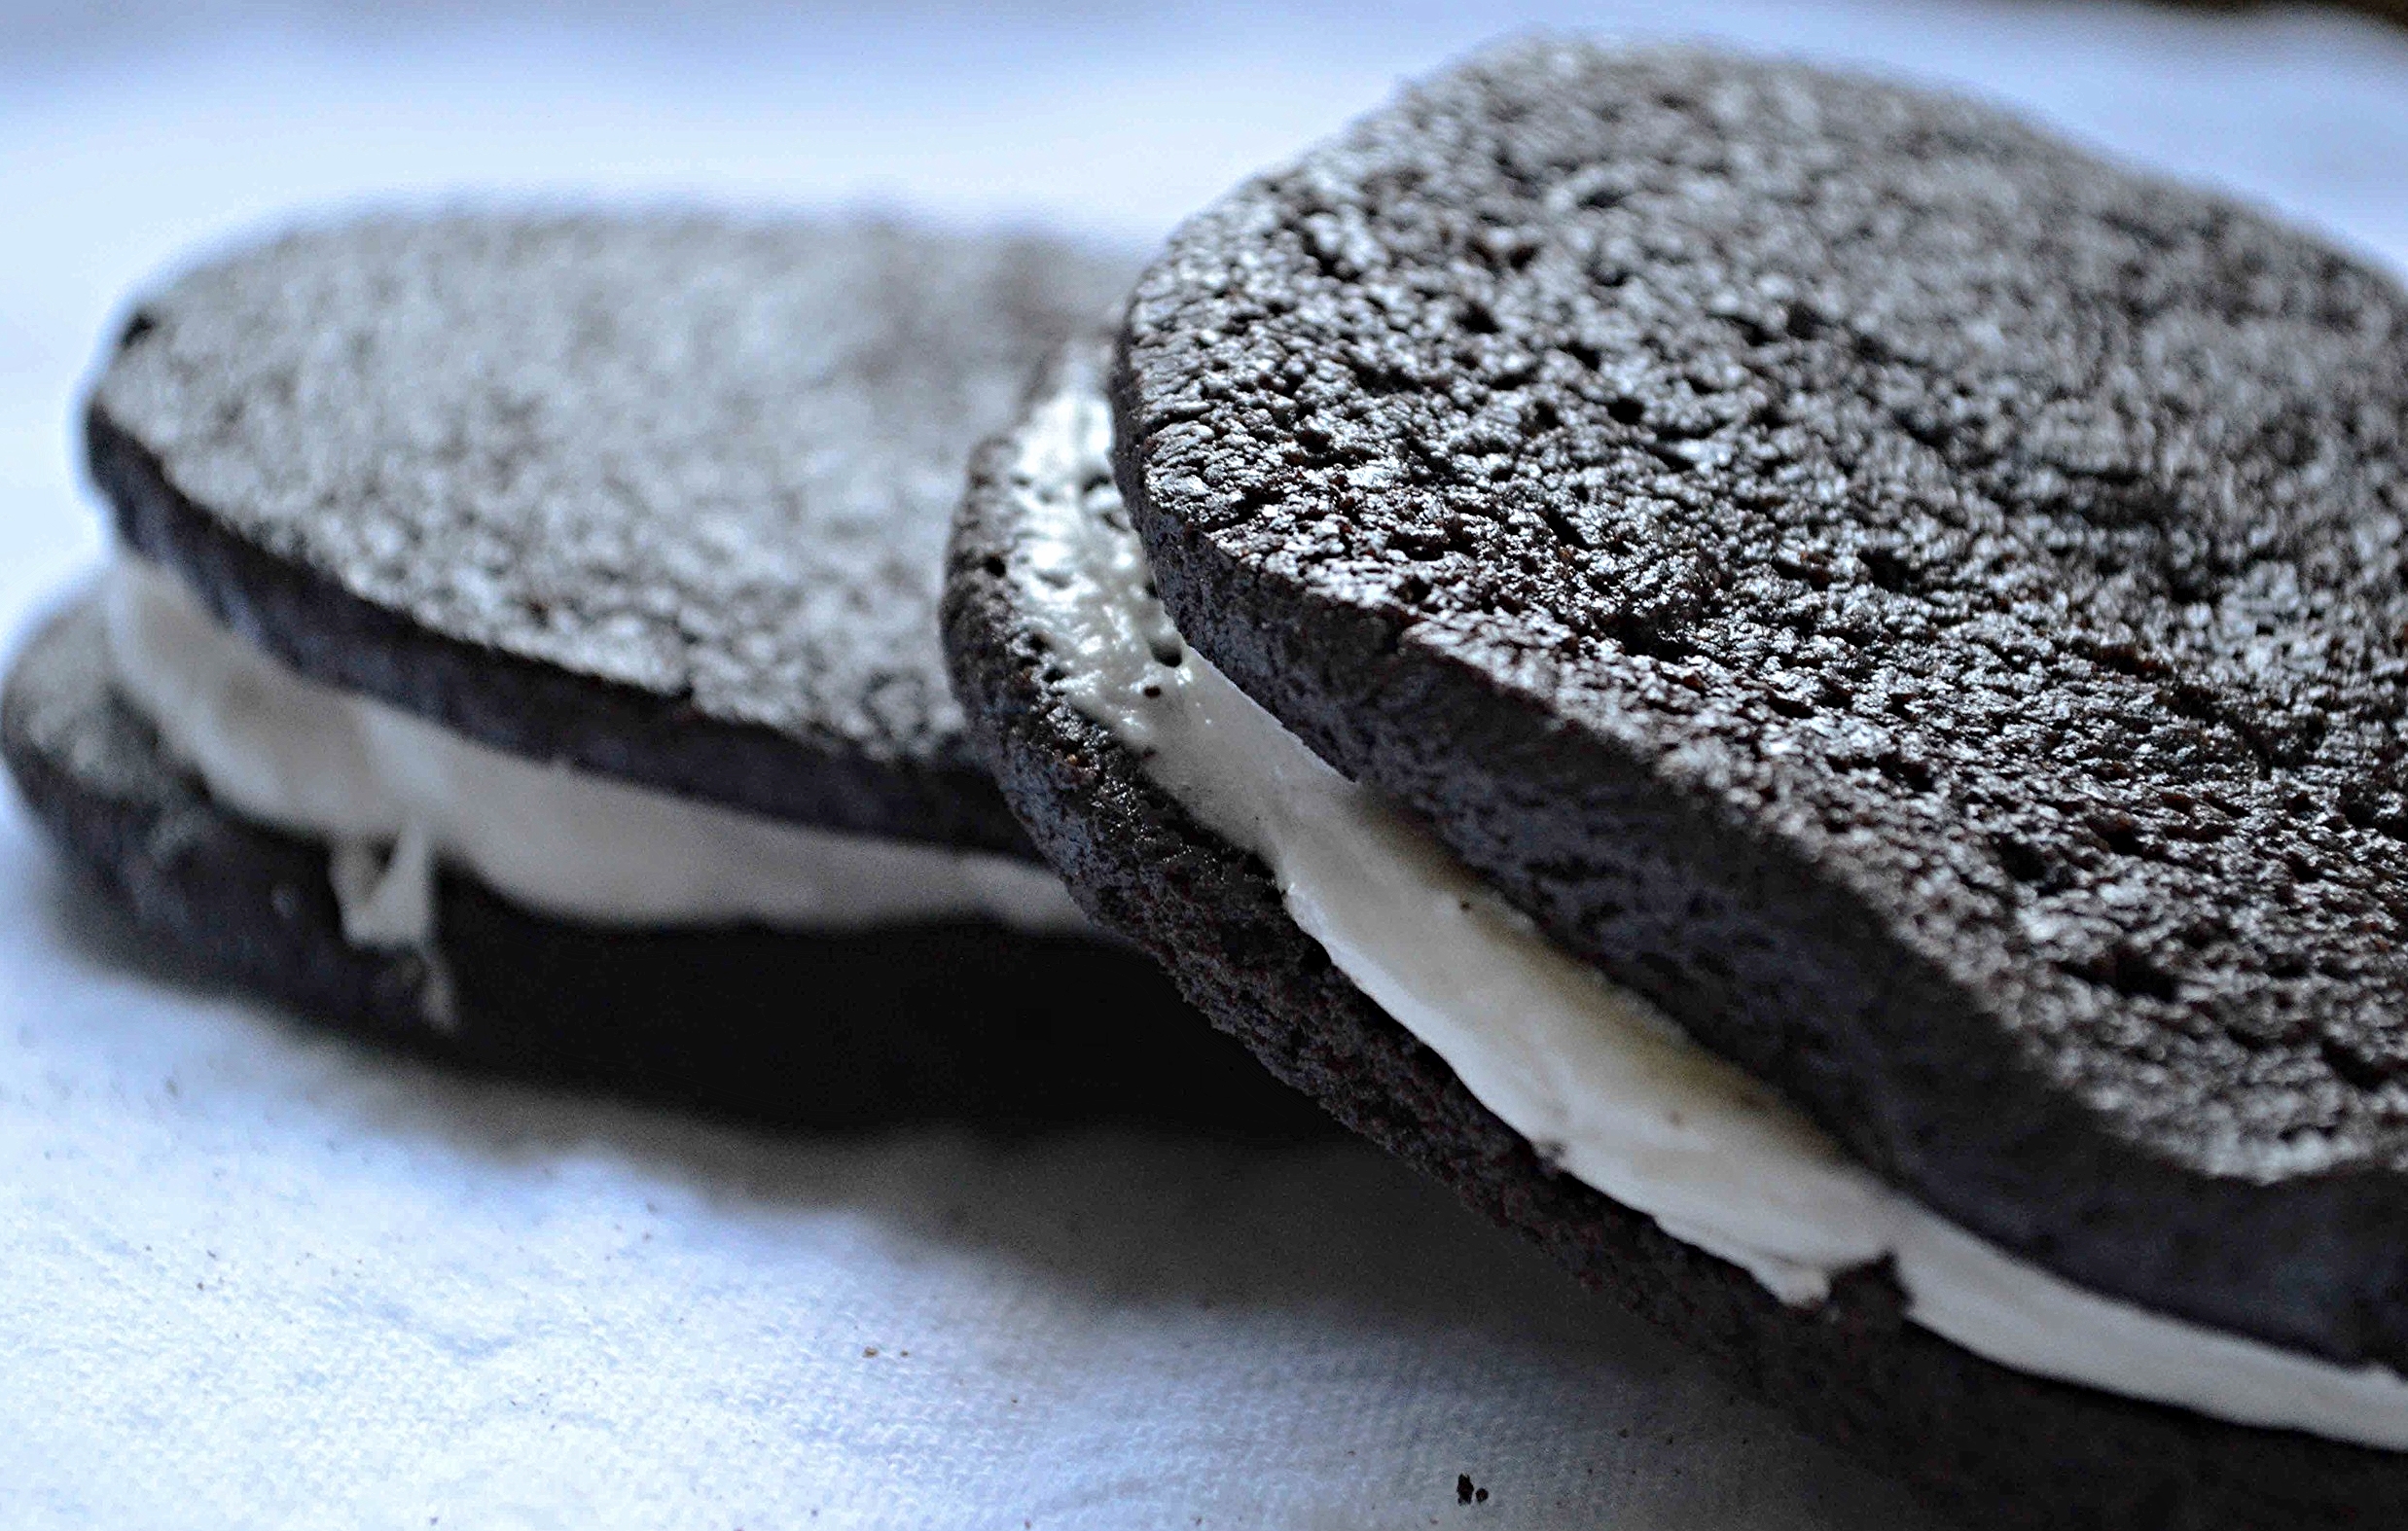
Meanwhile, you make the vanilla cream filling and when the cookies are cool, you spread it on top of half of the cookies and top with a second half.

These are so good guys!! It takes very strong willpower to stop at just one! Every bite is the perfect combo of crunchy deep chocolatey cookie and sweet vanilla cream. And not to be disloyal to the beloved originals, but James has a new favorite (not that he would turn down a package of Double-Stuffs to anyone that wants to send him a care package, hint, hint!!)

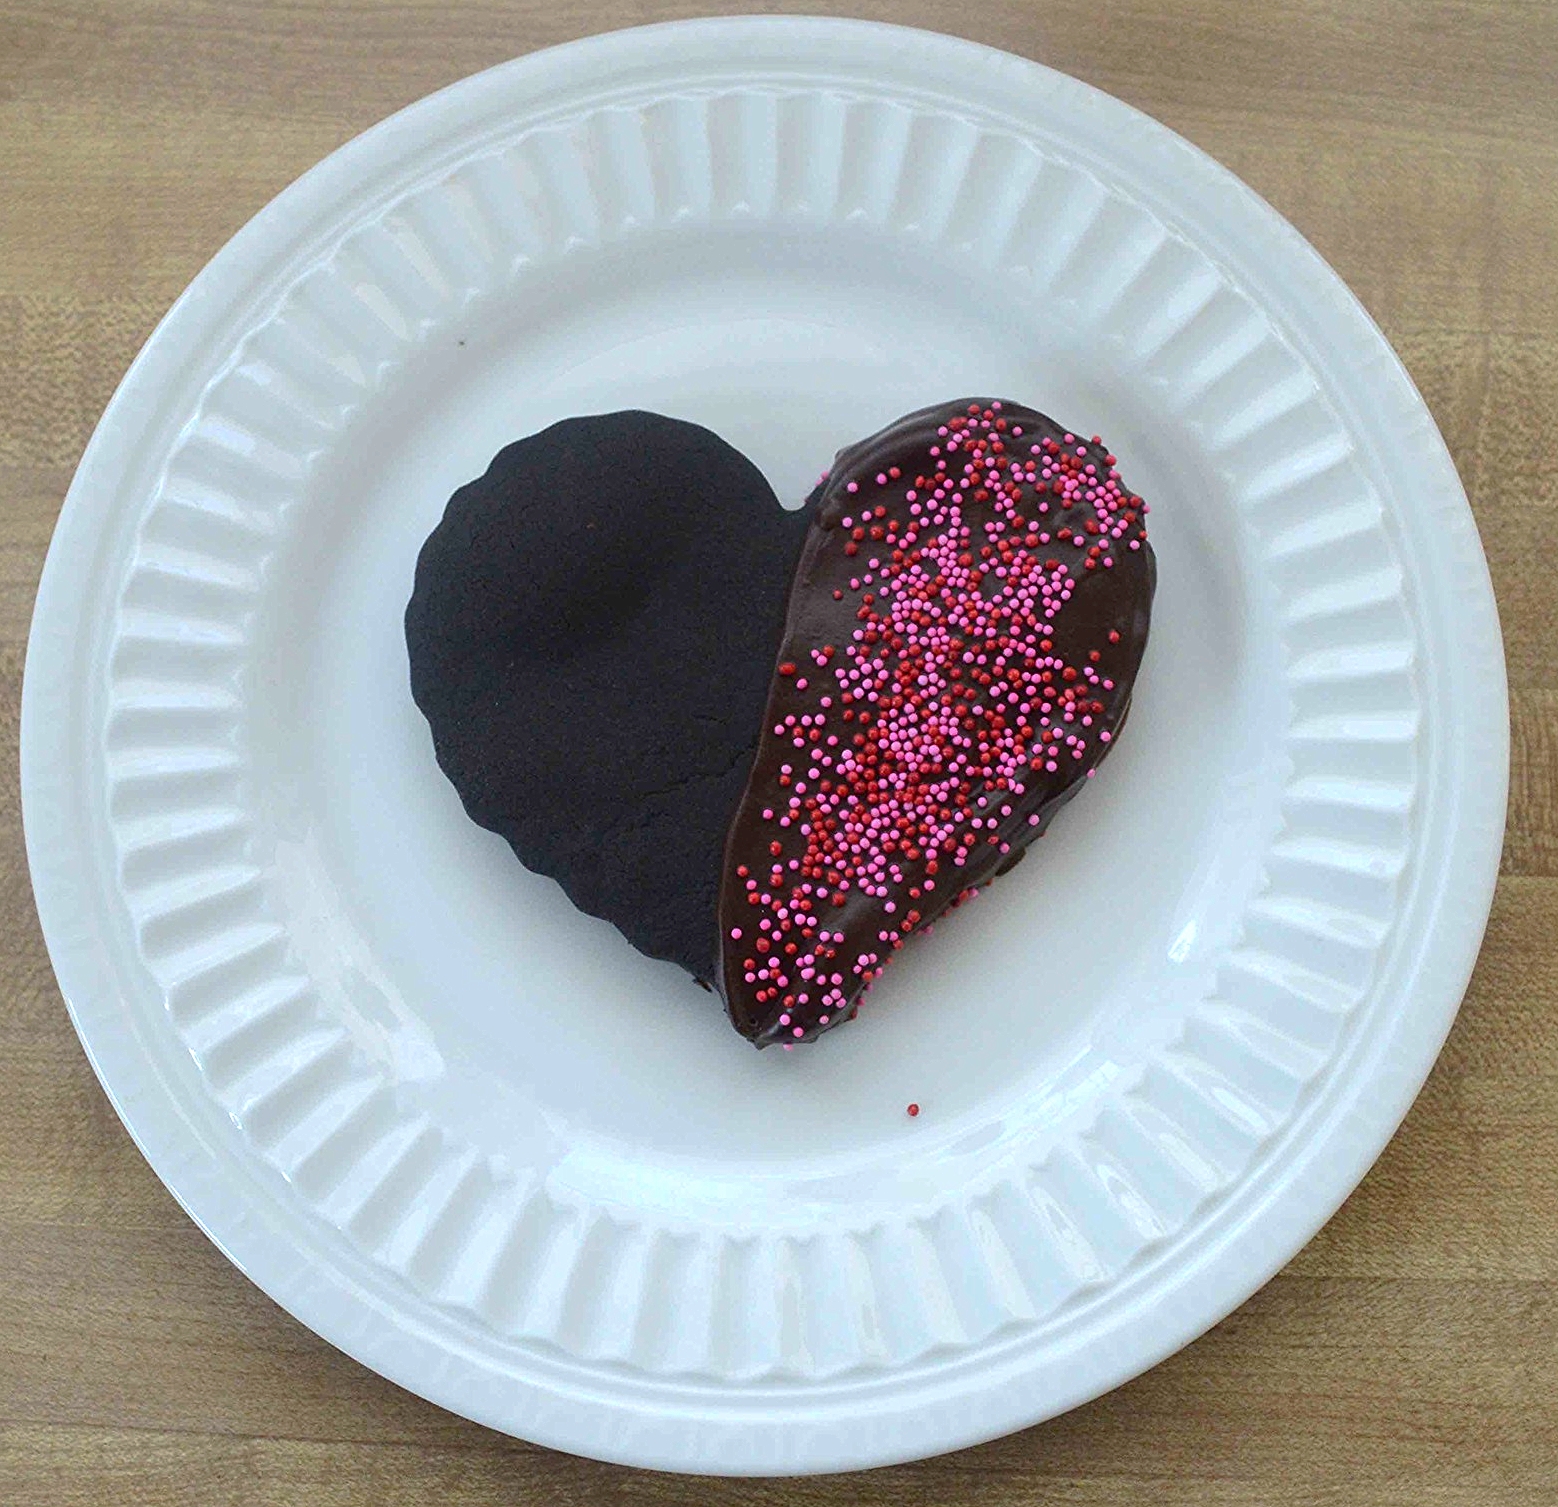
And since Oreos might just be the ultimate kid-friendly cookie, I thought you might want to take a look at this very informative guide from Rosenfeld Injury Lawyers, as to how to keep your kids safe with respect to household chemicals. Here’s to keeping our kids happy and healthy!
Homemade Oreos
Makes 16-18 sandwich cookies
Prep Time: 25 minutes, plus several hours of chilling; Bake Time: About 20 minutes; Assembly Time: Just a few minutes to make the cream filling and about 10 minutes to assemble the cookies
Ingredients
For the cookies
2 sticks (1 cup) unsalted butter, melted and slightly cooled
3/4 cup sugar
1 teaspoon vanilla extract
1 cup semisweet chocolate chips, melted and slightly cooled
1 egg
1 1/2 cups unbleached, all-purpose flour
3/4 cup Dutch-processed cocoa powder
1 teaspoon kosher salt
1/2 teaspoon baking soda
For the cream filling
1 stick unsalted butter, room temperature
1 2/3 cups confectioners' sugar
1 teaspoon vanilla extract
1 tablespoon whole milk
Pinch of kosher salt
The Recipe
1. To make the cookie dough: Into a medium bowl, whisk the butter and sugar together until well mixed. Add in the vanilla and melted chocolate and whisk again. Then add the egg and whisk until totally incorporated.
2. Into another medium bowl, stir together well the flour, cocoa powder salt and baking soda. Using a wooden spoon, stir the flour mixture into the chocolate mixture. When it starts to seem too floury, switch to using your hands until it comes together. At this point it kind of seems like Playdough. Let the dough sit uncovered at room temperature for 1 hour to firm up.
3. Once firm, transfer the dough to a 15-inch square sheet of parchment paper or waxed paper. Shape the dough with your hands into a 10 inch by 2 1/2 inch log. Place the log at one end of the paper and roll the parchment around the log. When it's fully covered by the paper, roll the log into a smoother log, keeping it 2 1/2 inches in diameter. Chill it for at least 2 hours, or until it's really firm. So that the log doesn't sink and settle in the fridge, re-roll it every 20 minutes or so to help it keep its shape. If you're not going to use this right away, you can wrap it well in plastic wrap and store in the refrigerator for up to 1 week or in the freezer for up to a month. If you freeze it, thaw it out overnight in the fridge.
4. Make sure oven rack is in center of oven and preheat the oven to 325ºF. Line a baking sheet with parchment paper.
5. Cut the dough into 1/4 slices and place 1 inch apart on the baking sheet. Bake for 20-25 minutes but start checking at around 16 minutes. Poke the dough gently in the middle. If the cookie seems firm, remove them from the oven--you can't tell if they are done by the color. Cool to room temperature on the baking sheet on a rack.
6. To make the cream filling: Using an electric mixer, beat the butter on low speed for about 30 seconds, until it's completely smooth. Add the confectioners' sugar and vanilla and beat again until perfectly smooth. Add the milk and salt and beat again until smooth--the mixture should be thick and creamy.
7. Scoop about 1 tablespoon of filling onto half of all the baked cookies and top with another cookie. Press down gently to spread out the filling.
8. Cookies should be stored at room temperature in an airtight container and last for 3-4 days.
Enjoy!
Note: Recipe adapted from Flour by Joanne Chang.