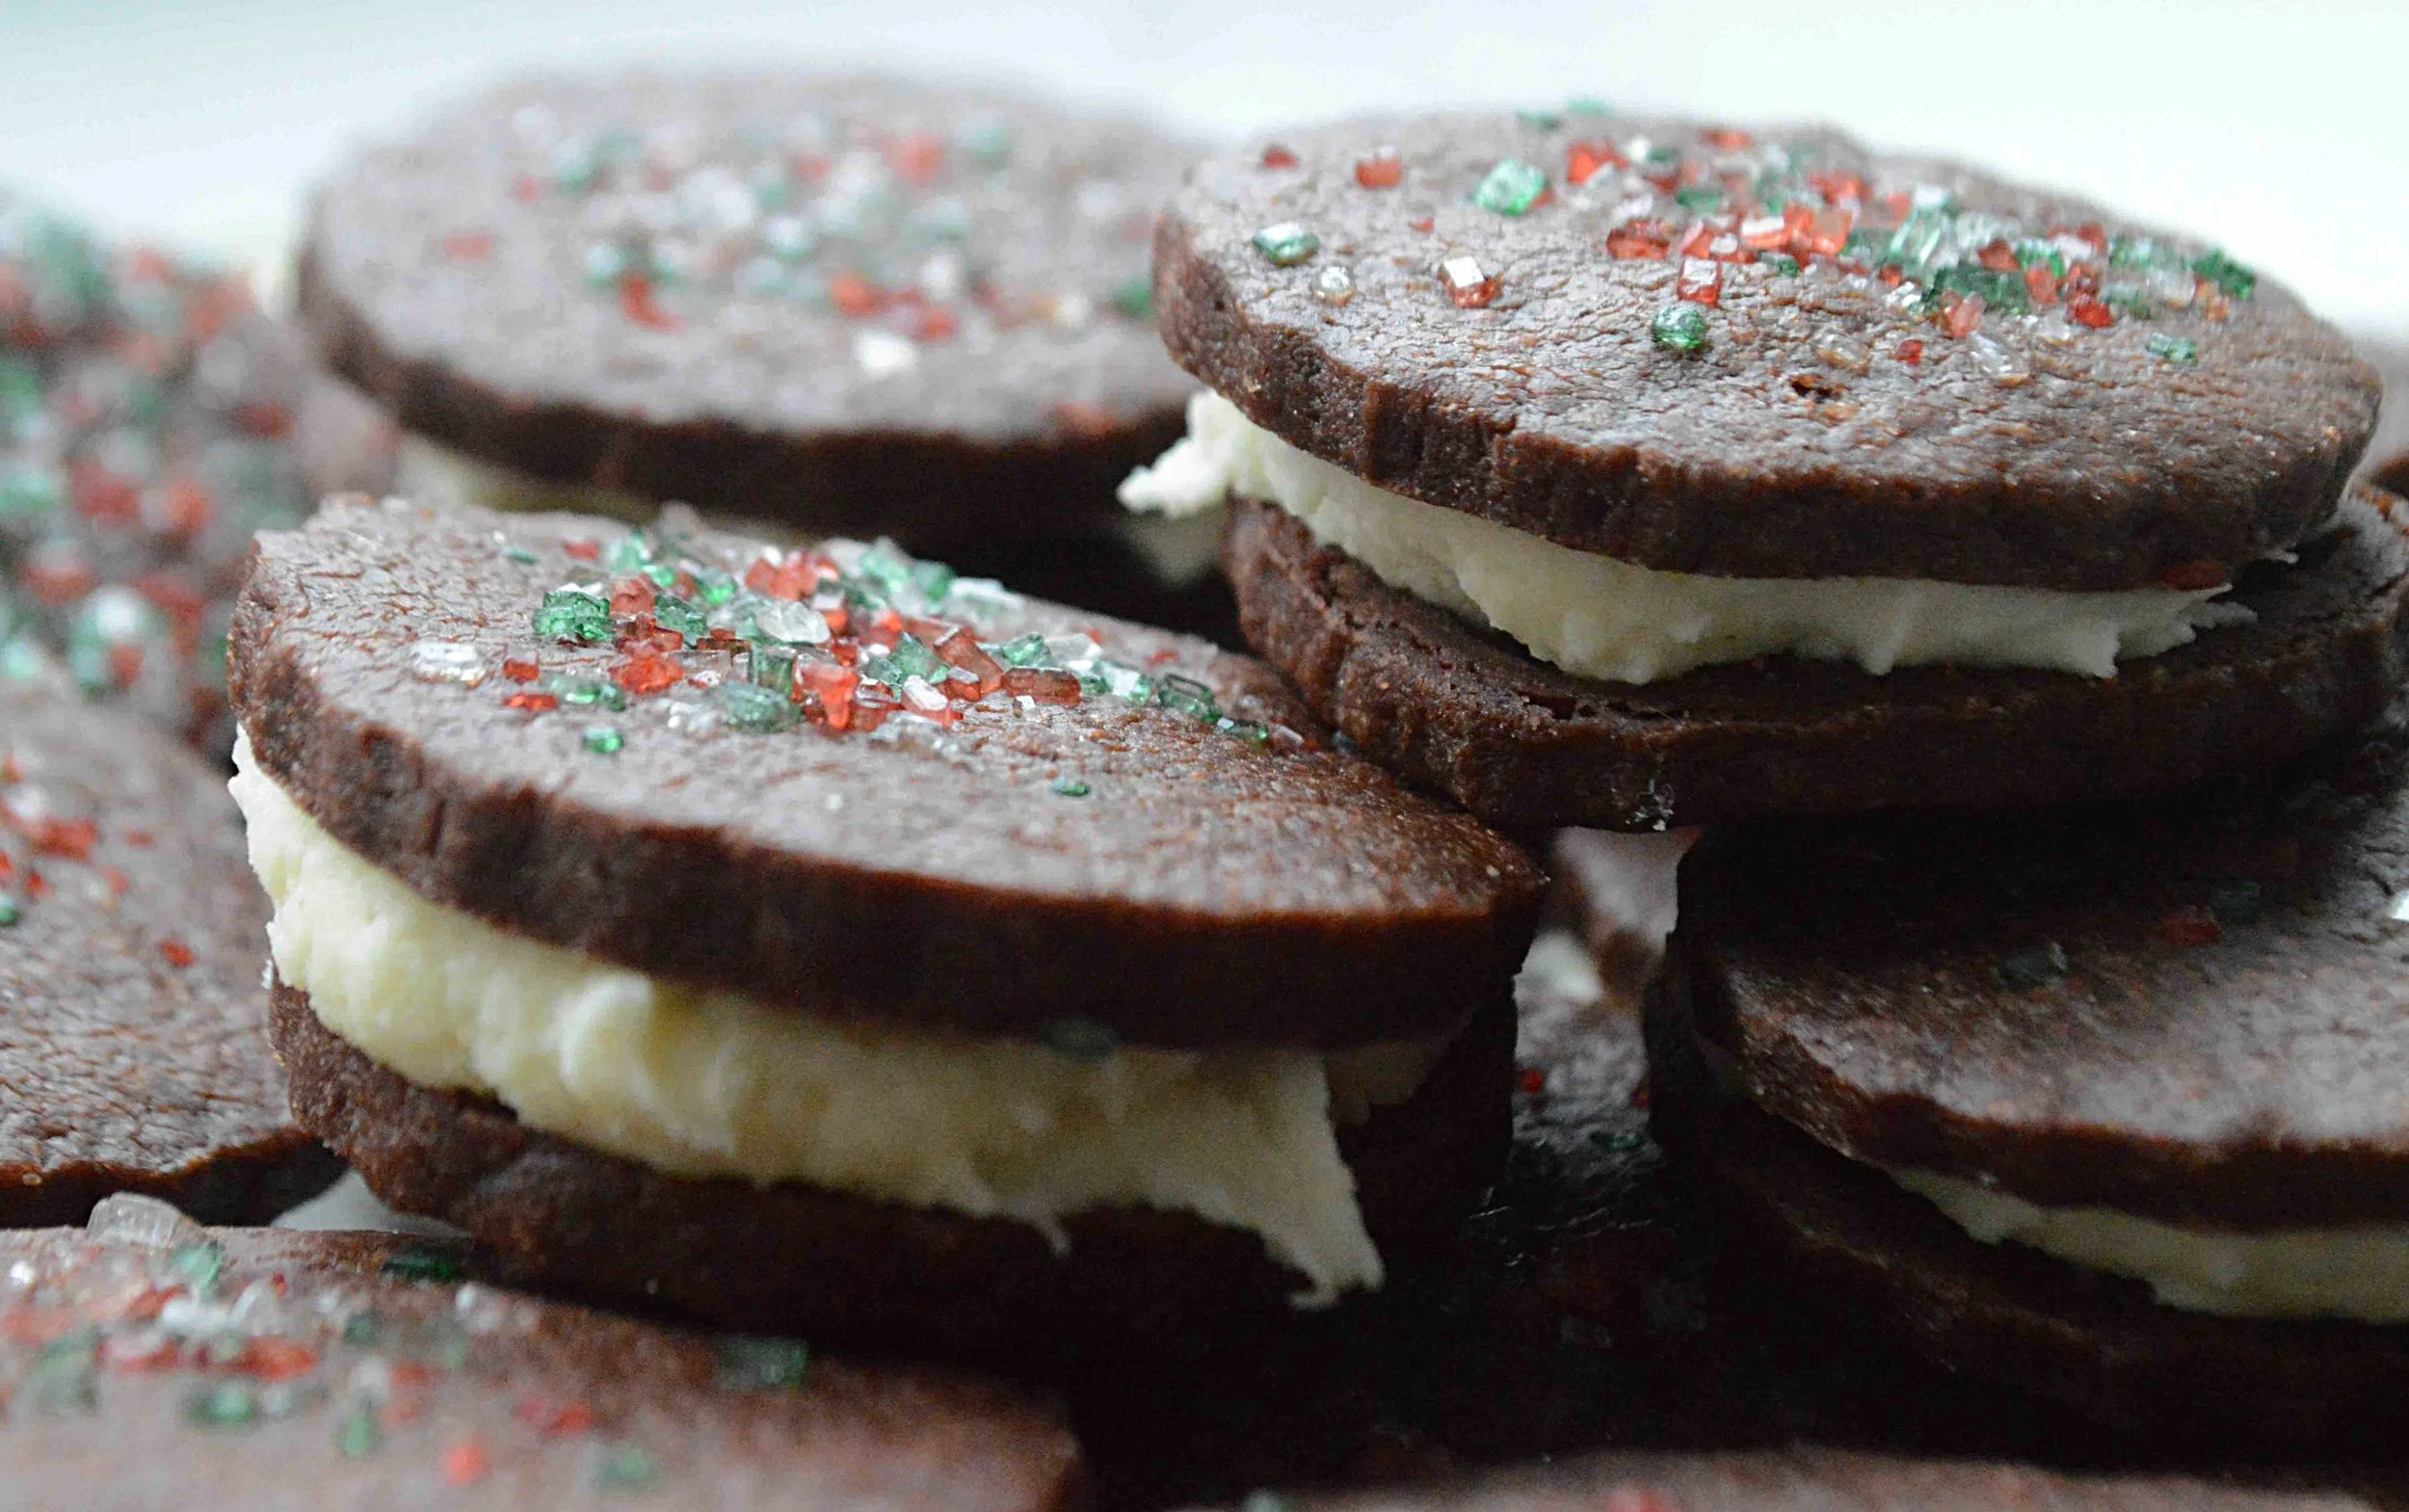
Chocolate Sandwich Cookies (like Oreos, only better!)


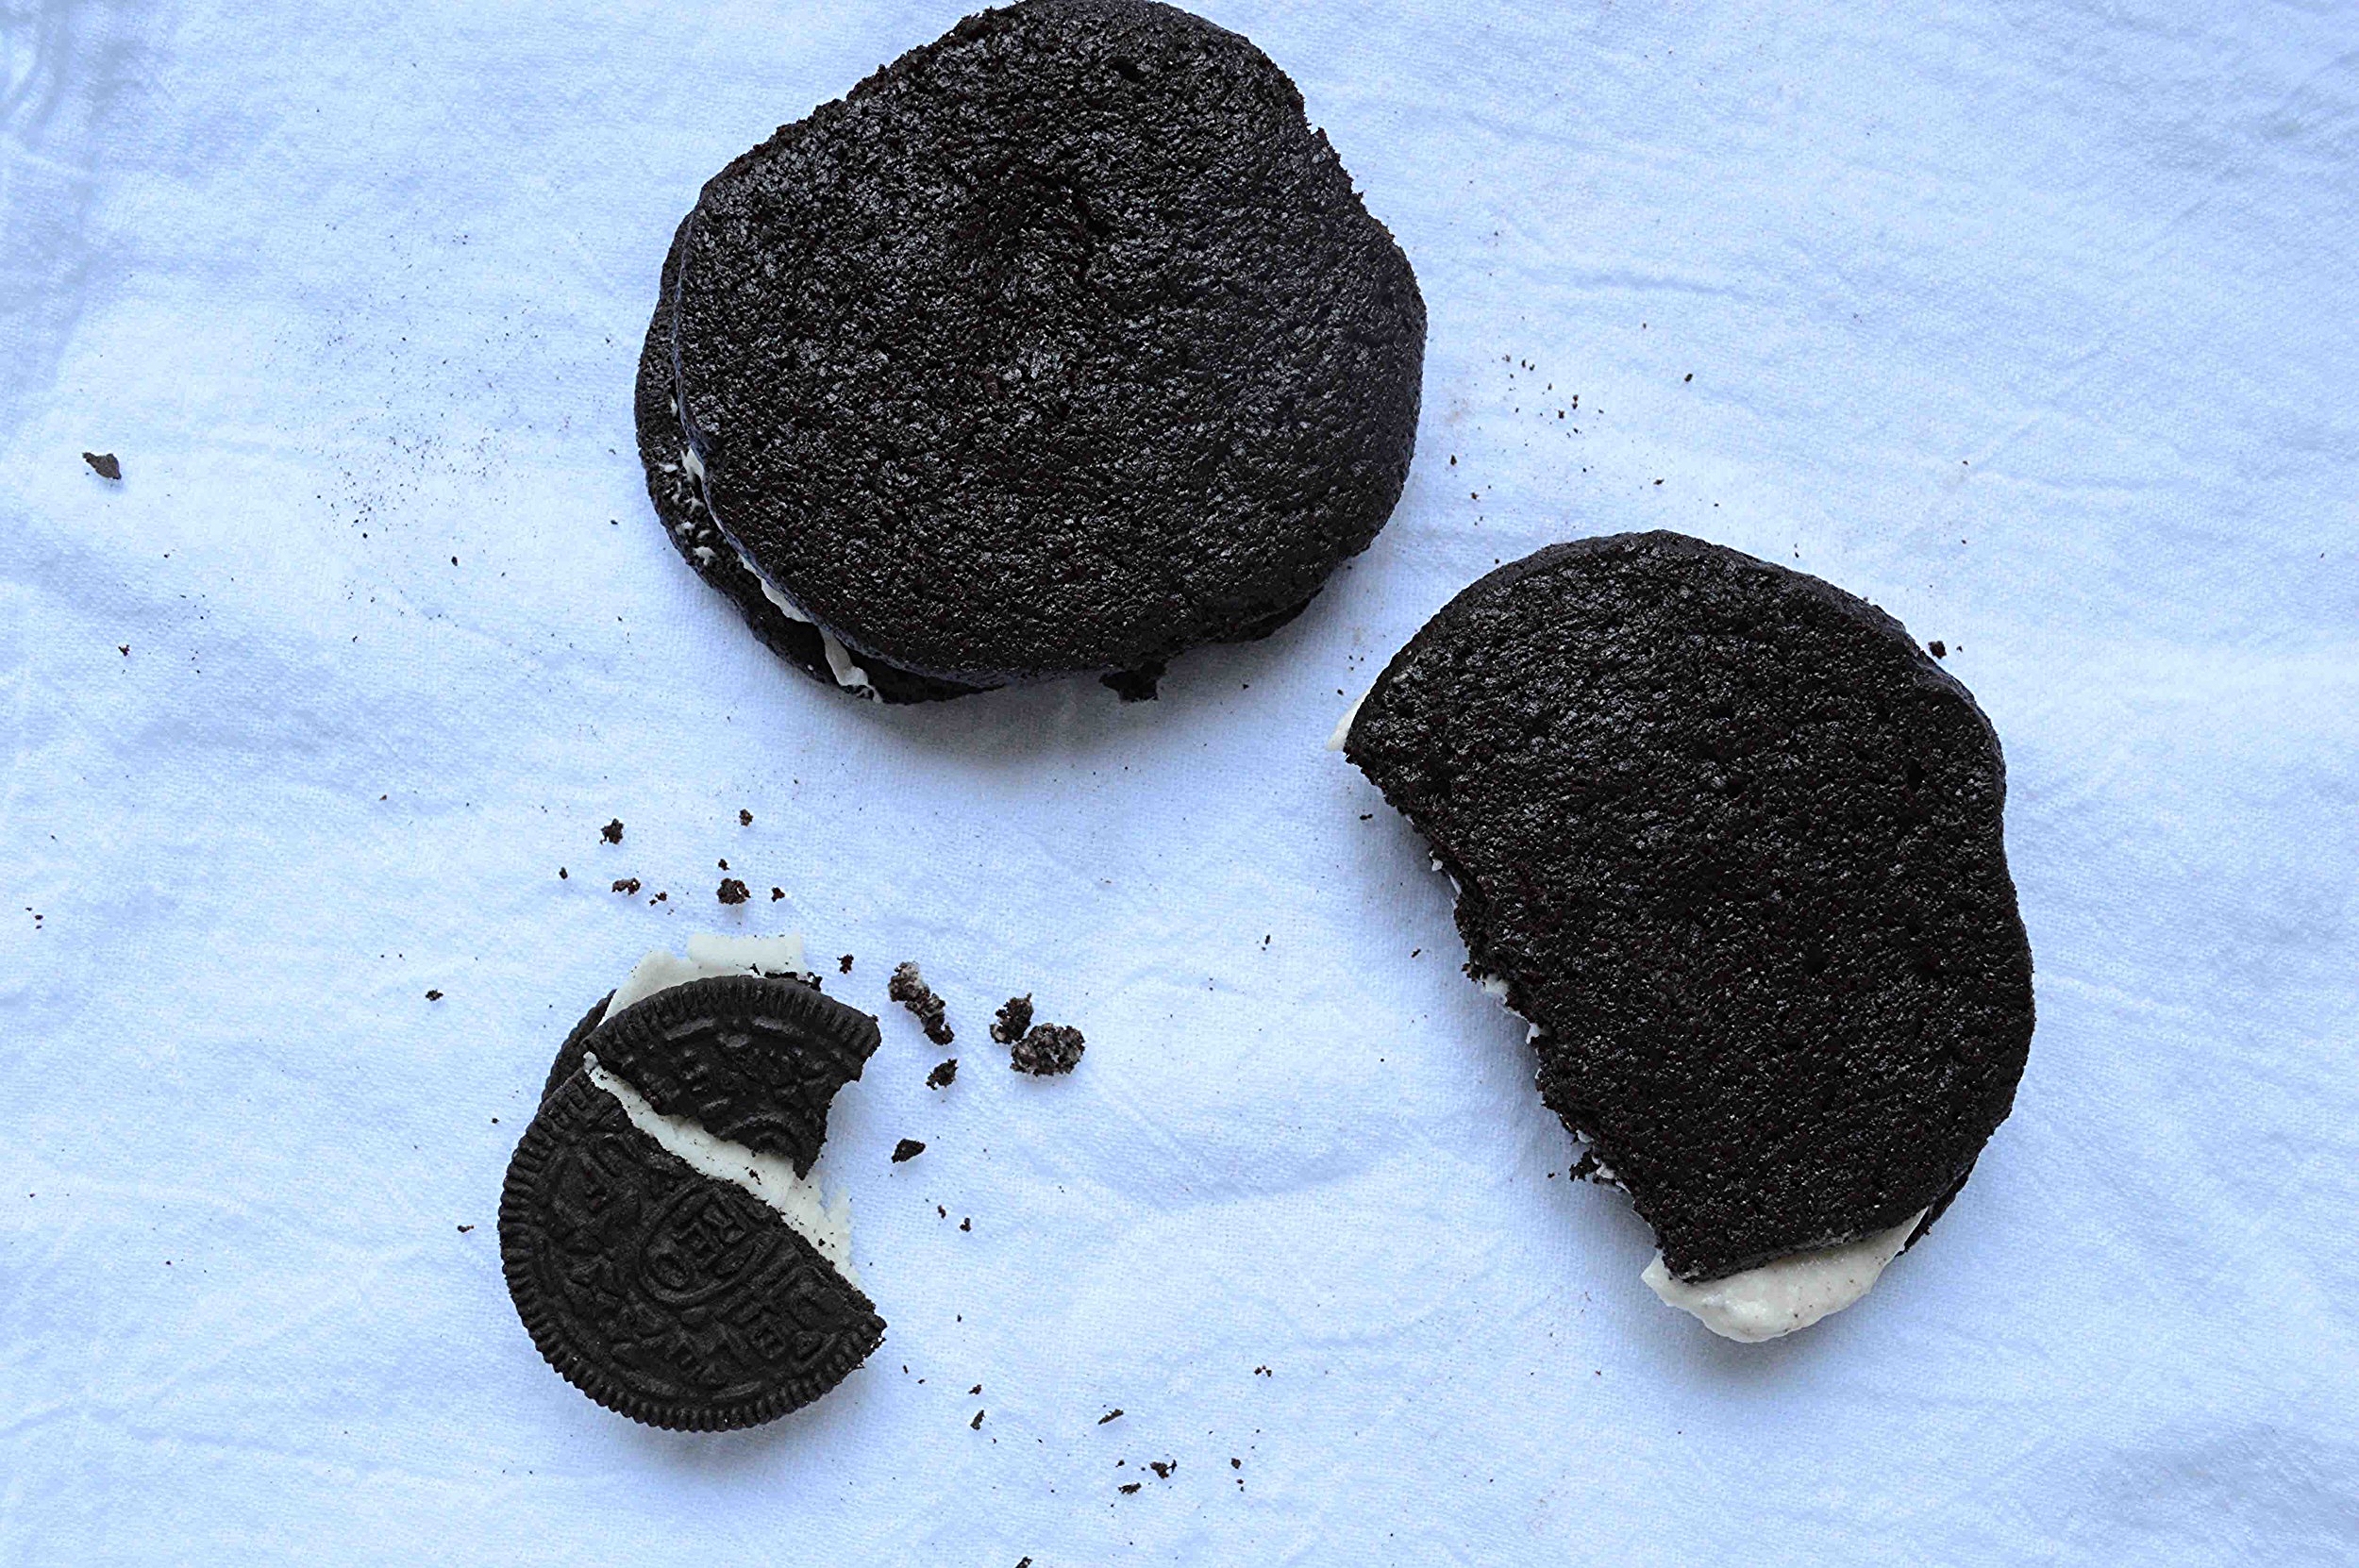
Oh, these cookies! They’ve just leapfrogged many of my longtime favorites to vie for a top position on my most beloved cookie list! Doesn’t everyone have one of those?!! If Oreos are your nemesis, you will swoon over these chocolate wafers sandwiched together with a white chocolate ganache that even white chocolate haters will adore!
The only thing is...well...they’re a little persnickety to make. Don’t hit delete!! Please!! Because though there are a bunch of steps which you really do have to follow pretty rigidly, none of them are difficult and all of them can be done in stages—even made days ahead. Just don’t try these when you’re feeling hassled or impatient.
The end result is so, so worth it! I promise you!!

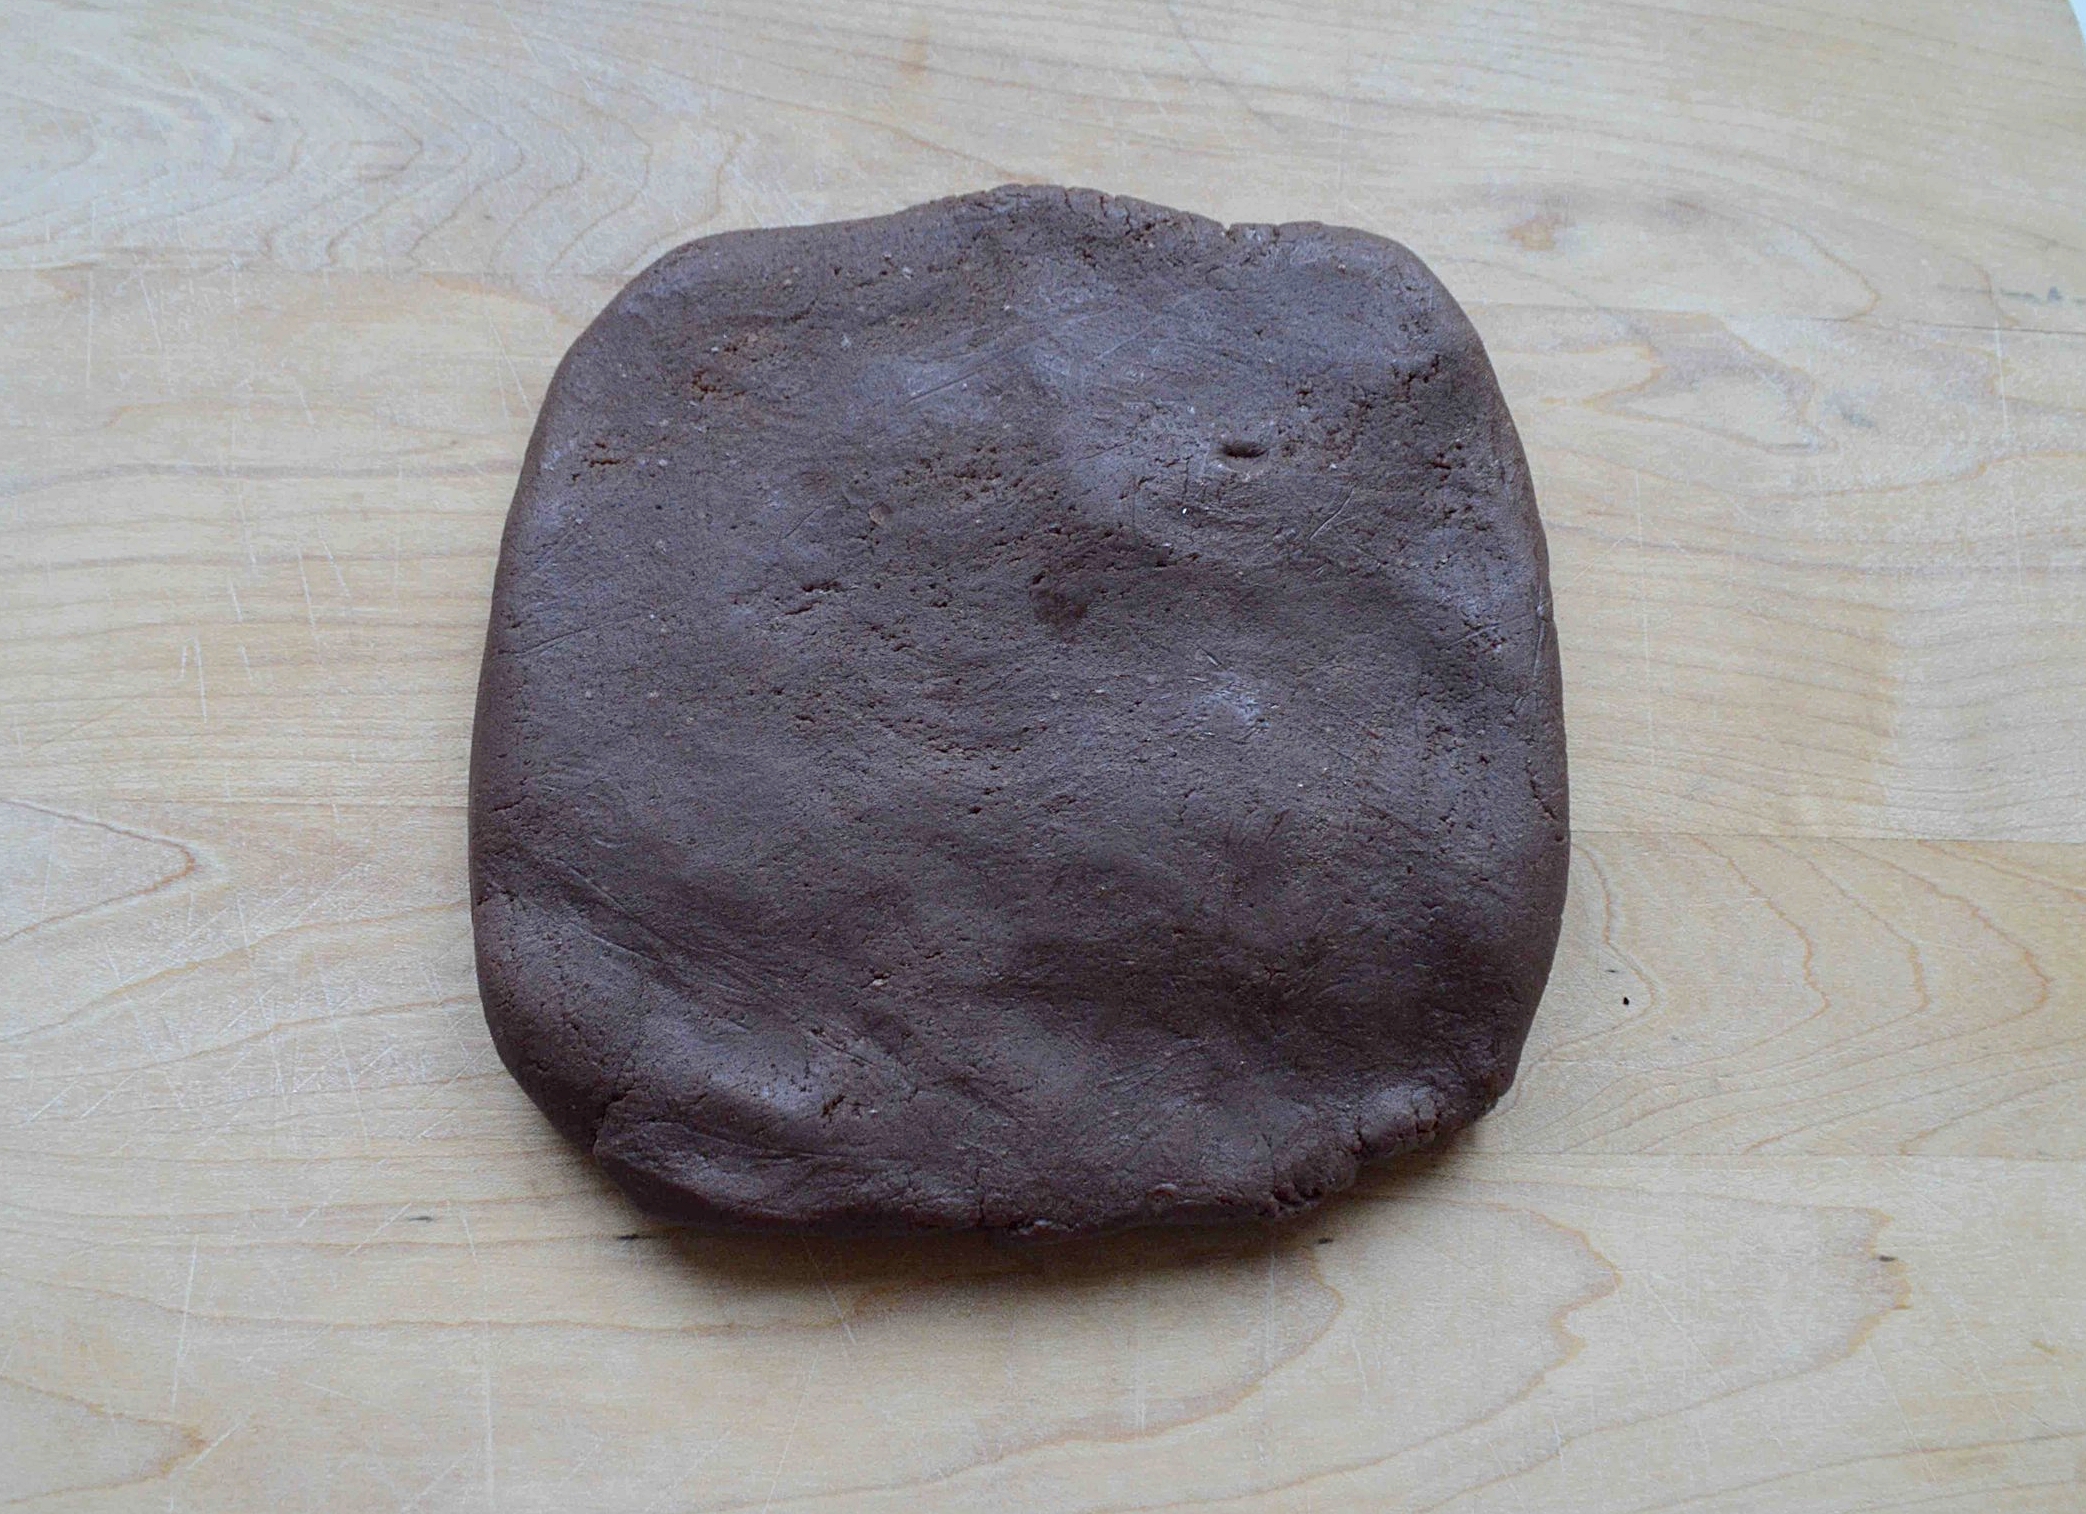
If you’re still with me, I’ll talk you through the prep. You start by making a chocolate dough and patting it into 2 rectangles that get chilled for several hours and up to 2 days.
In the meantime, you melt your white chocolate and put together the ganache which comes together easily, but needs to be chilled for at least 30 minutes and then whipped before spreading it onto the baked cookies.

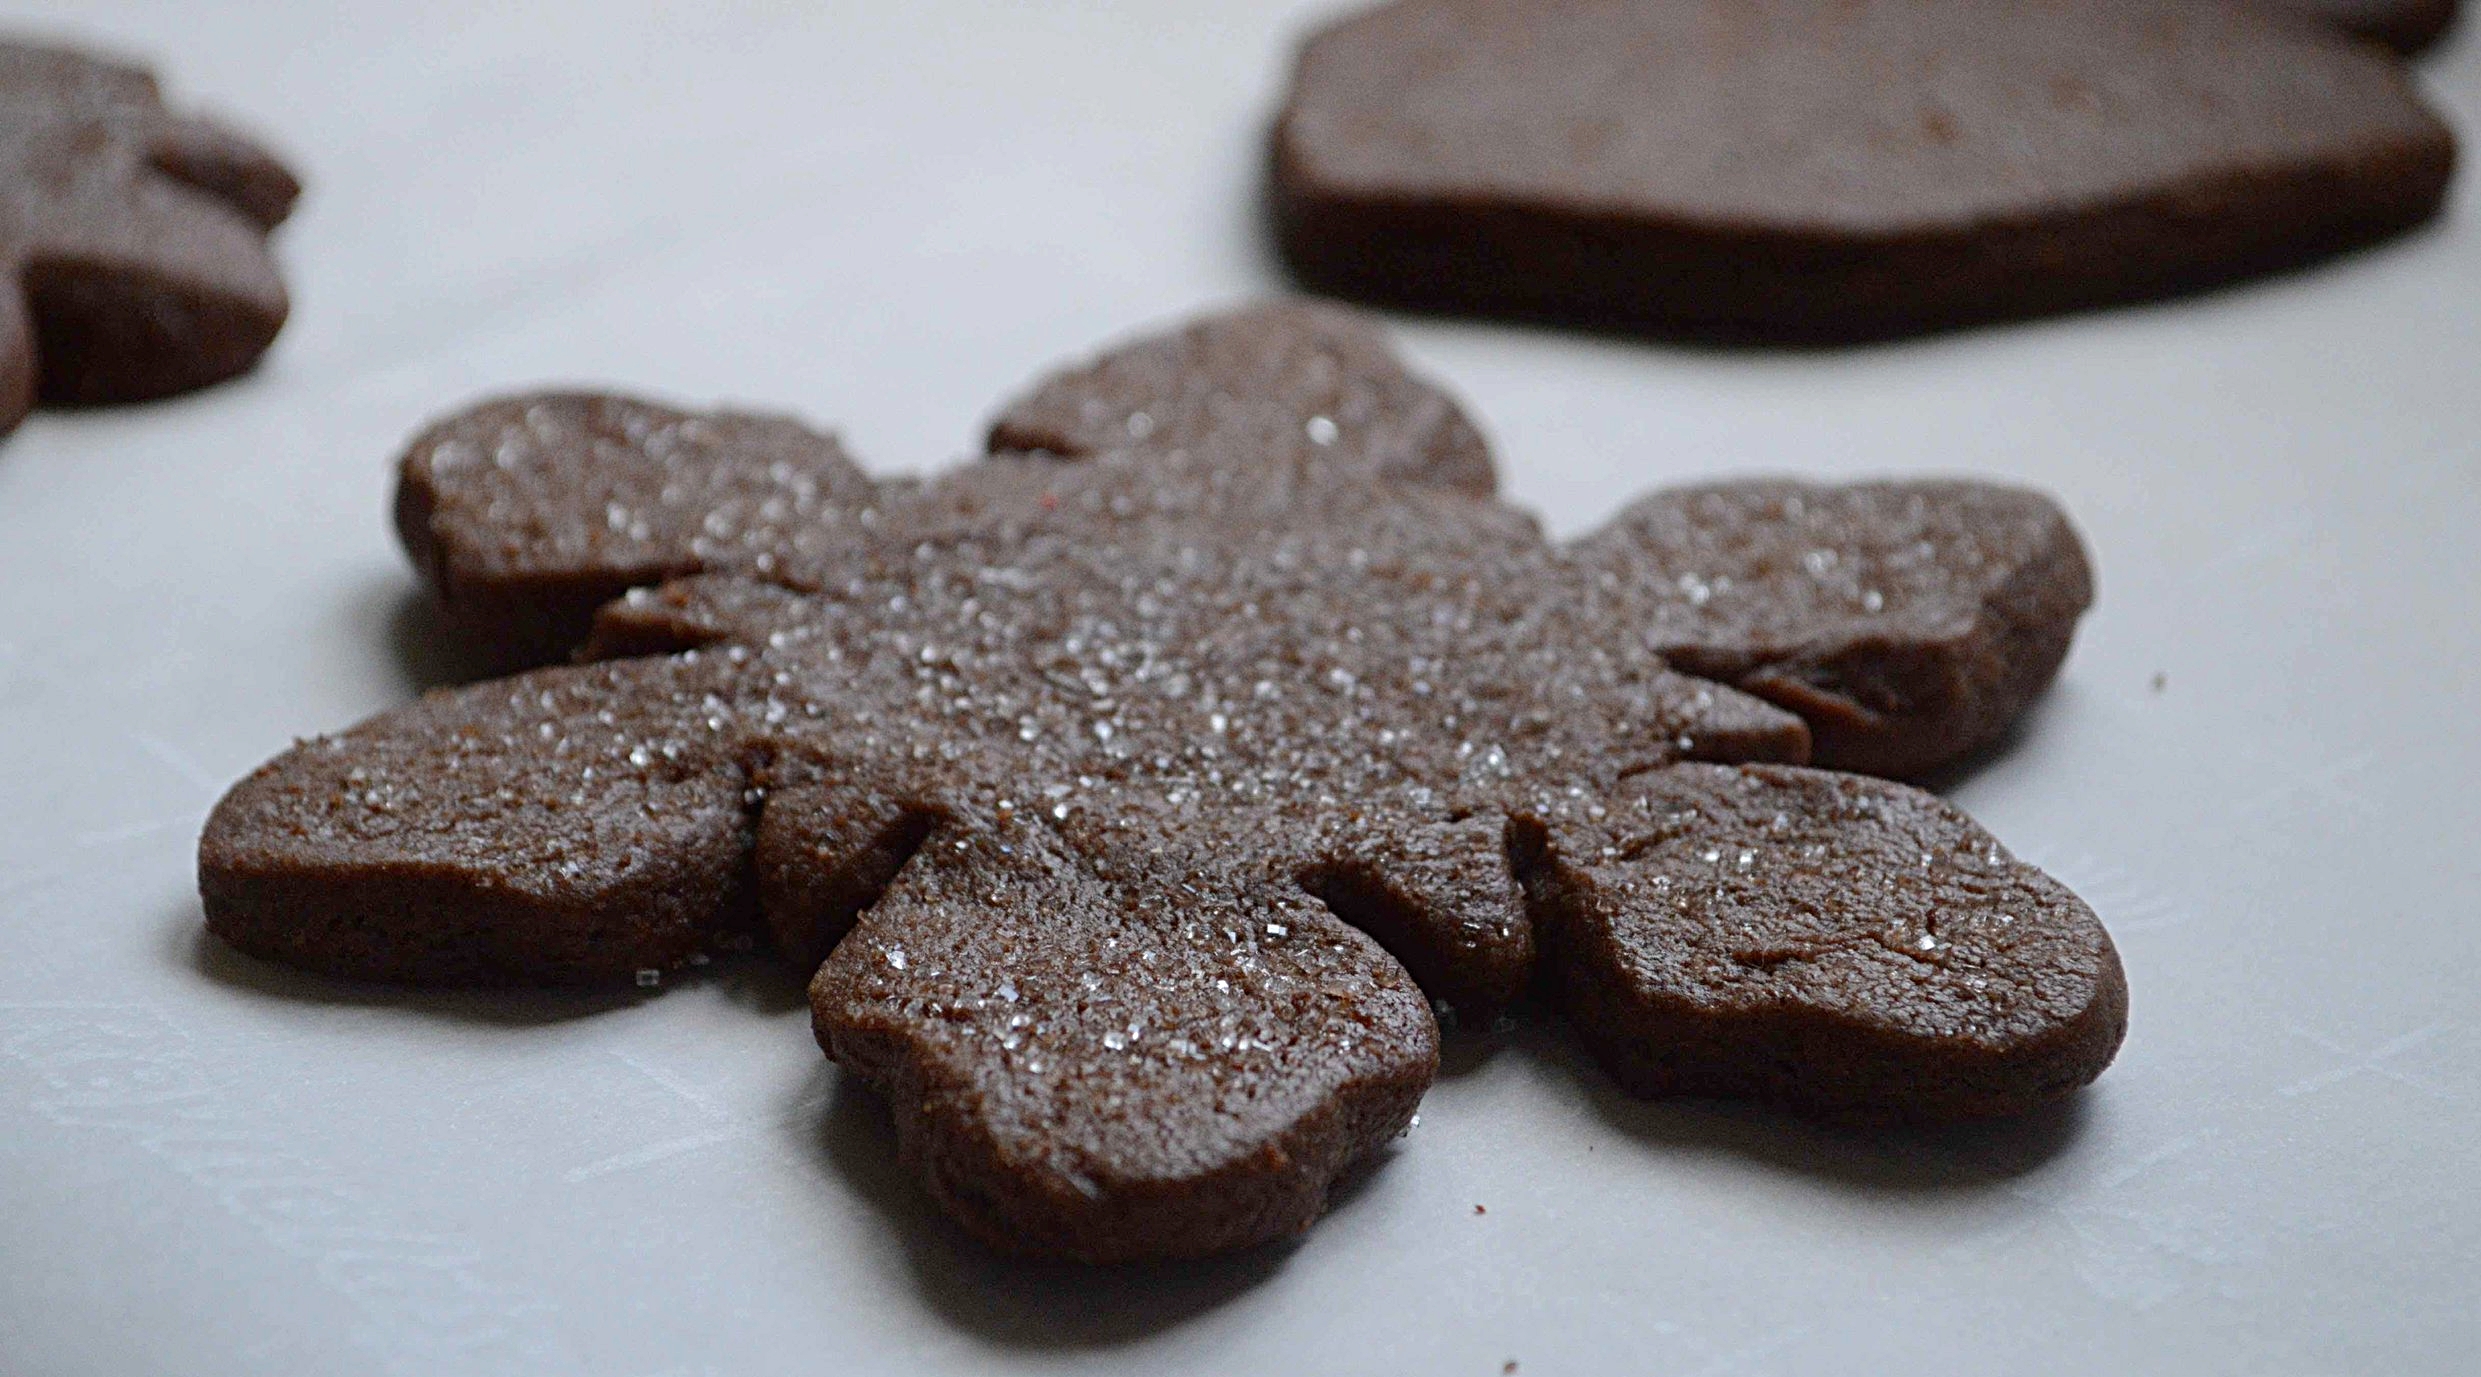
But I’m getting ahead of myself, ‘cause once the dough has sufficiently chilled, you roll it out between two pieces of parchment paper and then freeze it for 10 minutes. Once you remove it from the freezer, you quickly cut out rounds and transfer to baking sheets because if you wait, the dough will get sticky and you won’t be able to cut out perfect circles.

Then, you gather together the scraps, reroll between the sheets of parchment and return to the freezer again for 10 minutes (don’t let it go longer because the dough will be too hard to work with)
See what I mean about persnickety?

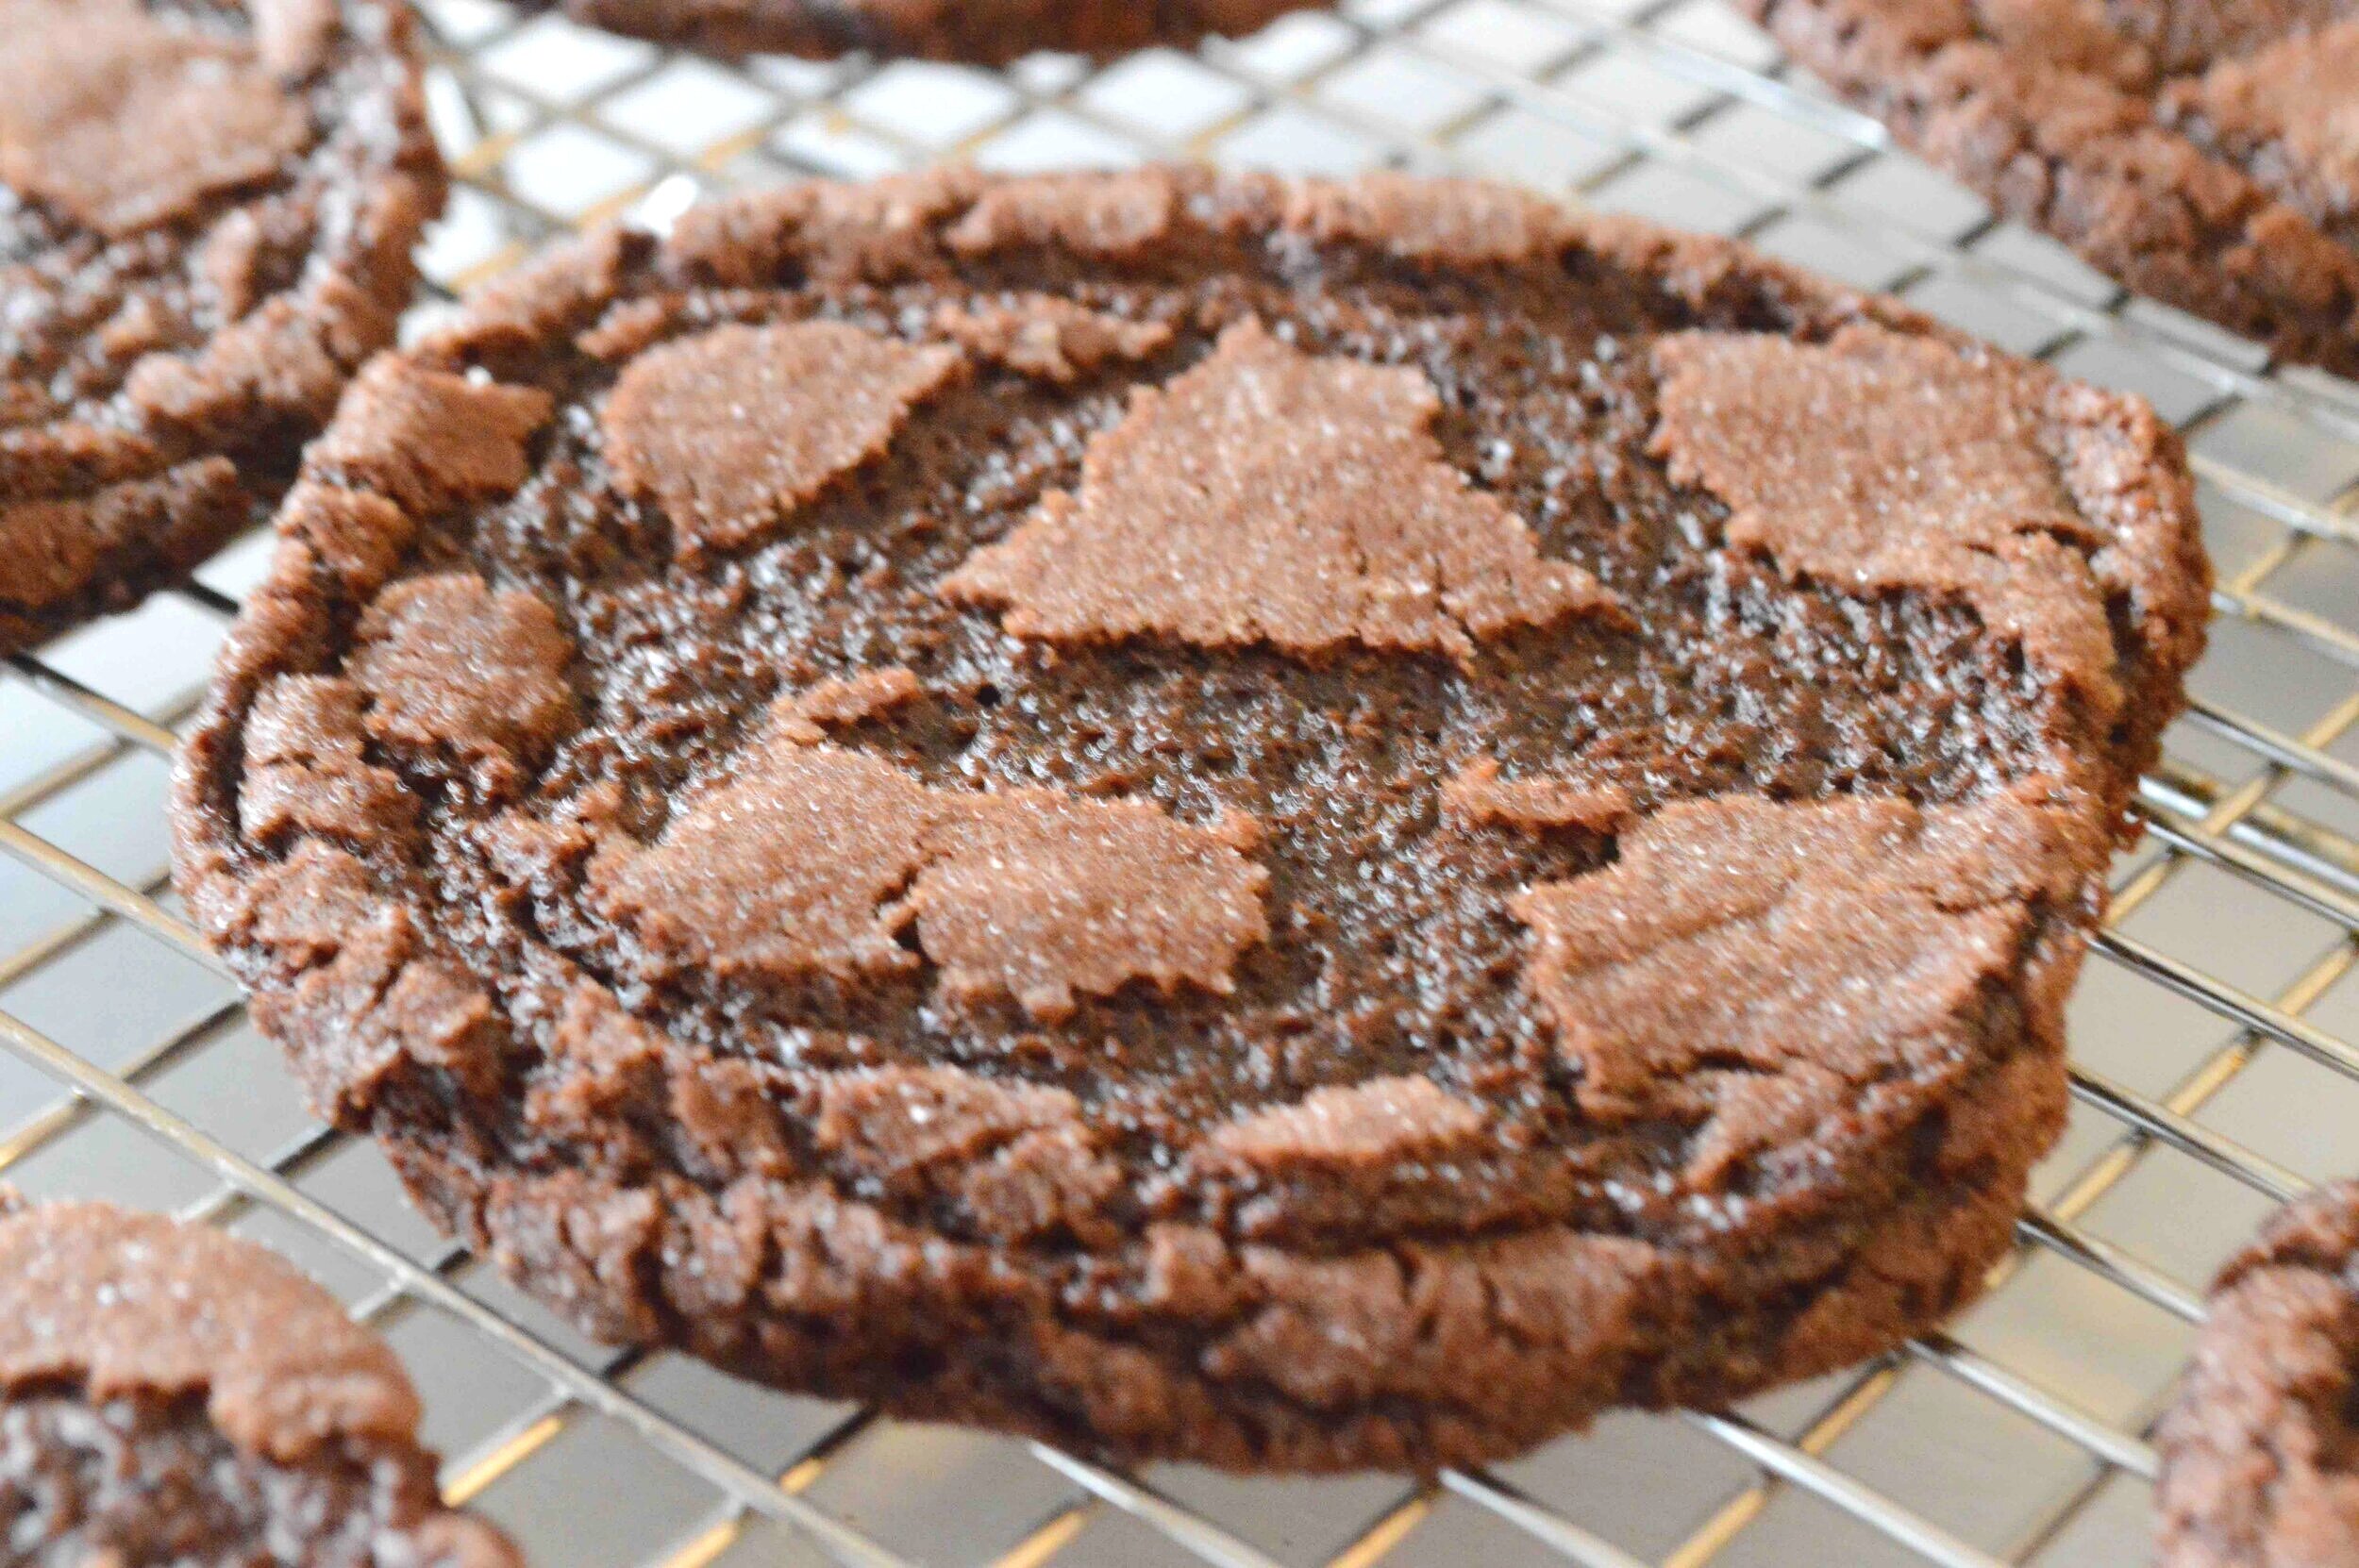
Fortunately, you’re in the home stretch now. All that’s left to do is shake on some decorative sugar or sprinkles (but only on 1/2 the cookies) and bake.
Let them cool—
And then make the sandwiches!

Oh, and then the cookies have to hang out in the fridge for about an hour to let the filling set! But what’s one more hour at this point?

Once you bite into one of these addictive little guys, you’ll be a slave to them forever!!
Happy baking!
Chocolate Sandwich Cookies
Makes about 3 ½ dozen cookies
You will need a 1 1/2- 1 3/4 -inch round fluted (or not ) cookie cutter
Prep Time for dough: 15 minutes, plus at least 3 hours chilling time and u to 2 days; Rolling and cutting out time: 15 minutes, plus 10 minutes freezing time; Prep Time for Ganache: 5-7 minutes, plus 30 minutes chilling time; Bake Time for cookies: 10-12 minutes; Assembly Time: 10 minutes, plus 1 hour chilling for cookies to set up
Ingredients
For the dough
2 cups unbleached, all-purpose flour
1/2 cup unsweetened Dutch-process cocoa
1/2 teaspoon baking powder
½ teaspoon salt
2 sticks (½ pound) unsalted butter, room temperature
¾ cup sugar
1 large egg yolk
1 teaspoon vanilla extract
For the ganache
1/2 cup heavy cream
1 ½ tablespoons light corn syrup
3/4 pound good quality white chocolate, melted (I used Ghirardelli)
2 tablespoons unsalted butter, softened
2 teaspoons vanilla extract
Decorative sugar (optional)
The Recipe
To make the dough: Whisk the flour, cocoa, baking powder and salt together in a medium bowl.
Use an electric mixer to beat the butter and sugar together until light and fluffy, then beat in yolk and vanilla. Turn mixer down to low speed and add flour mixture in batches, scraping the bowl between additions and mixing only until just incorporated.
Turn dough out onto the counter or board and divide in half. Use your hands to form each half into a 6-inch square, Wrap each square in plastic wrap and chill for a few hours, until firm. You can make this up to 2 days ahead and keep chilled.
To make the ganache: Place the cream and corn syrup in a small heavy saucepan and bring to just a simmer. Meanwhile, place the melted white chocolate into a small bowl. When cream mixture is simmering, stir into the chocolate. Then add in the butter and vanilla and stir until smooth. Cover the surface with a piece of parchment paper, pressing down like you would for pudding and place in the fridge. Let chill for at least 30 minutes, stirring occasionally, until very thick and stiff. You can make this one day ahead and bring to room temperature before using.
When you are ready to bake the cookies, preheat oven to 350ºF and line 2 cookie sheets with parchment paper.
If you have chilled the dough for a really long time, it may be too hard to work with at first so let it sit out for 15-20 minutes to soften up. Unwrap from plastic wrap and place one of the dough squares between two sheets of parchment paper. Use a rolling pin to roll out the dough to a 14x10-inch rectangle so that dough is somewhere between 1/4-inch to 1/8 inch thick. Then place on a cookie sheet and stick in the freezer for 10 minutes. Repeat the process with the other piece of dough.
Remove one of the doughs from the freezer and quickly use a 1 1/2-1 3/4-inch round fluted (if you have it) cookie cutter to cut out as many circles as you can and transfer them to the baking sheet, about 1/2-inch apart. Gather together the dough scraps, form into a disk and place between the 2 sheets of parchment. Roll out again and chill for a few minutes (if you don’t the dough gets too soft to cut out). Repeat with remaining dough.
If you want to use the sprinkles or decorative sugar, sprinkle half of the cookies with it, since you’ll be sandwiching them together and bake for 10-12 minutes, until the cookies are puffed and completely baked through. Let cool on a wire rack on the tray for a few minutes, until cookies are firm enough to handle. Then transfer to the rack using a spatula—be careful—these are delicate until they have cooled completely.
Continue to roll out, cut out and bake the cookies until all the dough is used up. When all of the cookies are cooled, you can finish up the ganache.
Remove the ganache from the fridge and scrape off any of it that is sticking to the parchment paper covering the surface. Use an electric mixer to beat the ganache at high speed until it’s light and fluffy and very spreadable. Spread a little ganache onto the flat side of the non-sprinkled cookies and then top with a sprinkled one to make a sandwich. Place the cookies in a single layer in an airtight container, layering with sheets of parchment paper between them to prevent sticking and chill the cookies for at least 1 hour to allow them to set up. I like to eat these best when they’re cold and they will keep for about a week in the fridge, but if you like them at room temperature, you can store them in an airtight container for 3-4 days that way.
Enjoy!
Note: Recipe adapted from a 2007 edition of Gourmet Magazine.