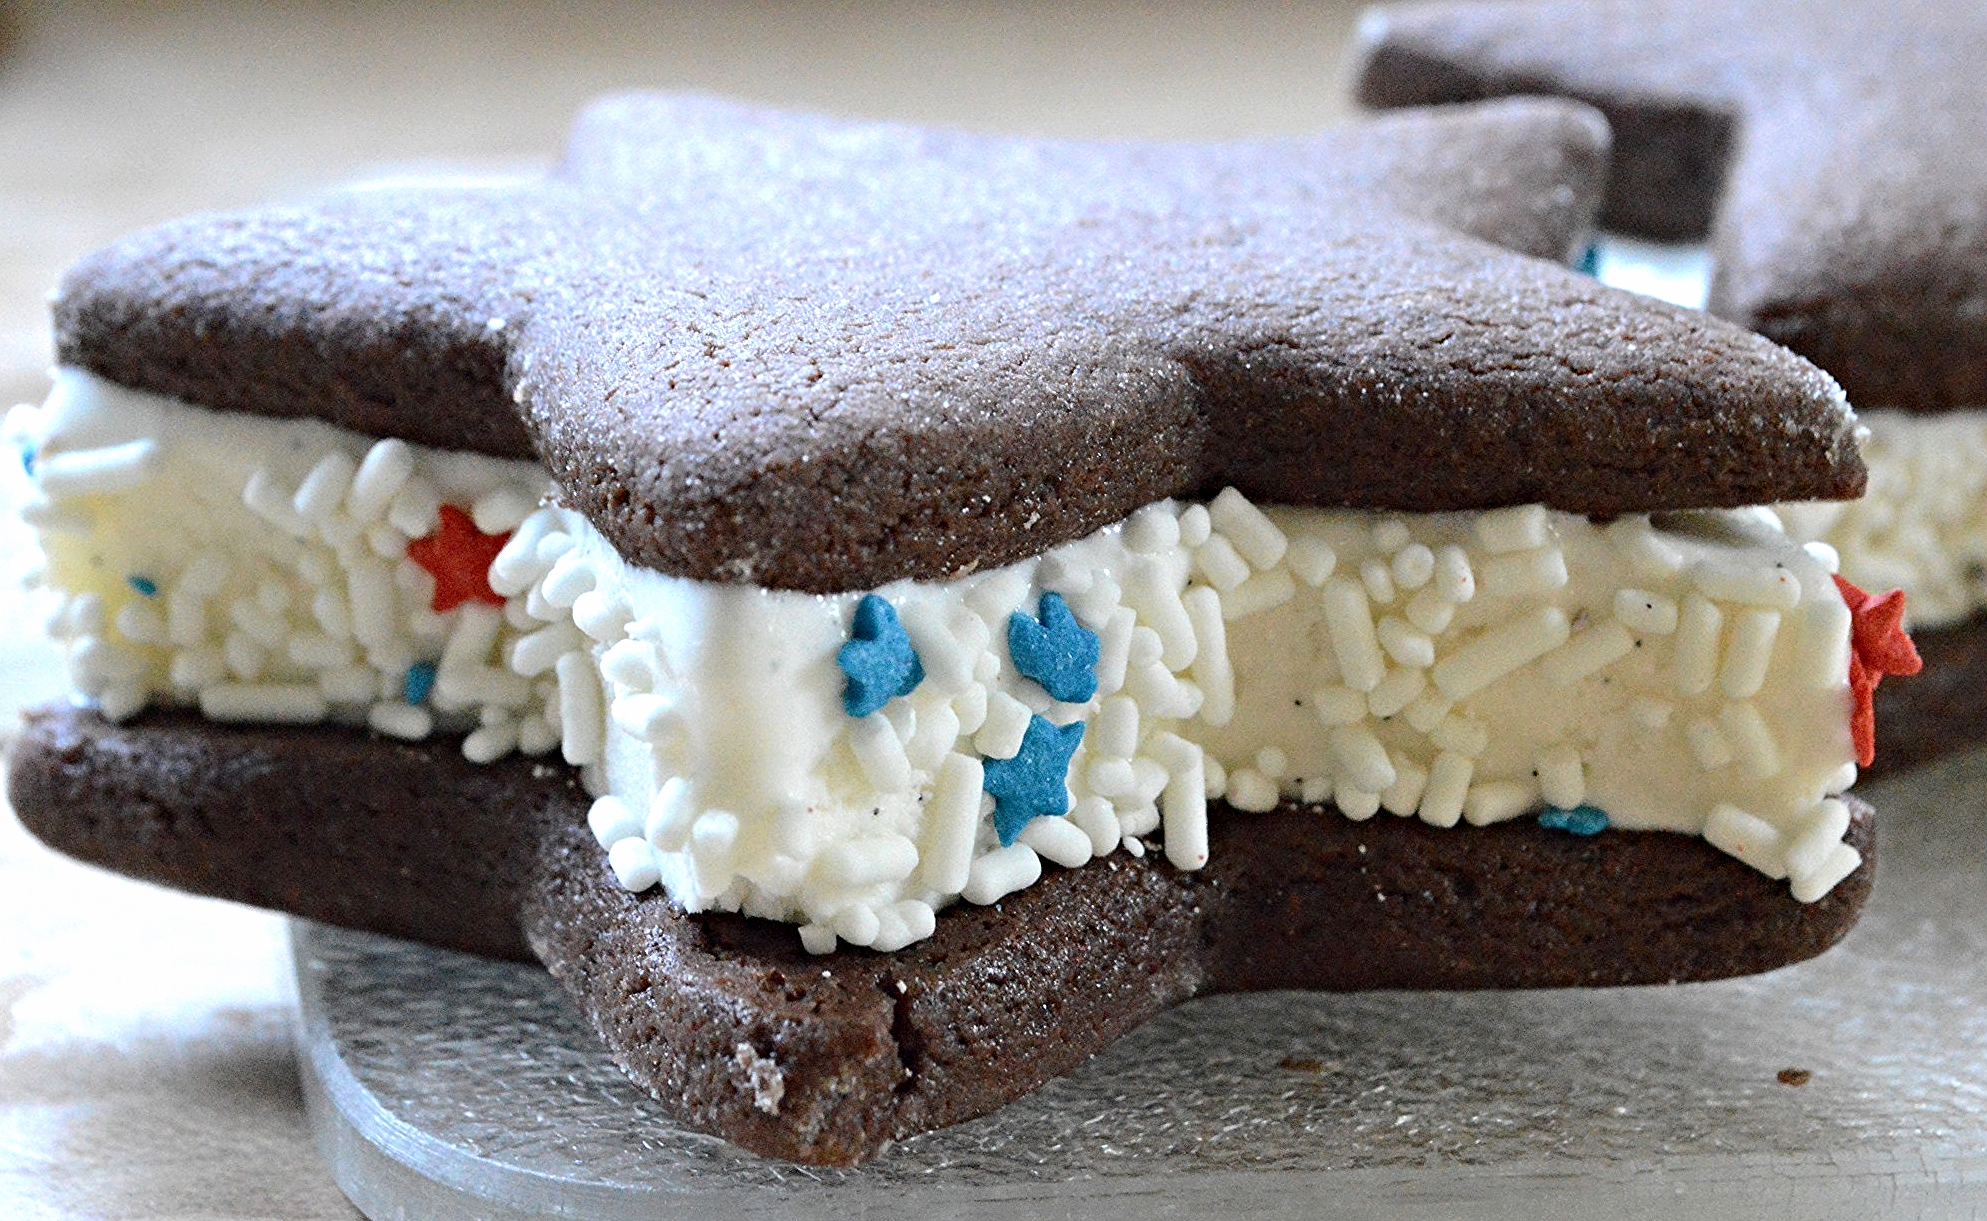
Brownie Ice Cream Sandwiches (with optional chocolate dipping sauce, but not really)


So...somebody told me it's Memorial Day this weekend and I was like WHA-A-AT?!!! Already?!! My, I've been a little preoccupied. Anyway, since it's the official start of the summer (although I think they're predicting wet weather for us) I thought I'd share one of my family's favorite summertime treats. These are easy to make and addictively delicious. Who doesn't like a brownie ice cream sandwich, especially when the brownie is fudgy and chewy at the same time and the perfect counterpoint to cool, creamy vanilla ice cream? There's an optional chocolate dipping sauce that no one in my crew would dream of going without, but I have to say that these little ice cream treats are pretty fabulous on their own too. In any case, I know it's kind of last minute, being that it's Saturday and all and you're likely set on weekend plans, but in case you're not, you can throw these together in just a few minutes with mostly pantry staples. The hardest part is waiting for the ice cream to refreeze so that you can cut them into little squares and dip into the silky, smooth, rich, dark chocolate sauce. YUM!! Have a great holiday weekend!!

Brownie Ice Cream Sandwiches (with optional chocolate dipping sauce, but not really)
Makes at least 18 small sandwiches and up to 24 depending on how you cut them
Prep Time for brownies: 10 minutes; Bake Time: 24-25 minutes; Assembly Time: 5-7 minutes; Chilling Time: at least 4 hours and up to 5 days ahead
Ingredients
For the brownies
- 1 1/4 cups unbleached, all-purpose flour
- 3/4 cup unsweetened cocoa powder
- 1 teaspoon baking powder
- 1/2 teaspoon baking soda
- 1/2 teaspoon salt
- 1 1/2 cups sugar
- 6 tablespoons vegetable oil
- 2 large eggs
- 3/4 cup warm water
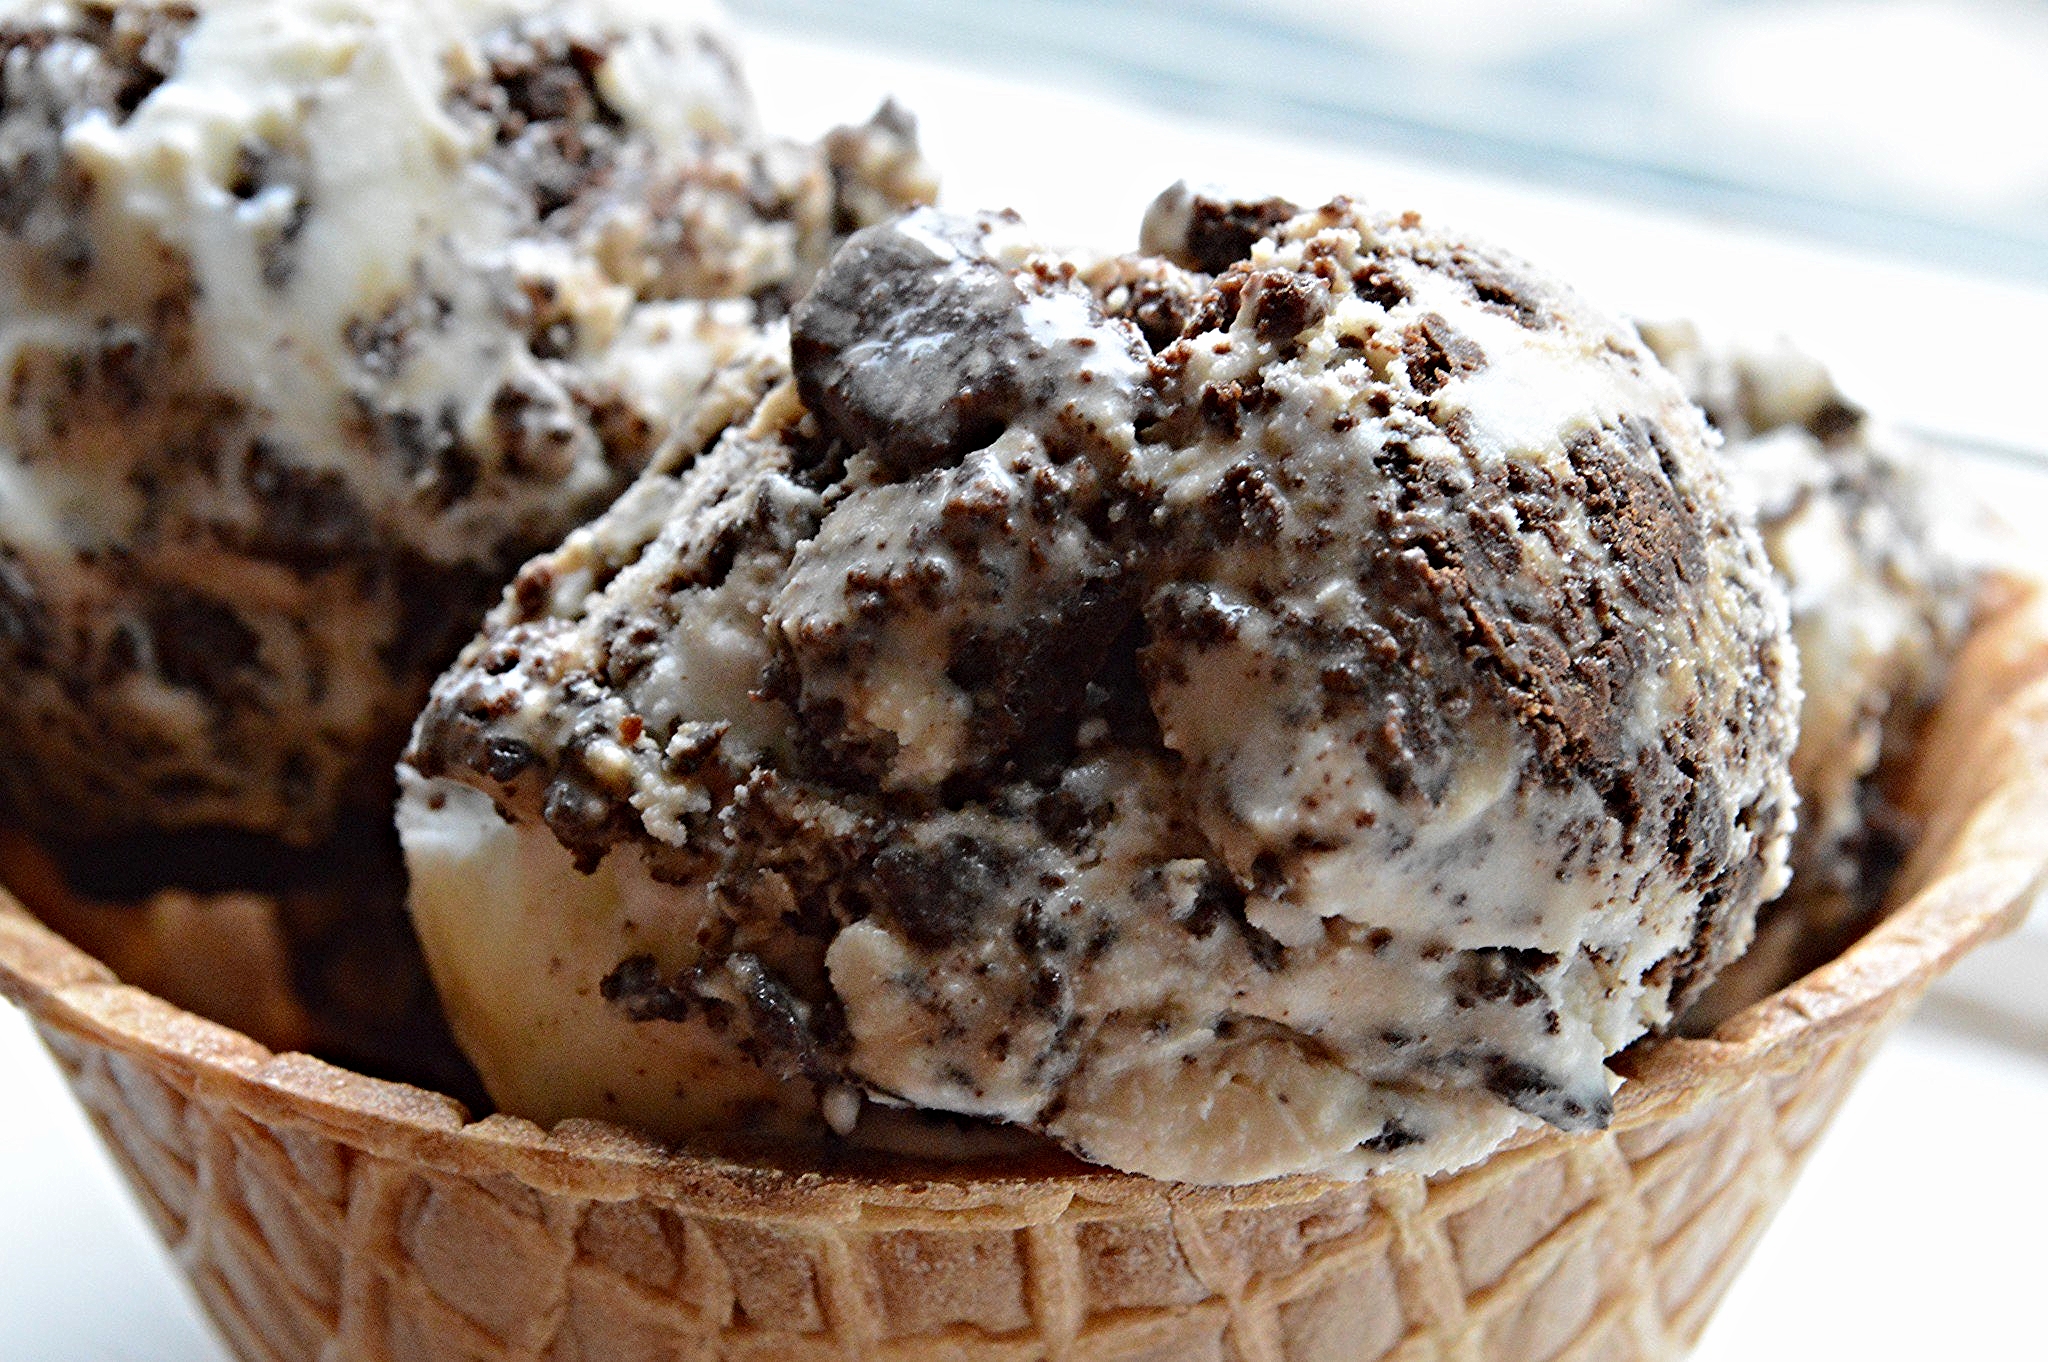
1 quart good-quality vanilla ice cream or this homemade version
For the chocolate dipping sauce
- 1 pound bittersweet or semisweet chocolate, chopped
- 1/2 cup boiling water
4 tablespoons unsalted butter, room temperature
The Recipe
1. Preheat oven to 325ºF. Spray a jelly roll pan (15x10x1-inch) with nonstick cooking spray and line the pan with parchment paper. Spray the parchment paper as well and set aside.
2. In a large bowl, whisk together the flour, cocoa, baking powder, baking soda and salt.
3. In a separate large bowl, use an electric mixer to beat the sugar and oil together. Beat in the eggs one at a time. Then in 3 additions, alternating with the 3/4 cup warm water, beat in the dry ingredients, scraping down the sides of the bowl as necessary with a rubber spatula, until there are no traces of flour visible. Pour the batter into the prepared pan and smooth the top.
4. Bake for 24-25 minutes, or until a tester inserted into the center comes out clean. Cool the cake in the pan on a rack.
5. Line another large rimmed baking sheet with plastic wrap and invert the cooled brownie cake onto it. Peel off the parchment. Chill the cake for about 20 minutes or so to make it easier to cut. Then use a sharp knife to cut the cake in half crosswise. Spread the softened ice cream evenly across one half. Top with the other half and use the plastic to wrap up the cake (you may need to cover it all with another piece). Place the baking sheet with the cake into the freezer and let chill at least 4 hours until the ice cream is fully frozen or up to 5 days.
6. Meanwhile make the chocolate dipping sauce: Place a couple of inches of water in the bottom of a double boiler and bring to a simmer. Place the chocolate in the bowl of the double boiler and place over the simmering water, making sure that the water does not touch the bottom of the bowl. Stir the chocolate frequently until melted and smooth. Add the boiling water and stir until smooth. Then stir in the butter and stir until smooth.
7. Cut the brownie cake into small squares and serve as is or with the optional but not really dipping sauce--you will likely have extra dipping sauce leftover. That is not a bad thing.
Enjoy!
Note: Recipe adapted from 2004 edition of Bon Appétit Magazine.