Baked Alaska


Happy Everything!!! Feels like we haven’t talked in forever!! With Christmas done and Hanukkah almost through too, it’s time to face that annual dreaded question, “what are we gonna do for new year’s?!” Now I may not be able to help you on the “what to do” front, but I know exactly what you should be eating: this divinely delicious Baked Alaska! Guys, there are three layers here—a fudgy chocolate cake one, a cool, creamy ice cream one and then the whole thing is covered in a crunchy and chewy marshmallowy meringue. I can’t think of a better way to ring in 2020, can you?!!
Baked Alaska has long been on my bucket list but I’ve always thought of it more as a fancy “restaurant dessert” that just wouldn’t work out right at home somehow. Now I’m seriously kicking myself for never attempting to make this before because it’s not difficult at all. Yes, there are a bunch of steps, but you can spread them out over the course of a few days (or even weeks) and none of the steps require intricate baking skills or hard-to-find ingredients.

You start with a chocolate cake base, but this isn’t just any ordinary chocolate cake. No sirree! This flourless beauty is more like a dense, intensely chocolatey, chocolate brownie. That’s because there is not only a hefty 8 ounces of melted bittersweet chocolate in the batter but unsweetened cocoa powder as well! It’s Chocoholic heaven!! And even when it’s frozen it stays soft enough to eat!
Anywho, while all that chocolate melts, you cream the butter and cocoa powder together—

Adding eggs and sugar in the process—

Before mixing everything into all that rich, dark chocolate.

Then you whisk beaten egg whites into the whole thing to lighten the batter up a bit—

And bake.

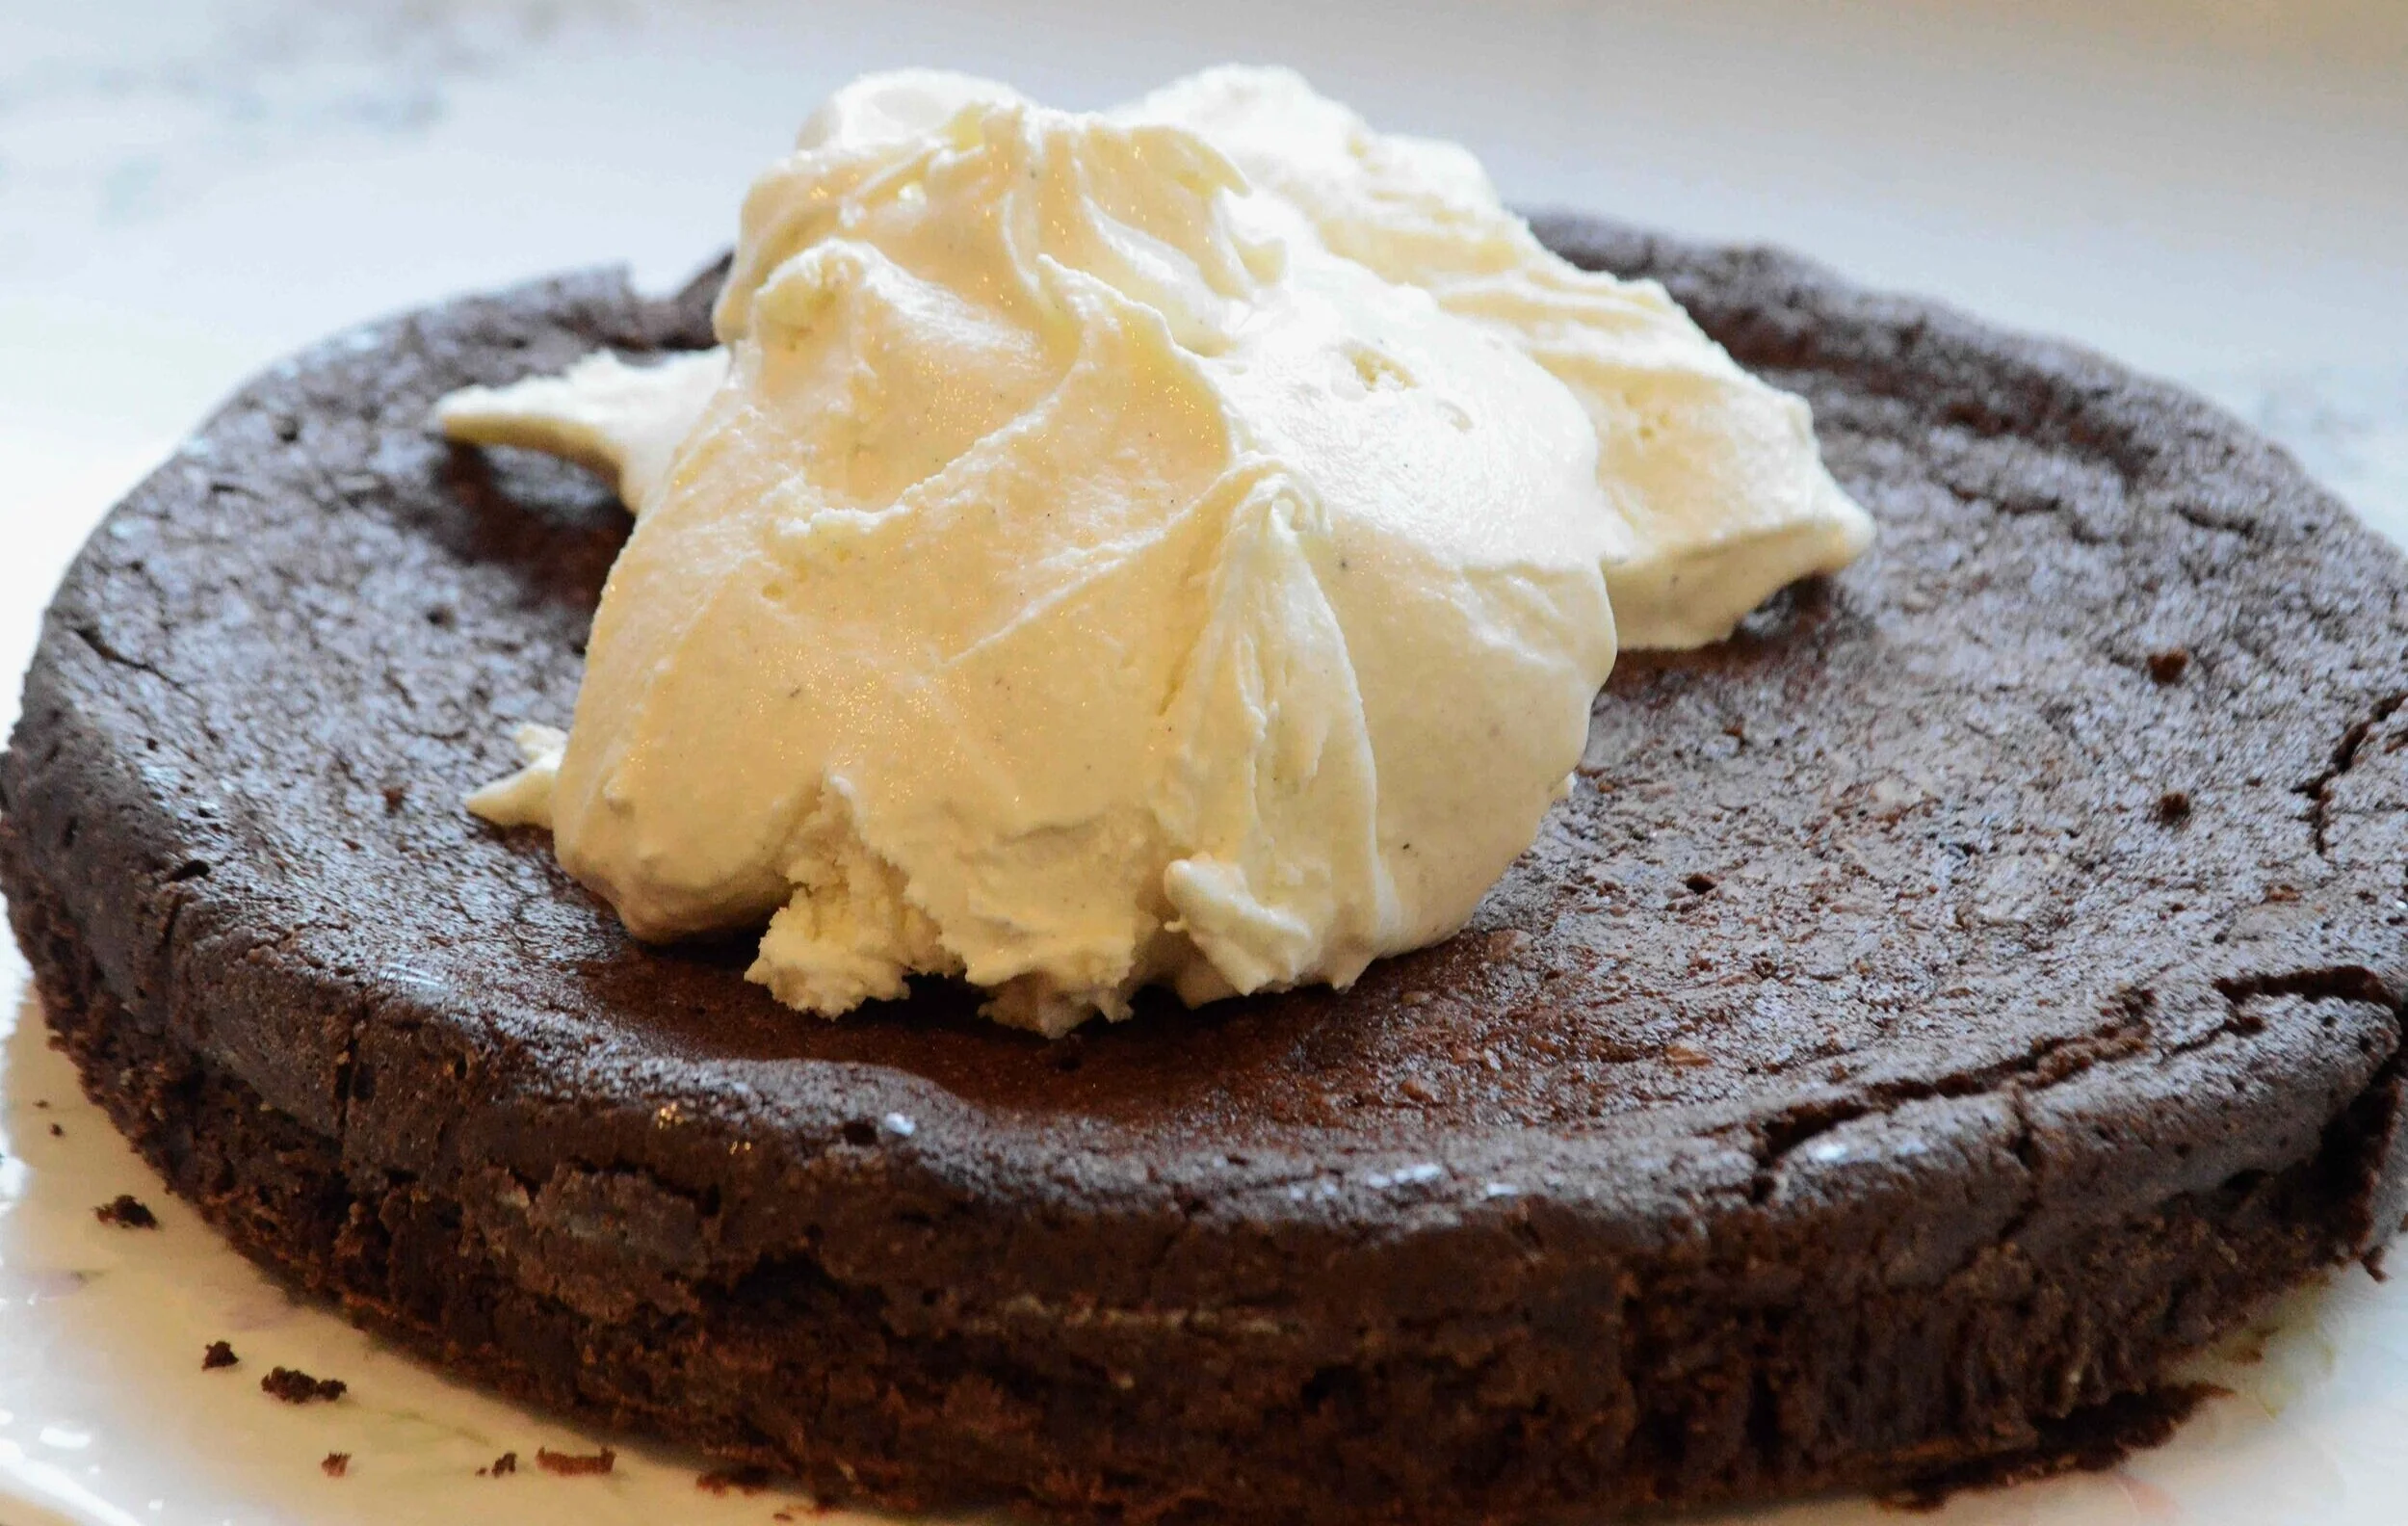
As the cake cools, the center sinks, which makes it a perfect little bowl for ice cream!
After a stint in the freezer, you make a cooked meringue which is nothing more than whisking some egg whites and salt in a double boiler and then beating them to shiny peaks with some sugar. Easy-peasy!

Now comes the fun.
You pile that meringue atop the ice cream—

Spreading it out into a swirly layer so that everything gets covered.

To finish things off—you pop the whole thing into the oven for a few minutes and…magic happens. The meringue gets golden and crisped on top while the ice cream stays frozen inside. Get ready for some serious oohs and aahs!

And now comes the best part of it all—the eating part! In every bite you get decadent, chocolate cake, sweet, creamy cold ice cream and pillows of crispy, gooey meringue. It’s literally happiness in every bite!

And now that we’ve at least gotten the dessert part of new year’s eve covered, does any other part of the night really matter?!! You can see where my mind is! Happy New Year’s!!!
Baked Alaska
Makes 8-10 servings, one 9-inch cake
Prep Time for cake: 20 minutes; Bake Time: 35-40 minutes, plus at least 4 hours of chilling; Prep Time for Filling: 10 minutes, plus at least 2 hours freezing; Prep Time for meringue: 15 minutes, plus a few minutes in the oven
Ingredients
For the cake
4 large eggs
8 ounces bittersweet chocolate, coarsely chopped
15 tablespoons unsalted butter, a little softer than room temperature but not runny
2 tablespoons unsweetened cocoa powder, sifted (after measuring)
⅓ cup plus ¼ cup sugar
Pinch of fine sea salt
For the filling
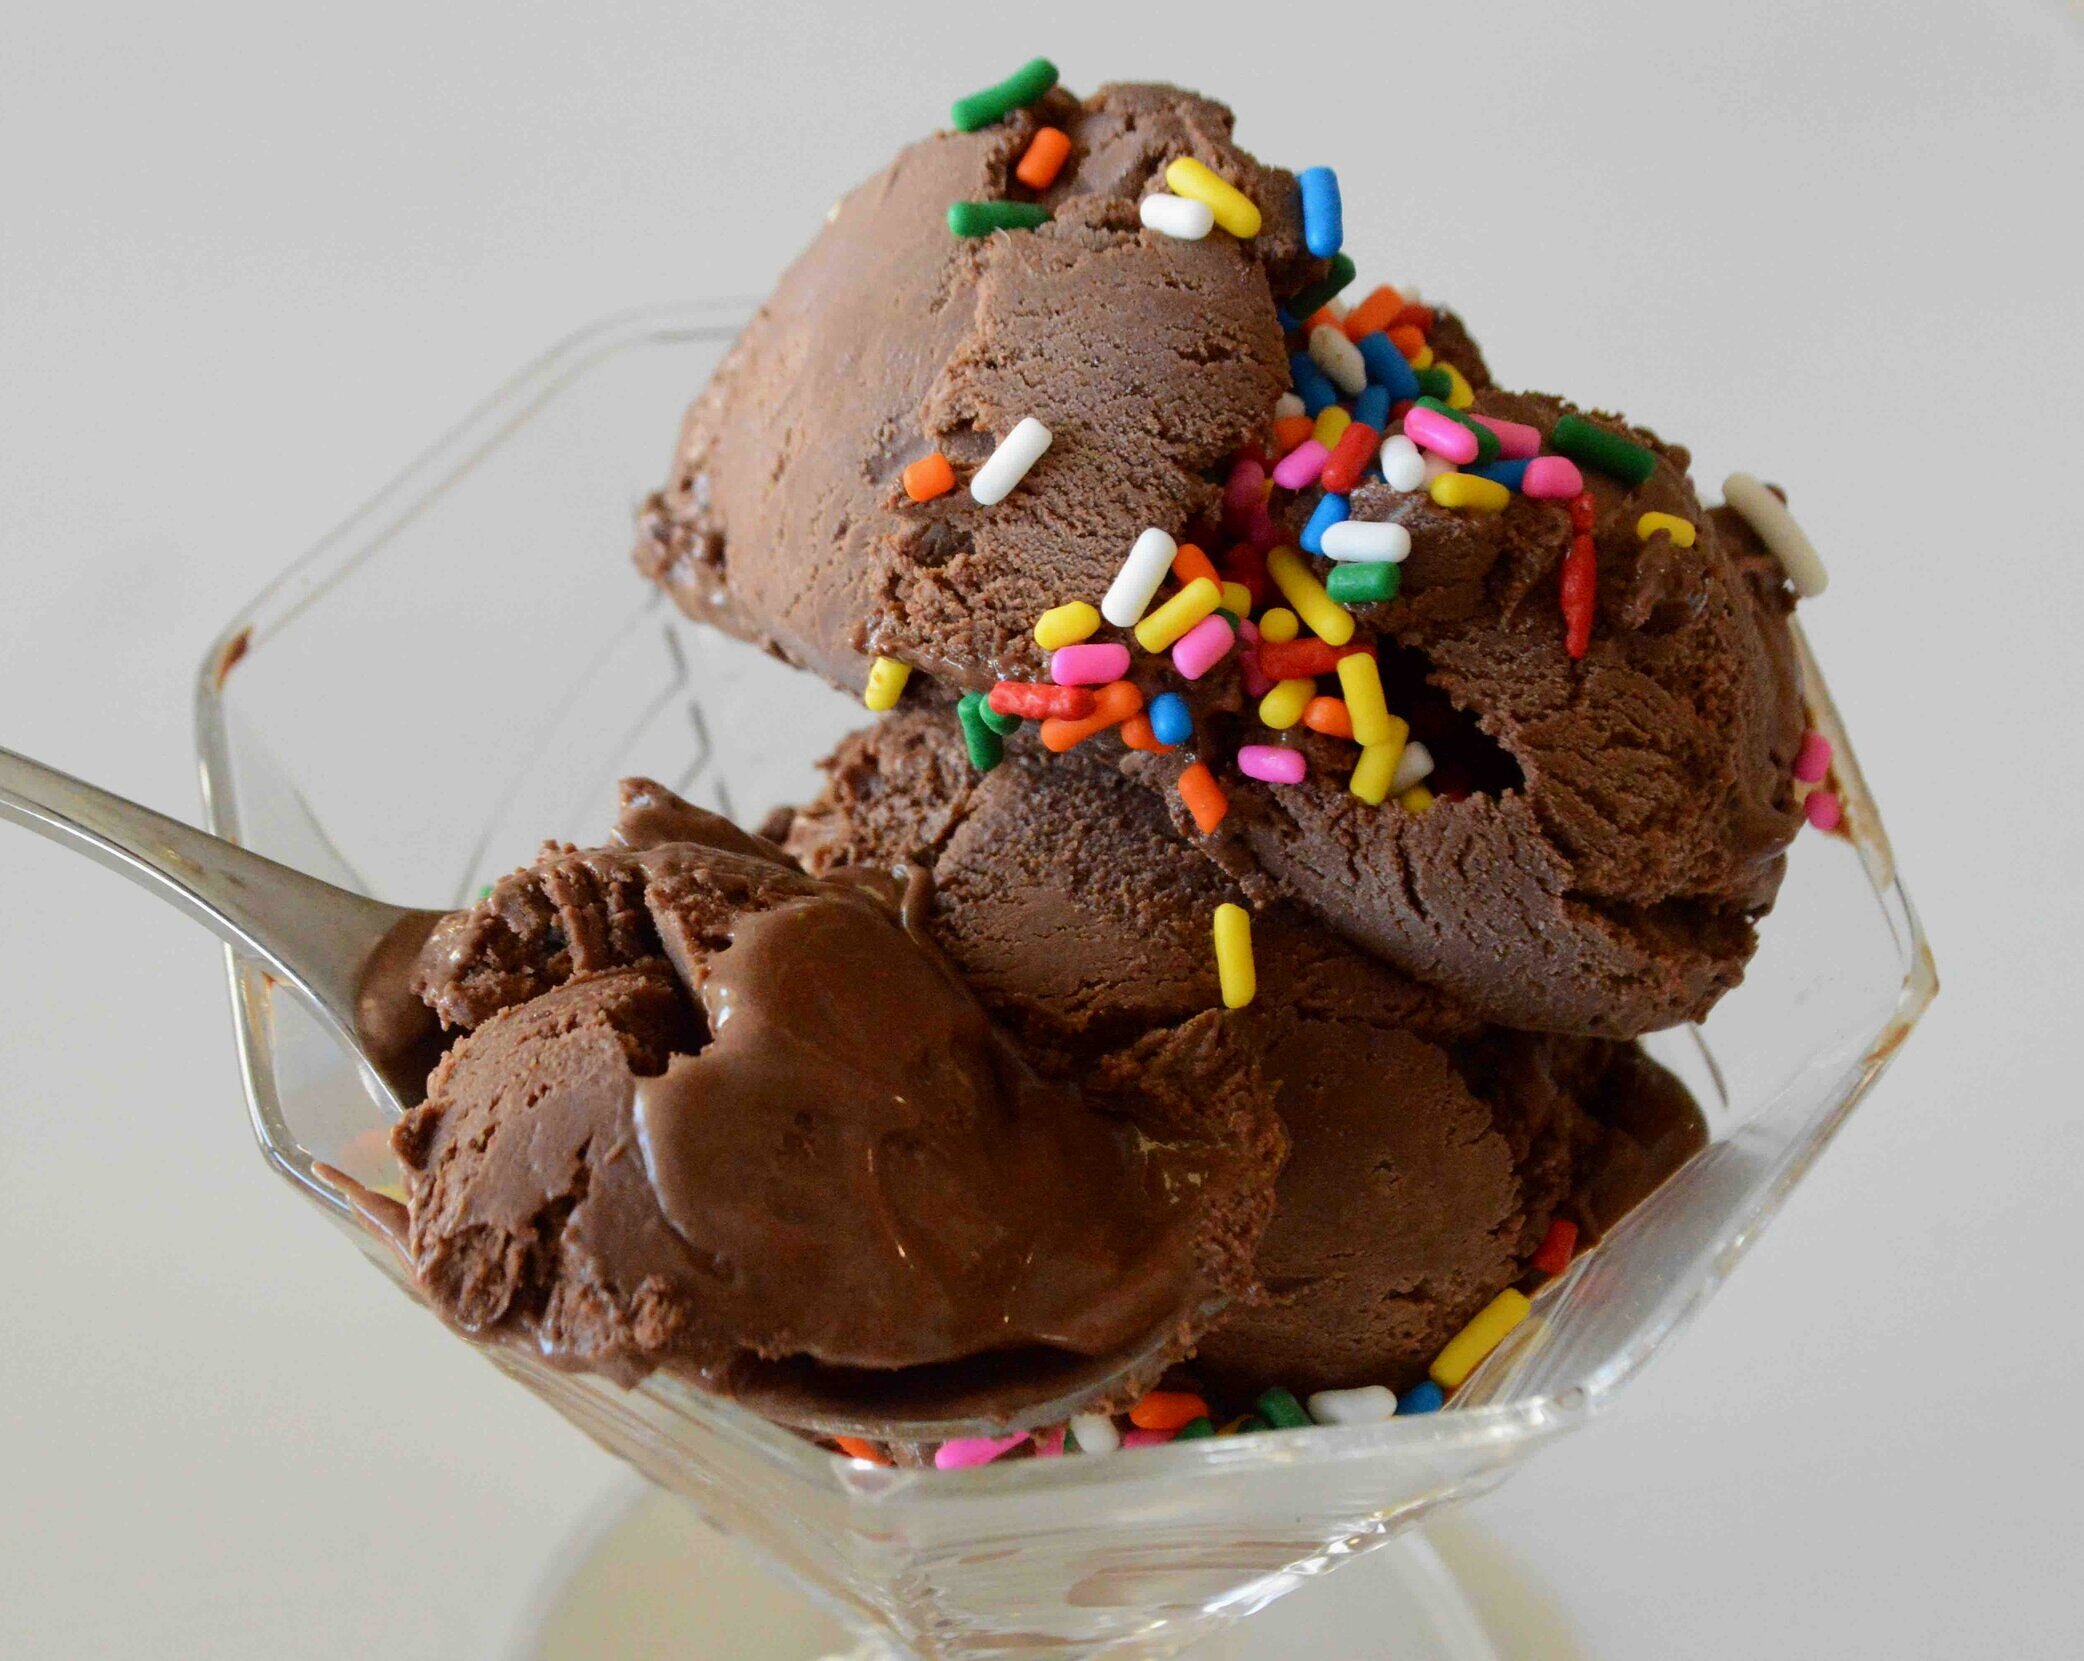
2 pints ice cream (I used vanilla)
For the meringue
3 large egg whites
Pinch of fine sea salt
¾ cup sugar
The Recipe
1. For the cake: Make sure rack is centered in the oven and preheat to 325ºF. Butter a 9-inch springform pan and line the bottom with a round of parchment paper. Butter the paper and dust the whole thing with flour, knocking out the excess. Place the pan on a parchment lined baking sheet and set aside.
2. Place one of the eggs in a medium bowl. Separate the other three, placing the yolks in the bowl with the whole egg and the whites in the bowl of the stand mixer or another mixing bowl.
3. Place the chocolate in the bowl of a double boiler. Place an inch or two of water in a saucepan and bring the water to a simmer. Set the bowl with the chocolate on top of the simmering water (without letting the water tough the bottom of the bowl) and heat the chocolate just until it’s melted, stirring every now and then. You don’t want the chocolate to get too hot. Remove the bowl from the heat and set aside to cool for 5 minutes.
4. While the chocolate is cooling, place the butter in a medium bowl and use a rubber spatula to work the butter, mashing it up, until it is the consistency of soft mayonnaise and very smooth. Add the strained cocoa and work it in until it is well blended and smooth.
5. Add the ⅓ cup sugar to the bowl with the egg and yolks and whisk for about 1 minute, until the mixture lightens and thickens a bit.
6. Add the salt to the egg whites and use an electric mixer to whip then on high speed for about 30 seconds, until they are opaque. Then add the ¼ cup sugar and beat at high speed until you have shiny peaks.
7. Add the cocoa-butter mixture to the cooled chocolate and use a spatula to gently stir it together until it looks like a thick, shiny ganache. This will take a few minutes. Add in the egg and yolk mixture, stirring and folding until fully incorporated and the batter looks like brownie batter. Stir a little bit of the egg whites in to lighten the mixture and then gently fold in the remaining whites until well incorporated. Scrape the mixture into the prepared pan and smooth the top.
8. Bake for 35-40 minutes until a tester inserted into the center comes out with just a few moist crumbs stuck to it. Transfer the cake to a wire rack to cool. You will see that it has risen and cracked a bit. That’s good. As it cools the center will sink to form a little crater. That’s good too. That’s where the filling will go. Let the cake cool completely.
9. To unmold the cake, run a butter knife between the edges and turn on a burner. Hold the cake about a foot above the heat for about 5 seconds or so—this will help to allow the cooled butter to melt just enough to release the cake easily from the pan. Remove the sides of the springform, and invert onto a cooling rack. Remove the bottom of the pan and peel off the parchment paper. Then invert the cake onto a serving plate (make sure this is oven safe) and cover the cake with plastic wrap. Place in the fridge for at least 4 hours or in the freezer for 2 hours. You can definitely make this several days ahead and leave chilled or frozen until ready to use.
10. To make the filling: Turn the ice cream out into a big bowl and let it soften for 5-10 minutes, until it is soft enough for you to mush it around. Remove the chilled cake from the fridge or freezer, unwrap it and fill the center with the softened ice cream, spreading it out evenly. Freeze the cake uncovered until the ice cream has set (this was about 30 minutes for me) and then cover it until it’s really frozen, about 2 hours more. You can also make the whole dessert up to this point about a week ahead and keep well wrapped, doing the meringue part just before serving.
11. For the meringue: When you are ready to serve the cake, preheat oven to 500ºF and line a baking sheet with parchment paper. Set aside. Place an inch or two of water in a saucepan and bring the water to a simmer. Place the egg whites and salt in a bowl that fits over the saucepan (either the bowl that fits with your stand mixer or a bowl you will use with a handheld mixer) and whisk the whites to blend. Add the sugar and whisk it in, whisking constantly for about 5 minutes, until the whites are thickened a little, turn ivory colored and are hot. Remove the bowl and use the electric mixer on medium-high speed to whip the cooked whites into a marshmallowy consistency. They will cool down from this too.
12. Quickly remove the cake from the freezer and put it on the lined baking sheet. Cover the cake with the meringue all over it, especially making sure to spread it down the sides so that it touches the baking sheet because meringue has a tendency to shrink when you cook it. If you like you can return the whole thing to the freezer now and bake it right before serving. If it’s only going to be a hour or two, you can leave it uncovered. If it’s longer than that (and the recipe says you can do this part too up to one week ahead but I haven’t tried it that way yet) let the meringue set and then wrap the cake well again.
13. When ready to serve the cake, place the whole thing in the oven for about 5 minutes, until the meringue begins to get a bit colored. Remove from the oven and immediately cut into wedges and serve.
Enjoy!
Note: Recipe adapted from Baking Chez Moi with Dorie Greenspan. I didn’t really tinker with this too much—the recipe is pretty much perfection.