All Butter Pie Crust + The Rules
Good Monday morning to you all and welcome to Pie Week. Yup, that’s right, a whole week that’s dedicated to the making of homemade pie. Are you jumping for joy? Smiling nervously? Ready to hit unsubscribe? Please, stick with me! No matter where you fall on the homemade pie baking spectrum, I promise it’s going to be a fun and entirely doable enterprise. And with Thanksgiving just around the corner, there’s no time to waste, so let’s get this pie party started!
First up, let’s talk pie crust. Hands-down, you can’t beat the taste and flaky consistency of homemade. But I totally get it. It can be an intensely frustrating and elusive process which seems crazy, cause it’s made from the most basic ingredients and doesn’t require any fancy techniques or equipment. I’ve certainly had my fair share of tough, leaden crusts or ones that tore when I rolled them out or shrank (is that a word?) down the sides of the pie plate. Not fun!!
But I promise you that with a little practice and the following of the few simple rules below, it’ll be as easy as pie! LOL!
Before we get to those though, I just want to say that I now almost exclusively use this all-butter version. It’s got a great mouth feel and results in a super-flaky, golden brown crust each and every time, but I have also had great success using half butter/half shortening—really it’s just a matter of what you prefer—the rules of pie dough apply to both.
PIE DOUGH RULES
1. RESIST THE URGE TO OVERMIX THE DOUGH
This is probably the hardest step to conquer. However you mix your dough up, either in a food processor, electric mixer or by hand, you want to stop when it looks kind of like a crumbly, streusel topping. Like this—

I know it is counterintuitive. I know you want to add more water to make it look more “dough-like” but if you can take the leap of faith not to keep adding more liquid or continuing to work the dough at this step, you’ll allow the butter (or fat) to melt during baking and release steam which will create air and make your crust light and flaky.
If you can squeeze a clump together, like this and still see some chunks of butter that remain—

The dough is ready to be gathered together and flattened into a disk to rest and chill—

2. COLD IS YOUR FRIEND
As important as not overmixing is staying chilled, literally!! That means keeping all elements cold— your counter, ingredients, hands, heart (just kidding!). No, but seriously, cut up your butter into little cubes and chill them before you incorporate them into the flour. Make sure your water is ice cold. And try not to work the dough with your hands too much because the heat of your hands will melt the butter which will result in less air pockets when the dough bakes.
Finally, don’t skip any of the dough chilling steps no matter what or you’ll regret it!!
3. BUT DO YOU LET YOUR PIE DOUGH WARM UP A BIT BEFORE YOU BEGIN ROLLING IT OUT.
Again, I know this contradicts everything I just said, but if you try to roll out dough that is too cold and stiff, it’ll break and crack and lead to a big old kitchen tantrum, so after you’ve let it chill in the fridge, remove it and don’t start to work it until it’s slightly flexible. Remember, you can always return it to the fridge if it seems too warm.
4. ROLL FROM THE CENTER OUT AND TO THE CORNERS, NOT UP AND DOWN.
I don’t know the scientific reason for why this works, but I just know it does. Also, as you’re rolling out, give the dough little quarter turns to keep it from sticking and to help you roll it out into a more circular shape.

5. STRETCHING MAY BE GOOD FOR YOUR MUSCLES BUT NOT FOR YOUR PIE DOUGH
Do not stretch or pull your dough!! Not even a little bit!! Sorry, don’t mean to yell but if you force the dough to fit into the pie plate by stretching it, it will shrink down the sides when you bake it and that is just too sad to contemplate. As you fit the dough into the pie plate, just lift and gently press down, ok?

5. WHEN IN DOUBT, BLIND BAKE PARTIALLY
In case you don’t know what blind baking is, it’s basically just a fancy way of talking about baking a pie crust without the filling inside. This is necessary when you’re going to fill a crust with something that doesn’t need to get cooked, like chocolate pudding or some other custard.
Partially blind baking a crust is when you bake the crust only a little because you are going to add a filling that will get baked and you want to prevent the crust from getting soggy. Certain very wet fillings just don’t let the bottom of the crust ever get fully cooked.
What you do, is to line the crust into the pie plate, place a piece of foil on top of the crust and then weight it down with pie weights or dried beans. After the crust has baked, you remove the foil and weights and either return it to the oven to allow it to finish baking fully and get all golden brown so that you can later add an already cooked filling or add the uncooked filling and bake the pie in its entirety.

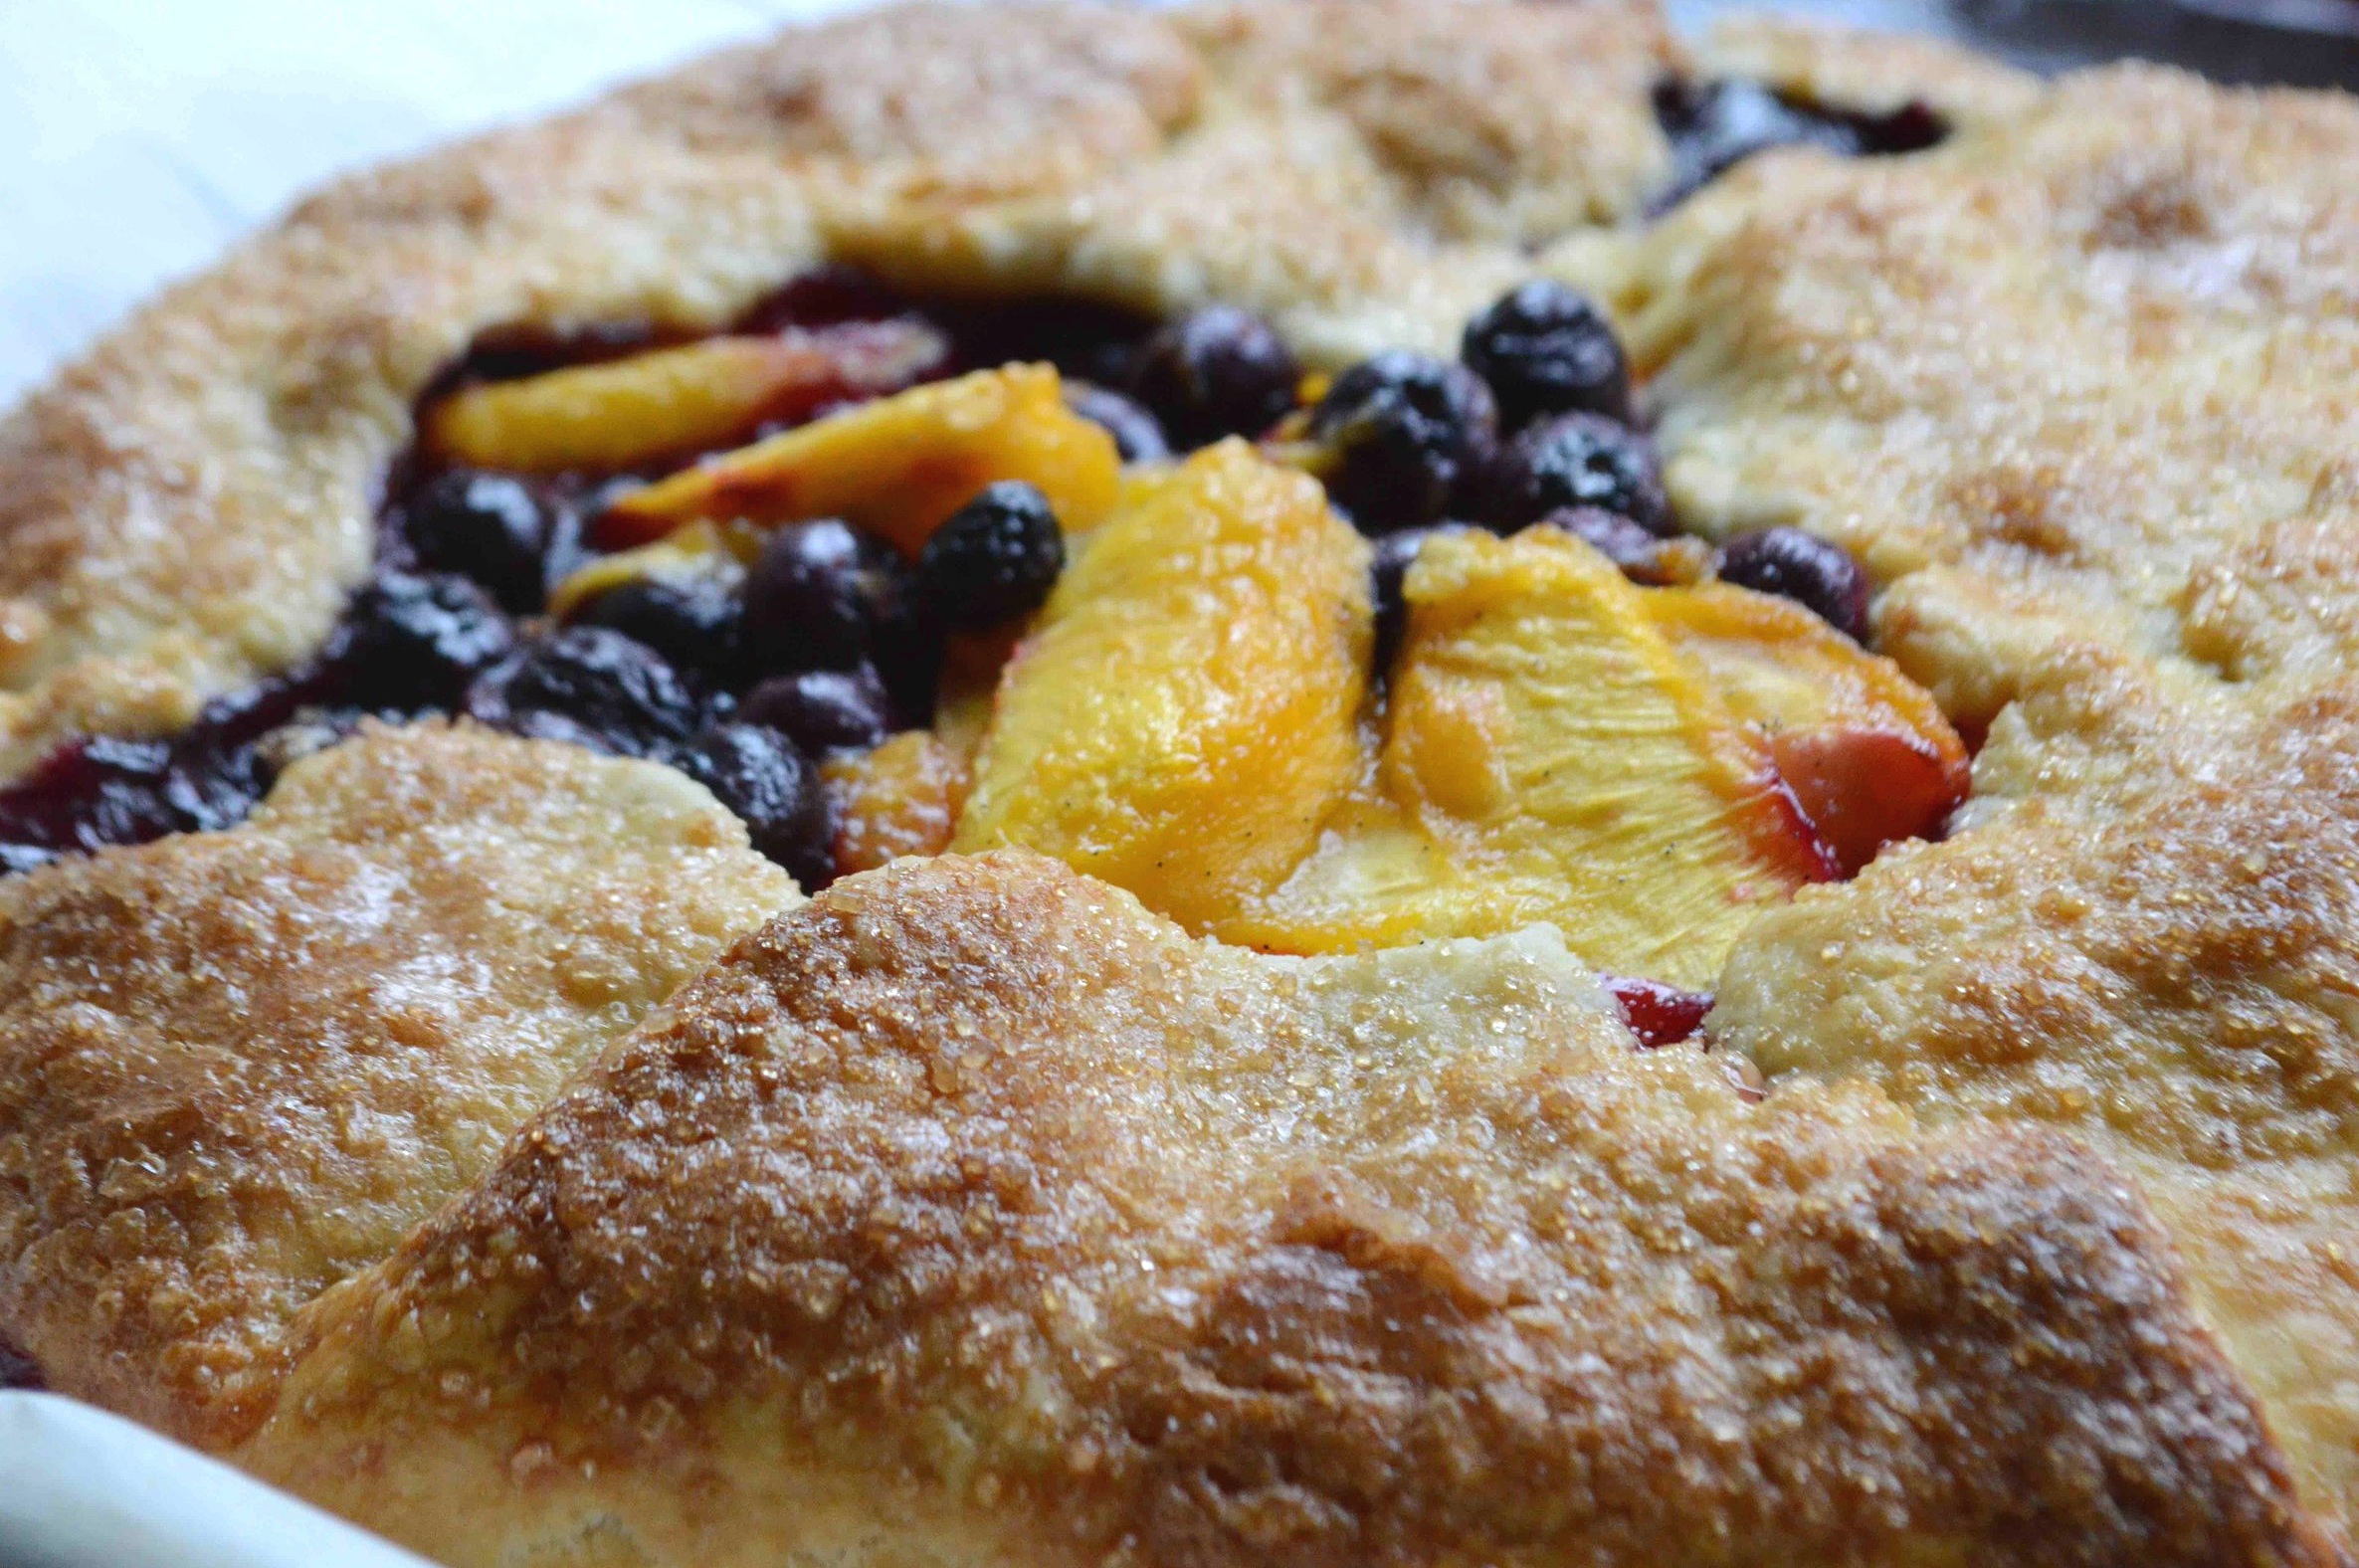
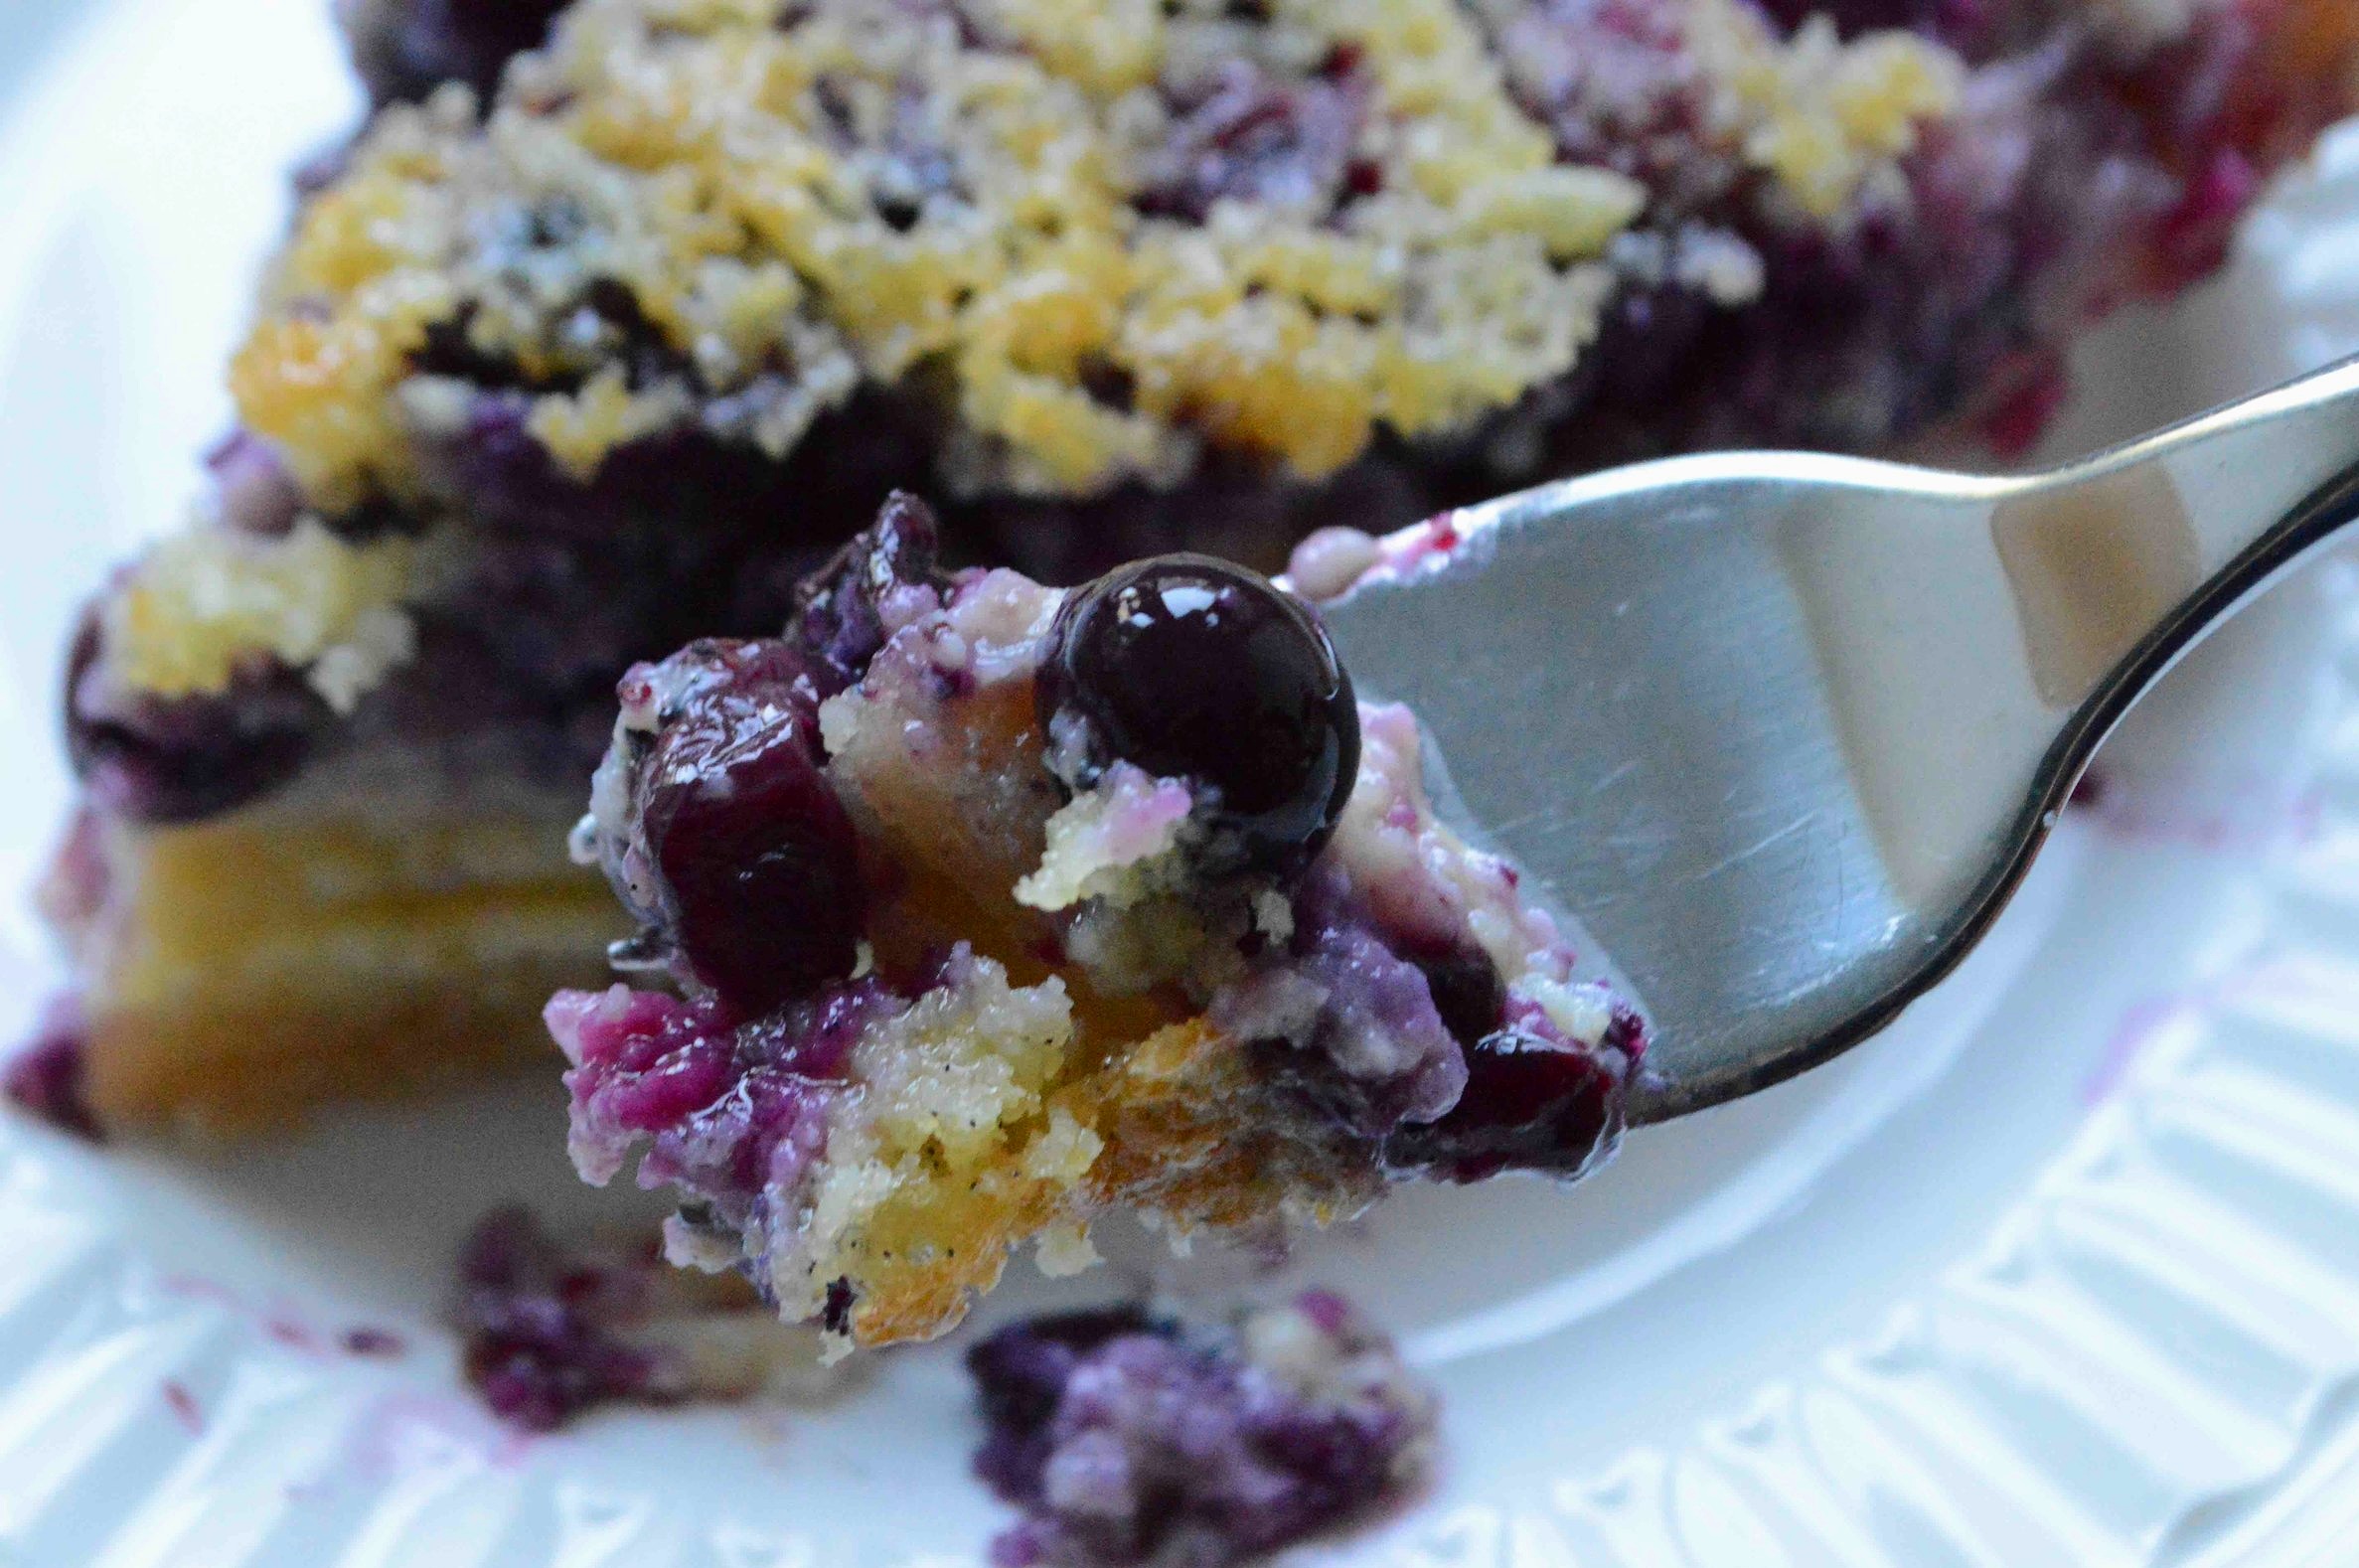
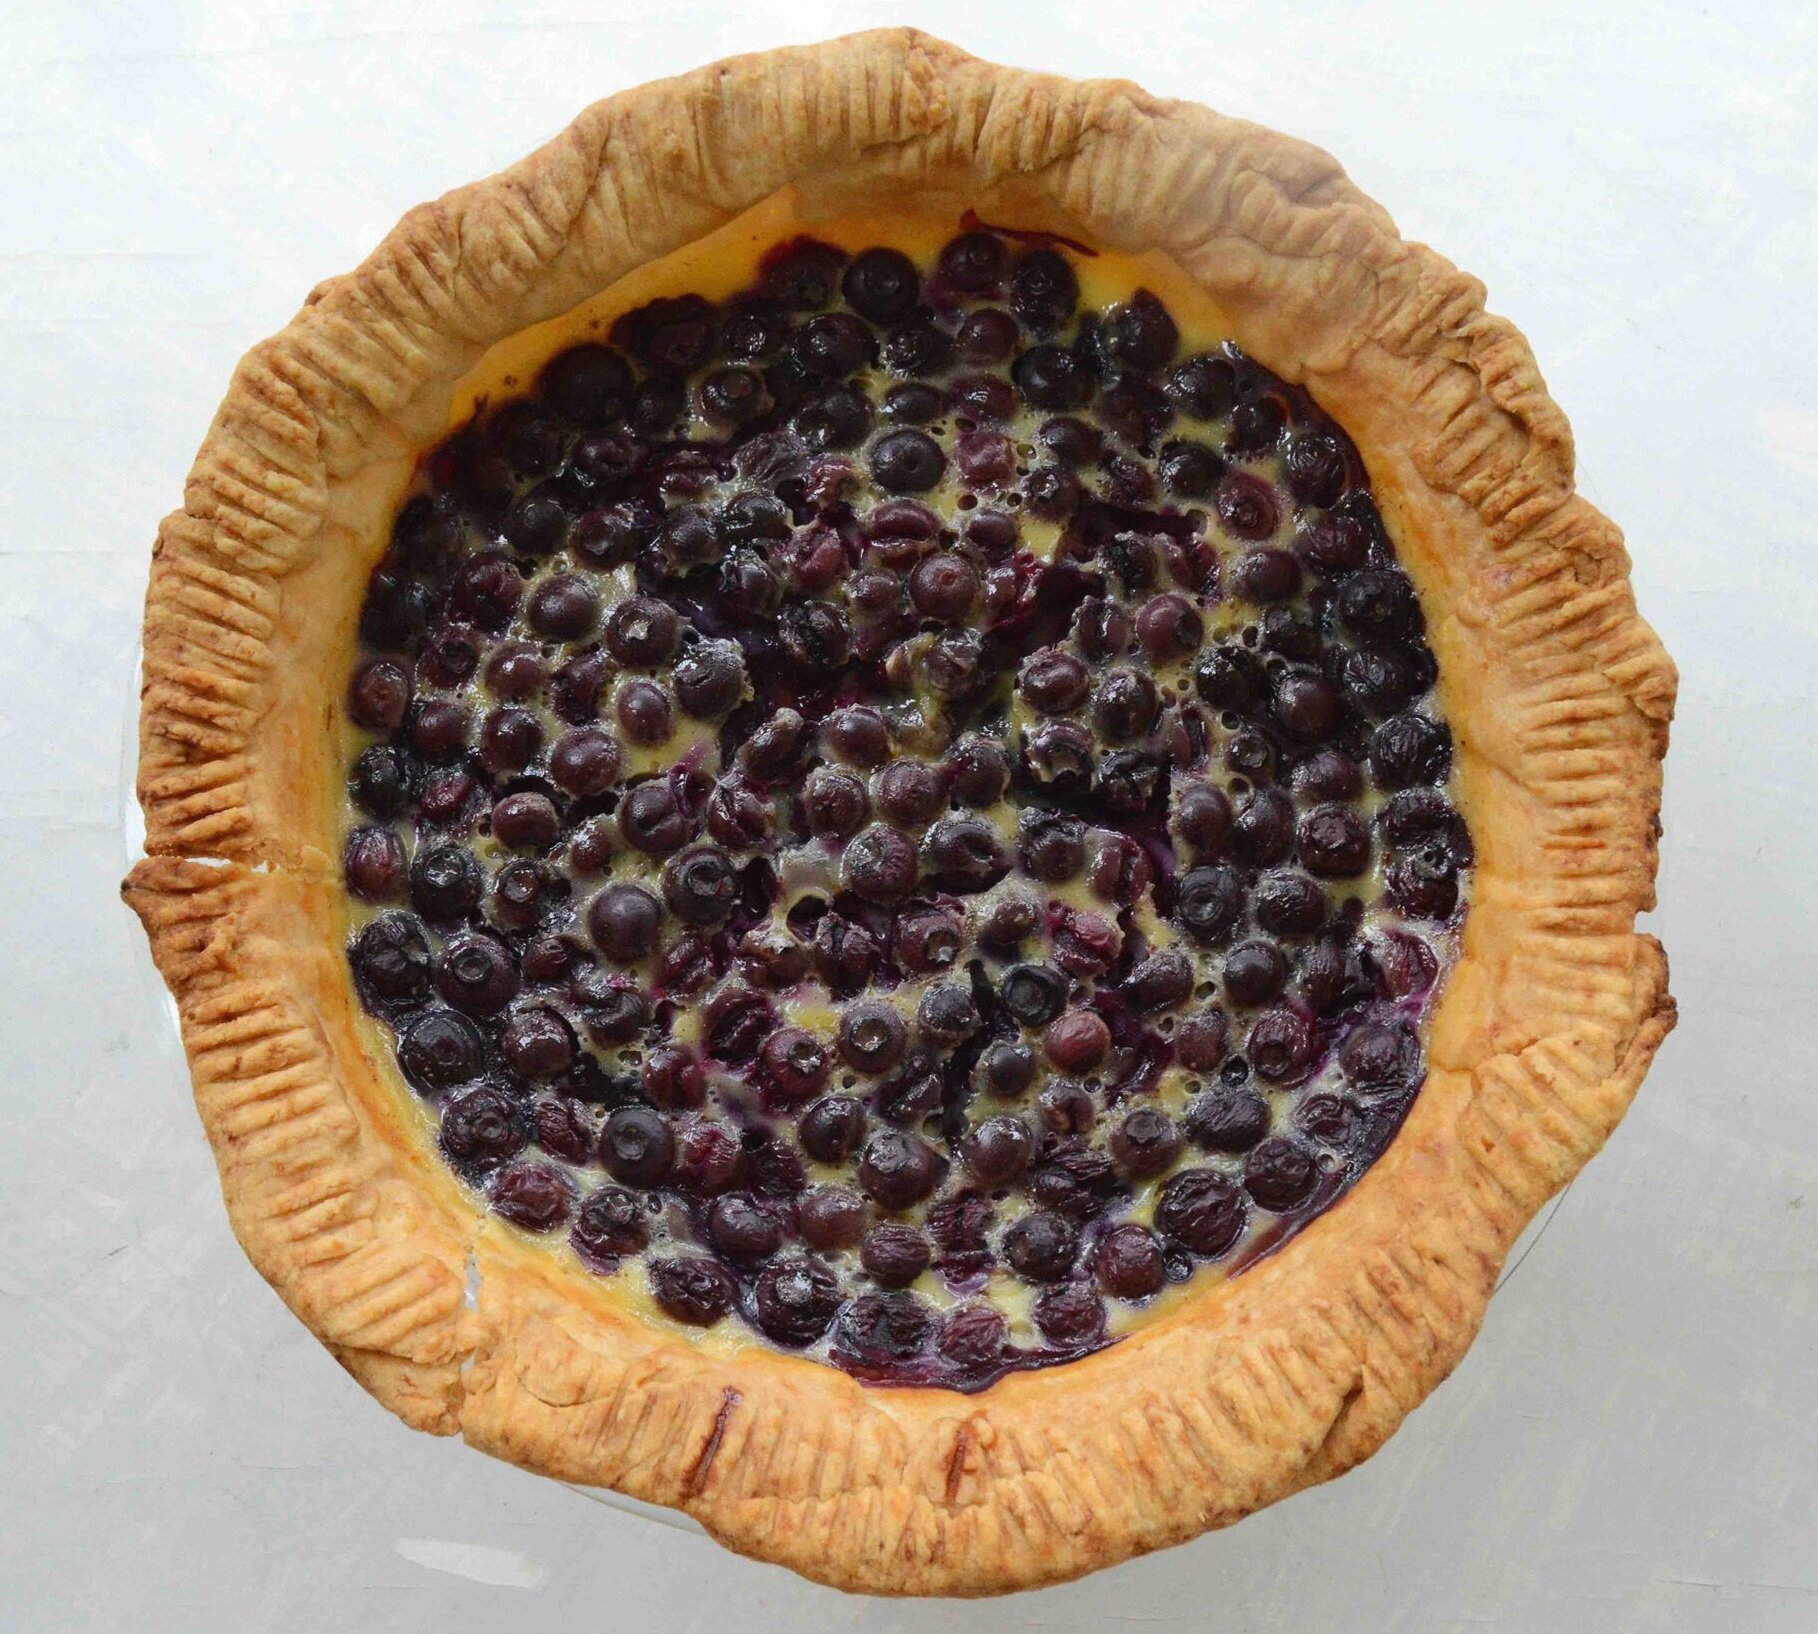
Generally speaking, fruit pies won’t have you partially blind bake but more and more, especially for very deep dish apple pies, I like to do a quick blind bake and then add the fruit so that the bottom crust has a chance to cook before getting oversaturated and soggy.

Okey, dokey, that’s about it. Them’s the rules—at least for single crust pies and I’m feeling like that’s about as much as we can handle at the start of a week. So take a deep breath, pull out that rolling pin and get to it. Happy pie making!!
All Butter Pie Crust + The Rules
Makes one 9-inch pie crust (you can double this for a double crust pie)
Prep Time: 10 minutes, plus several hours of chilling and ideally, overnight. Assembly: 15 minutes; Bake Time: 20-30 minutes
Ingredients
1 ½ cups unbleached, all-purpose flour, plus extra for rolling out
1 ½ teaspoons sugar
½ teaspoon salt
8 tablespoons (½ cup) unsalted butter, cut into small cubes and chilled
⅓ cup cold water
1 teaspoon cider vinegar
Ice Cubes
The Recipe
1. Add the flour, sugar and salt to the bowl of a food processor and pulse a few times to blend. Add in the chilled butter and pulse a few times until the butter has become the size of small peas.
2. Into the ⅓ cup cold water, add the vinegar and stir. Then add enough ice cubes to raise the level to ½ cup. Add 2 tablespoons of the mixture to the flour mixture and pulse a few times to incorporate it. It will look very crumbly. Then add 1 more tablespoon and pulse again a few times. You should see the mixture start to come together in a shaggy way with lots of crumbly bits. If you absolutely think you need to, add one more tablespoon of water. I never need to—it’s better for your dough to be too dry than too wet.
3. Turn the crumbly dough out onto a very lightly floured surface and gather it all into a ball. Make sure to scrape out the bowl of the processor—sometimes some of the wet parts of the dough get a little stuck and form the whole thing into a ball. Then flatten into a disk, wrap well in plastic wrap and chill for several hours and even better, overnight.
4. When you are ready to roll out the dough, flour a board or counter with a little flour and flour your rolling pin too. If the dough is very stiff (mine usually is) let it sit out on the counter for about 20 minutes till it seems pliable. Roll out the dough, rolling from the center out and to a corner, then lifting the dough off the surface of the board and giving it a little ¼ turn and rolling again, repeating the process until you’re rolled the dough out into a circle that’s a couple of inches wider in diameter than the pie plate.
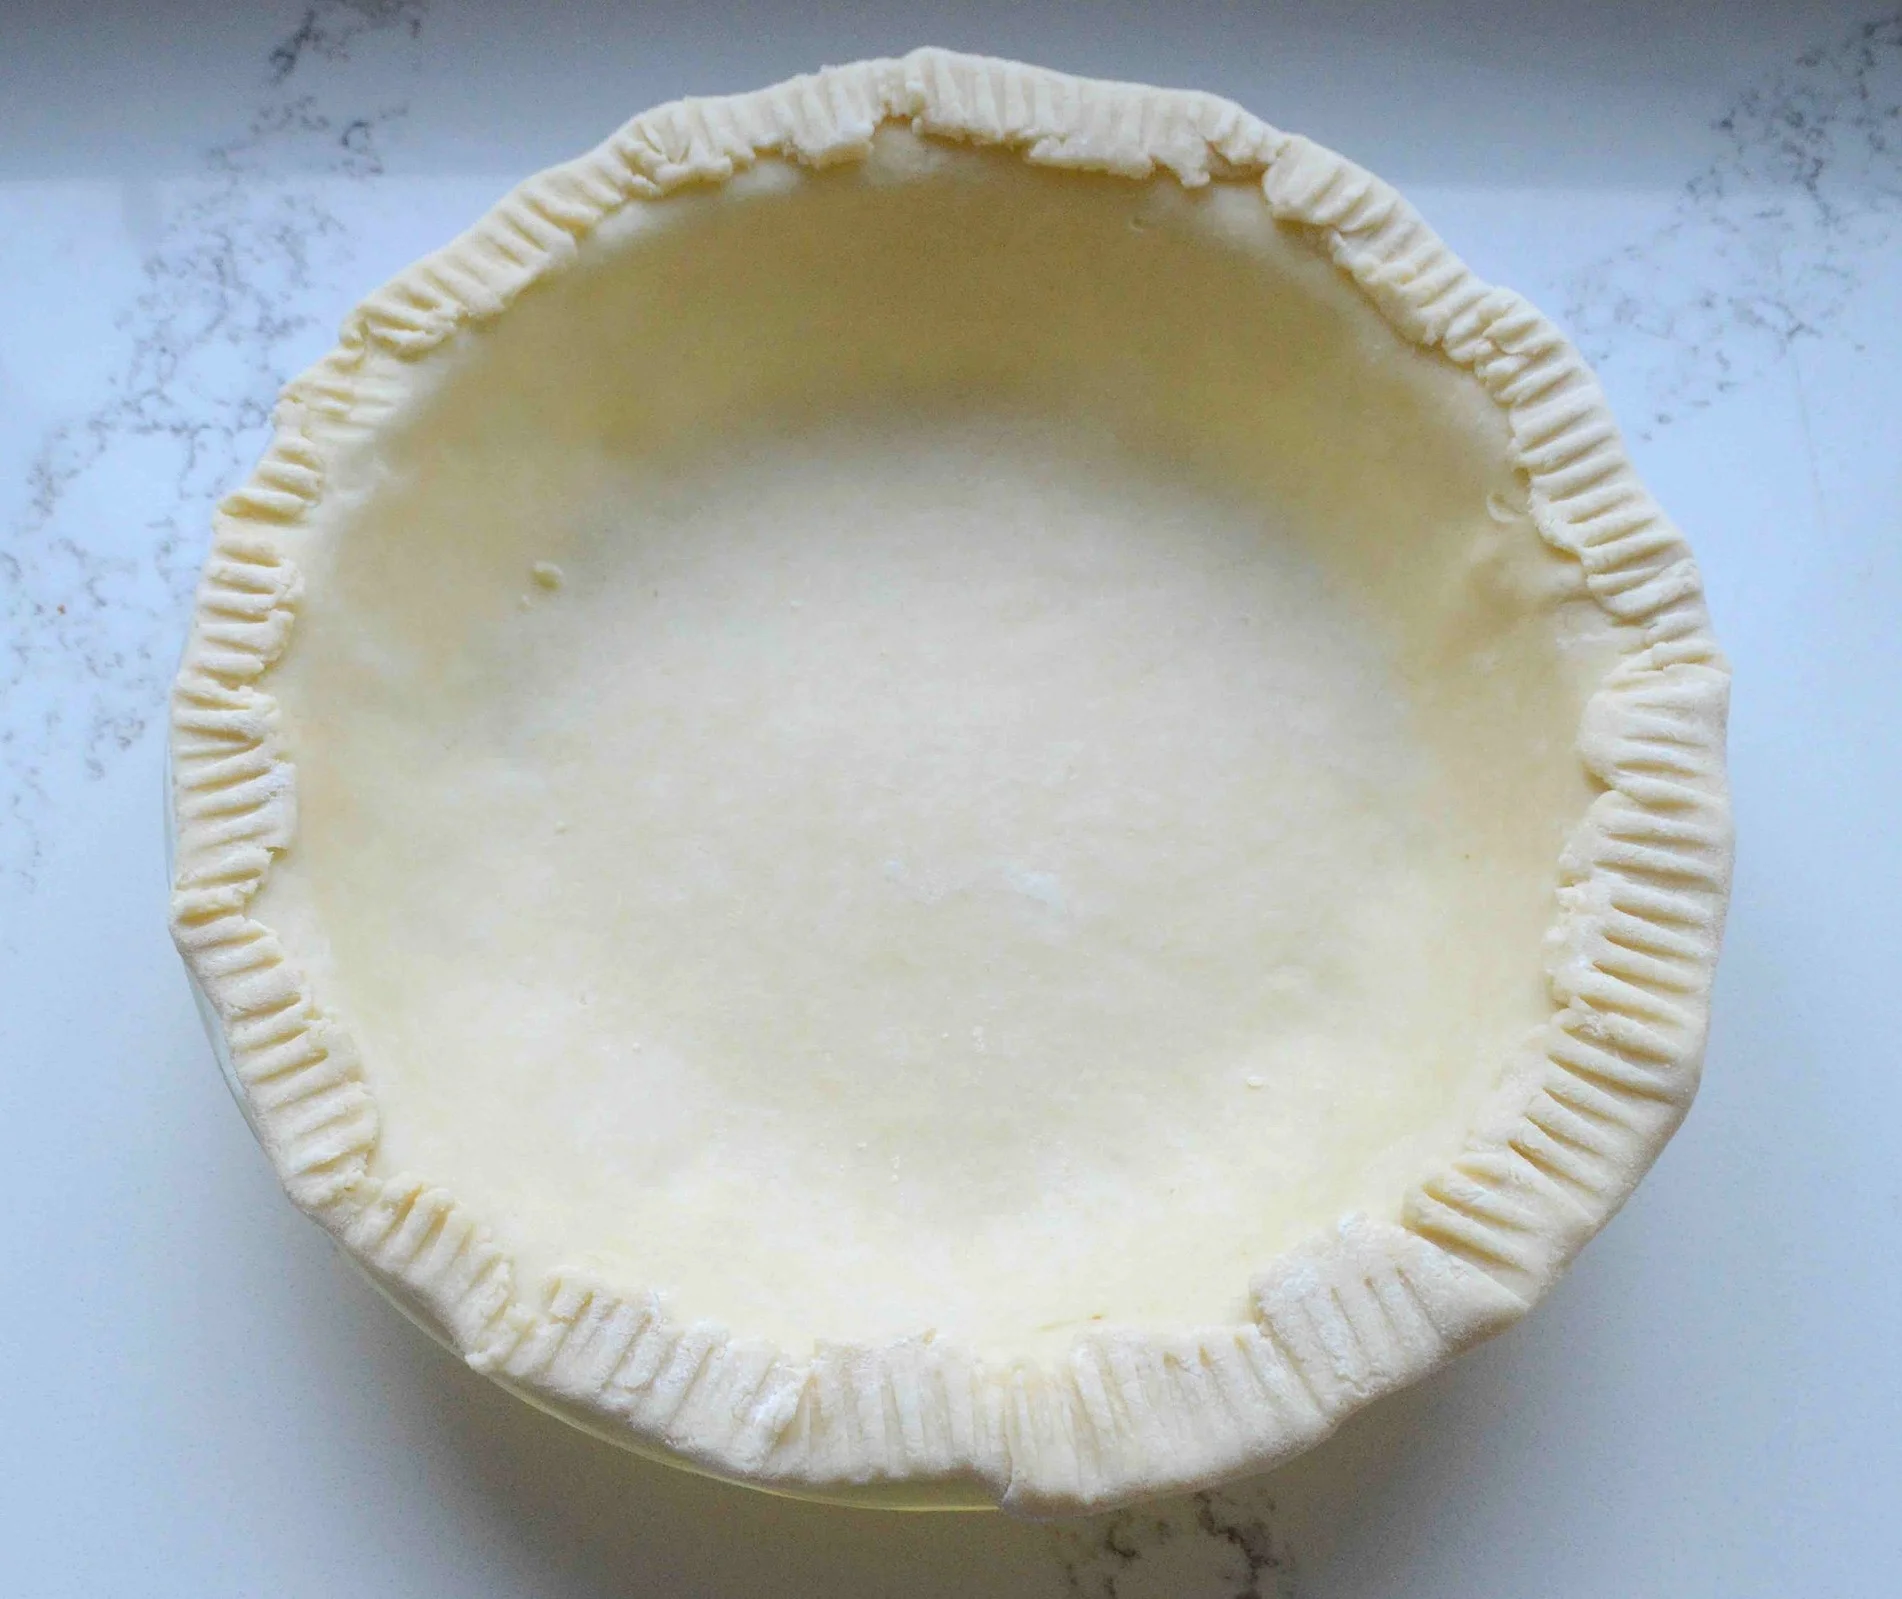
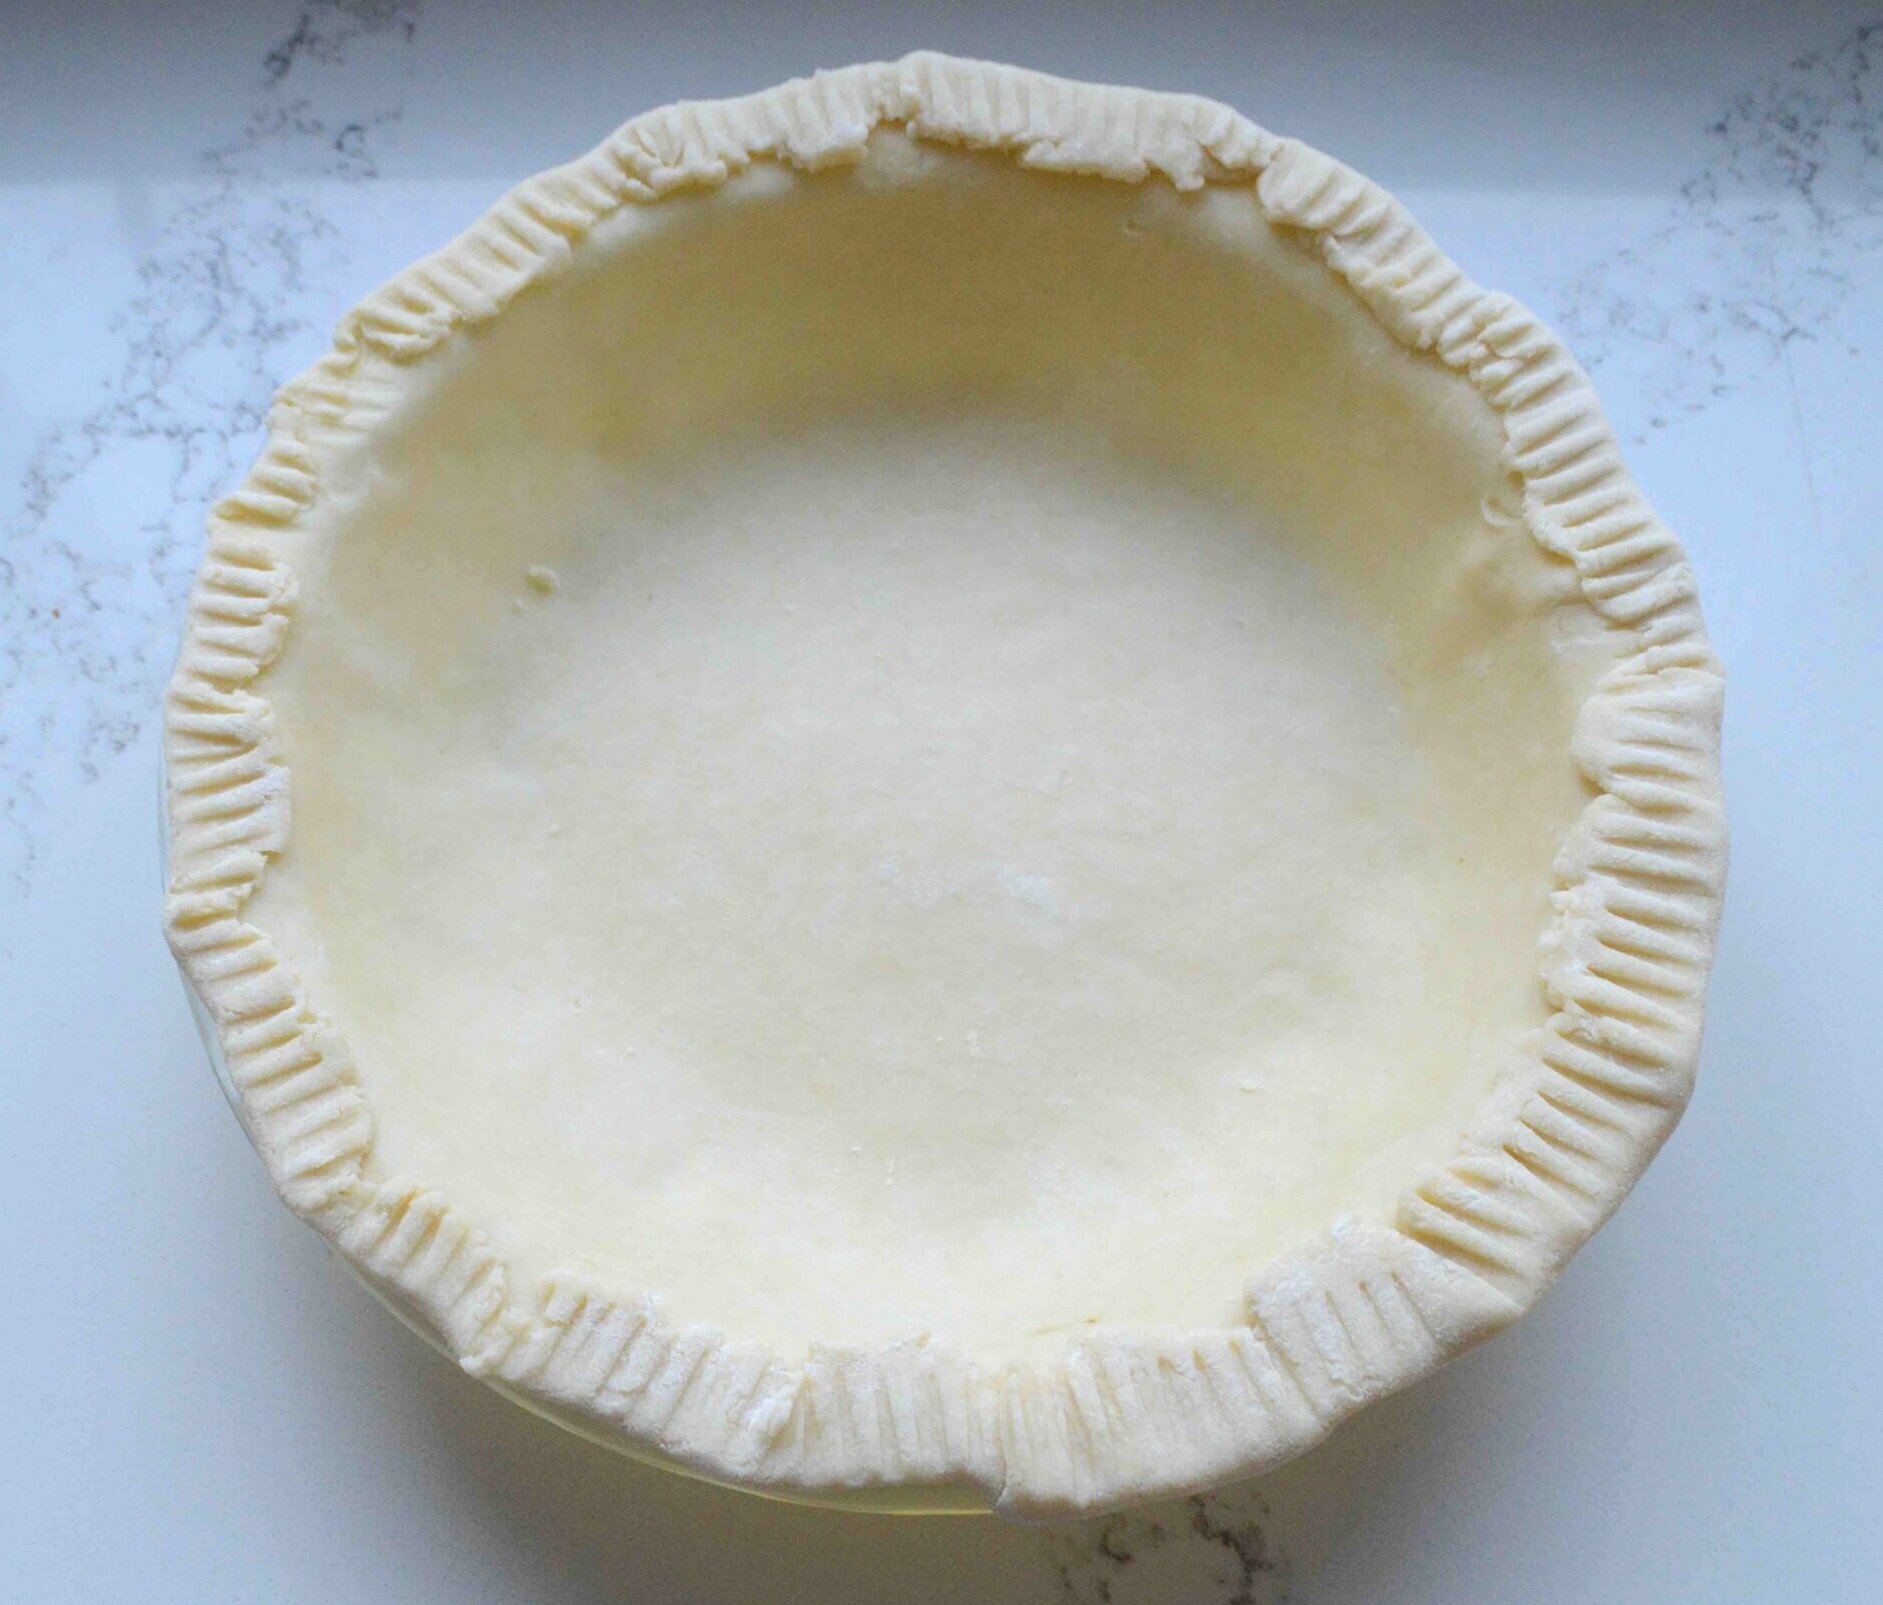
5. Fold the dough in half and transfer to the pie plate, unrolling it and then carefully easing it down onto the bottom and sides—no stretching! Fold the overhang over and crimp/decorate the edges any way you like. The easiest way is to just use the tines of a fork pressed into the dough to create a little pattern.
6. Place the pie plate in the freezer for 30 minutes.
7. Meanwhile preheat your oven according to the recipe. When the 30 minutes are up, line the pie with a piece of aluminum foil and either pie weights or beans. If any of the edges stick out, cut little pieces of foil to fit over them. Bake about 20 minutes and then remove the foil and weights. If you want a fully baked crust, return to the oven for about 10-12 minutes more until crust is golden brown. Otherwise, transfer partially baked crust to a wire rack and proceed according to your specific pie recipe directions.
Enjoy!
Note: Recipe adapted from Baker’s Royale by Naomi Robinson.