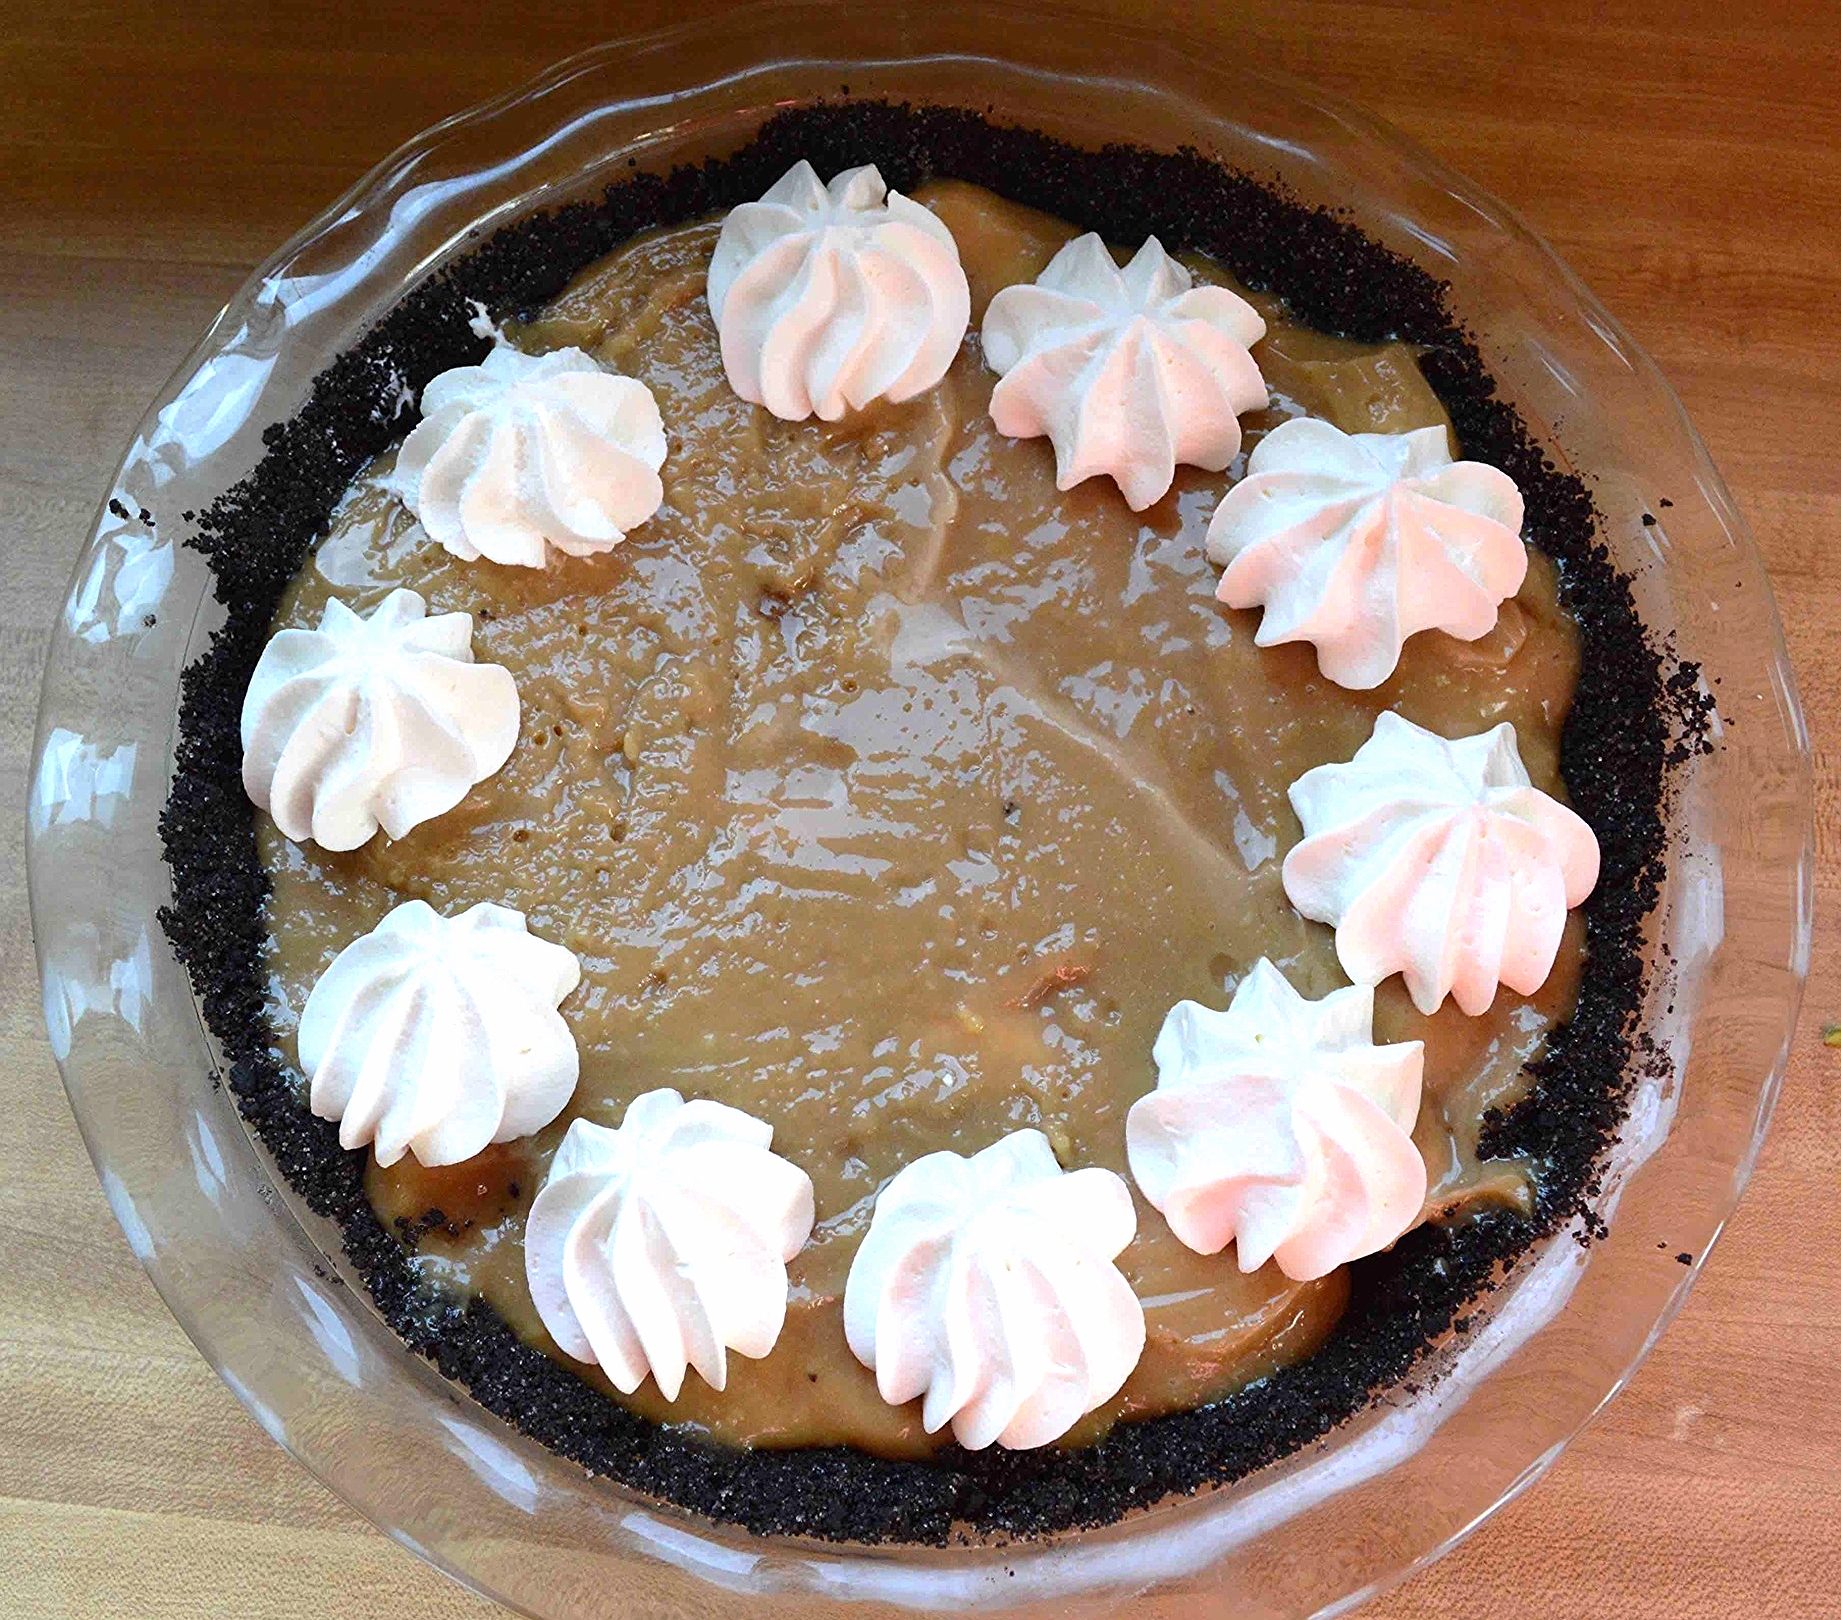
Dark Caramel Custard Pie


❤️❤️❤️❤️ Honestly, these little red emojis say it all! After taking a bite of this deeply caramel flavored creamy pie, I could fill a whole page with them! If you have even the teensiest bit of love for things caramel, you are going to fall head over heels for this!! Welcome to Day 2 of Pie Week!!
I love all the traditional Turkey Day pies (except pumpkin—no thanks, nope, just not for me) and I’ve got quite a few of them here on the site—so I thought I’d make this week more about non-traditional Thanksgiving pies that would still be huge hits on your holiday table.
Honestly, I really can’t imagine any party, Thanksgiving or not, where this Dark Caramel Custard pie would not earn stand up cheers! It’s truly stellar!

And while there is the slightly scary caramel-making part involved, the whole thing is fairly straightforward and can even be made a couple of days ahead, which is a huge plus as far as parties go!
You start by partially blind-baking your pie dough (see this post for my favorite pit dough recipe and baking tips).
While that’s cooling, you prepare the custard which is done in a couple of parts. The first part is easy-peasy. You simply simmer heavy cream and a vanilla bean together and then let the mixture steep for half an hour so that the eventual custard is infused with the wonderful flavors of not only caramel, but vanilla too.
The next part, which requires a little more effort but is not hard (I promise!) is making the caramel. If you’ve never made it before, caramel is just basically sugar and water cooked down together. I know it can seem intimidating but I promise you can do it. You just need to follow a few simple rules (my, I’m miss bossypants this week!). They are:
1. Resist the urge to stir once the sugar has dissolved. Stirring will cause graininess in the cooked caramel and we want it lusciously smooth.
2. Have the confidence to let the caramel cook to a deep amber color—nothing bad will happen if you don’t, but the end product will taste more sugary, rather than caramel-y.
3. NEVER WALK AWAY—This is an absolute. Making caramel requires 100% of your attention. No multi-tasking allowed. That’s because caramel can go from perfect to burned in the blink of an eye. And not only will you have to start all over from scratch and be cursing my name, but you’ll also have to clean a very sticky pot, so just don’t do it, ok?
Here are a couple of shots of what the caramel will look like as it cooks. You’ll see lots of bubbles and it will start turning yellowish, like this.

Then the bubbles will start to subside and you’ll see it turn this dark amber color—

That means it’s time to immediately remove it from the stove and add the heavy cream (careful, it can really bubble up on you)
The rest of the process is simply whisking the mixture into the egg yolks (in a process known as tempering) pouring it into the partially baked crust and baking the whole thing until the custard is set.

What emerges is kinda ordinary looking and not exactly gorgeous but extraordinary in taste!!

The crispy crust and airy, sweetened whipped cream provide the perfect balance of texture and sweetness to the slightly, bitter and dense, creamy caramel. It’s absolute perfection bite after bite!

One more little tip: If you’re serving this for Thanksgiving, don’t rave about it too much, or there won’t be any leftovers (shows you where my selfish little mind is!!)
Dark Caramel Custard Pie
Makes 8-10 servings
Prep Time for Crust: 10 minutes to prepare, plus several hours of chilling and 20 minutes pre-baking; Prep Time for Filling: About 1 hour, but half of that is hands-free; Bake Time for Pie: About 50 minutes, plus several hours of chilling
Ingredients
1 Recipe Pie Dough (this one or your favorite)
4 cups heavy cream, divided
1 vanilla bean
¾ cup plus 1 tablespoon sugar, divided
2 tablespoons water
4 large egg yolks placed in a large bowl at room temperature
¼ teaspoon salt
The Recipe
1. For the crust: Preheat oven to 350ºF. Roll out your pie dough and place it gently into a 9-inch pie plate, easing it down into the bottom and sides without stretching it. Fold the edges back over itself and crimp or decorate (I used the tines of a fork). Place the pie plate in the freezer for 30 minutes.
2. Place a large piece of aluminum foil on top of the crust and weigh it down with pie weights or dried beans. Bake for about 20 minutes, until the crust is lightly browned and feels dry to the touch. Remove the pie from the oven, transfer to a wire rack and remove the foil and weights. Lower the oven to 325ºF.
3. For the filling: Place 3 cups of the cream in a medium, heavyweight pot. Split the vanilla bean down the middle lengthwise, scrape out the seeds and add them and the pod to the pot. Stir and bring the mixture to a simmer over medium heat. Remove from the heat and cover tightly with plastic wrap. Let steep for 30 minutes and then fish out and throw out the vanilla bean pod.
4. Place ¾ cup of the sugar and the 2 tablespoons water in a separate medium heavyweight pot. Stir the mixture together and bring to a boil over medium-high heat. Once the sugar has dissolved, stop stirring. Do not walk away. It will bubble up a lot. Let the mixture cook for 3-4 minutes (or longer if needed) until the bubbles subside and the mixture turns a deep amber color. Quickly remove it from the heat and carefully whisk in the cream mixture (it will bubble up a lot) until it’s smooth.
5. Whisk the egg yolks a bit and gradually add the hot caramel mixture, whisking constantly. Pour the mixture into the cooled crust and bake for about 50 minutes, until the filling is only slightly jiggly in the center and a deep dark golden brown color.
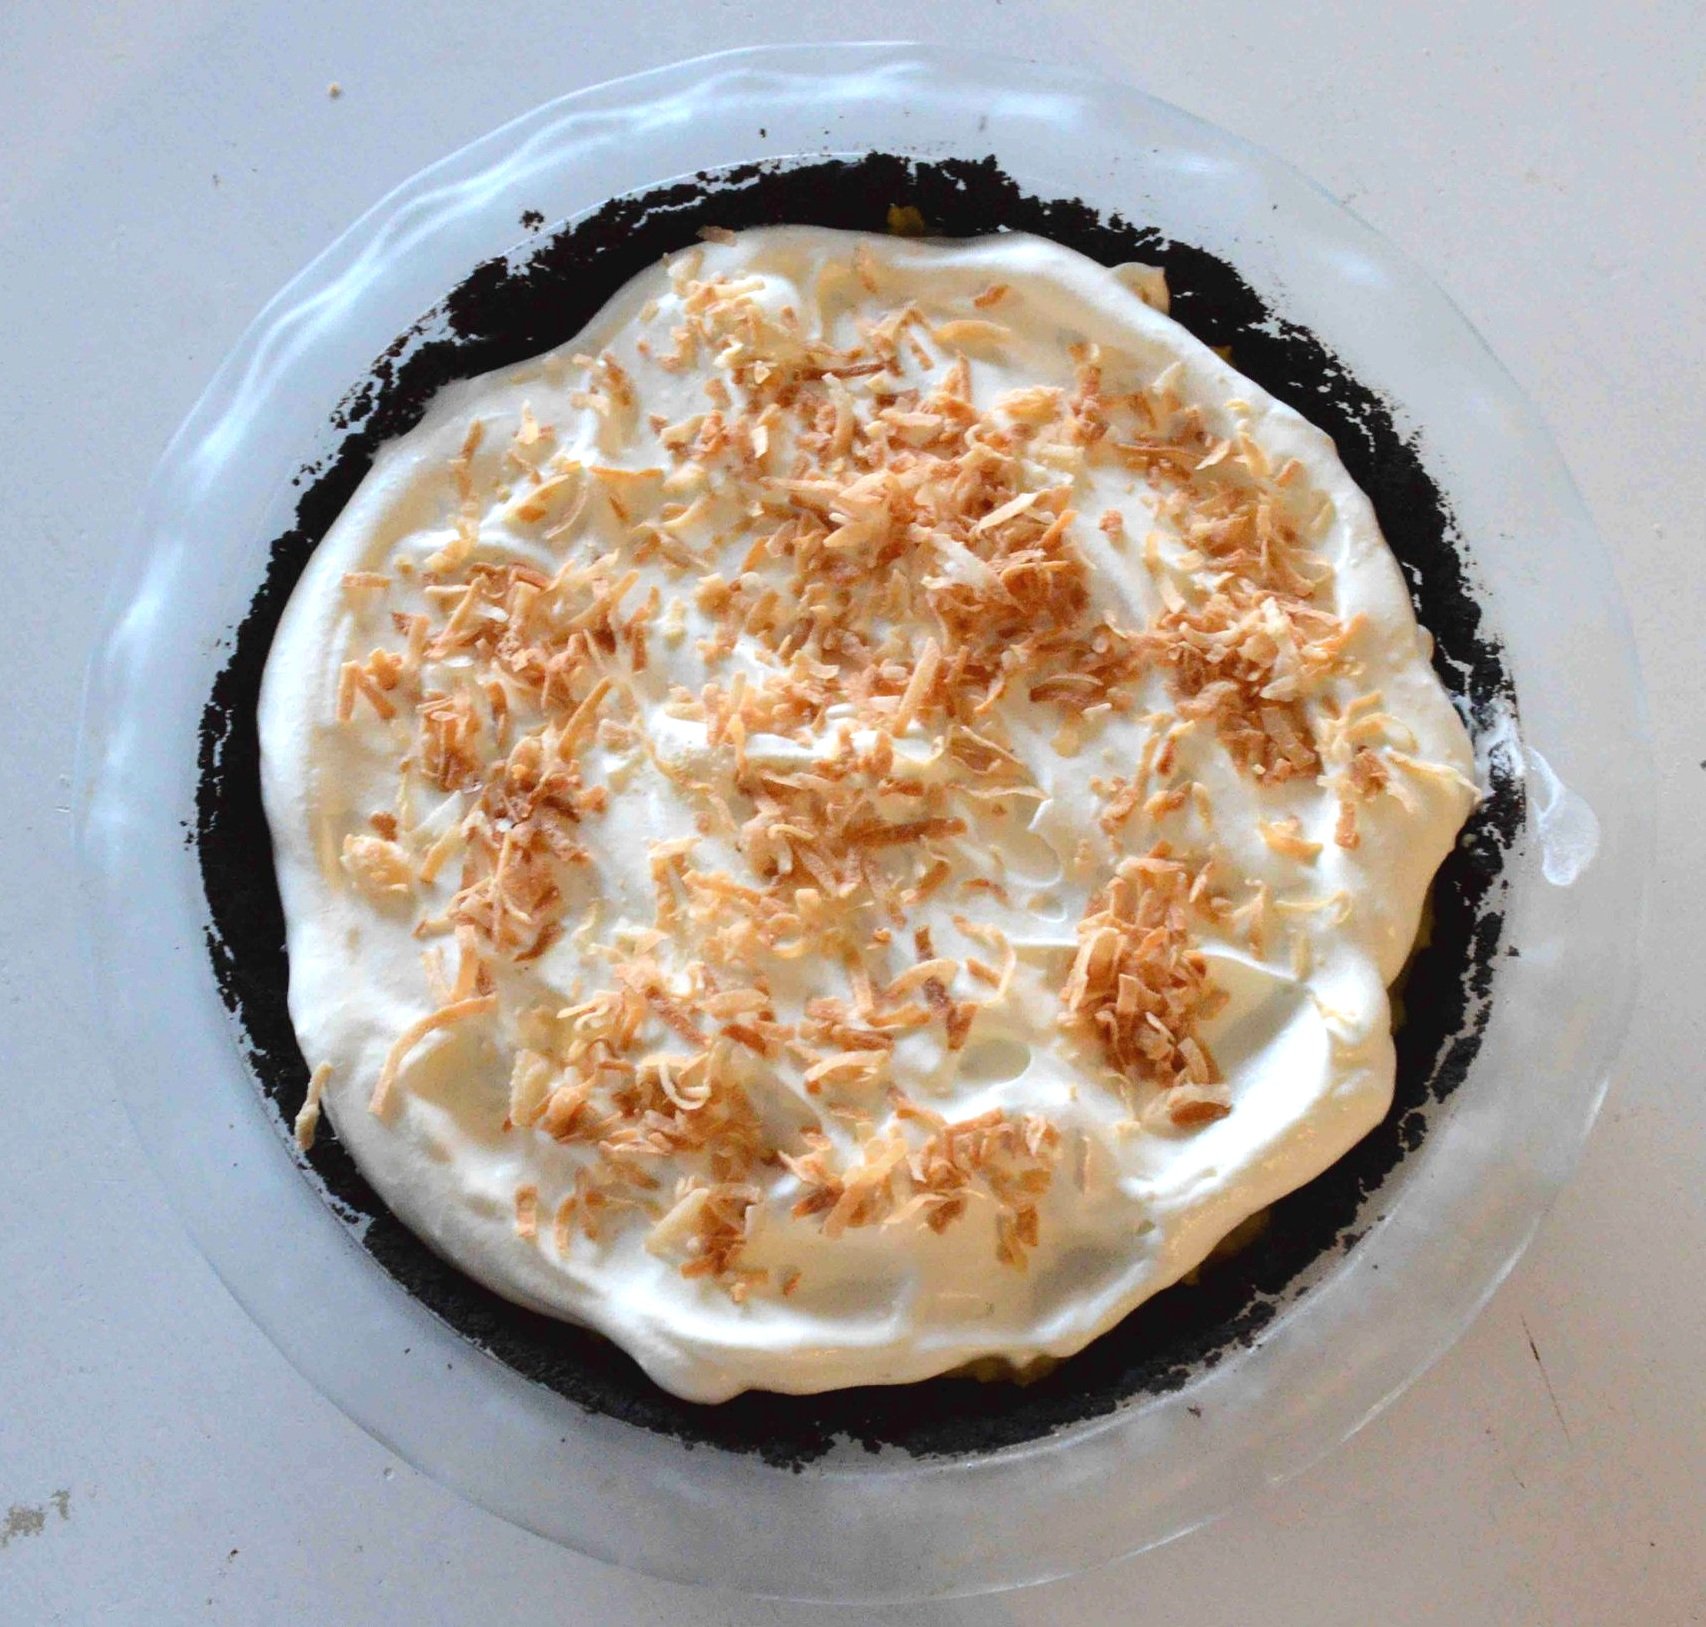
6. Let cool completely on a wire rack, then cover with plastic wrap and chill for several hours and up to 2 days. Whip the remaining heavy cream with the remaining 1 tablespoon sugar. Now you can either top the pie with the whipped cream or serve the pie as is and pass the bowl of whipped cream around (that’s what I like to do—this is especially good if you think you’ll have leftovers. The pie and whipped cream will keep better if stored separately.
Enjoy!
Note: Recipe adapted from Baker’s Royale by Naomi Robinson. The original recipe tops the pie with lots of whipped cream—I serve it on the side and used less.