
Molten Chocolate Flourless Cakes (Super Easy + Make Ahead)
Get ready for one of the most delicious chocolate experiences of your life! These Molten Chocolate Flourless Cakes are simply to die for!
Plus, they’re quick and easy and made with simple fridge and pantry ingredients!

And you can make them ahead, even a couple of days and they’re still absolutely delicious!

For years, these chocolate soufflés have been my go-to and while I wouldn’t call them difficult, they are a little fussy, in that they require the ramekins to be buttered and sugared, eggs to be separated and egg whites to be beaten in a separate bowl, nor do they double well, so finding another chocolate soufflé-like dessert that pretty much comes together in one bowl (other than the melting of the butter and chocolate) and can be baked in a variety of sizes has been life changing!

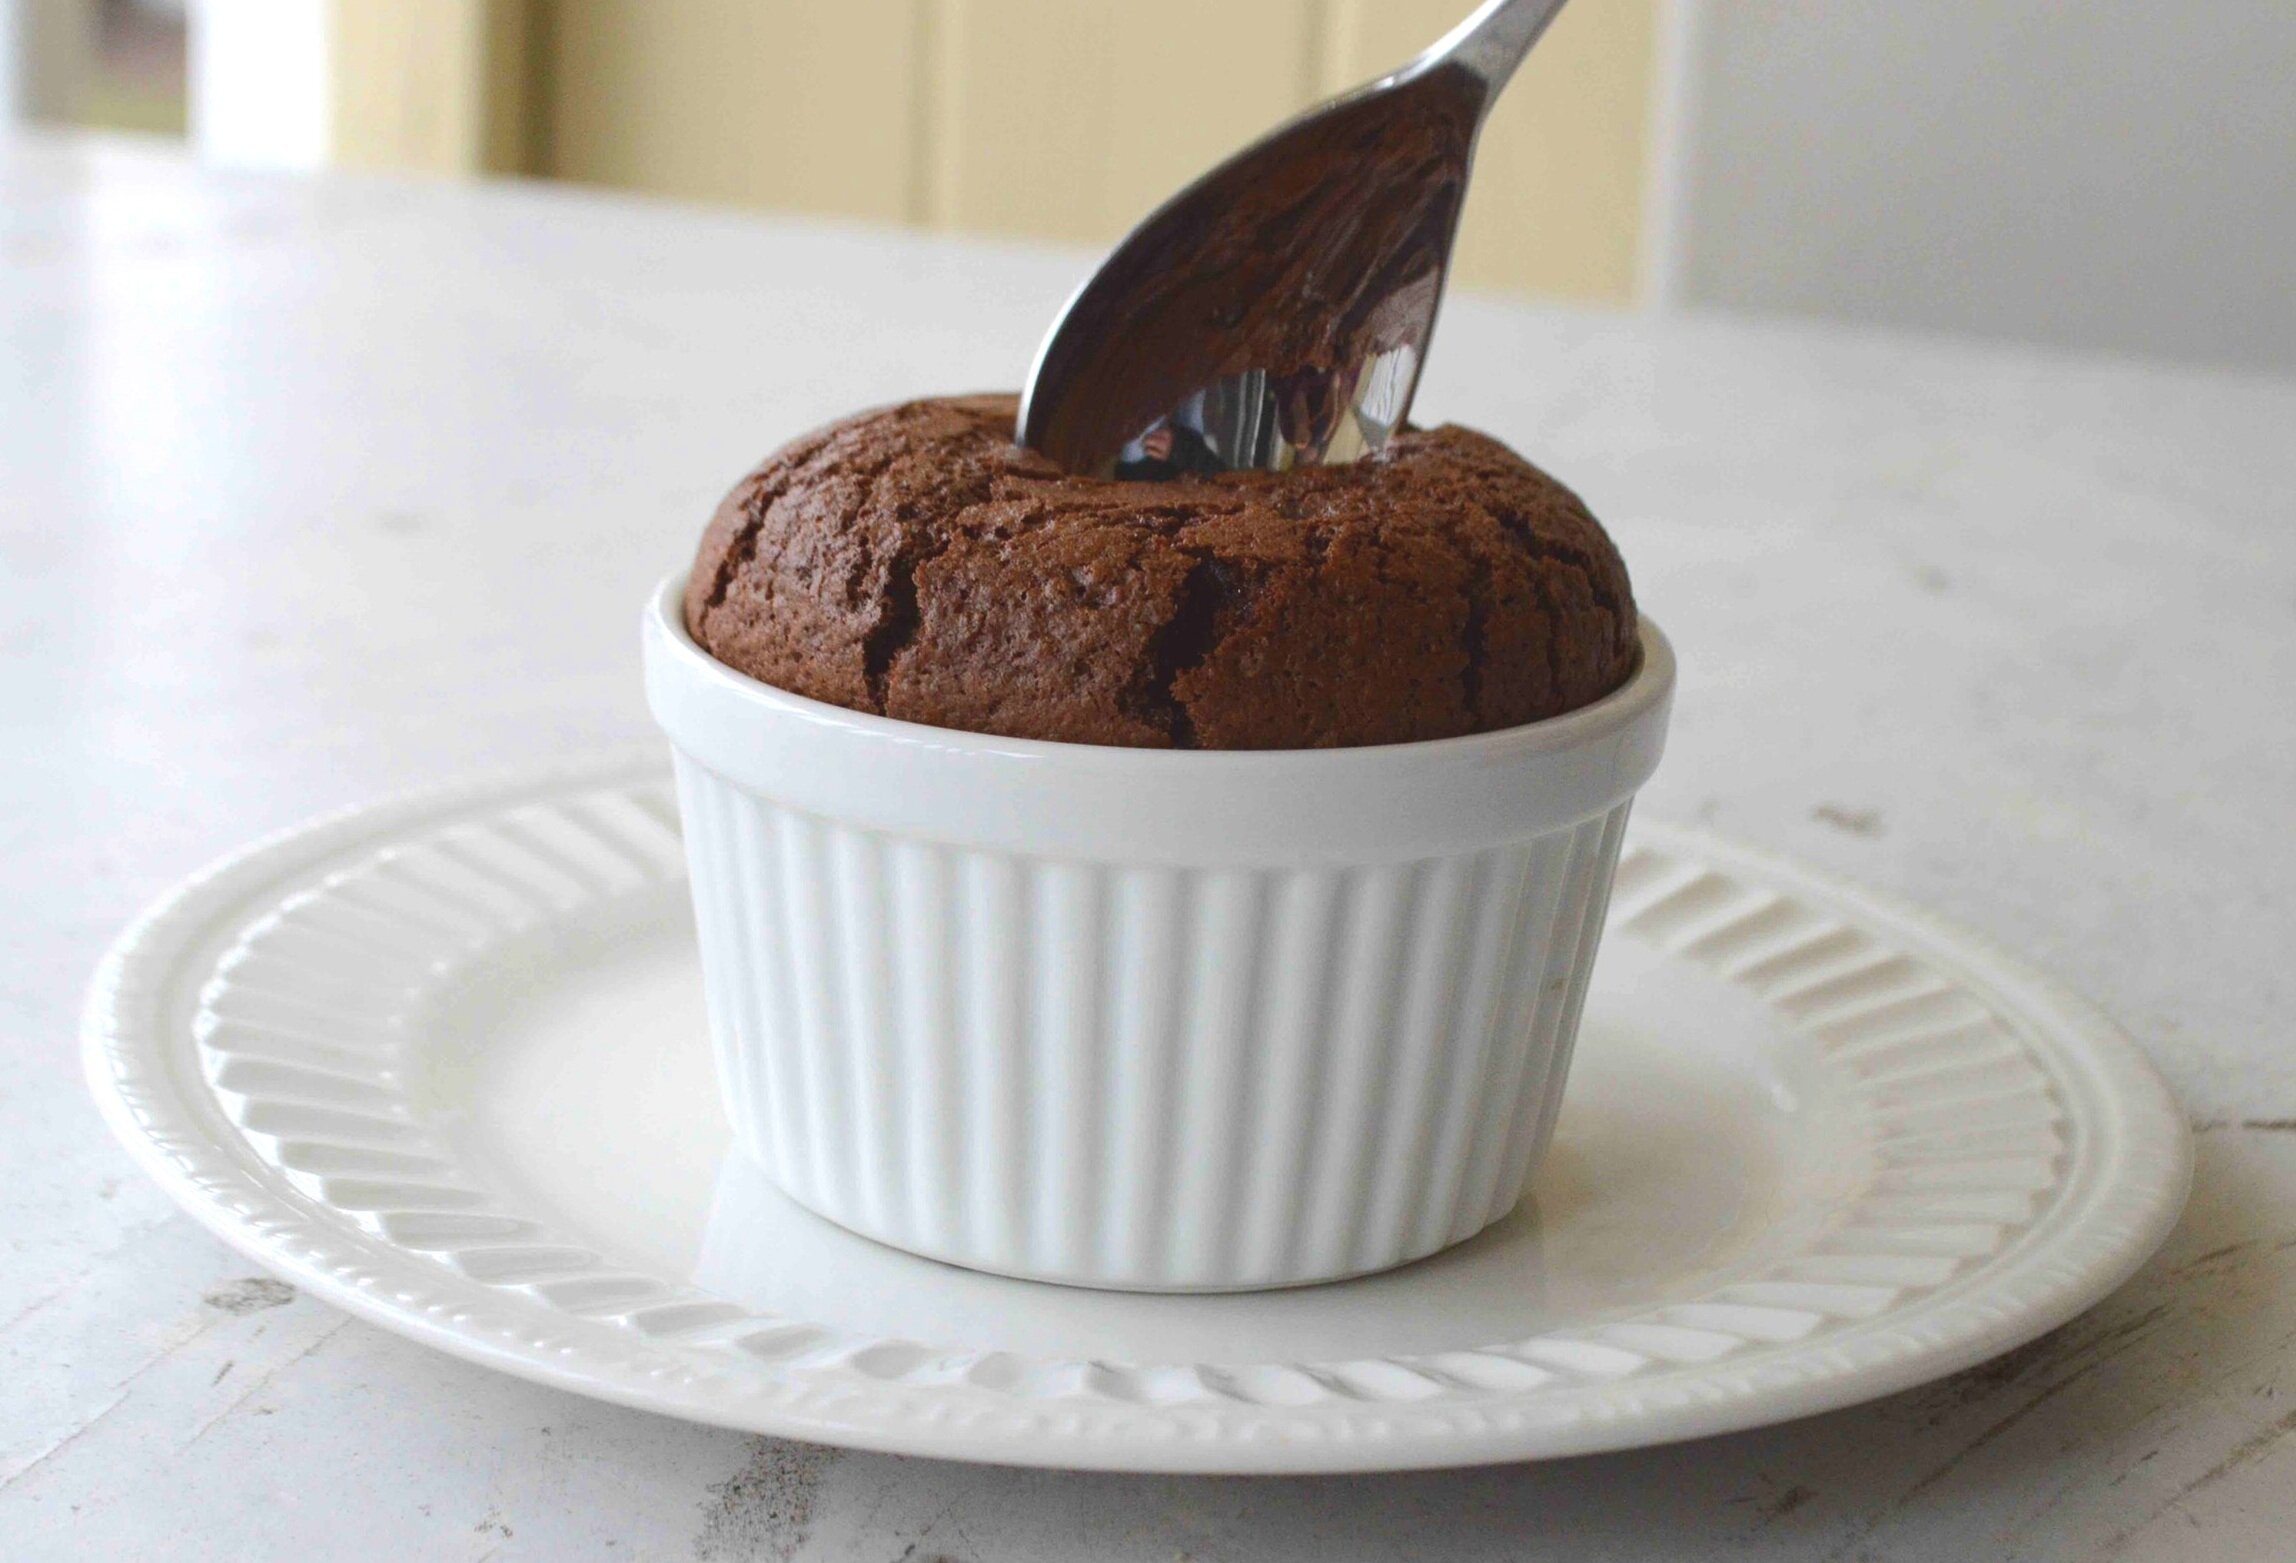
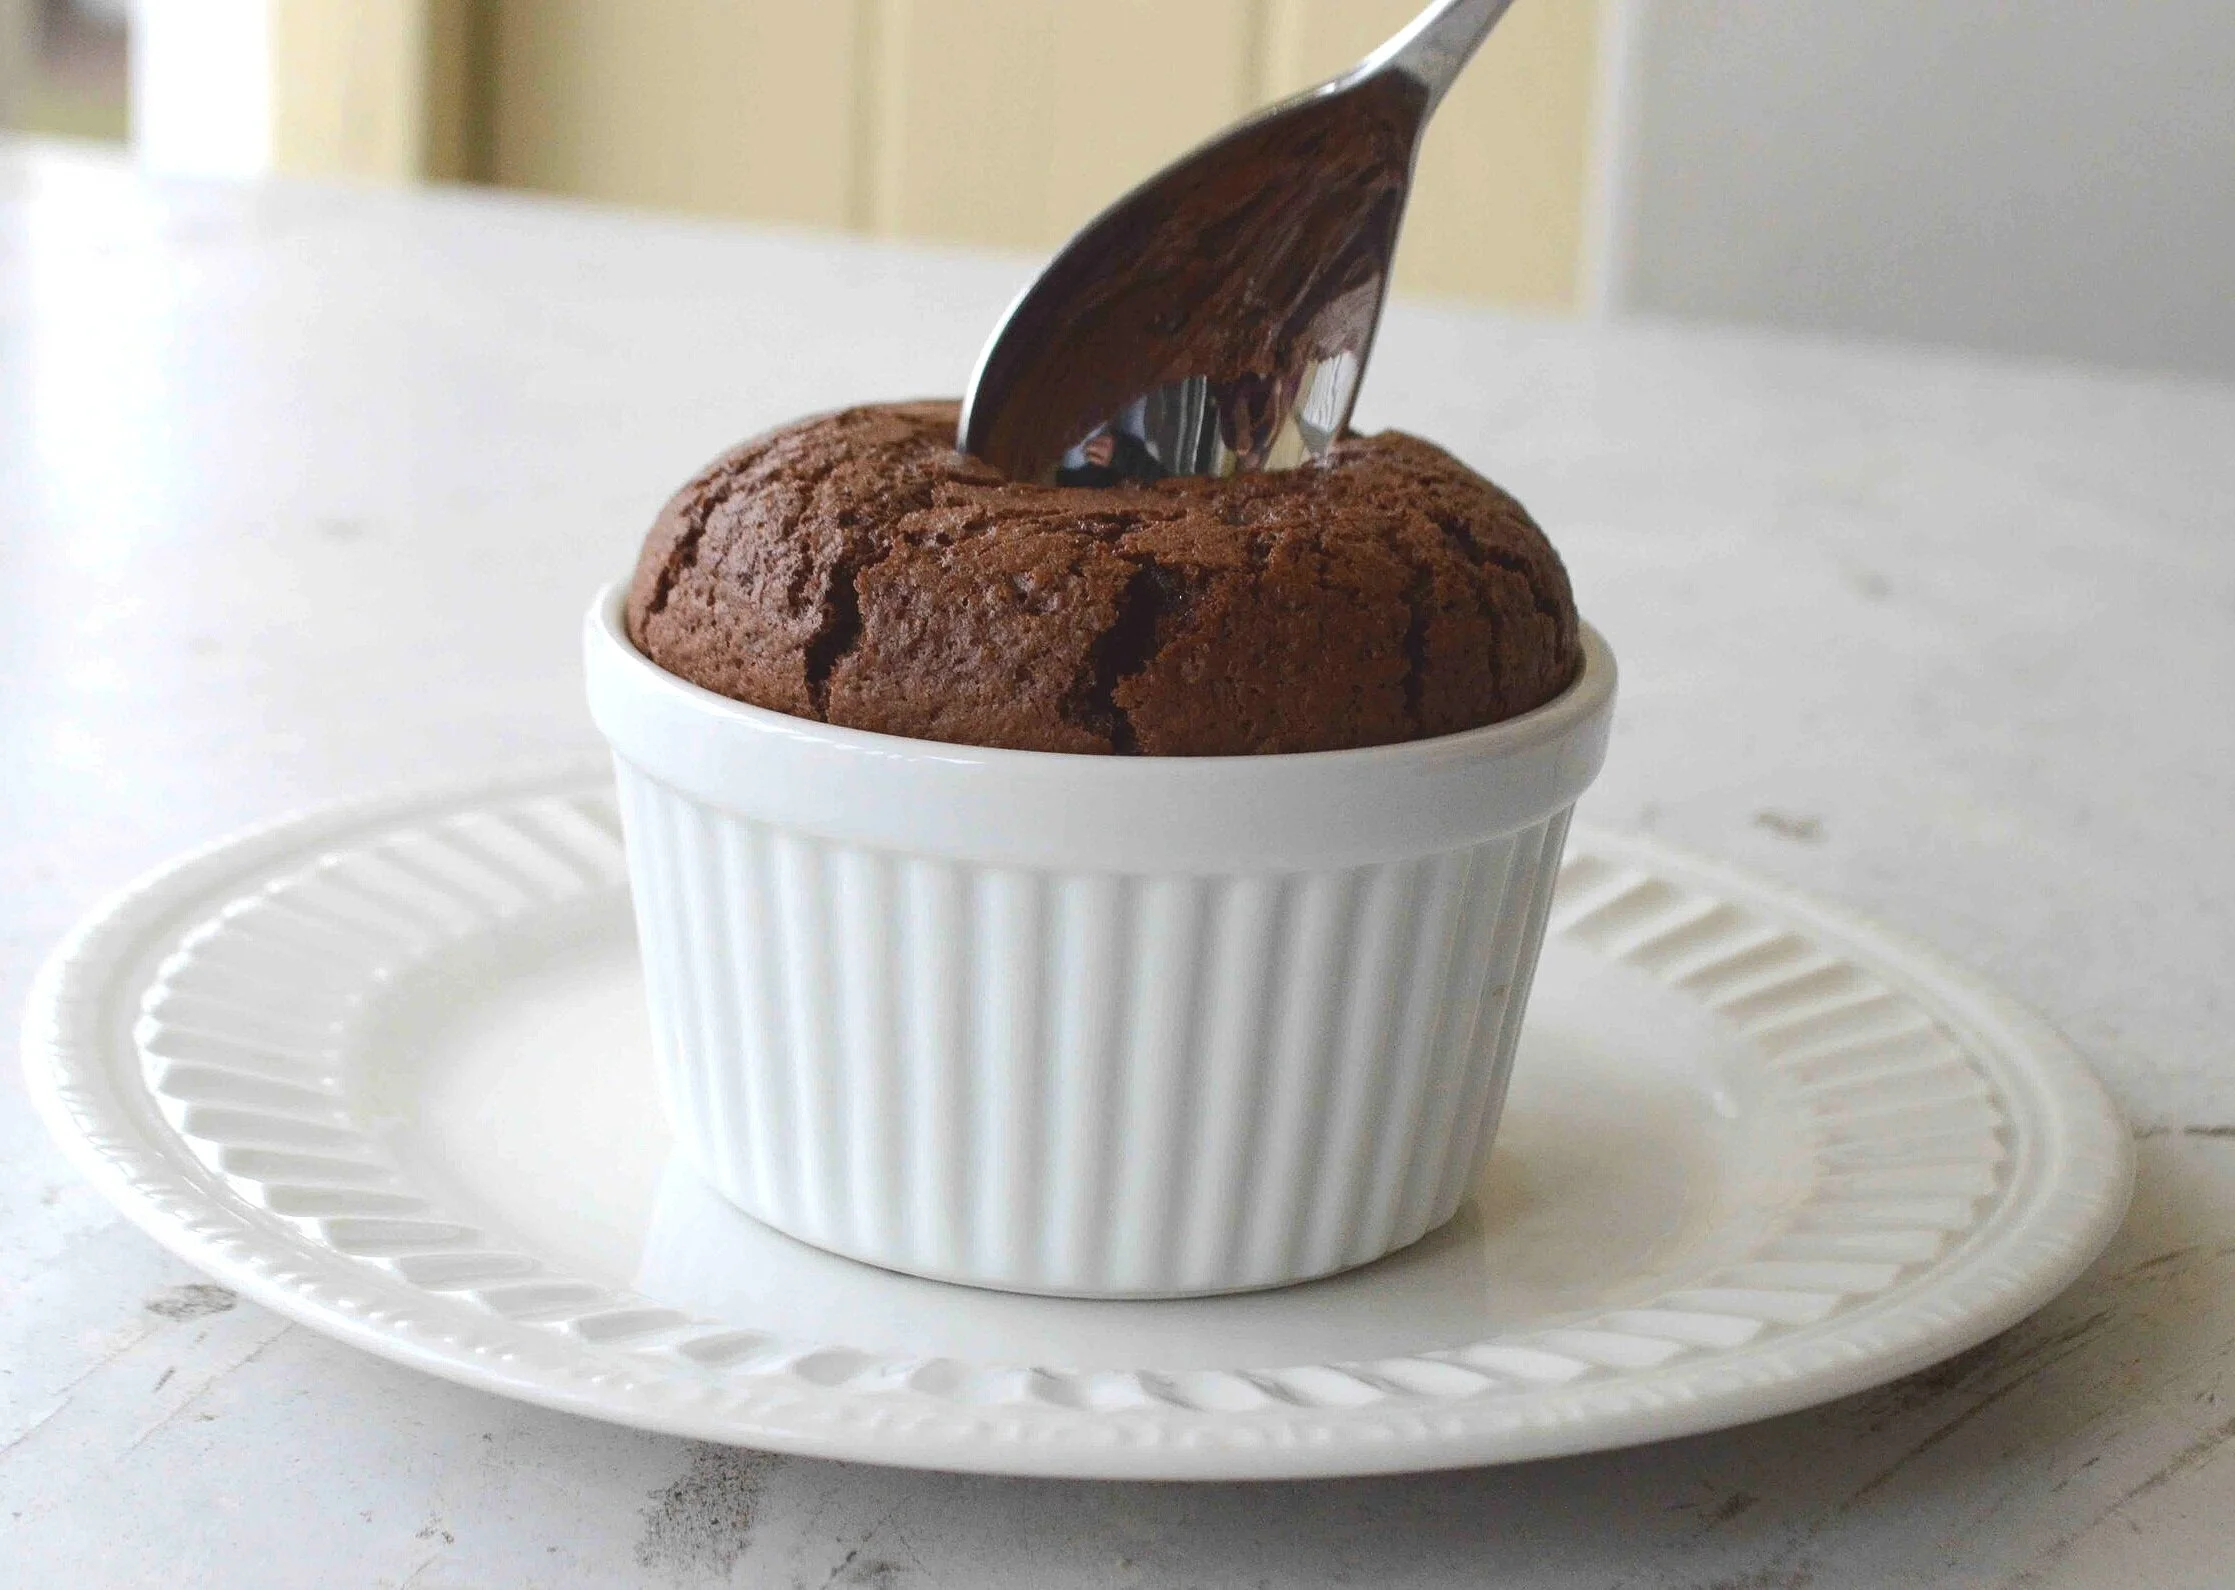
You think I exaggerate, but no! These rise up almost as puffy as more traditional soufflés and then sink like a crater, revealing a rich, gooey molten chocolate center with fudgy, cakey sides!

So, so good! And just the right amount so that you can enjoy one without feeling stuffed after dinner.
Perfect on their own or topped with whipped cream or vanilla ice cream!

These would be amazing to serve for Passover, to any gluten-free guests or really anytime you want a hit of warm chocolate decadence!
Have a wonderful weekend my friends and I’ll be back next week with more food and fun as we head into APRIL!!!! Can you believe it?!!

Molten Chocolate Flourless Cakes (Super Easy + Make Ahead)
Makes six 3-4 ounce ramekins or three 12 ounce larger bowls
Prep Time: 15 minutes; Bake Time: About 20 minutes, less if you want them really gooey, more if you like them cakey
Ingredients
6 ounces good quality bittersweet chocolate, chopped (I always use the TJ 72% Dark Chocolate Pound Plus bars, but you could use semisweet too if you like things on the sweeter side)
8 tablespoons (1 stick) unsalted butter
3 large eggs
⅔ cup sugar
Pinch of salt
The Recipe
1. Make sure rack is centered in oven and preheat to 375ºF.
2. Place an inch or two of water in a medium saucepan and place over medium heat. Put the chocolate and butter in the top of double boiler (or a heatproof bowl that would fit over the saucepan) and allow the butter and chocolate to melt, stirring frequently. Don’t let the water touch the bottom of the bowl. When the mixture is completely melted and smooth, remove it from the pan and set aside.
3. Use an electric mixer (I like my handheld for this) to beat the eggs, sugar and salt together on high speed for 10 minutes, until thick and light. Fold ⅓ of the eggs into the chocolate mixture with a rubber spatula and then gently fold that back into the egg mixture until no trace of the eggs can be seen. Divide the mixture evenly between the ramekins or dishes.
4. Now you can either bake them all right now or cover each one individually with aluminum foil and chill until you’re ready to bake, for up to 2 days. If you are baking now, place them into the oven on a baking sheet and bake for about 20 minutes. They will puff up and the tops will crack. At about 20 minutes, they are pretty molten inside. If you want them more cakey, leave them in an extra couple of minutes. If you decide not to bake them right away, remove them from the fridge about 30 minutes before you’re ready to bake—I’ve often forgotten to take them out and they still come out great, but just need a longer bake time.
5. Serve immediately as is, or topped with whipped cream or vanilla ice cream.
6. Leftovers can be covered and chilled—they turn dense and fudgy (delish!) and if you need a larger amount, the recipe doubles well.
Enjoy!
Note: Recipe adapted from Sinfully Easy Delicious Desserts by Alice Medrich. I tinkered with some cooking methods but kept true to the ingredients and proportions. Also, feel free to cook these in a variety of different sized dishes. The original recipe calls for larger bowls and it’s great that way—I like the smaller size ramekins for portion control (lol).


