Homemade Pitas


WARNING: once you taste these homemade pitas, you will never go back to the store bought version again! Seriously, they’re that good!!
I don’t know about you, but up until now, pita bread has not been on my mind much. Now I think about it all the time!
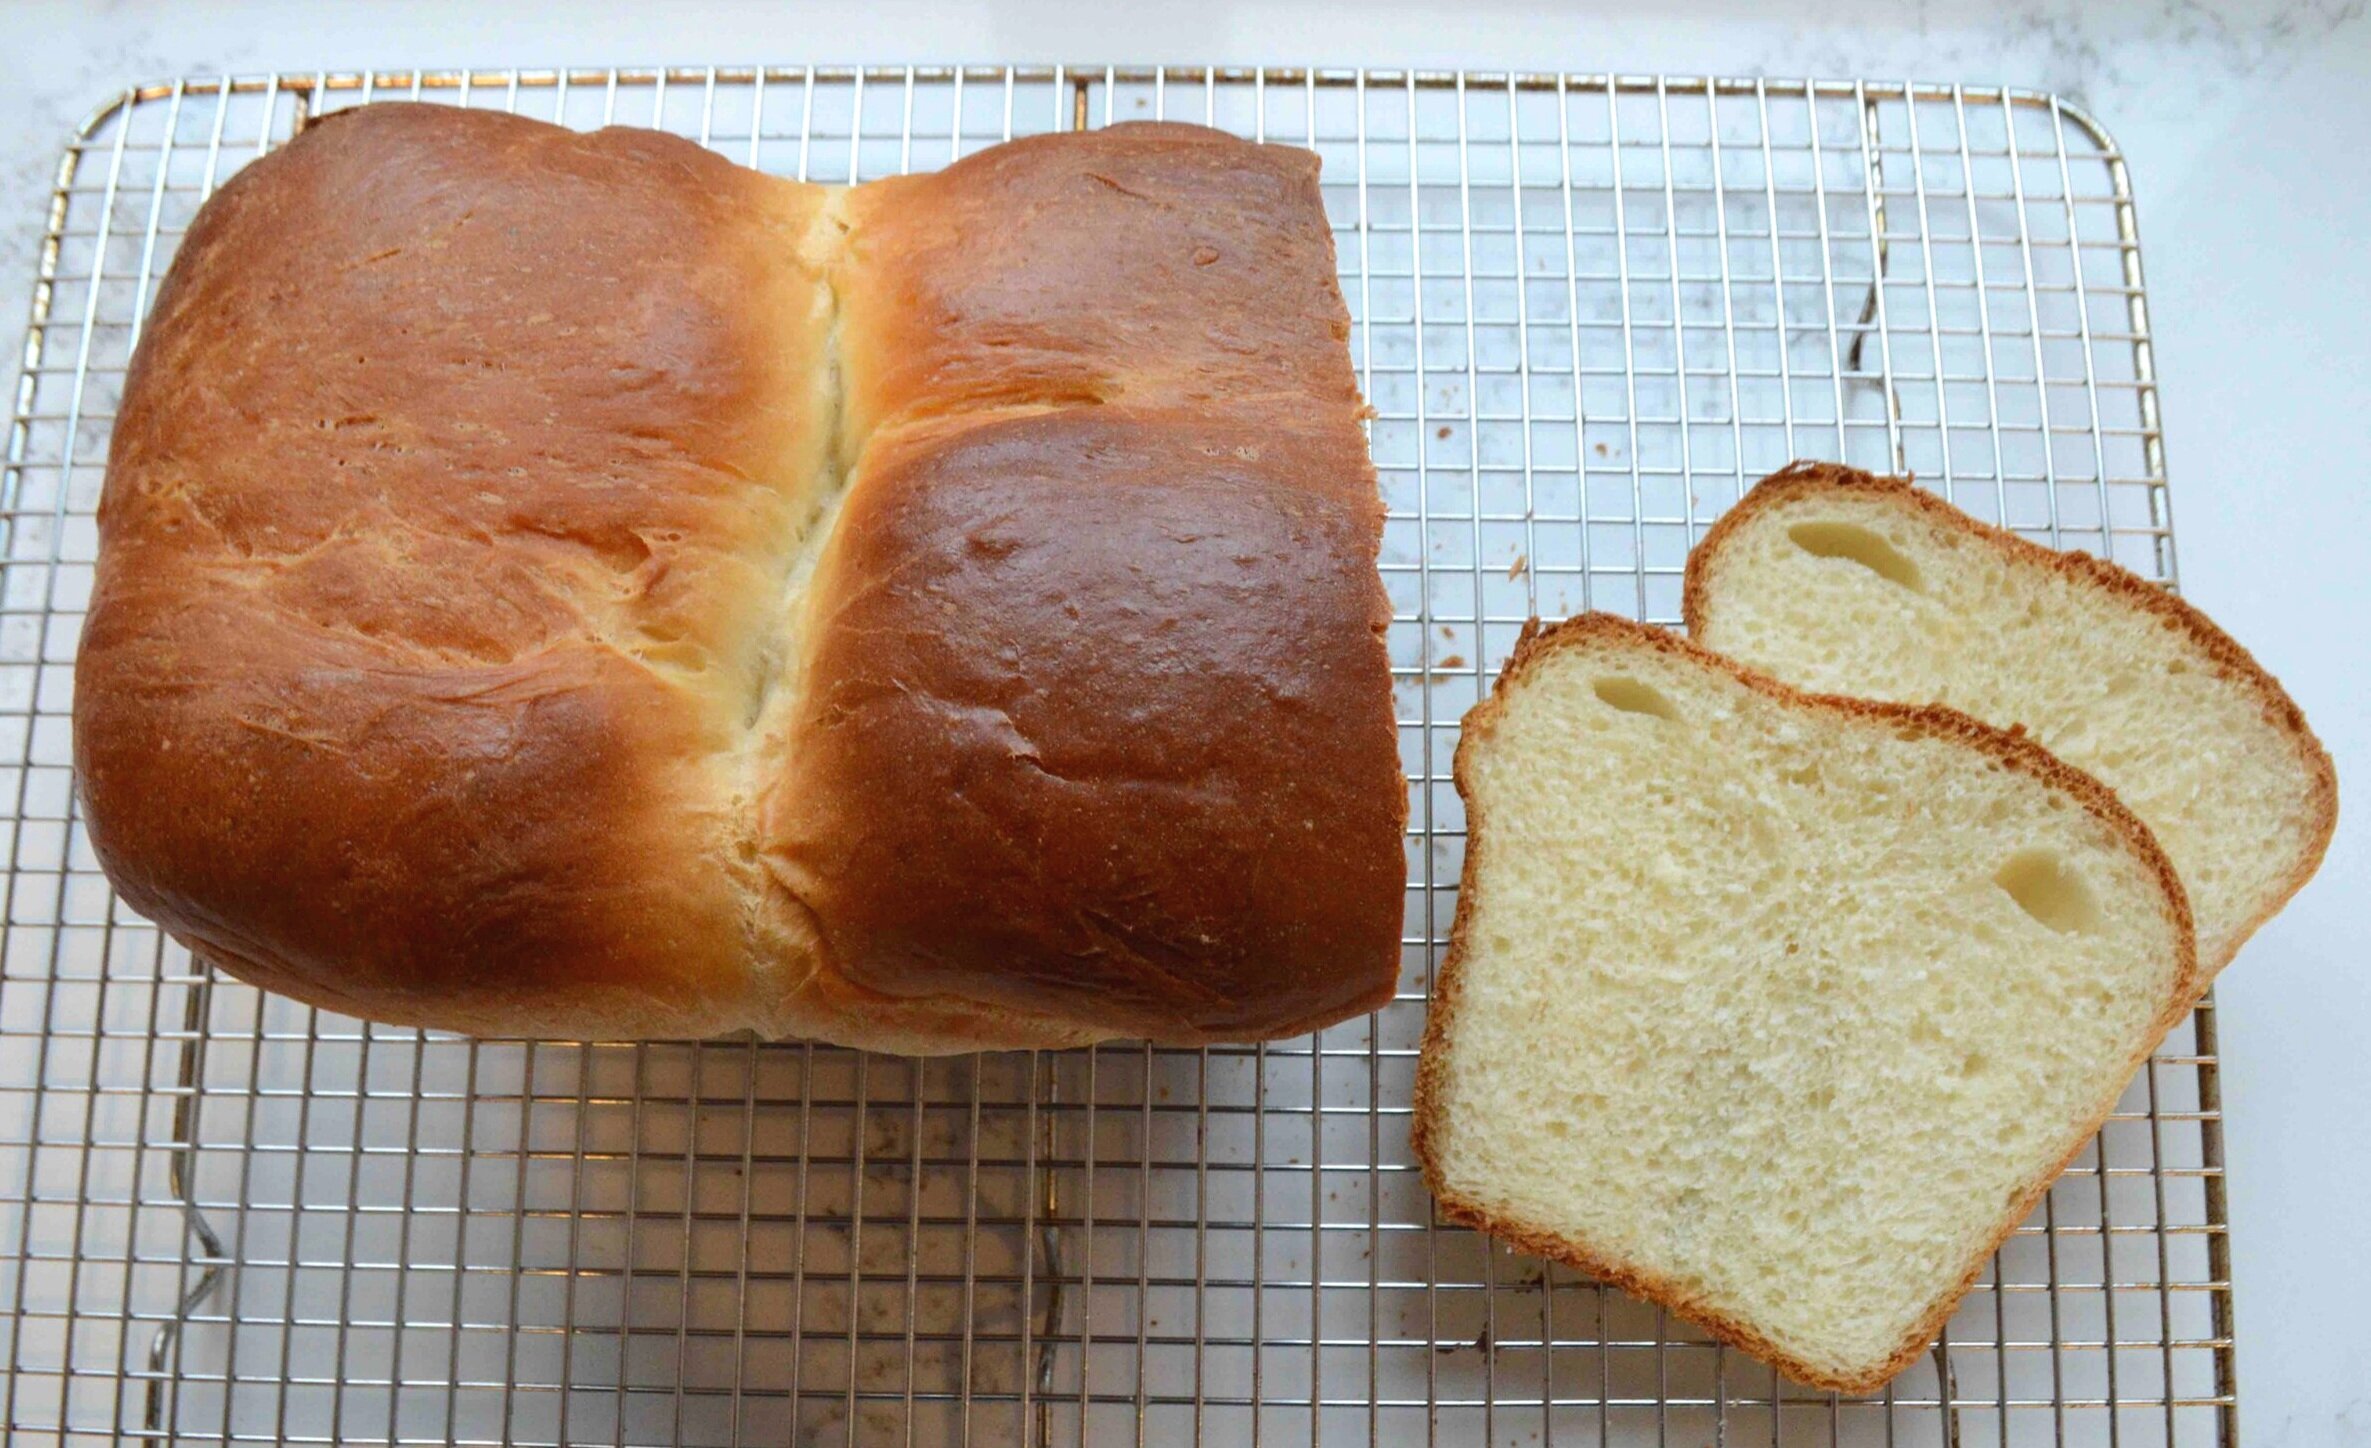
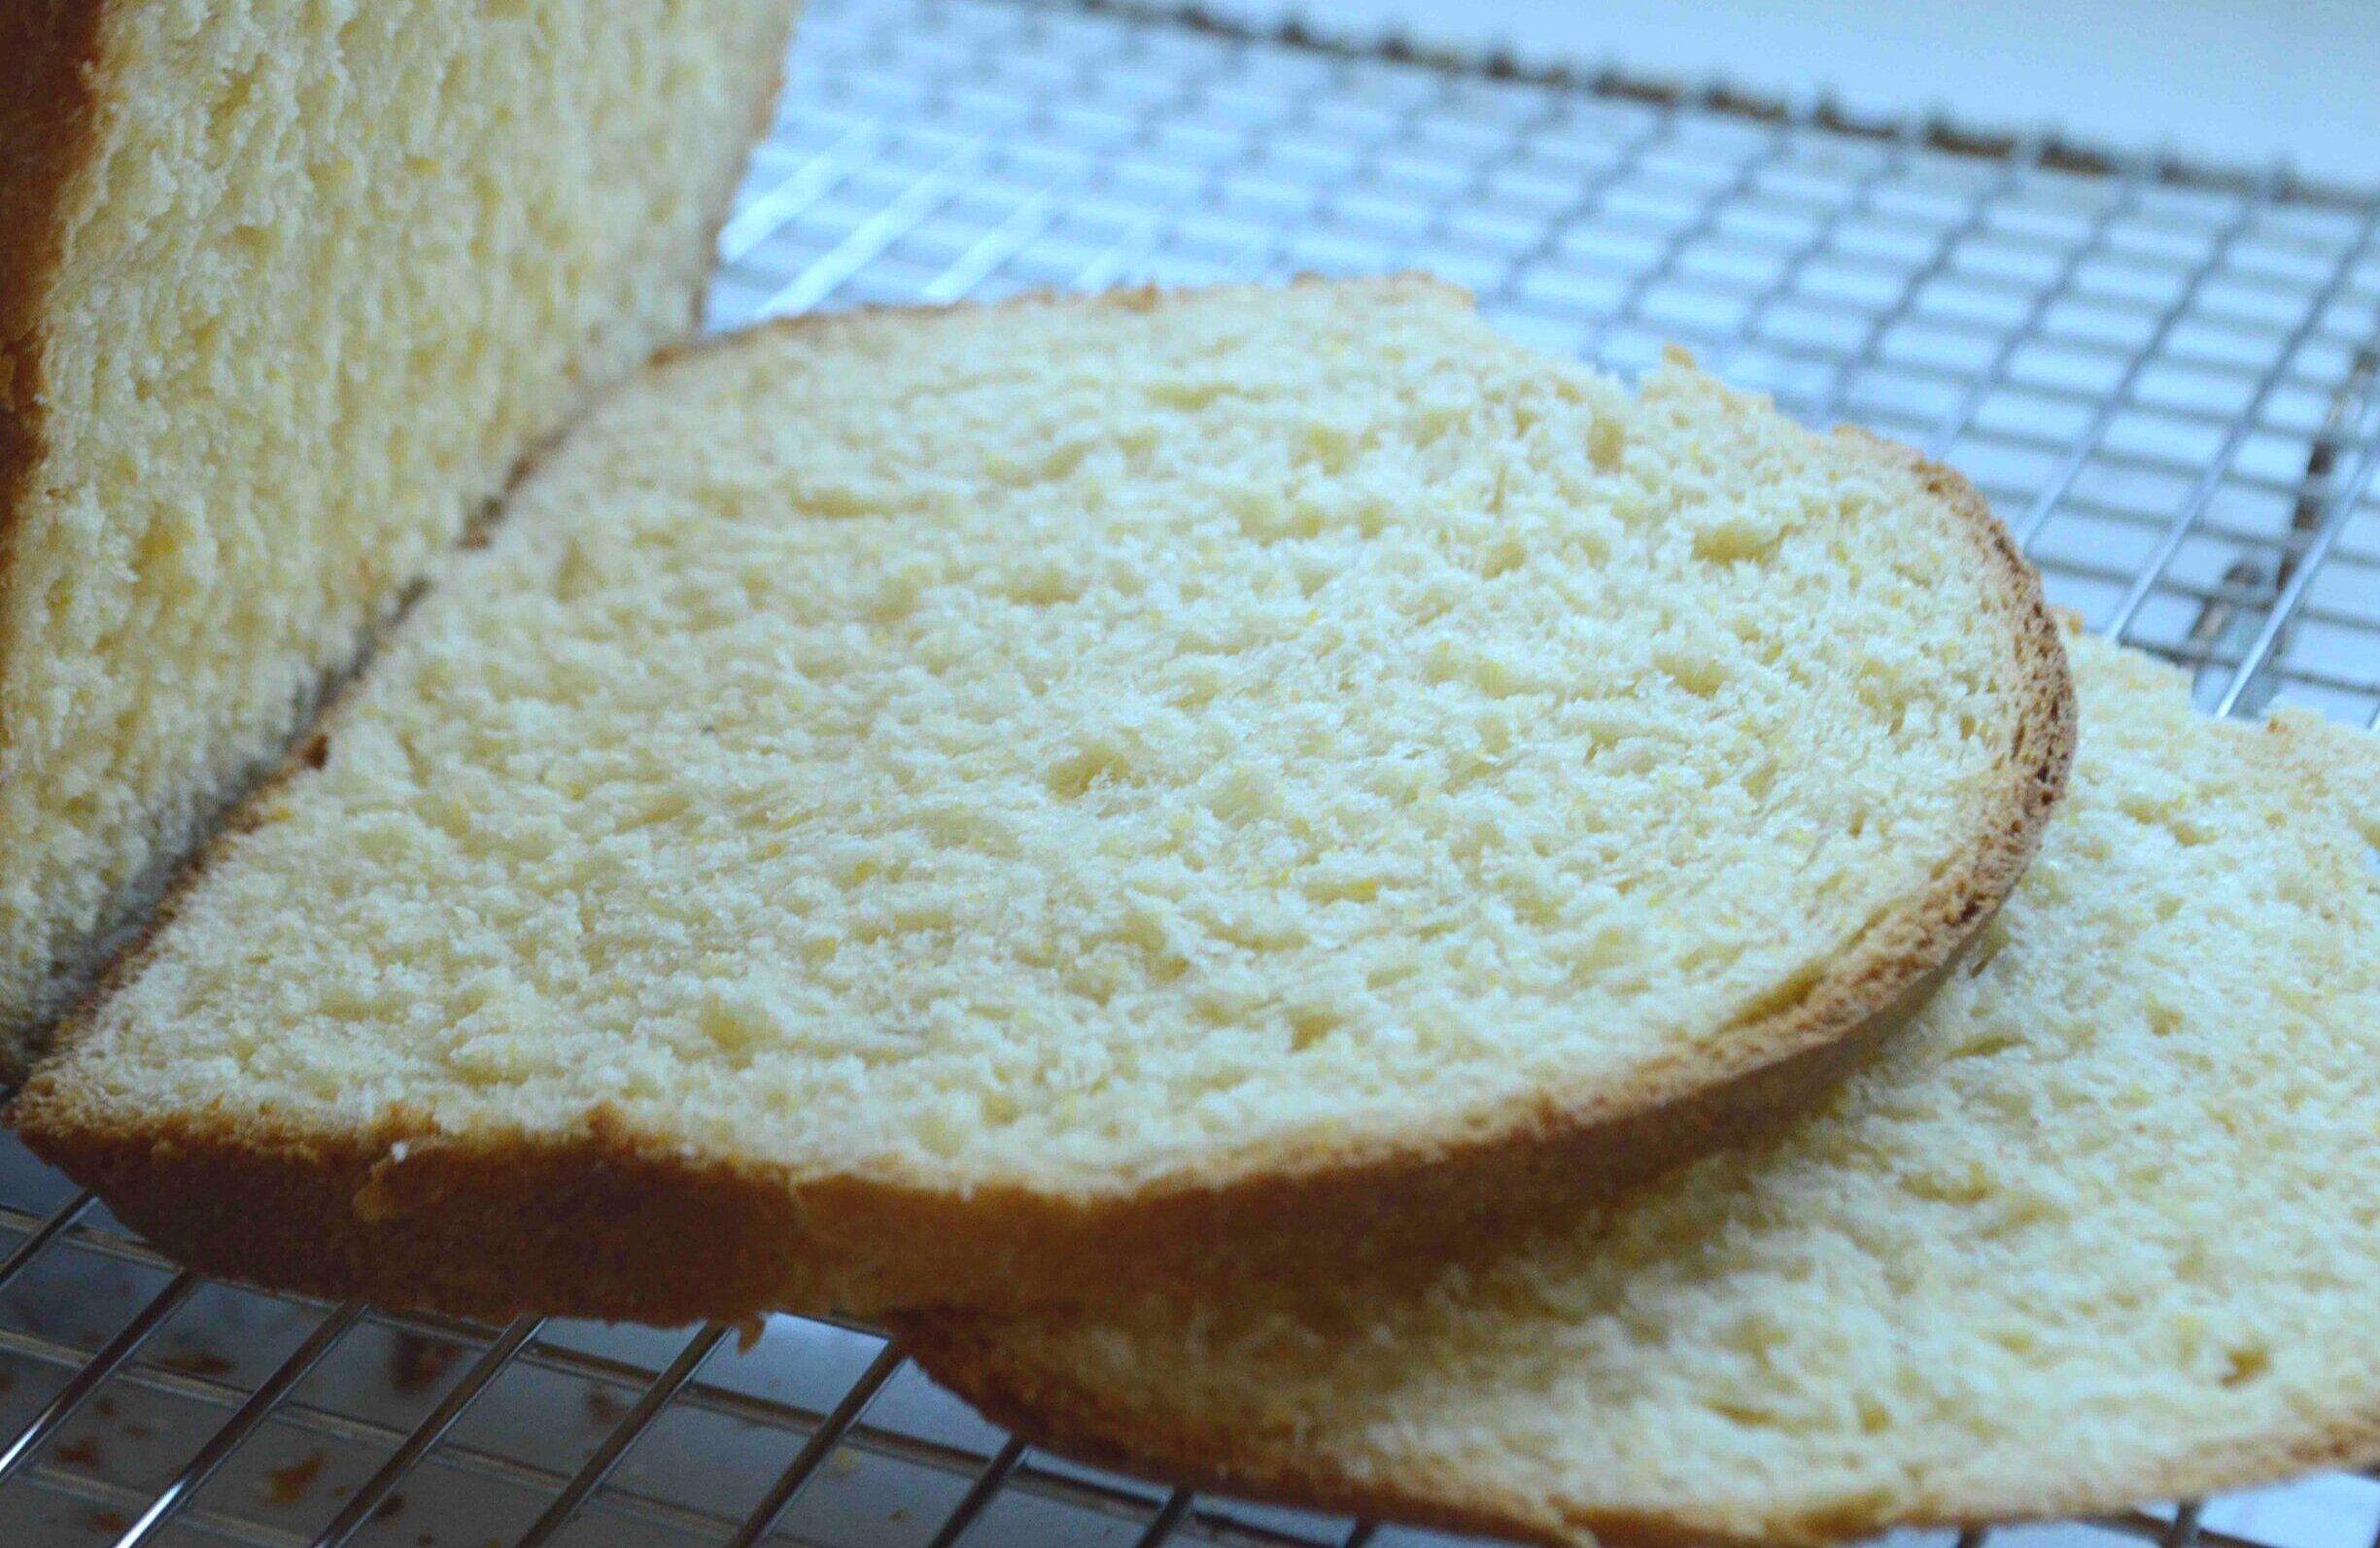
Warm, soft, doughy circles that call out to you to rip off just one more chewy piece and pop it into your mouth! Irresistible!

Ok, have I enticed you enough yet? I won’t pretend these don’t take some time, but the process is not at all difficult, particularly if you have a stand mixer with a dough hook. Most of the work gets done by the yeast!

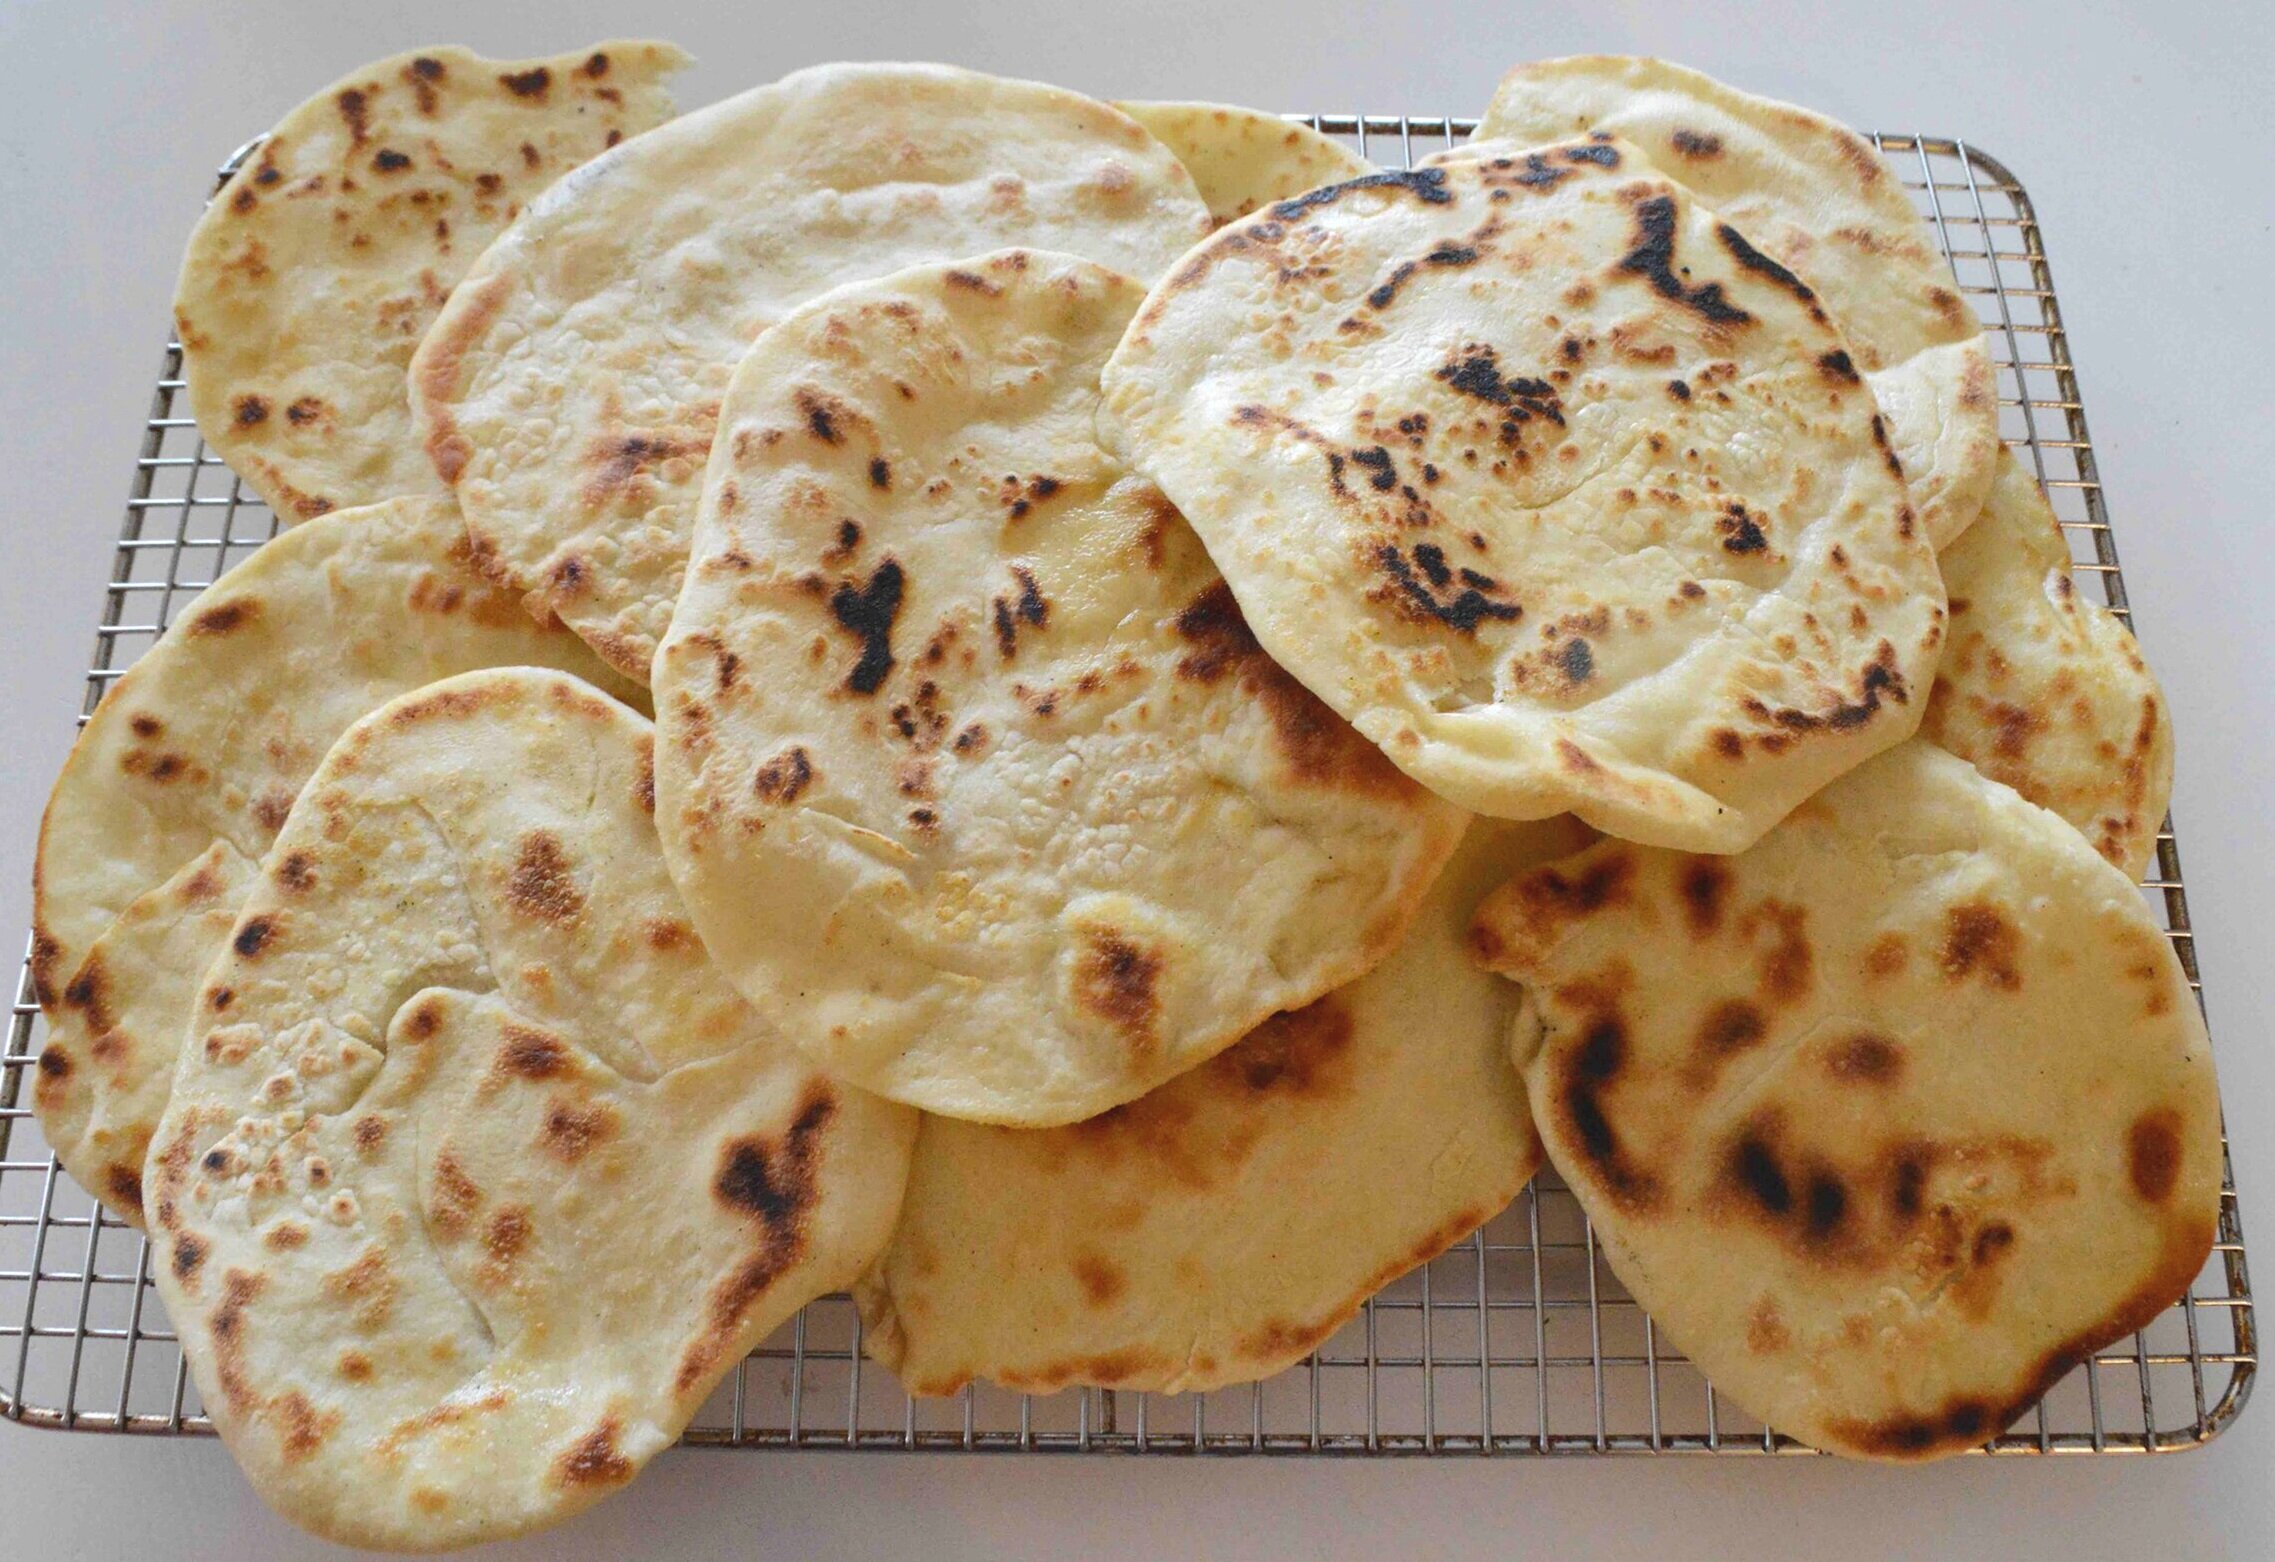
And once the dough is finished rising, all you do is roll out the balls into flat, little circles and bake.

Happily, just as your pita patience is wearing thin, these are done and ready to eat, as they only take about 5-8 minutes to puff up and bake! It’ll be a hard wait but you can tough it out!!
I just love these plain, hot out of the oven but they are also delish with butter or dipped in hummus and make a super sandwich filling holder as well.
I can’t urge you enough to make them but at the same time, don’t take my warning lightly, once you make these amazing homemade pitas you’ve entered into a lifetime commitment!

Homemade Pitas
Makes 1 dozen
It’s really easy to make these if you have a stand mixer with a bread hook. If you don’t, you can totally mix them by hand, but you’ll just need to tack on more time and muscle!
Prep Time: 15 minutes, plus 2 hours for first rise; 30 minutes for second rise; 10 minutes to roll out; Bake Time: 5-8 minutes
Ingredients
- 1 ½ cups warm water
- 2 ¼ teaspoons active dry yeast (1 packet)
- 1 1/2 tablespoons sugar
- 1 ½ teaspoons kosher salt
- 3 tablespoons olive oil, plus more for greasing bowl
- 3 ¾ cups bread flour, plus more for rolling out
The Recipe
1. Fit a stand mixer with the dough hook and mix the water, yeast and sugar together until combined. Let sit for 5 minutes or until bubbly and foamy. Run mixer on low speed and add in salt and oil. Gradually add in flour. When all flour has been added, turn up to medium-high and mix for 8-10 minutes, until dough is slightly sticky but sort of smooth and no longer sticking to side if the bowl, adding more flour if necessary (the original recipe suggests this but I’ve never needed to do this.) Put a bit of oil in a large bowl, transfer the dough to the bowl, turn it once or twice to coat it in the oil and cover the bowl tightly with plastic wrap. Let sit for about 2 hours at room temperature in a warmish spot, until doubled in bulk.
2. Turn the dough out into a board or clean counter and divide the dough into 12 equal pieces. One at a time, hold each piece in your hand and shape into a ball, stretching the top of the dough over and tucking the edges in underneath. Place the balls on a piece of parchment paper, about one inch apart and cover loosely with plastic wrap. Let rise for 30 minutes.
3. Meanwhile, preheat oven to 500º F and line 2 baking sheets with parchment paper.
4. Use a rolling pin to roll out the balls of dough into thin rounds about ¼ inch thick. You’ll probably see bubbles as you roll—that’s good. Place 6 rolled out rounds on each prepared baking sheet, spacing them evenly apart.
5. Bake 1 sheet at a time for 5-8 minutes. At 5 minutes, these are very pale and doughy. Totally delicious and chewy. If you want them browned on top, bake for a few minutes longer. They are great both ways. Let cool on a wire rack and serve.
6. Store in an airtight container at room temperature for a few days and toast or reheat in the oven. Or freeze them. Haven’t tried this yet because we always gobble them up right away, so let me know if you do.
Enjoy!
Note: Recipe adapted from Molly On The Range by Molly Yeh.