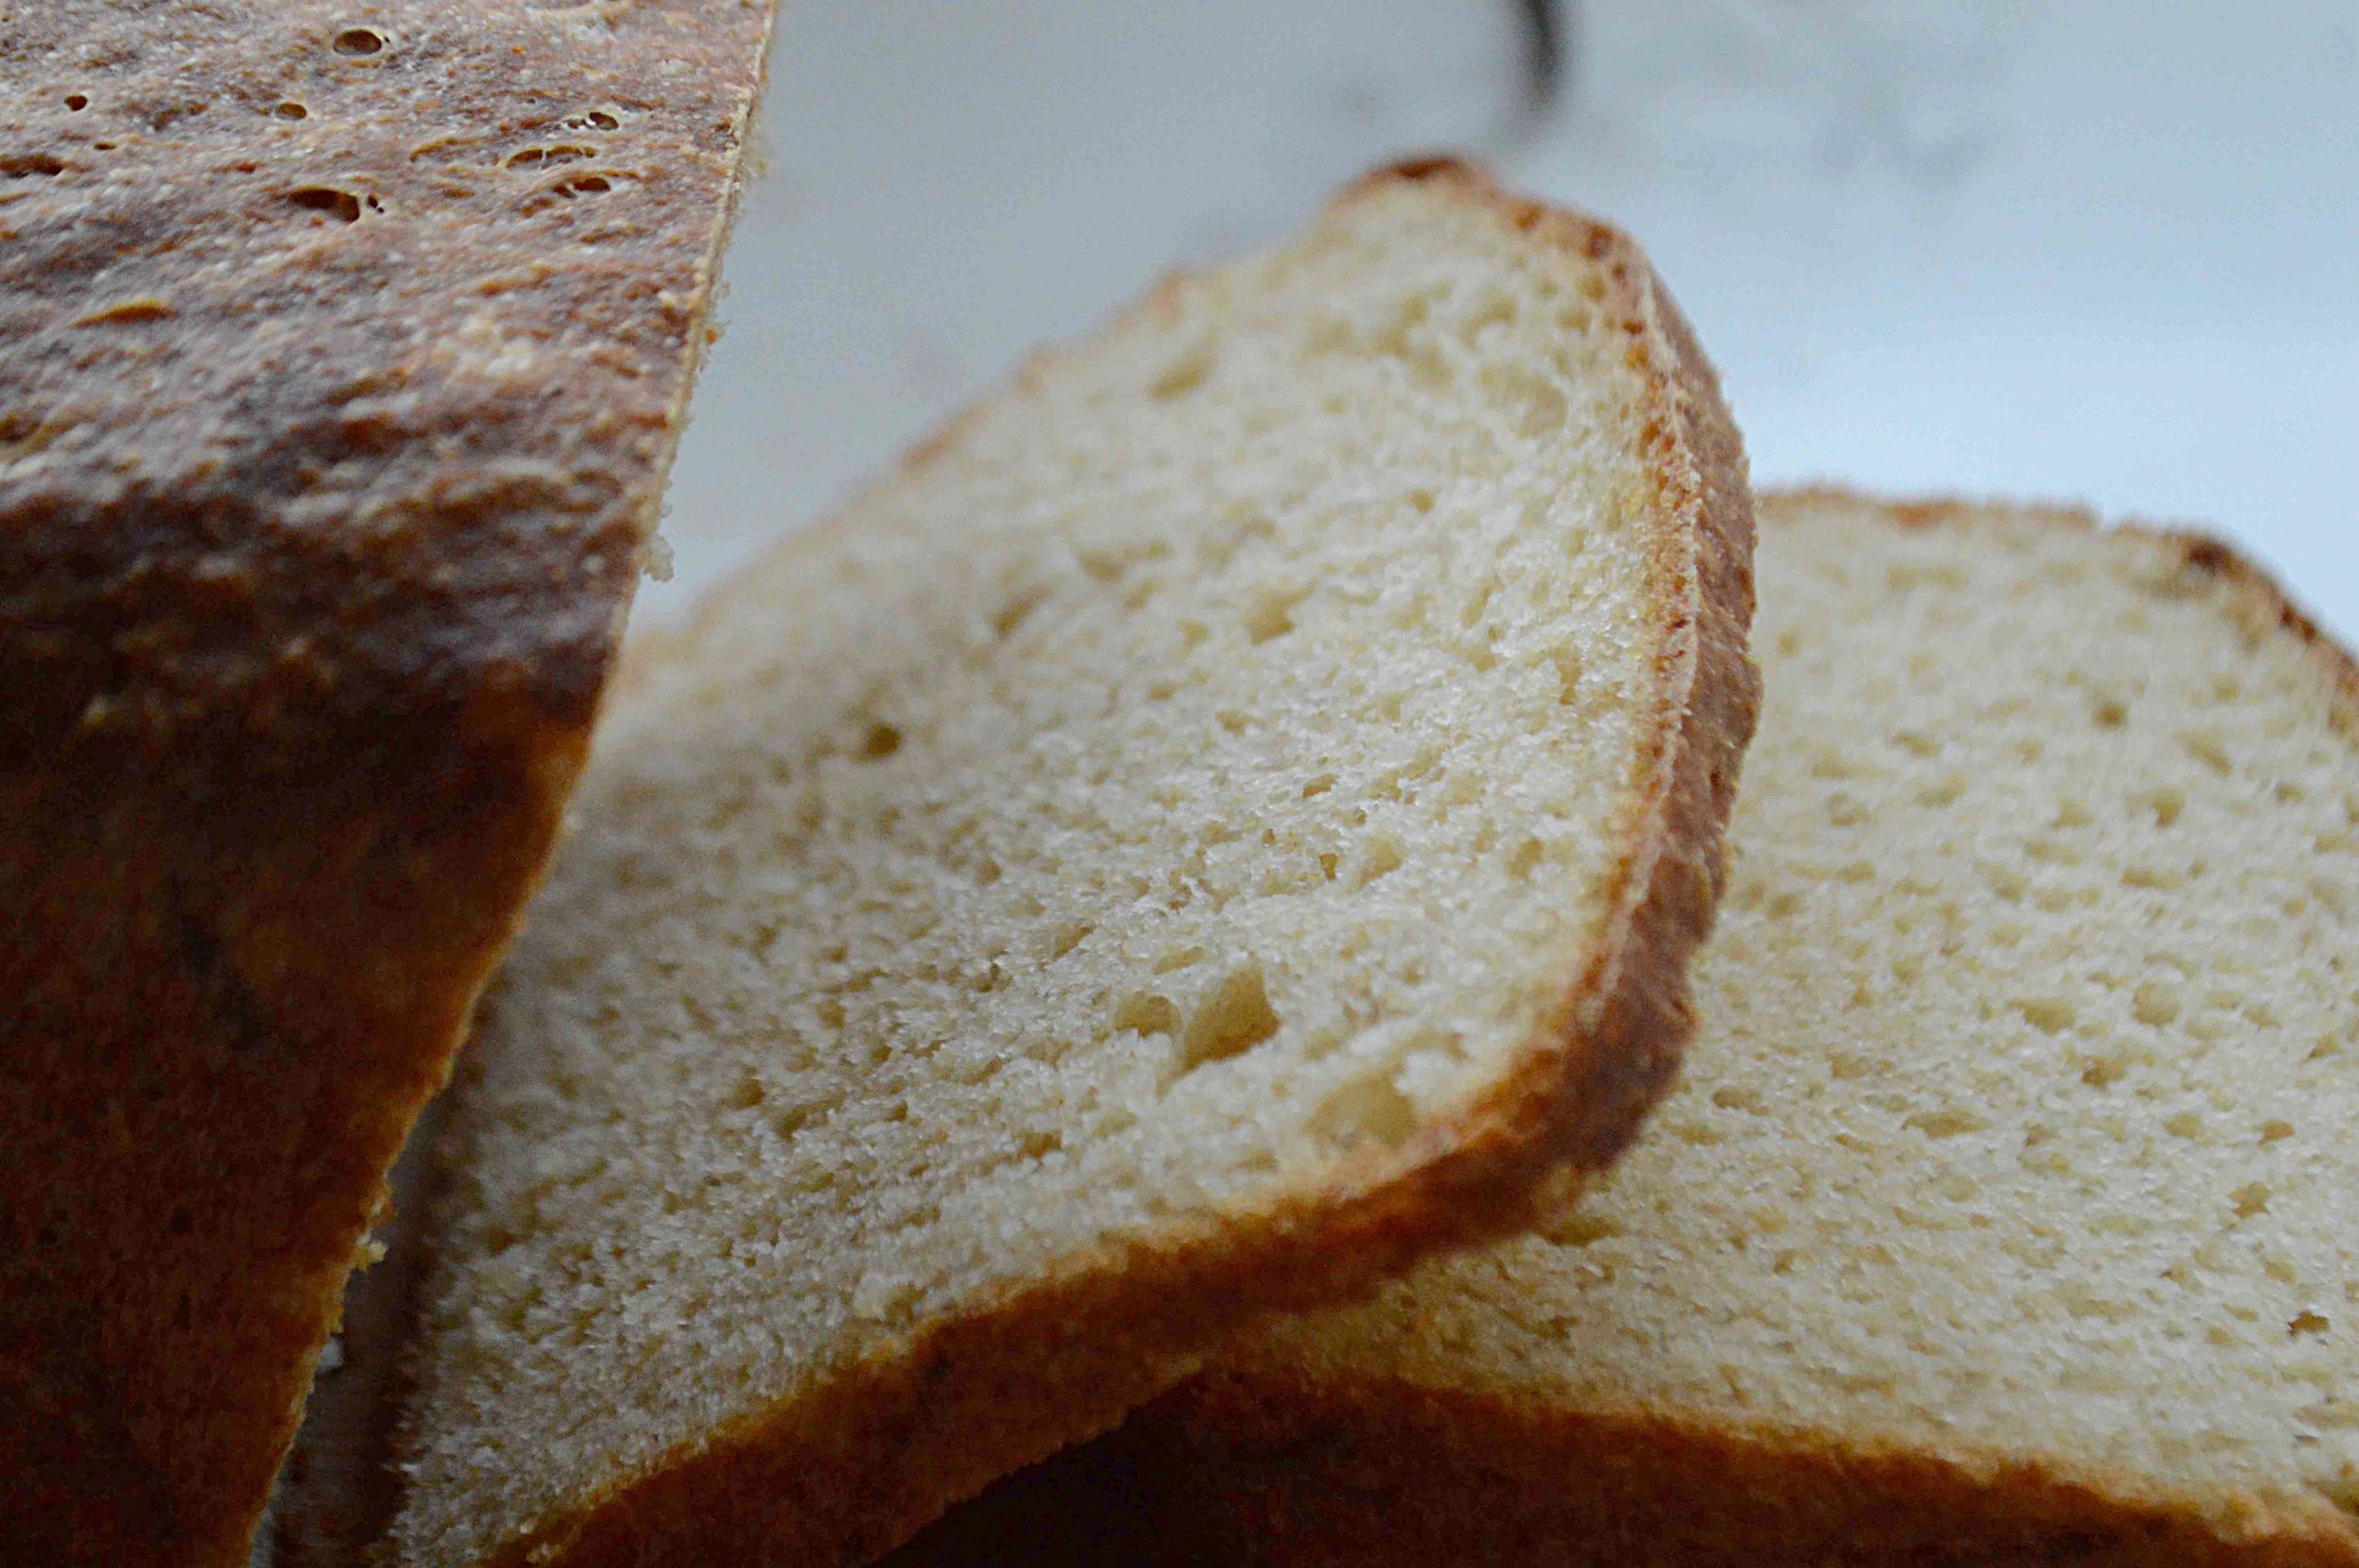
Cornbread Sandwich Loaf (Yeasted)

I know many of you are baking bread more than ever now and I think you’re going to love this “corny” sandwich loaf, which is a cross between white sandwich bread and traditional honey cornbread. It relies on pantry and fridge staples and comes together easily and unfussily, especially if you have a stand mixer with a dough hook, though it’s not impossible without one—more on that later. It’s also works well with substitutions (a boon in these grocery-challenged times) and most of all, tastes absolutely delicious. If you’re looking for a new bread to add to your collection, I highly recommend giving this one a try!
I first made this bread about a year ago. We loved it but for some reason or another, I never took pictures and it got lost among the shuffle, which is why I never shared it with all of you. When all the staying at home started, I rediscovered the recipe and made it again (and again—it’s so yummy!) and realized I had to share it.

Thus, today’s post.
You’d think that’s where my little tale would end, but no. When we recently moved, we were lucky enough not to have to do it all at one time and for about a week, lived between our house and our new rental, leaving all my baking ingredients and appliances in our old house until the last minute. Or so I thought.
One morning I mixed up a batch of the dough for this and realized that not only had I already brought my active dry yeast to the new house (which I believed to be a must for this bread), but somehow my stand mixer had also managed to make the move too. Wha-a-at?!! For a split second I considered dumping the bowl into the garbage, figuring the bread was doomed but how could I justify the waste in these times? Instead, I decided to make a little experiment of it—subbing in instant yeast and mixing the whole shebang by hand, the old-fashioned way.

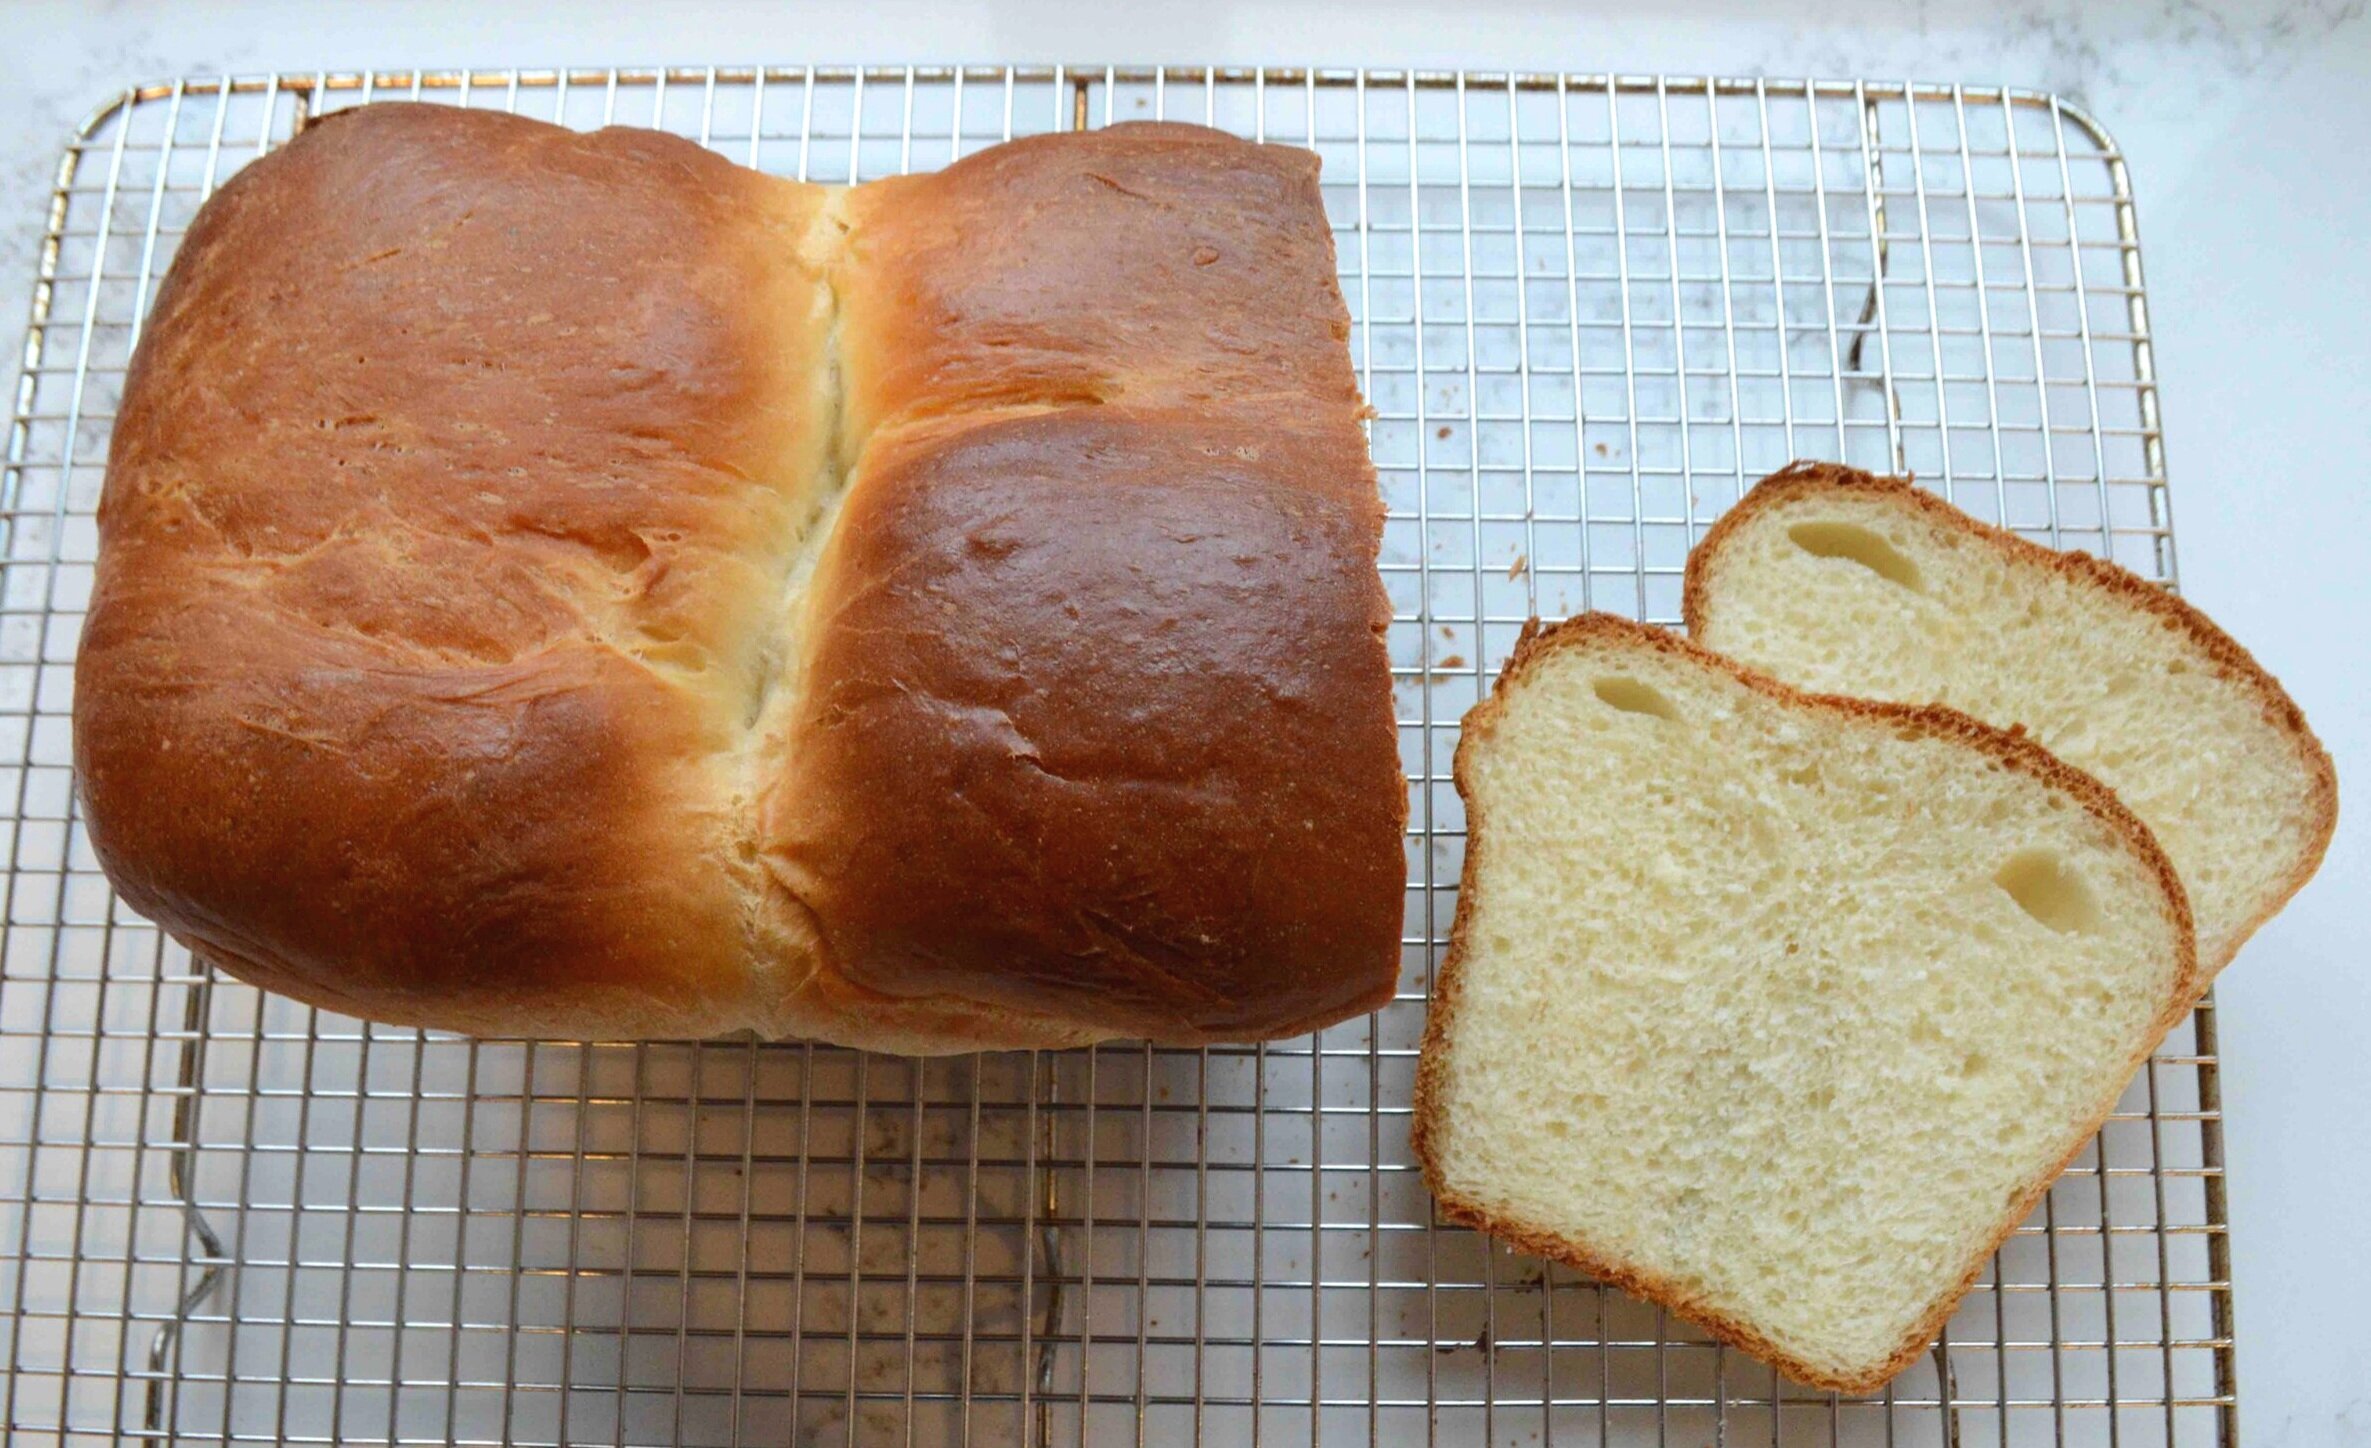
And it worked. Beautifully! I actually did a victory lap around the kitchen! Yeah, it took more time and a whole lot more muscle power and maybe the loaf didn’t rise quite as much as it usually does, but the bread turned out as light, sweet and fluffy as ever and I didn’t hear anyone complaining (except for me, my muscles were a little sore, lol!)
And with that my little bread saga comes to a close. Happy baking!!

Cornbread Sandwich Loaf (Yeasted)
Makes one 9x5-inch loaf
Prep Time: 15 minutes, plus a few hours of rising; Bake Time: 40-45 minutes
Ingredients
3 tablespoons unsalted butter, plus a little extra softened butter for greasing the bowl
⅓ cup good quality honey
1 cup whole milk (you could use 2% as well)
1 cup medium or finely ground yellow cornmeal
2 ½-3 cups unbleached, all-purpose flour, divided
1 ½ teaspoons kosher salt
2 ¼ teaspoons active dry yeast*
The Recipe
1. Combine the butter, honey and milk in a small saucepan and place over low heat. Heat until the butter is melted, stirring until smooth. Remove from the heat and let the mixture sit for about 5 minutes or until it’s between 120-130ºF.
2. If you have a stand mixer with a dough hook, attach the hook and combine the cornmeal, 1 ½ cups of the flour, the salt and the yeast, whisking together. Add the slightly cooled milk and mix on low speed until combined. Turn the mixer up to medium-low and in two additions, add 1 cup of the remaining flour. As you mix, you’ll see the dough start to pull away from the side of the bowl. Touch the dough. It should feel only slightly sticky. If it’s very sticky still, add another ¼ cup of flour and check again. You may not need to add the full 3 cups. Now continue to mix the dough for another 5 minutes or so, until it’s smooth and elastic.
3. If you don’t have a stand mixer with a dough hook, you can do all of this by hand. While the milk mixture is cooling, add the 1 ½ cups of the flour, the salt and the yeast to a large bowl and whisk together. Add the cooled milk mixture and use a wooden spoon to incorporate it. Add in another cup of the flour in two additions, stirring well until the dough pulls away from the side of the bowl. This might take about 7-8 minutes. Then use your hands to knead the dough right in the bowl, adding more flour as necessary, until it’s a smooth and elastic ball.
4. Whichever way you mixed up the dough, grease a large bowl with the softened butter and place the dough into it. Cover with plastic wrap. Let rise in a warm place for about 1 hour, until the dough has doubled. Meanwhile, grease a 9x5-inch loaf pan and set aside.
5. Gently punch down the dough and knead a few times in the bowl and then let it rest for 5-10 minutes. Transfer the dough to a board or clean counter and use a rolling pin to roll the dough into a rough 8-inch wide rectangle. Starting on a short side, roll up the dough into a log and place it, seam-side down, into the prepared loaf pan. Cover with plastic wrap and let rise again until doubled in bulk, about 30-45 minutes.
6. Near the end of the rising time, preheat the oven to 375ºF. When dough has risen, bake for 40-45 minutes, until the top is a deep golden brown.Turn the loaf out onto a wire rack and let cool completely before serving.
Enjoy!
Note: Recipe adapted from Completely Delicious. I increased the honey in the recipe but cut the melted butter on top after the loaf has baked.
*You can almost always sub in instant yeast for active dry. Just cut it by about 25%. It doesn’t have to be exact. I recently made this bread with it and used 2 teaspoons of instant yeast instead and it came out just great.