My Favorite Buttermilk Biscuits

I’m definitely getting older. I could have sworn that I had shared these tried and true biscuits with you ages ago, but when I went to look for them the other day, they were nowhere to be found—just like my keys! Ha!
But at least the site is no longer buttermilk biscuit-less! And that’s particularly good because it’s Friday and weekends are the perfect time to make something a little more indulgent for breakfast. How nice would it be to start off your Saturday or Sunday with a hot, fresh, fluffy biscuit?!!
If making biscuits intimidates you, these are the ones to try. Over the years, I’ve tested out a ton of different biscuit recipes and while I’ve found some good ones, these are by far my favorite in both taste, texture and ease of preparation. They’re virtually foolproof!
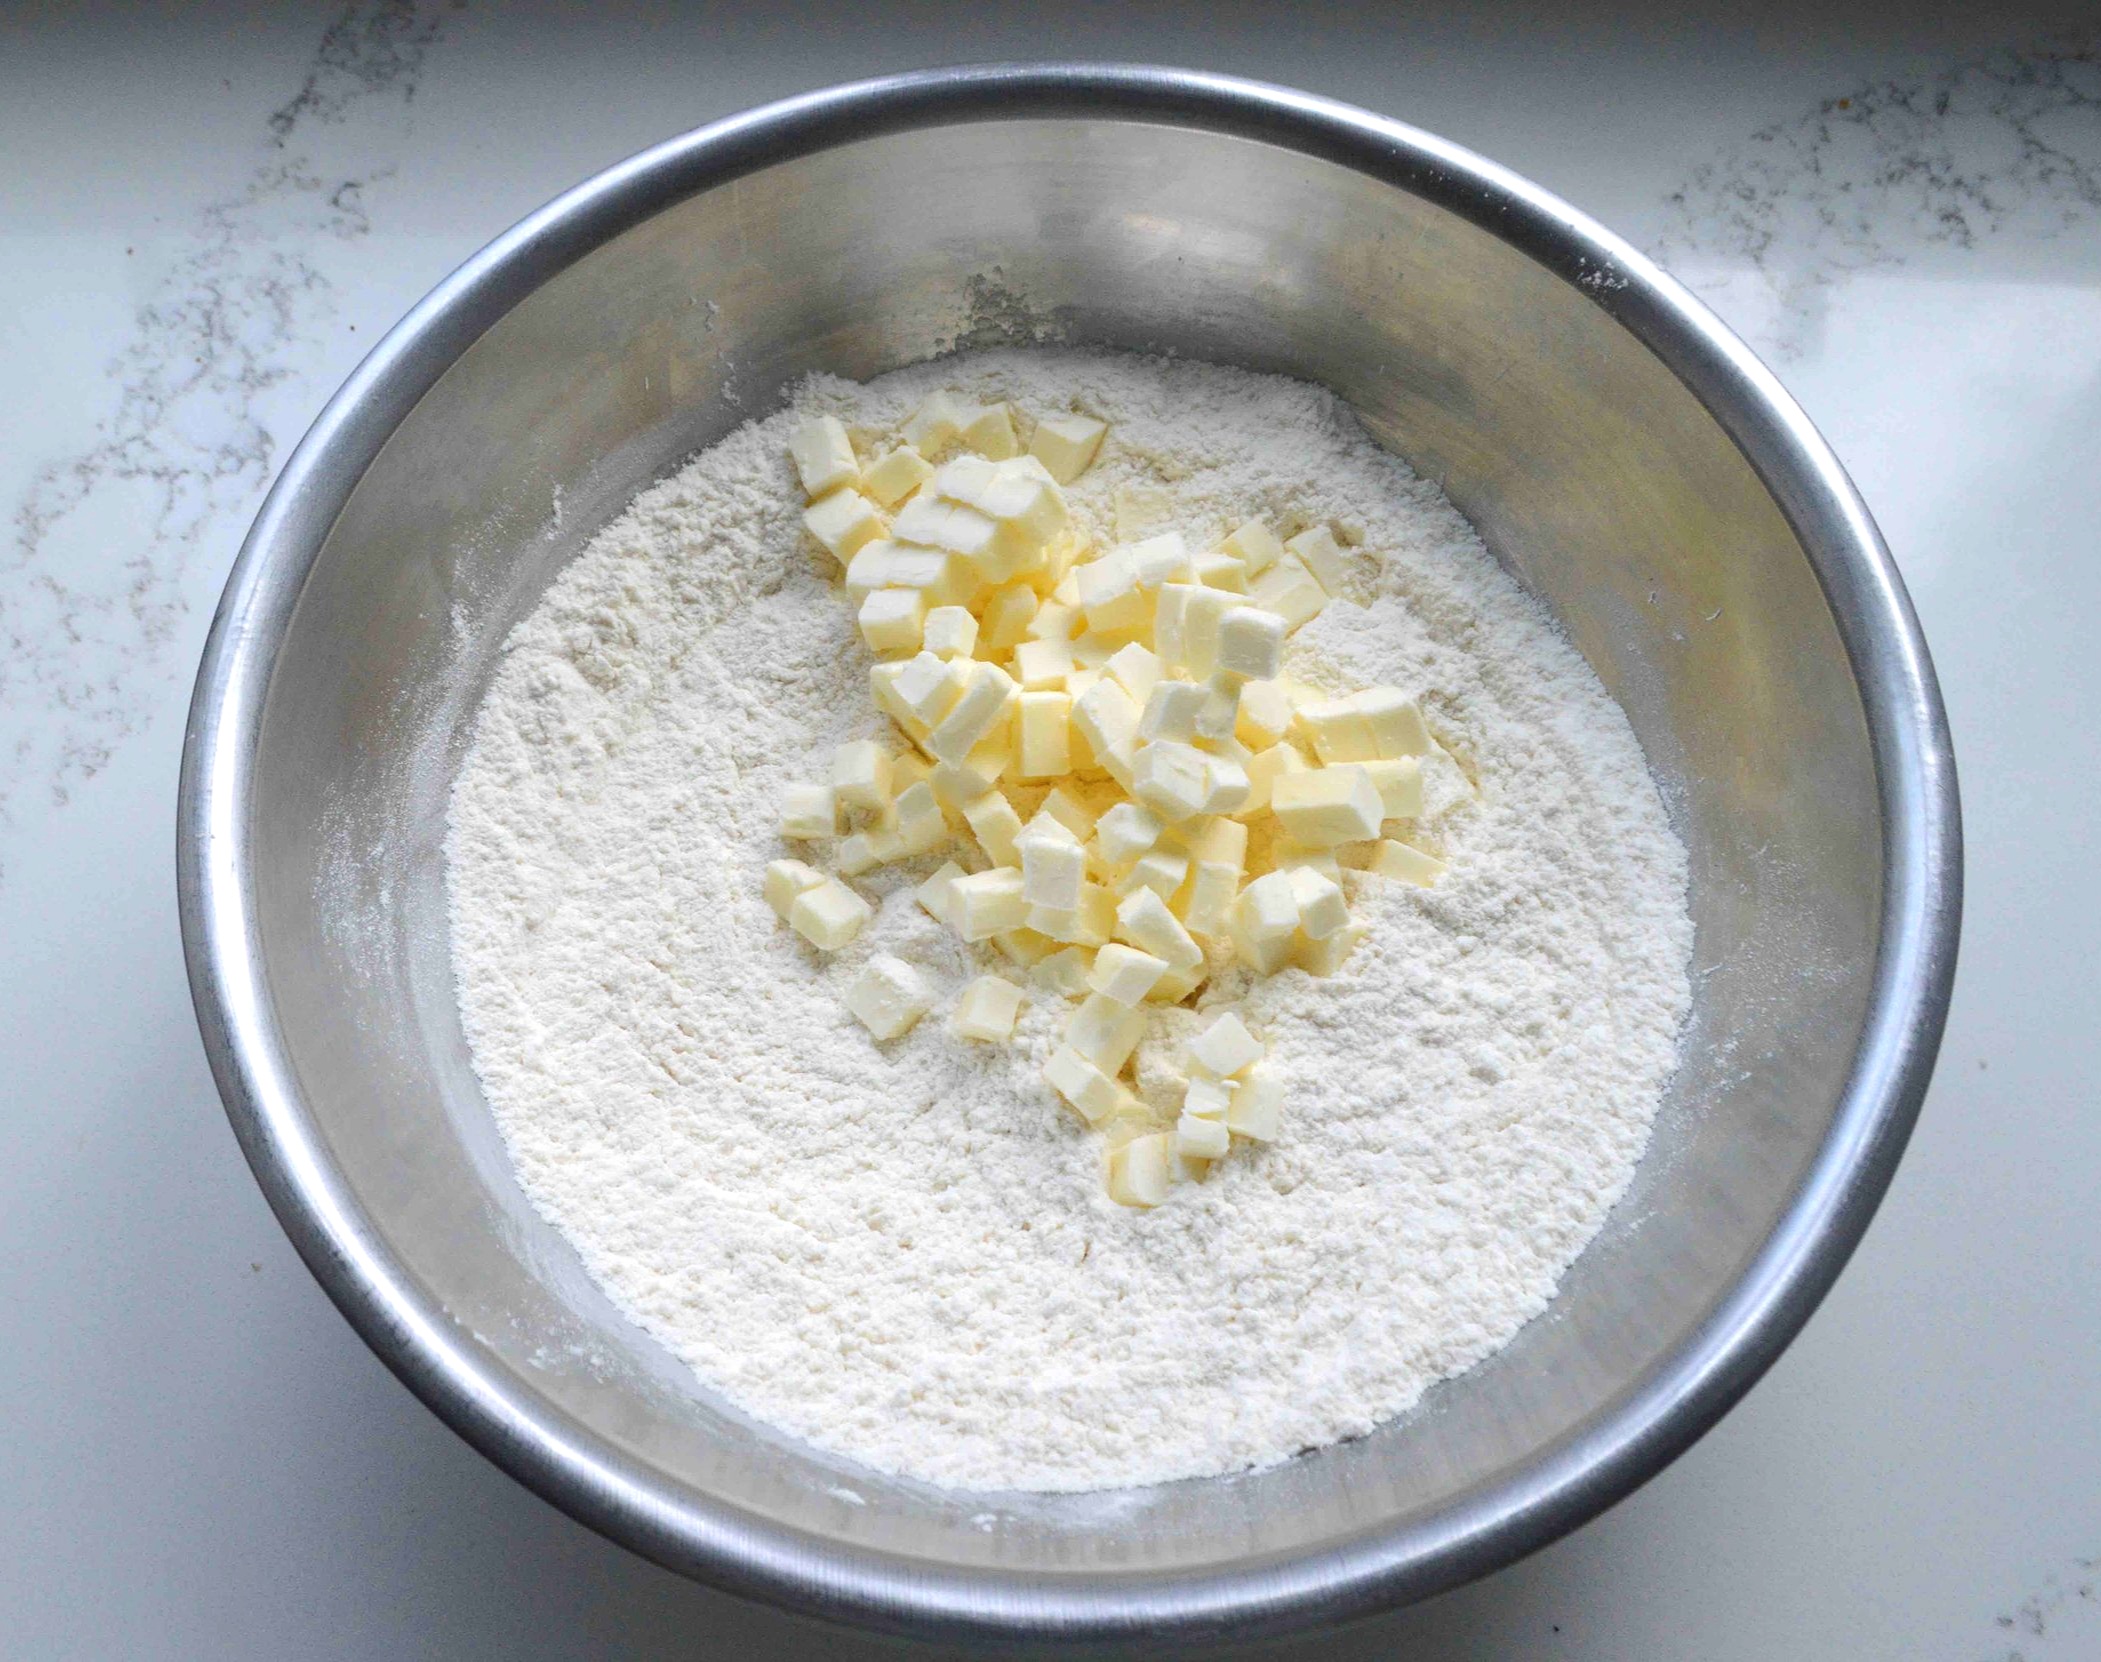
You start by whisking together your dry ingredients and then working in cold, cubed butter with your fingers—no pastry cutter or forks necessary. Using your hands helps keep from overmixing them which results in tougher biscuits.
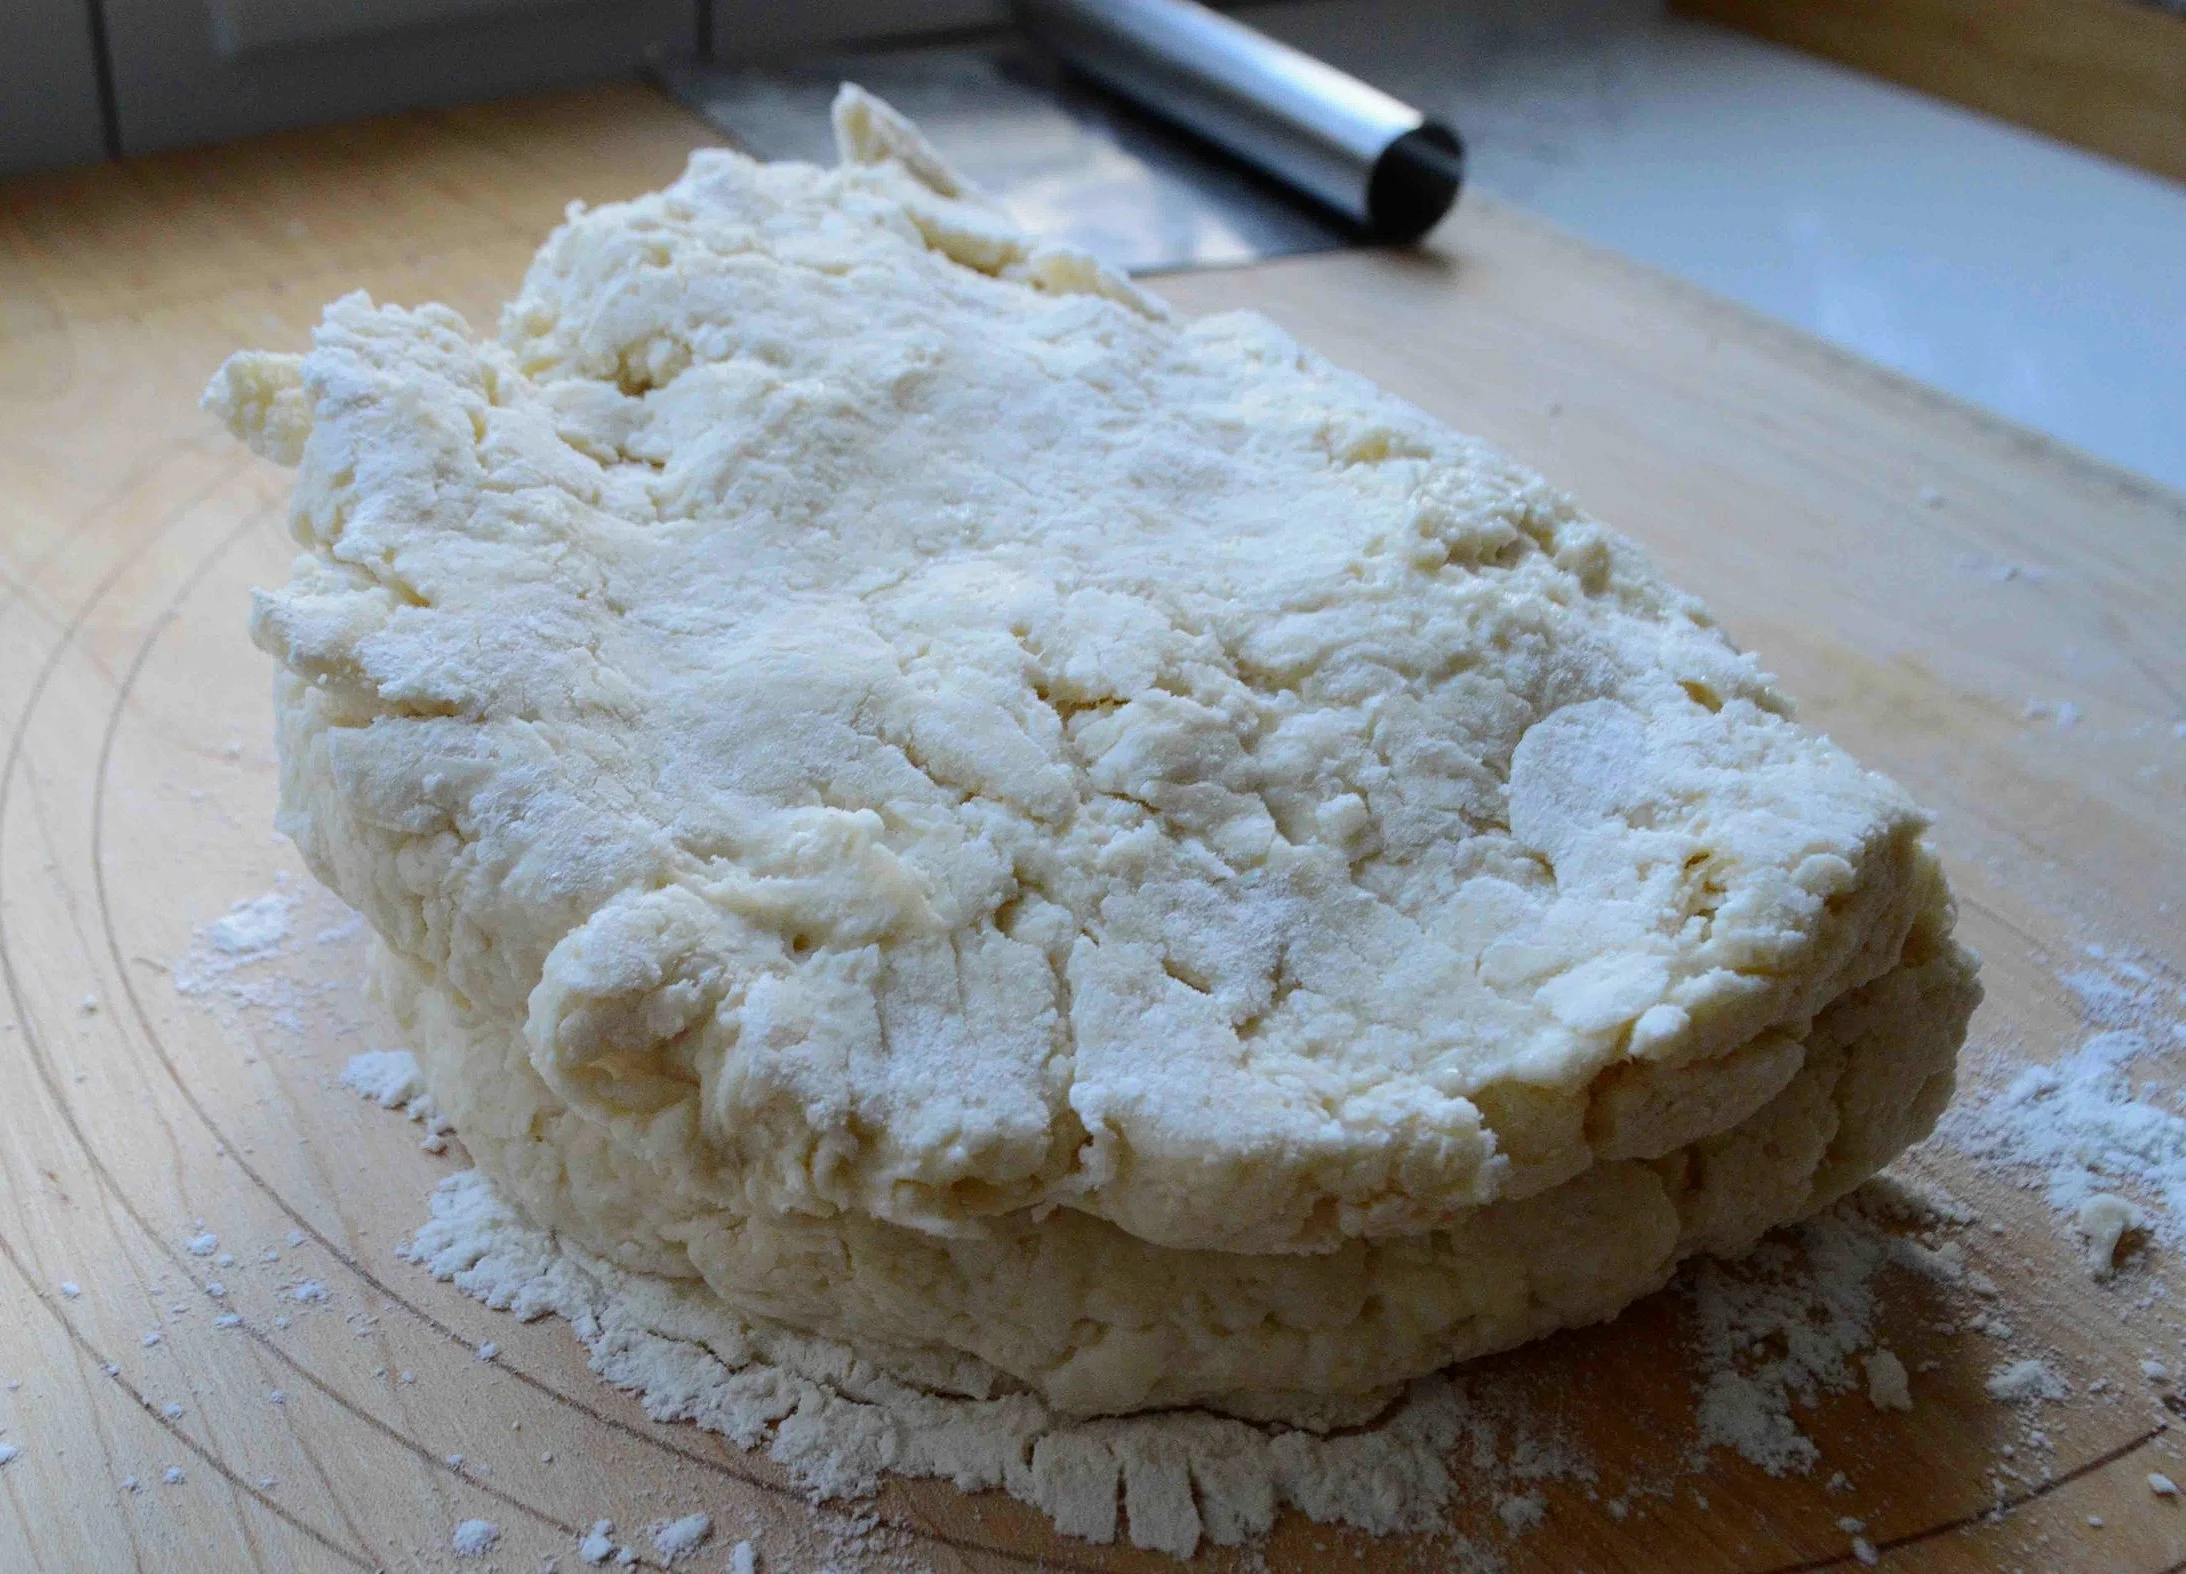
Then, you simply stir in the buttermilk until a shaggy dough forms, turn out onto a floured surface and pat into a loose approximation of a rectangle.

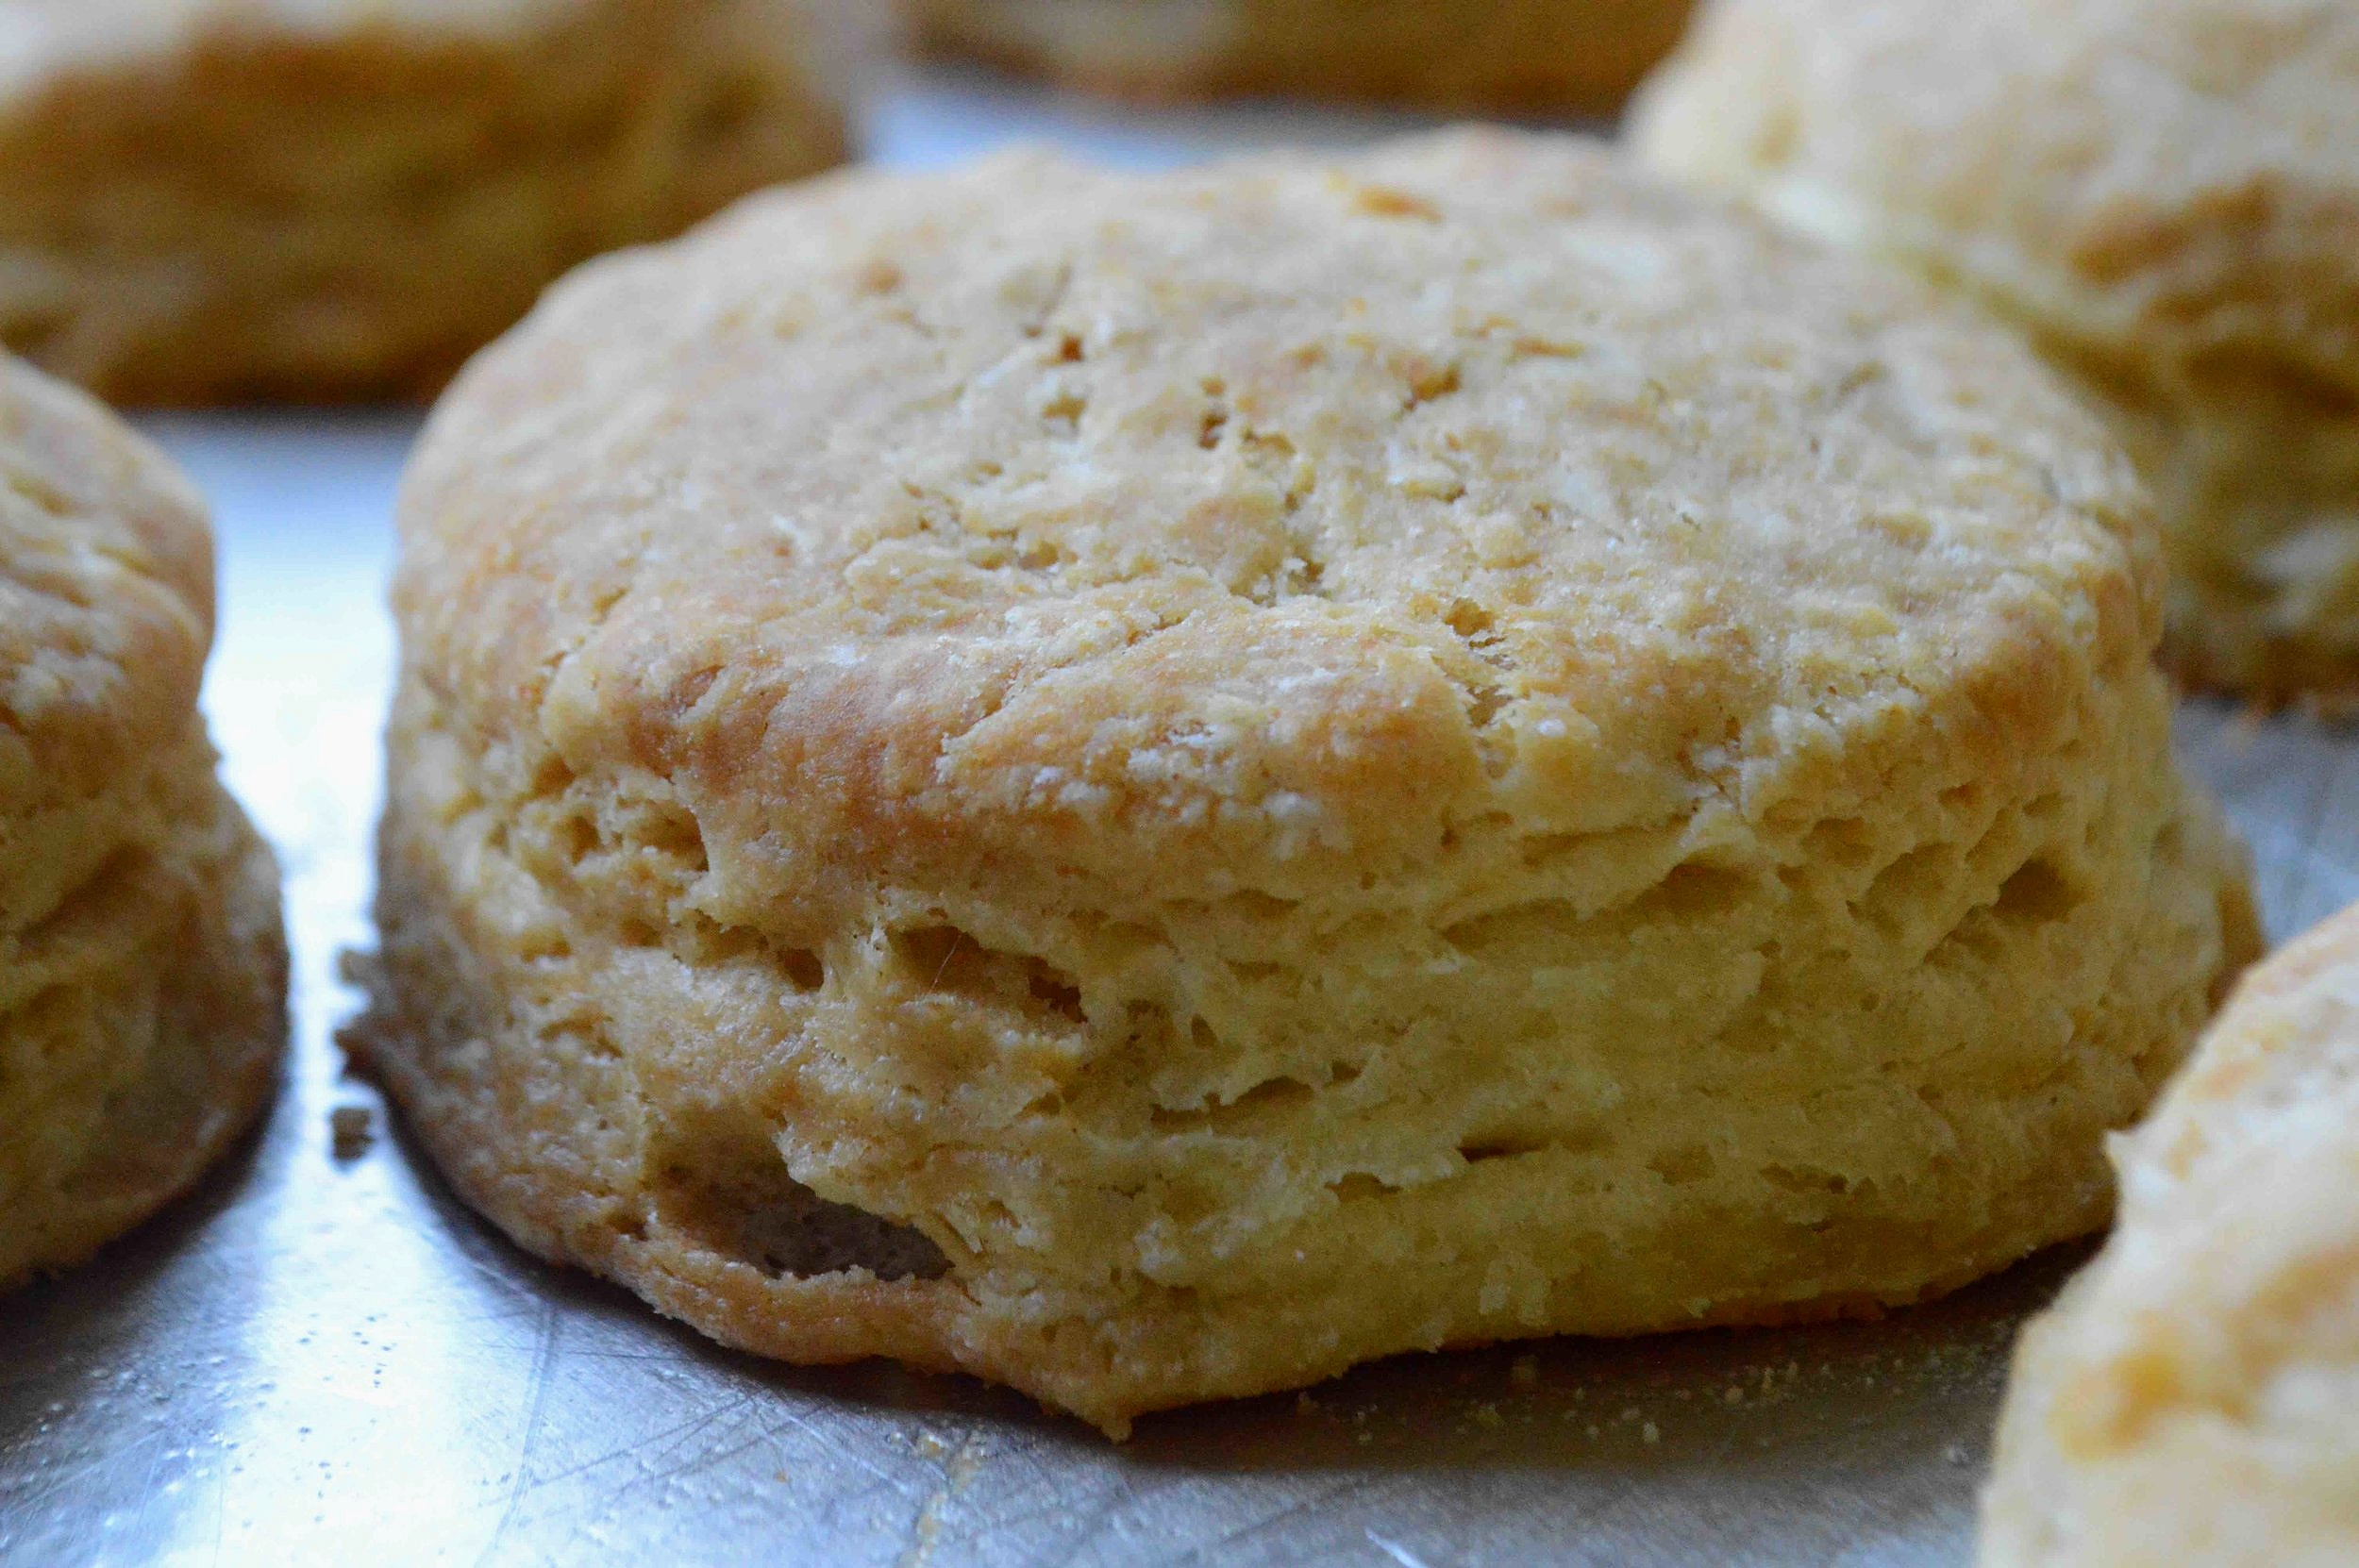
What separates these biscuits from others is that you turn the dough 4 times, which allows for layers to build up in the dough, making the baked product more flaky. I use a bench scraper to fold the dough in half, but you could also use a spatula.

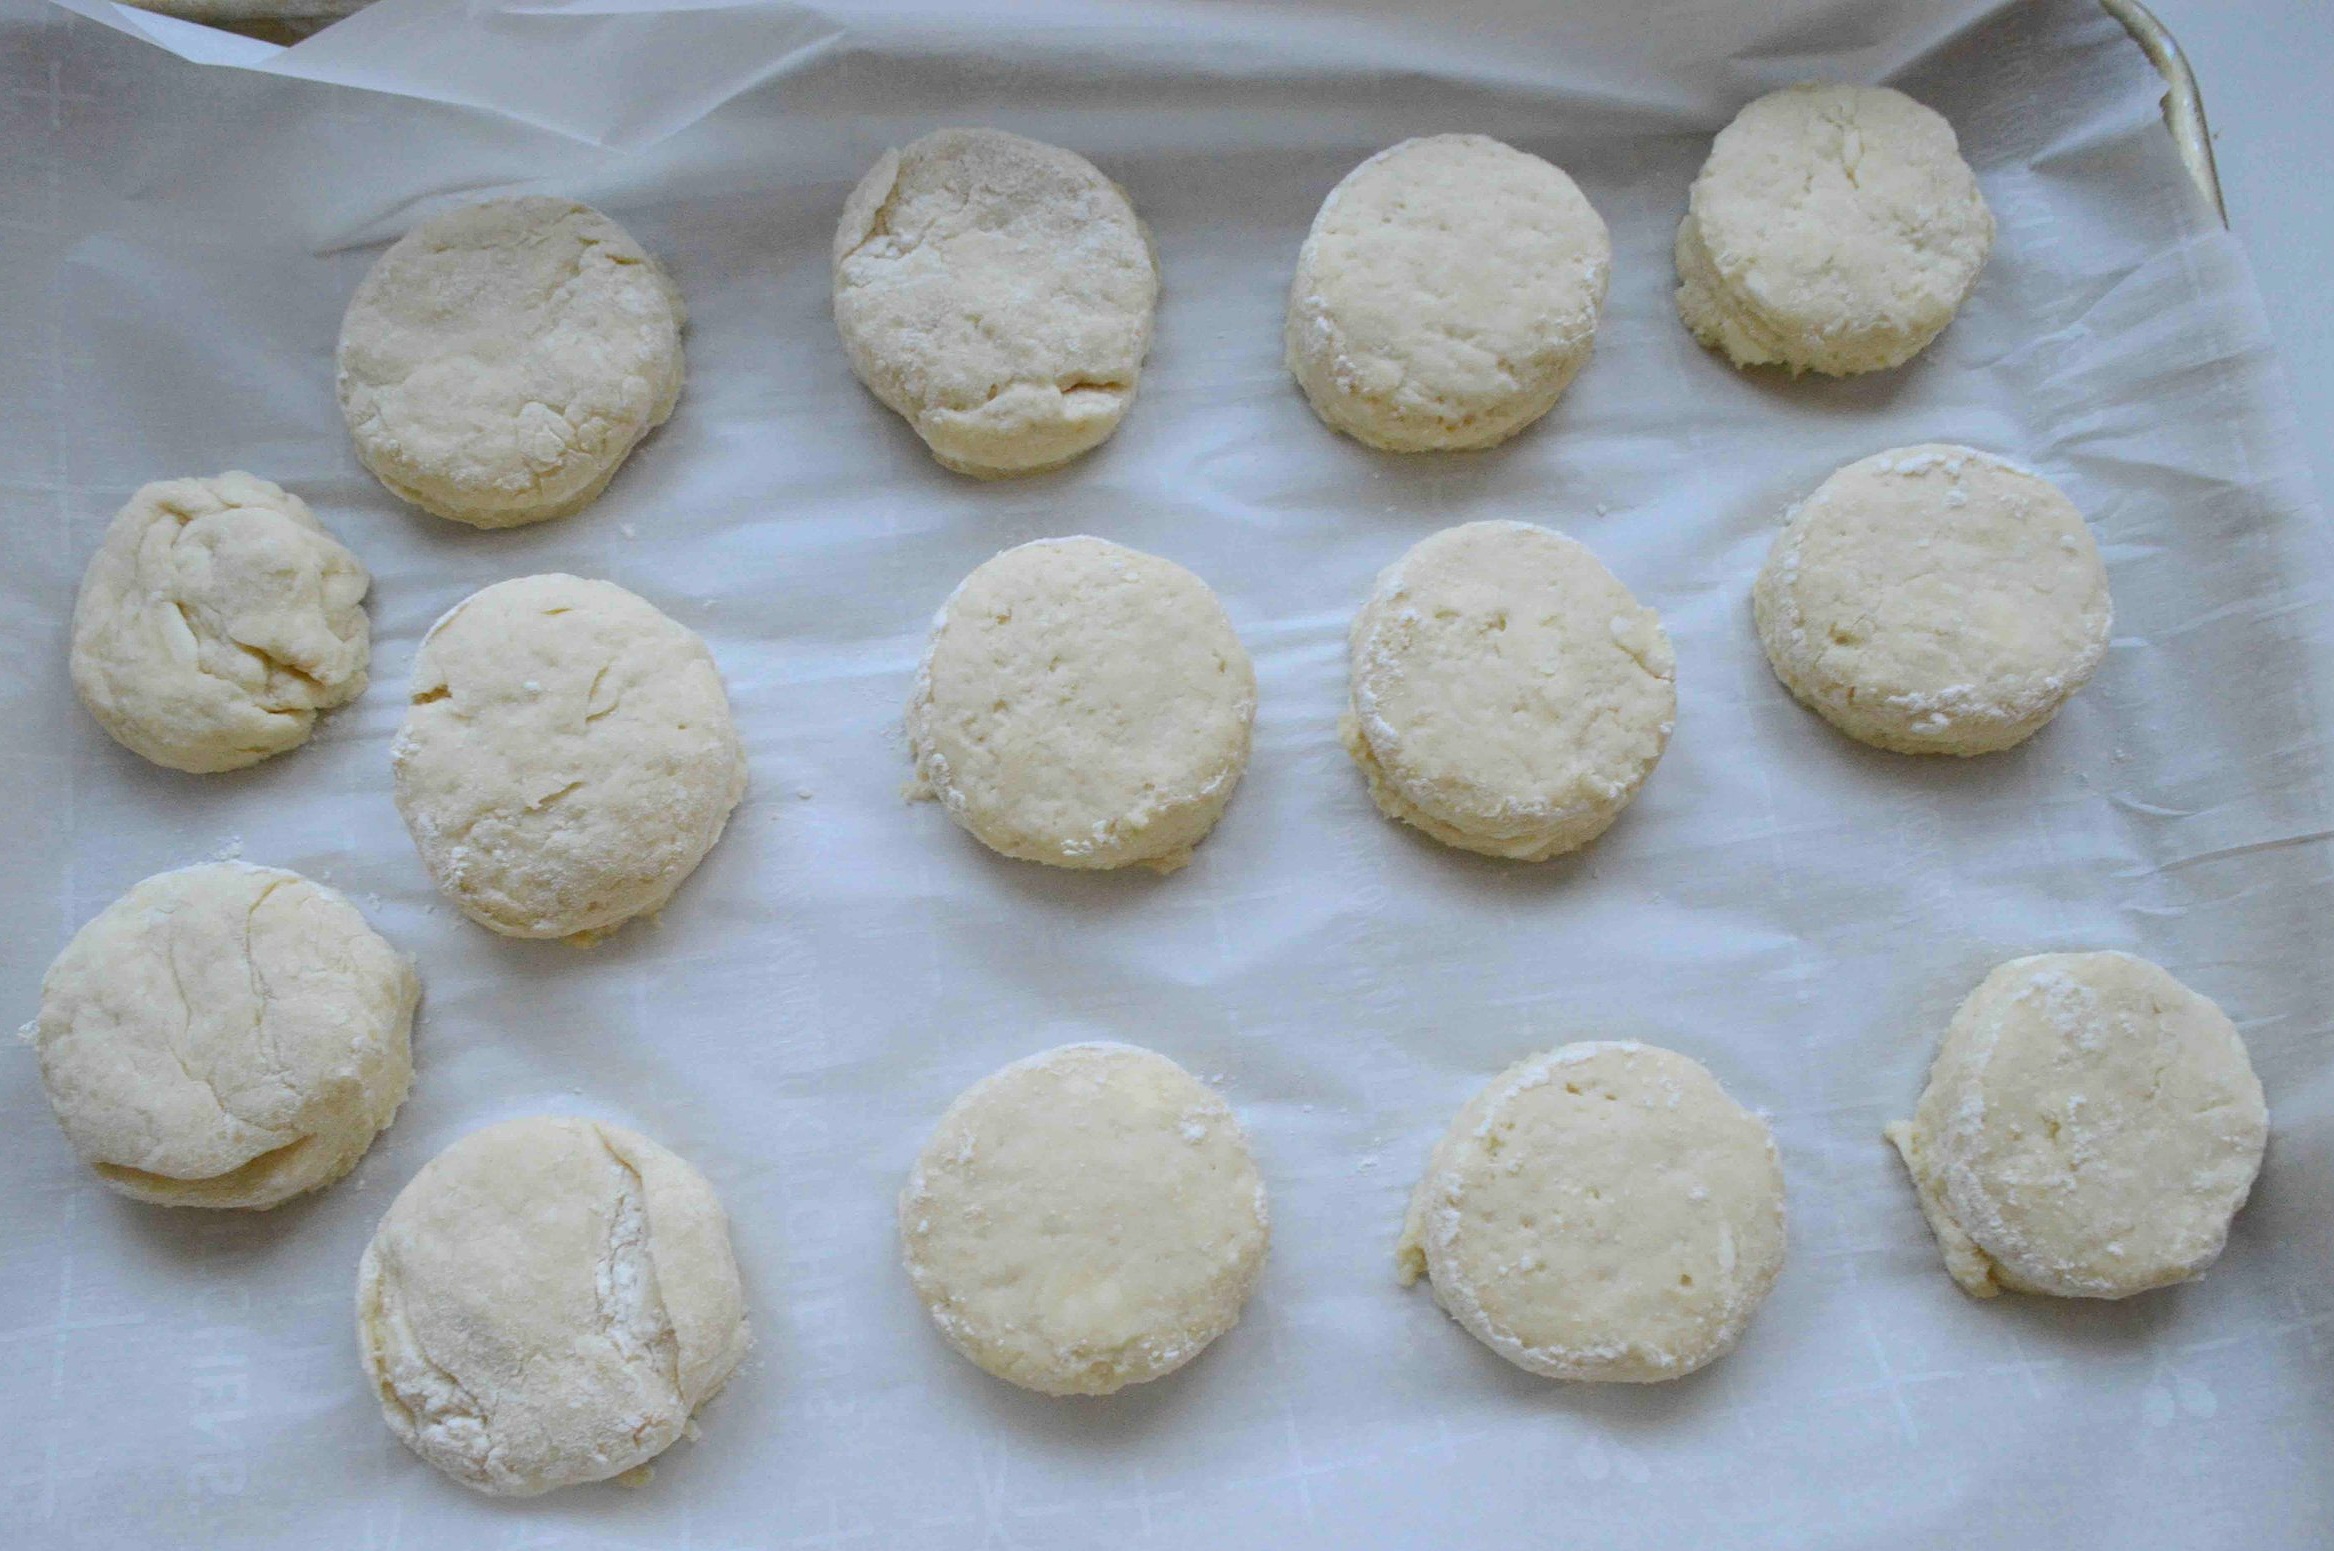
Next, you gently roll out the dough, cut into rounds and place on a baking sheet.

Now you can bake right away but if you want the most tender light biscuits, it’s best to chill them for at least an hour. What I really love to do is prepare them the night before, chill them overnight and then just pop them in the oven in the morning.
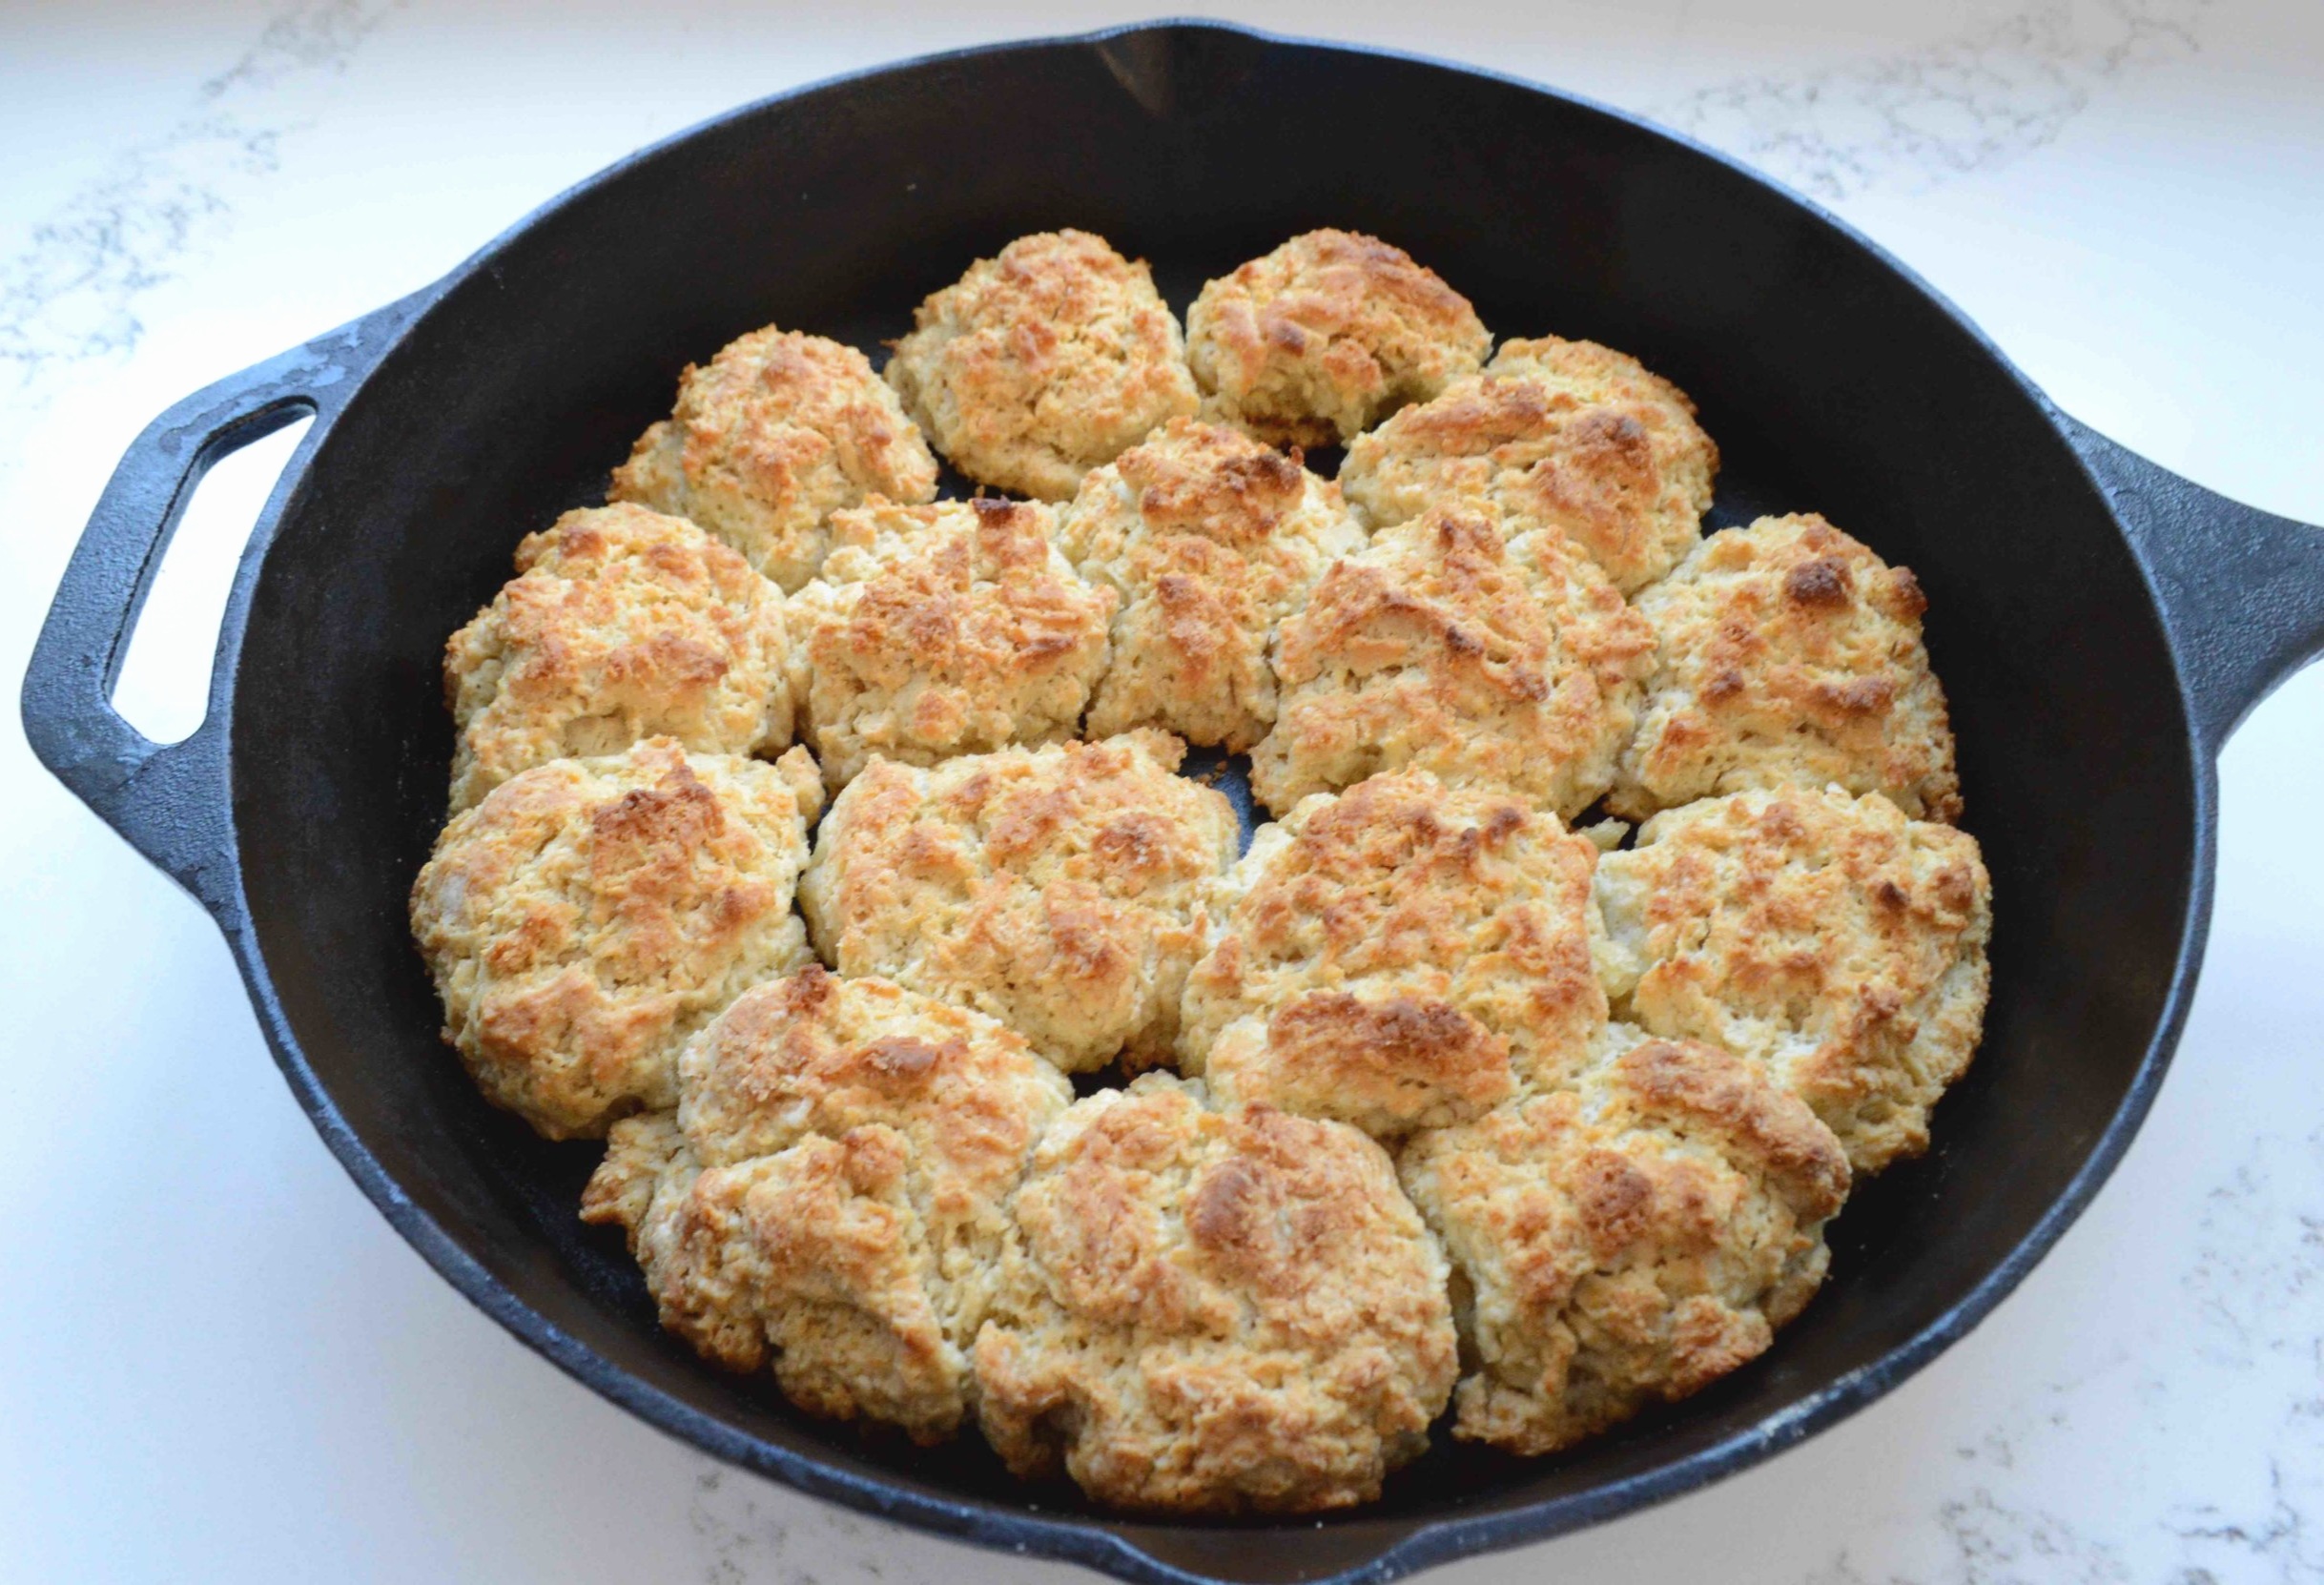
Twenty minutes later—voila! Fresh hot biscuits! (plus a little runt—that’s how I always think of the leftover dough that’s too small to cut out but too precious to throw away!)
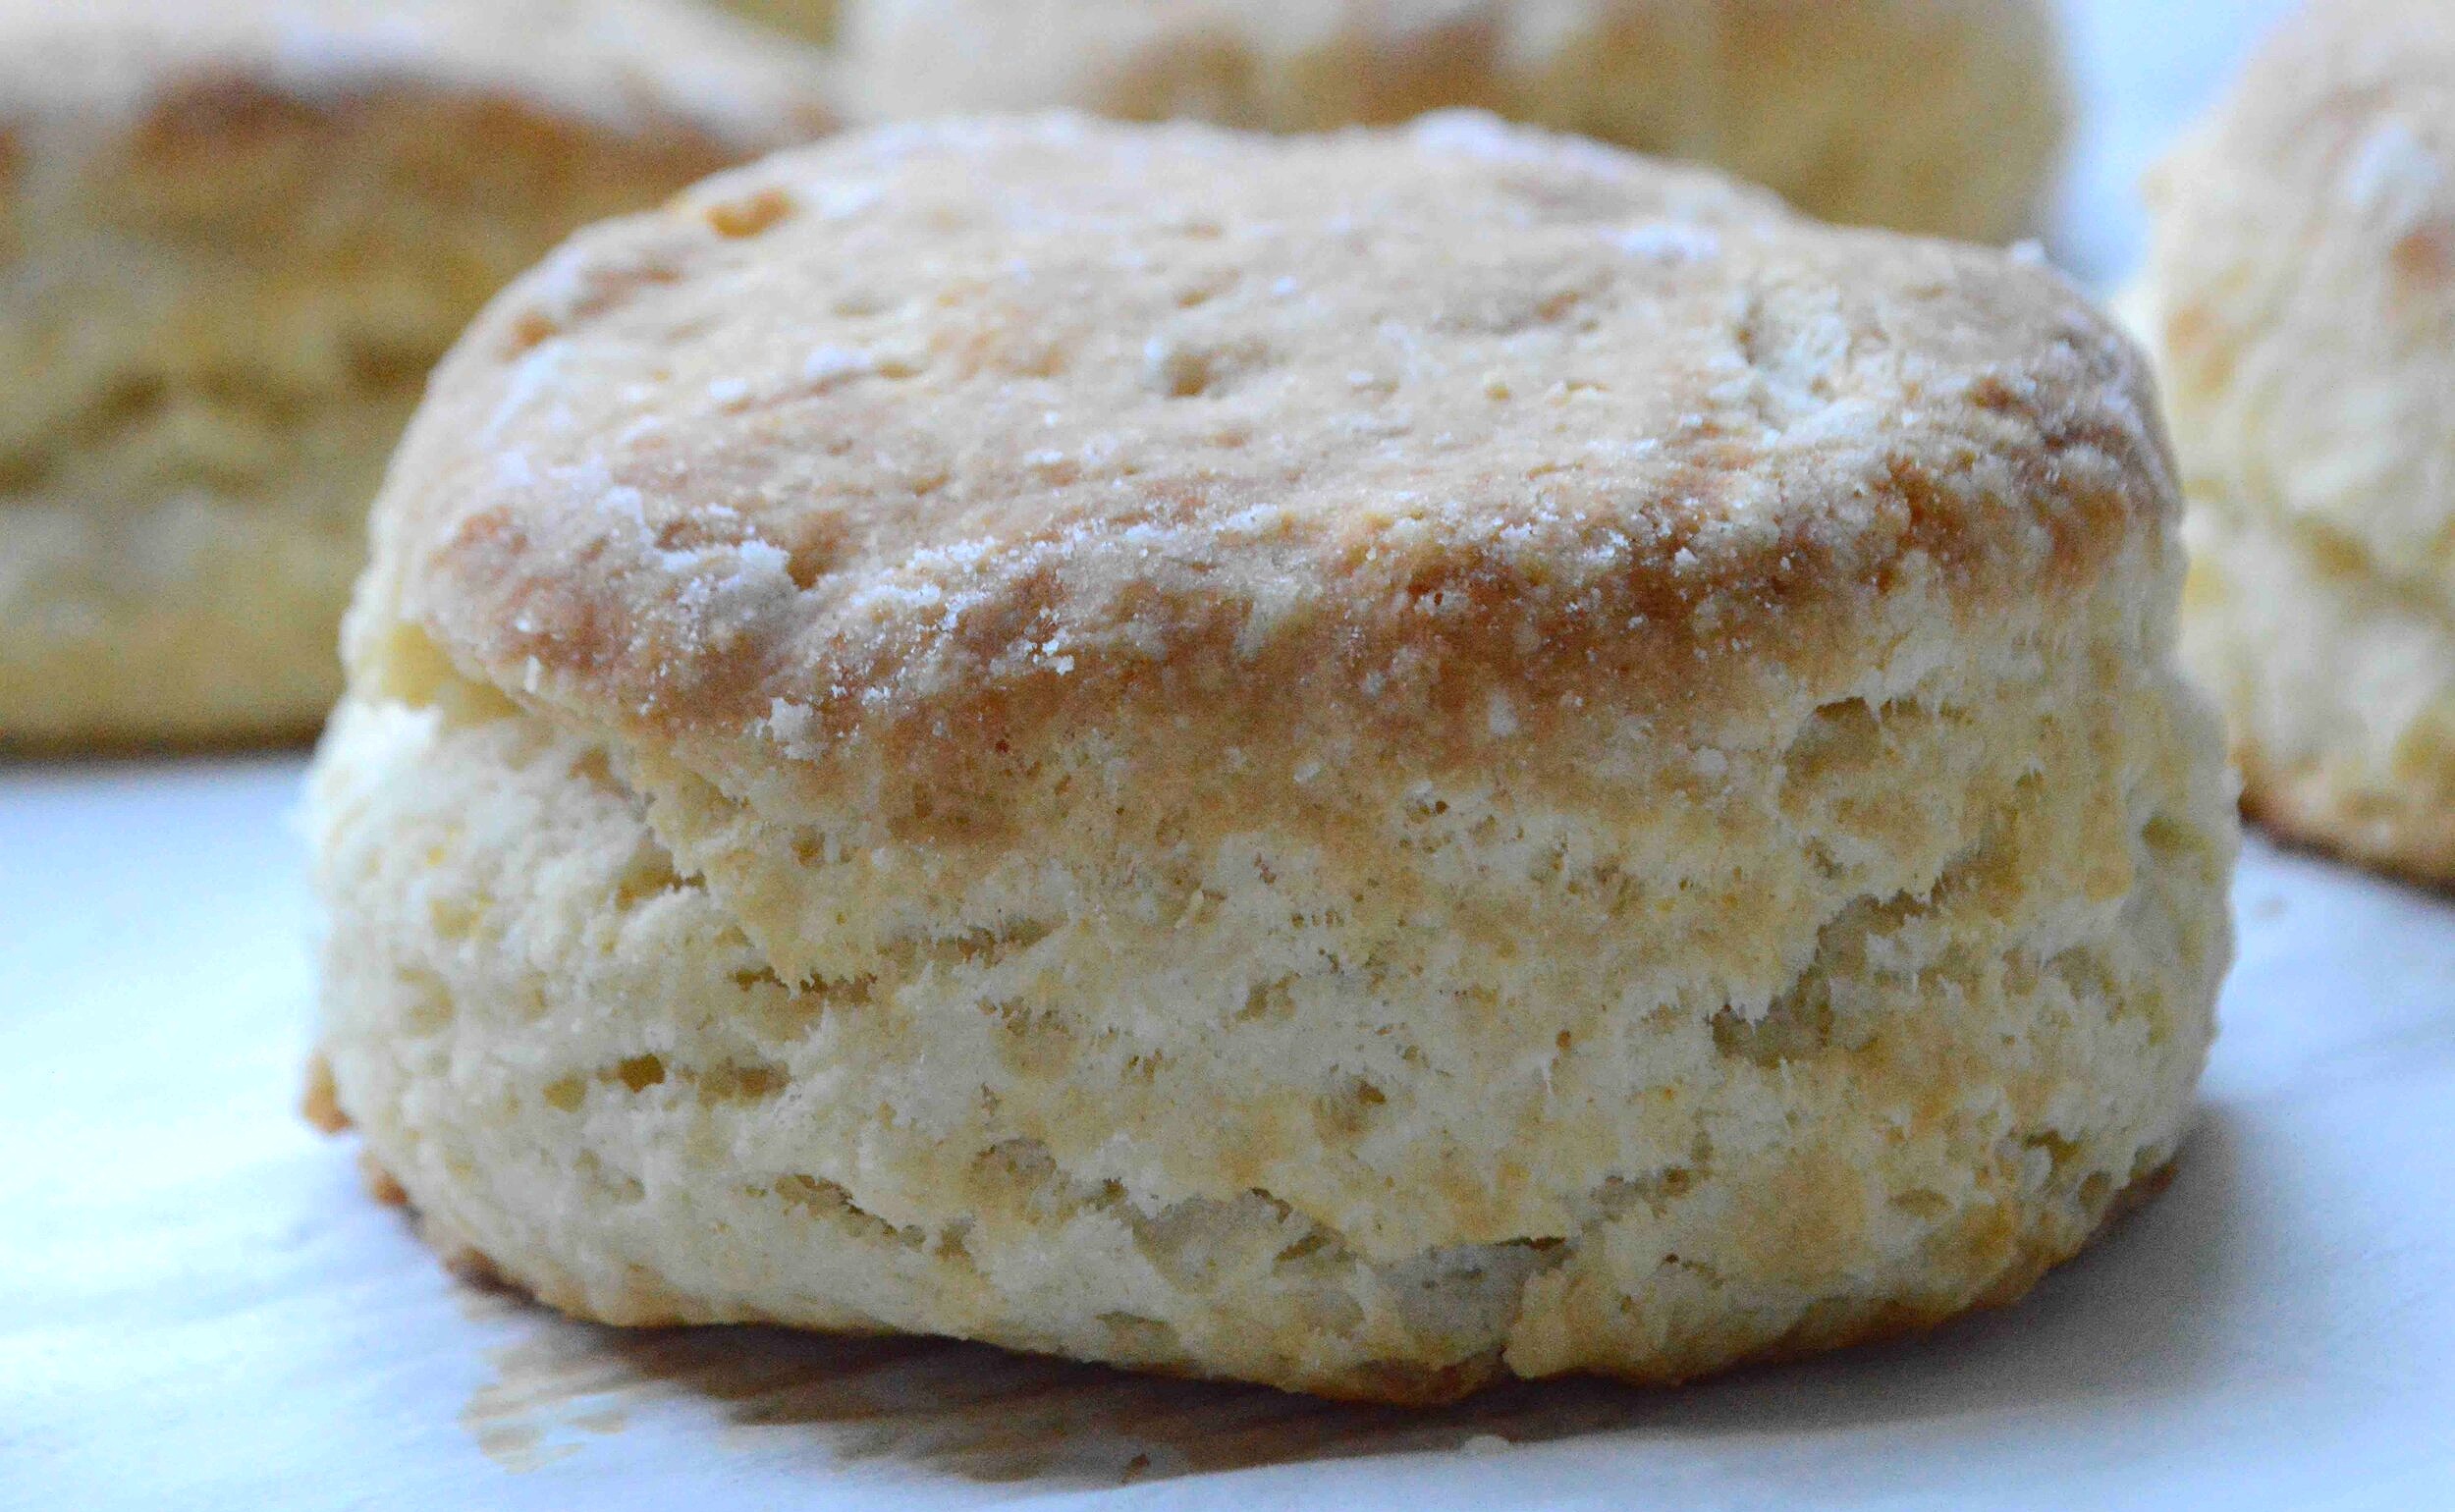
Light, airy and buttery, but not overly so, after you taste one of these, I’m predicting they’ll become a favorite with you too!

Try them on their own or slathered with butter and jam. Now if I could only find my keys…😘😘Happy weekend!!!xoxo

My Favorite Buttermilk Biscuits
Makes about anywhere from 12-15 depending on how thickly you roll out the dough
Prep Time: 20 minutes, plus at least 1 hour chilling time; Bake Time: About 20 minutes
Ingredients
3 cups unbleached, all-purpose flour, plus extra for rolling out the dough
3 tablespoons sugar
1 tablespoon baking powder
1 teaspoon kosher salt
½ teaspoon baking soda
12 tablespoons unsalted butter, cut into cubes and chilled
1 ¼ cups cold buttermilk
The Recipe
1. Line a rimmed baking sheet with parchment paper. Take out your rolling pin, biscuit cutter, bench scraper or spatula and lightly flour a pastry board or your counter.
2. Place the flour, sugar, baking powder, salt and baking soda in a large bowl and whisk together. Add the cubed butter and toss to coat, then use your fingers to work the butter into the dry ingredients until you get coarse crumbs with some larger pea-sized pieces of butter remaining. Add the buttermilk and use a wooden spoon to stir together until a shaggy dough forms with some dry crumbly bits still remaining.
3. Turn the mixture out onto the floured board, gather all the dough and bits together and pat it into a 1-inch thick rectangle—sometimes I need to flour my hands a bit if the dough is very sticky. Use the bench scraper or spatula to lift the dough from the bottom and fold it in half. Repeat the process 3 more times—what this does is create layers in the cooked biscuits. Sometimes, I need to flour my scraper a little too—just depends on how wet the dough is. Now, flour the rolling pin a bit and roll the dough out, from the center out, trying not to handle the dough too much. I usually aim for the dough to be about ½-inch thick at this point.
4. Use the biscuit cutter to cut out as many rounds as possible, only working in an up and down motion, not twisting side to side. Again, depending on the dough, I’ll flour my cutter between cuts as necessary. Transfer the rounds to the prepared baking sheet, leaving about an inch or two between the biscuits. I usually get somewhere between 13-15.
5. You can definitely bake these right now but if you can even chill them for at least 1 hour, they will be so much flakier and you can even chill them overnight and bake in the morning—if you are chilling them for more than a couple of hours, I would cover them loosely with either a towel or plastic wrap.
6. When you are ready to bake, preheat oven to 425ºF. Place biscuits in oven and immediately lower the temp to 400ºF. Bake for about 20 minutes, until biscuits have risen and look golden brown. Serve immediately or let them cool a bit. I love these just with jam but if butter makes you happy… Also, I always refrigerate any leftovers, cut them in half and toast them. They terrific this way too!
Enjoy!
Note: Recipe adapted from Mastering My Mistakes in the Kitchen by Dana Cowin—I roll these a lot thinner—the original recipe makes about 6-8 biscuits.